Halloween Cookies with Royal Icing – Easy Step-by-Step Guide
Get ready to enchant your taste buds with these absolutely magical Halloween cookies with royal icing! These spooky-sweet treats combine buttery, tender cookies with glossy, vibrant royal icing that dries to perfection.
Just like our popular Christmas sugar cookies, these Halloween delights are incredibly fun to decorate and guaranteed to be the star of any Halloween party. Whether you’re a baking novice or seasoned pro, these cookies are surprisingly simple to make and will have everyone asking for your secret recipe!
What Are Halloween Cookies with Royal Icing?
Ever wondered why we call them “royal” icing cookies? Legend has it that this elegant icing got its regal name because it was fit for royalty! These Halloween cookies with royal icing are basically sugar cookies dressed up in their finest spooky attire.
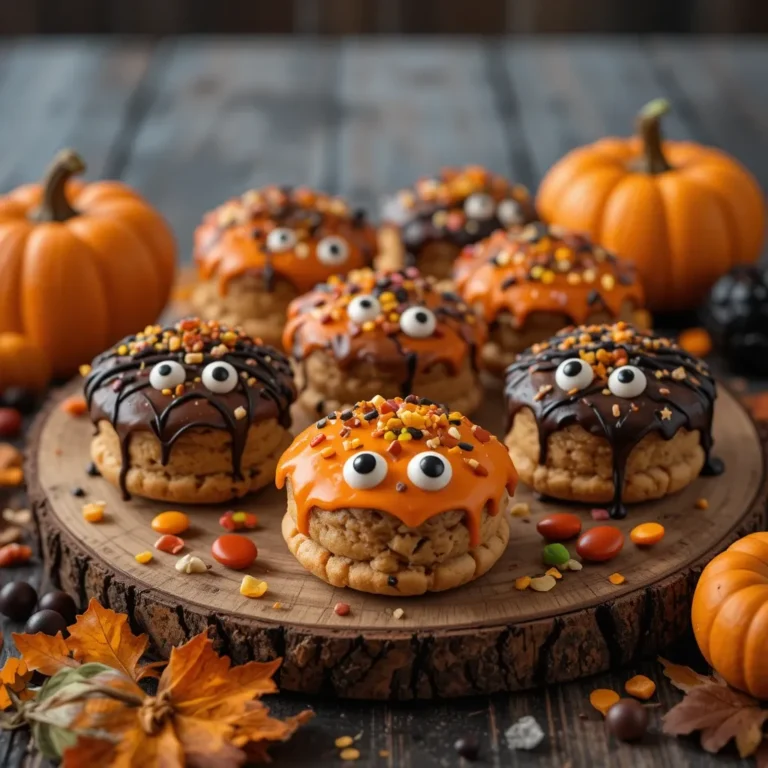
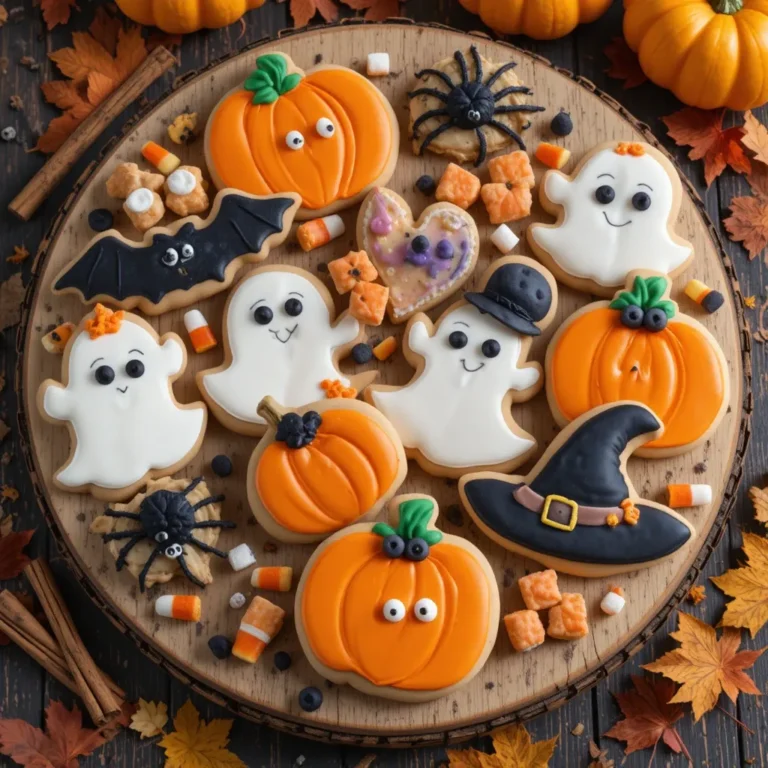
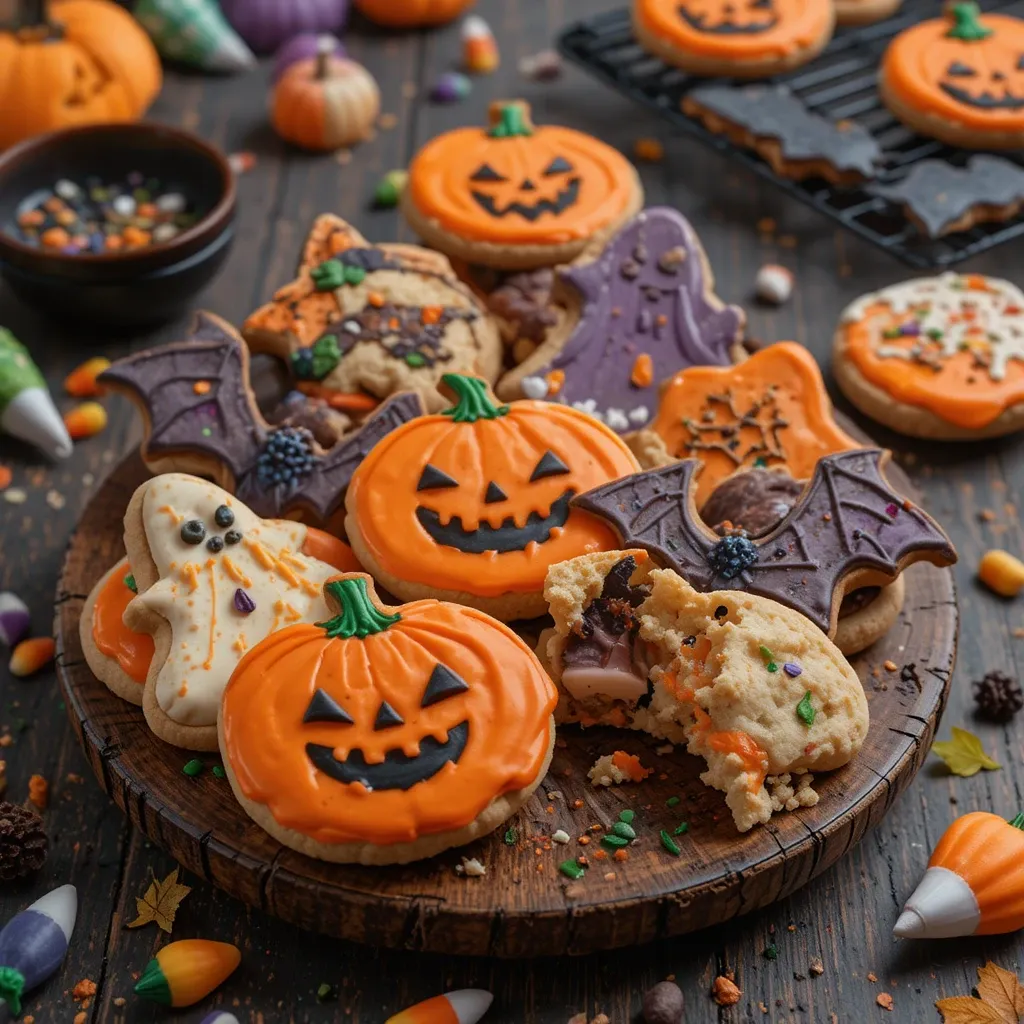
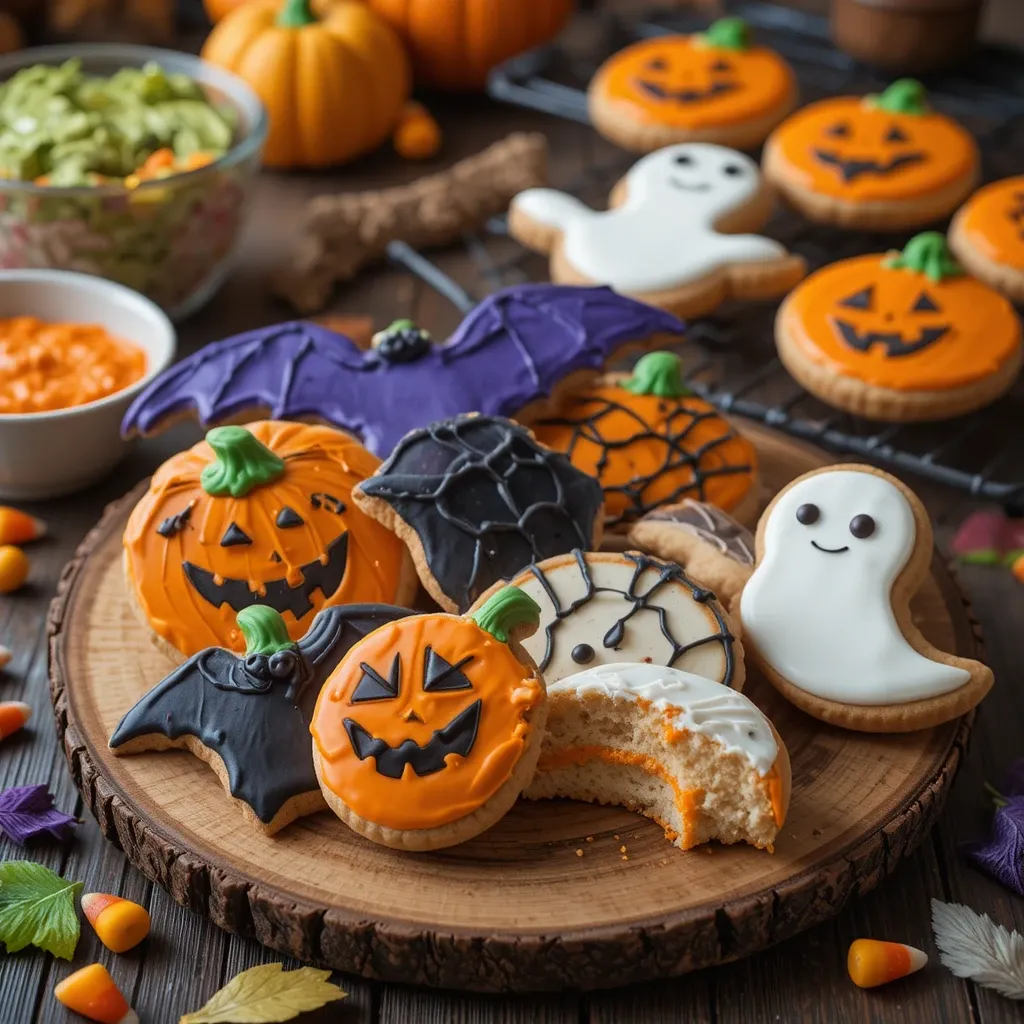
The magic happens when smooth, glossy icing meets creative Halloween designs – think grinning jack-o’-lanterns, mysterious bats, and adorable ghosts. As they say, the way to anyone’s heart is through their stomach, and these treats will surely win over every trick-or-treater at your door. Ready to become the neighborhood’s Halloween hero?
Why You’ll Love This Halloween Cookies with Royal Icing Recipe
Perfect for Halloween Celebrations
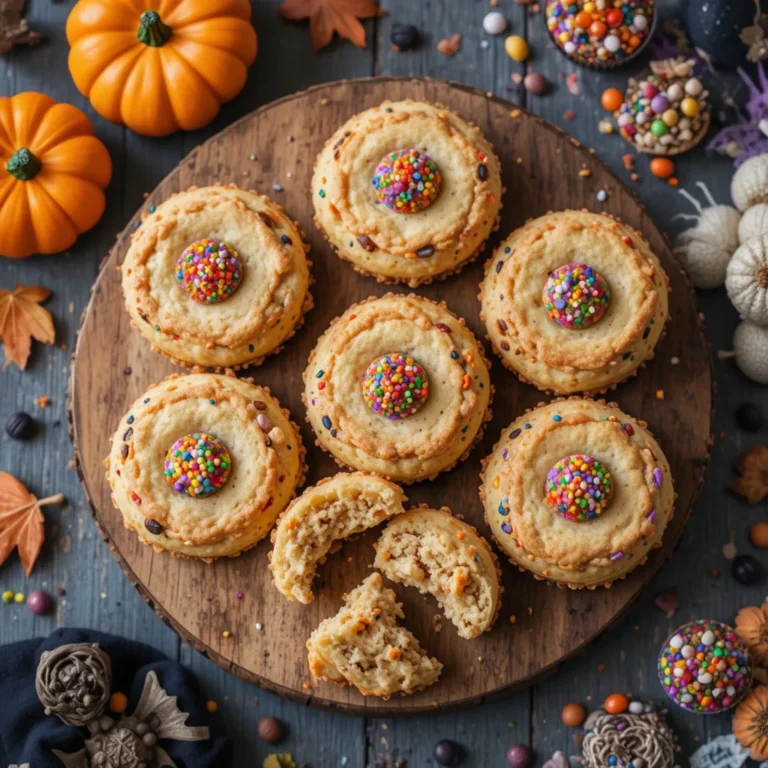
These Halloween cookies with royal icing are the ultimate party showstoppers! The cookies have a perfect tender crumb that melts in your mouth, while the royal icing provides a smooth, professional-looking finish that’s ideal for intricate designs. Each bite delivers a delightful balance of sweet vanilla cookie and creamy icing that both kids and adults absolutely adore.
Budget-Friendly Homemade Magic
Making Halloween cookies with royal icing at home saves you a fortune compared to buying decorated cookies from bakeries. With simple pantry staples like flour, butter, sugar, and powdered sugar, you can create dozens of impressive cookies for a fraction of the cost. Plus, you control the quality of ingredients and can make them as healthy or indulgent as you prefer.
Endless Creative Possibilities
The beauty of royal icing lies in its versatility – you can create any Halloween design your heart desires! From classic orange and black pumpkins to intricate spider webs and cute candy corn patterns, the decorating possibilities are limitless. Similar to our popular Valentine’s decorated cookies, these treats let your creativity shine while creating lasting memories with family and friends.
How to Make Halloween Cookies with Royal Icing
Quick Overview
This recipe creates approximately 24 medium-sized cookies that are perfect for Halloween festivities. The process involves making tender sugar cookies, preparing smooth royal icing, and decorating with spooky designs.
Prep Time: 45 minutes
Baking Time: 10-12 minutes per batch
Decorating Time: 1-2 hours
Total Time: 3 hours (including drying time)
Yield: 24 cookies
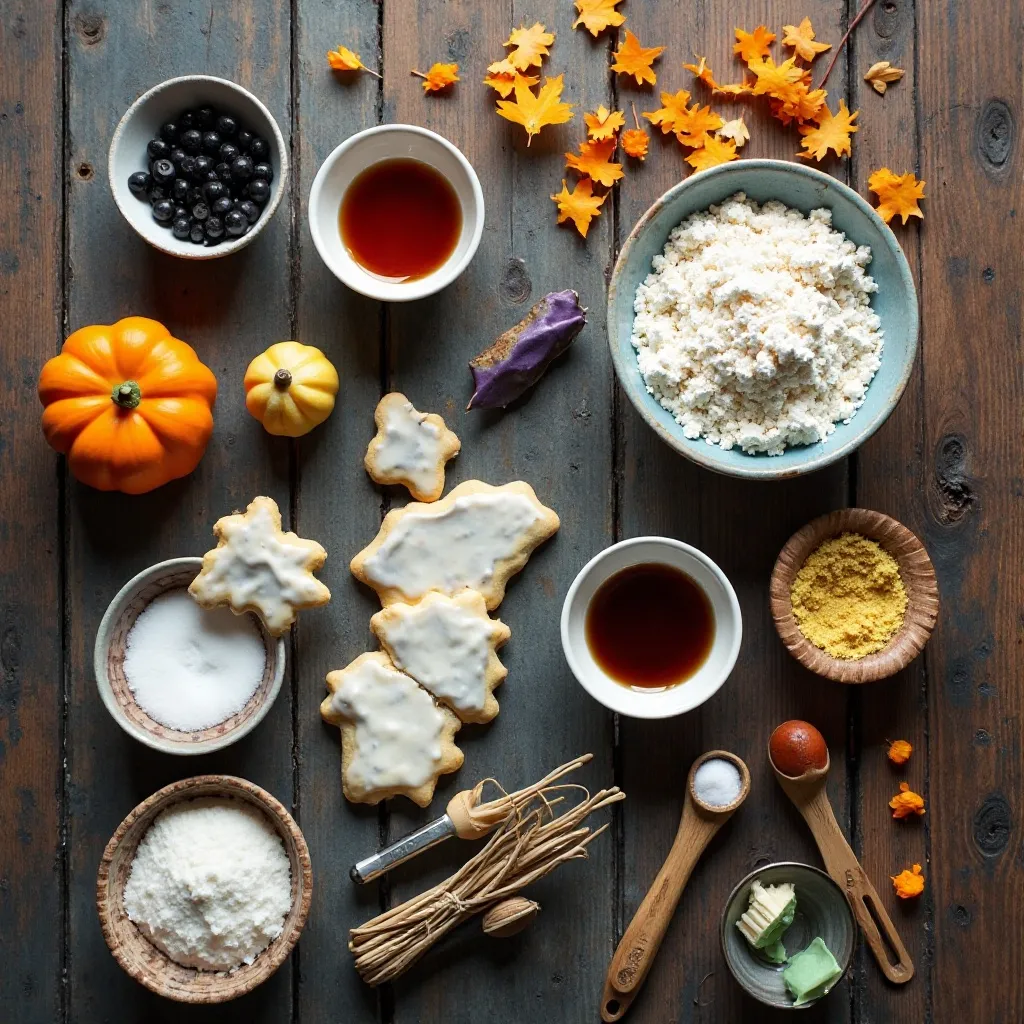
Key Ingredients for Halloween Cookies with Royal Icing
For the Cookies:
- 3 cups all-purpose flour
- 1 teaspoon baking powder
- 1/2 teaspoon salt
- 1 cup (2 sticks) unsalted butter, softened
- 1 cup granulated sugar
- 1 large egg
- 2 teaspoons vanilla extract
- 2-3 tablespoons milk
For the Royal Icing:
- 4 cups powdered sugar, sifted
- 3 large egg whites (or 4 tablespoons meringue powder + 6 tablespoons water)
- 1 teaspoon vanilla extract
- Food coloring (orange, black, purple, green)
- Piping bags and tips
Step-by-Step Instructions
Preparing the Cookie Dough:
- In a medium bowl, whisk together flour, baking powder, and salt. Set aside.
- In a large bowl, cream the softened butter and granulated sugar using an electric mixer until light and fluffy, about 3-4 minutes.
- Beat in the egg and vanilla extract until well combined.
- Gradually add the flour mixture to the butter mixture, alternating with milk, until a soft dough forms.
- Divide dough in half, wrap each portion in plastic wrap, and refrigerate for at least 2 hours or overnight.
Rolling and Cutting:
- Preheat oven to 350°F (175°C). Line baking sheets with parchment paper.
- On a floured surface, roll out chilled dough to 1/4-inch thickness.
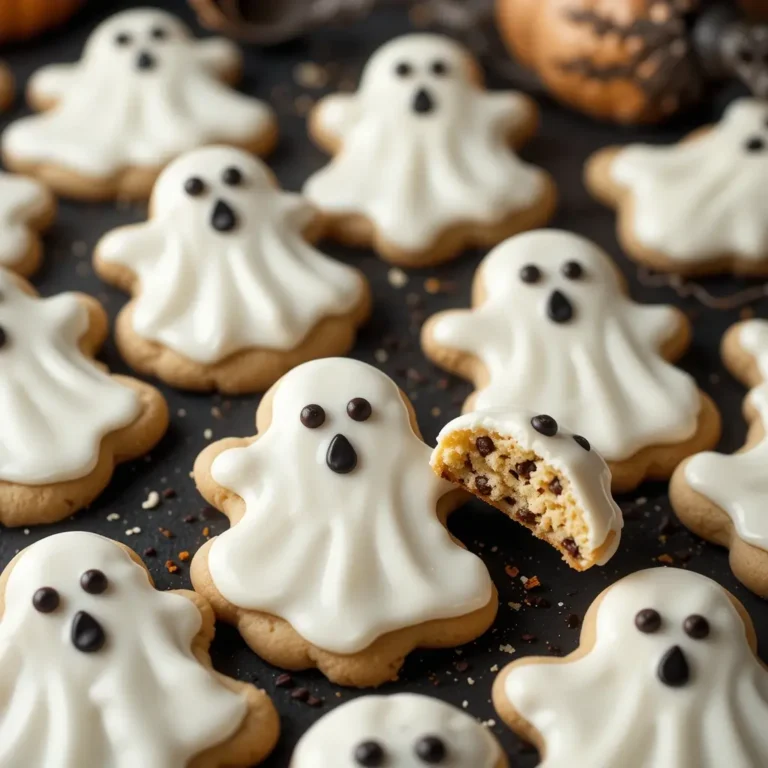
- Cut cookies using Halloween-themed cookie cutters (pumpkins, ghosts, bats, etc.).
- Transfer cookies to prepared baking sheets, spacing them 2 inches apart.
Baking:
- Bake for 10-12 minutes or until edges are lightly golden.
- Cool on baking sheet for 5 minutes, then transfer to wire racks to cool completely.
Making Royal Icing:
- In a large bowl, whisk together powdered sugar, egg whites (or meringue powder mixture), and vanilla extract.
- Beat with electric mixer on medium speed for 5-7 minutes until stiff peaks form.
- Divide icing into separate bowls and add food coloring as desired.
Decorating:
- Transfer icing to piping bags fitted with round tips.
- Outline cookie shapes first, then flood with thinned icing for smooth surfaces.
- Add details like faces, patterns, or textures using contrasting colors.
- Allow cookies to dry completely, about 4-6 hours or overnight.
What to Serve Halloween Cookies with Royal Icing With
These spooktacular treats pair wonderfully with several beverages and complementary snacks:
Hot Beverages: Serve alongside steaming mugs of hot chocolate, spiced apple cider, or pumpkin spice lattes for the ultimate fall experience.
Cold Drinks: Orange punch, witch’s brew (grape juice), or classic milk create perfect pairings for kids’ Halloween parties.
Party Spreads: Include these cookies as part of a larger Halloween dessert table featuring candy corn, chocolate-covered pretzels, and caramel apples.
Gift Ideas: Package these cookies in clear cellophane bags tied with orange and black ribbons for perfect trick-or-treat handouts or teacher gifts.
Top Tips for Perfecting Halloween Cookies with Royal Icing
Cookie Success Tips
Always chill your cookie dough thoroughly – this prevents spreading and ensures clean, sharp edges when cutting. Use a light touch when rolling to avoid tough cookies, and don’t overbake them since they’ll continue cooking slightly on the hot pan.
Royal Icing Mastery
Achieve the perfect consistency by adjusting liquid gradually. The icing should flow smoothly but hold its shape when piped. For flooding technique, thin the icing with water until it flows like thick honey – this creates those perfectly smooth surfaces.
Decorating Pro Tips
Work with one color at a time and allow each layer to dry before adding details. Use toothpicks to create marbled effects or drag through wet icing for spiderweb patterns. Keep unused icing covered with damp towels to prevent crusting.
Color Mixing Guide
Create vibrant Halloween colors by mixing: orange (red + yellow), deep purple (red + blue + tiny bit of black), and forest green (green + tiny bit of black). Start with less coloring and add gradually – colors often deepen as they dry.
Storing and Reheating Tips
Short-term Storage: Store completely dried decorated cookies in airtight containers at room temperature for up to one week. Layer cookies between parchment paper to prevent sticking and protect decorations.
Long-term Storage: Freeze undecorated cookies for up to 3 months in freezer-safe containers. Thaw at room temperature before decorating. Decorated cookies can be frozen for up to 1 month, though some colors may fade slightly.
Gift Storage: For gifting, individually wrap cookies in cellophane or store in decorative tins with parchment paper separating layers.
Humidity Considerations: Royal icing can become sticky in humid conditions, so store in cool, dry places. Add a packet of food-safe desiccant to storage containers in very humid climates.
Frequently Asked Questions
Can I make the cookie dough ahead of time?
Yes! Cookie dough can be made up to 3 days in advance and stored in the refrigerator, or frozen for up to 3 months. Just thaw overnight in the fridge before rolling.
Why is my royal icing too thick or too thin?
Royal icing consistency depends on humidity and measuring. If too thick, add water one teaspoon at a time. If too thin, gradually sift in more powdered sugar until you reach the right consistency.
How long does royal icing take to dry completely?
Royal icing typically takes 4-6 hours to dry at room temperature, though humid conditions may extend this time. The surface should be completely hard and non-tacky when ready.
Can I use store-bought cookie dough?
Absolutely! While homemade tastes better, store-bought sugar cookie dough works in a pinch. Just ensure cookies are completely cool before decorating.
What’s the best way to color royal icing?
Gel food coloring works best as it won’t thin the icing. Start with small amounts and mix thoroughly – colors often intensify as they sit.
Can I make these cookies egg-free?
Yes! Replace the egg in cookies with 1/4 cup applesauce or a flax egg. For royal icing, use meringue powder instead of fresh egg whites for food safety.
Nutritional Information
| Nutrient | Per Cookie (approximate) |
|---|---|
| Calories | 185 |
| Total Fat | 6g |
| Saturated Fat | 3.5g |
| Cholesterol | 25mg |
| Sodium | 85mg |
| Total Carbohydrates | 32g |
| Sugars | 24g |
| Protein | 2g |
| Fiber | 0.5g |
Nutritional values are estimates and may vary based on specific ingredients used and cookie size.
Creative Variations and Advanced Techniques
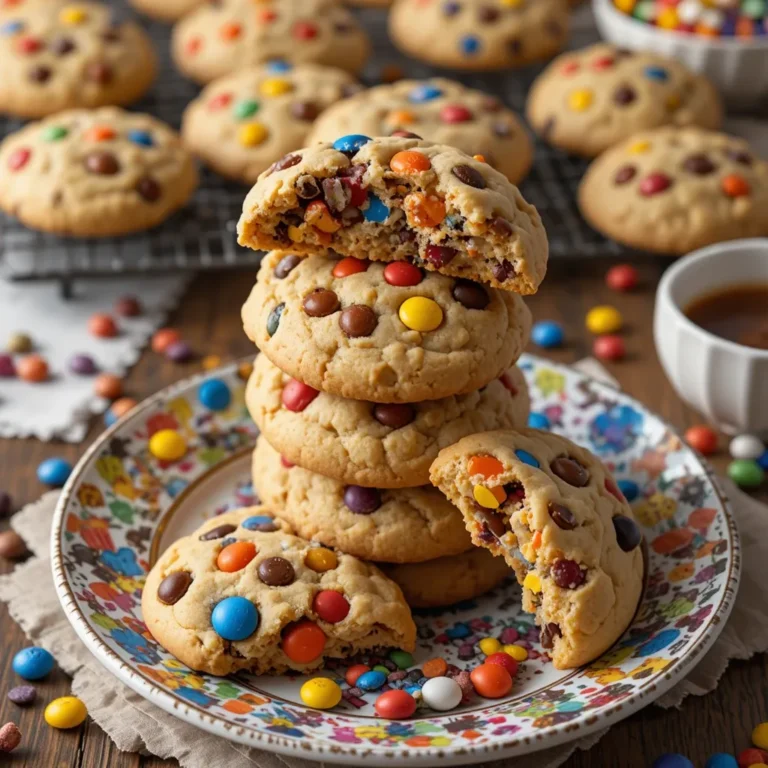
Flavor Variations: Transform your base cookies with different extracts like almond, lemon, or pumpkin spice. Add orange zest to the dough for extra Halloween flavor, or incorporate mini chocolate chips for texture.
Advanced Decorating: Try wet-on-wet techniques for marbled effects, or use edible glitter and pearl dust for magical finishes. Create textured effects using combs or toothpicks through wet icing.
Themed Collections: Design matching sets featuring Halloween scenes – create cemetery collections with tombstones, ghosts, and bats, or harvest themes with pumpkins, corn, and autumn leaves.
Interactive Elements: Make cookies extra special with pop rocks candy mixed into icing for crackling surprises, or use color-changing decorations that react to temperature.
These Halloween cookies with royal icing aren’t just treats – they’re edible art that brings families together and creates lasting Halloween memories. The combination of tender, buttery cookies and smooth, colorful icing makes them irresistible to both kids and adults.
Whether you’re hosting a Halloween party, contributing to a school bake sale, or simply want to spread some spooky joy, these cookies deliver both impressive looks and incredible taste. The decorating process is therapeutic and fun, making it perfect for family bonding time or creative solo projects.
Start planning your Halloween cookie decorating session now – your friends and family will be amazed by these professional-looking treats that taste even better than they look!