Easy Halloween Cookies to Decorate – Step-by-Step Decorating Guide
Get ready to transform your kitchen into a Halloween wonderland with these delightfully spooky Halloween cookies to decorate! These buttery, perfectly sweet treats are your blank canvas for creating edible masterpieces that’ll have trick-or-treaters and party guests shrieking with delight. Did you know that decorated cookies date back to medieval times when bakers created intricate designs for special occasions?
These Halloween cookies are incredibly simple to make, requiring just basic ingredients and minimal prep time, making them perfect for busy families wanting to create magical memories together.
Unlike our popular Christmas sugar cookies that focus on elegant designs, these Halloween treats embrace playful chaos and creative expression. Get ready to unleash your inner artist and create cookies that are almost too cute to eat!
What are Halloween Cookies to Decorate?
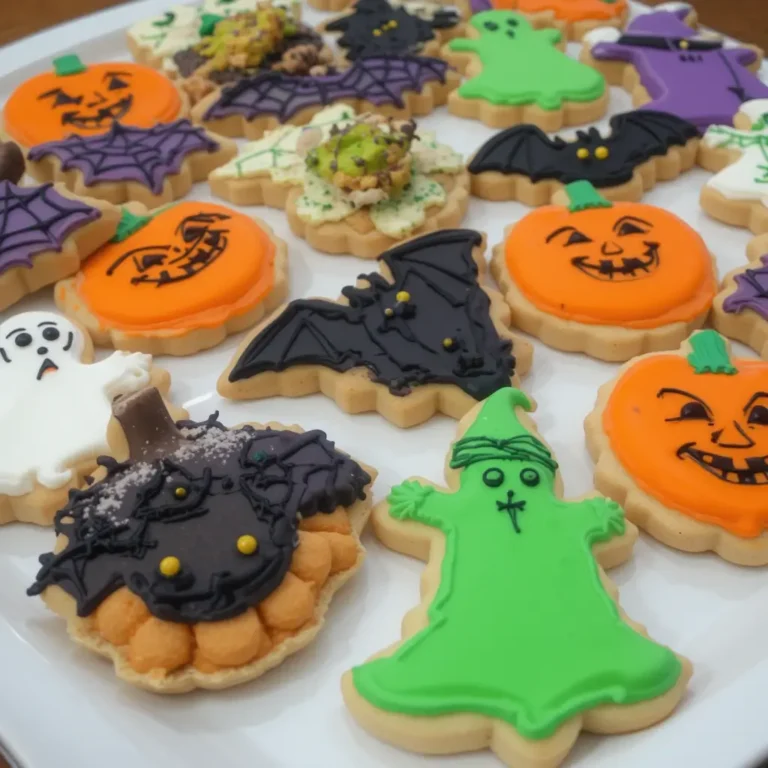
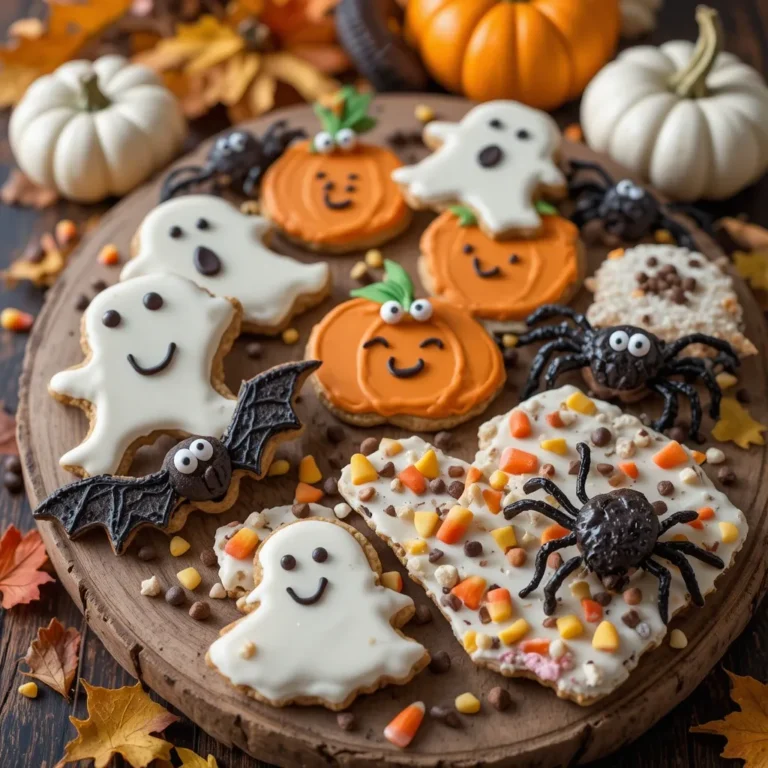
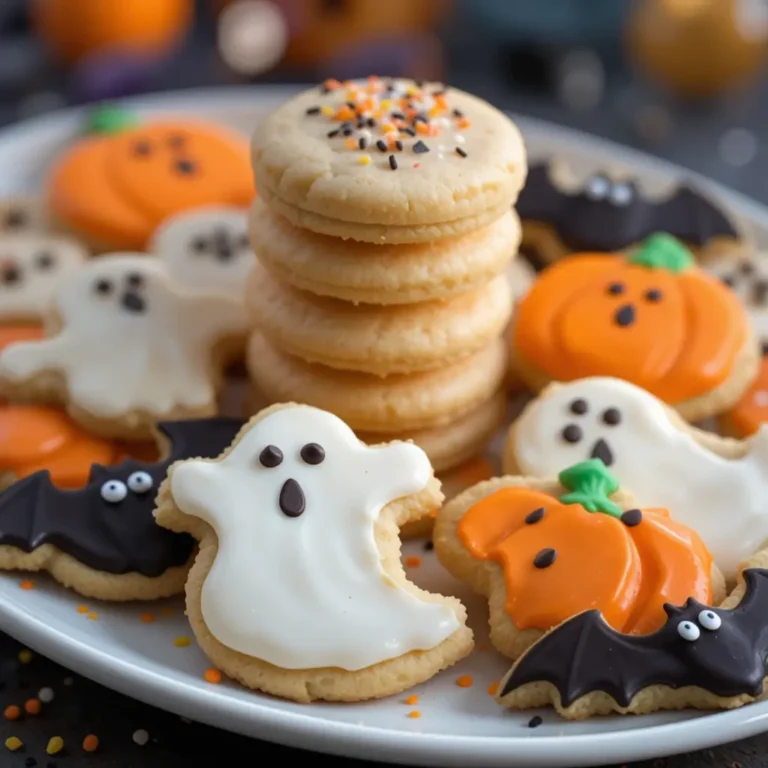
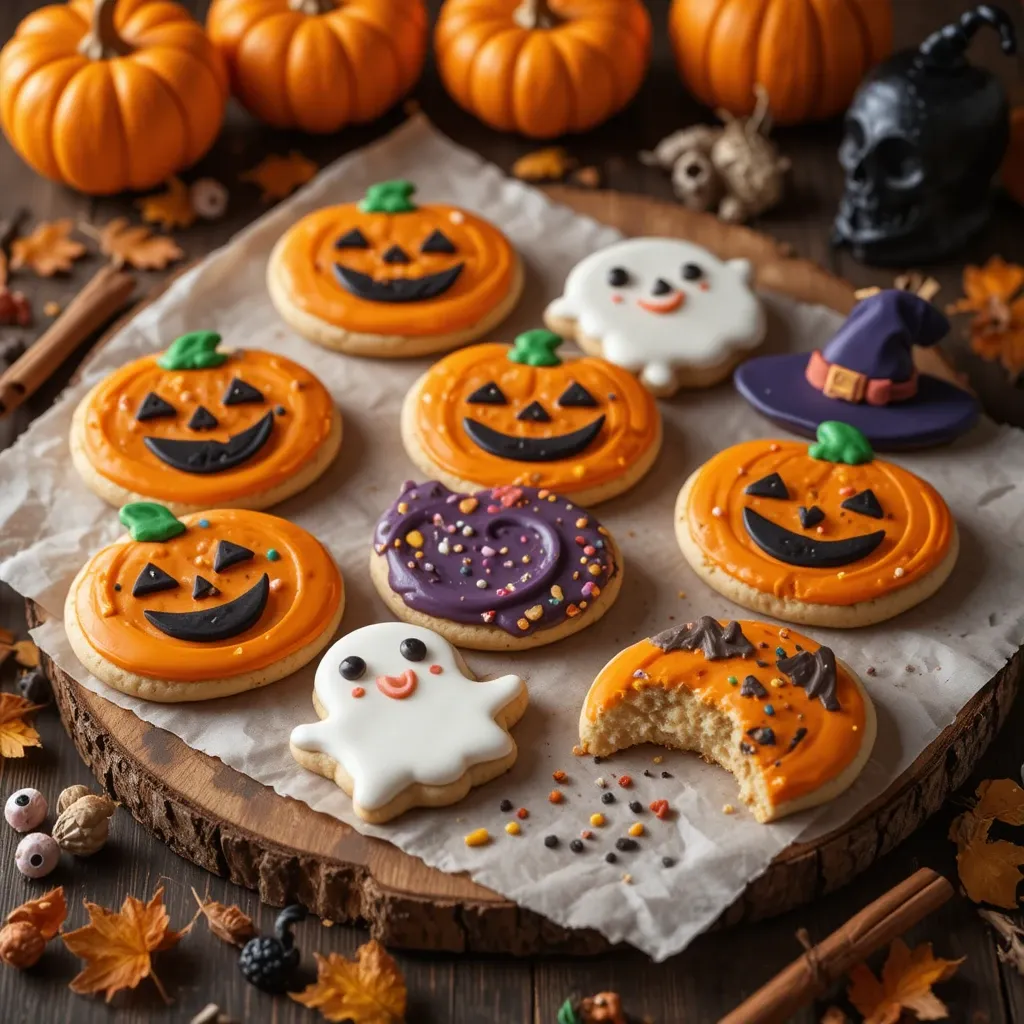
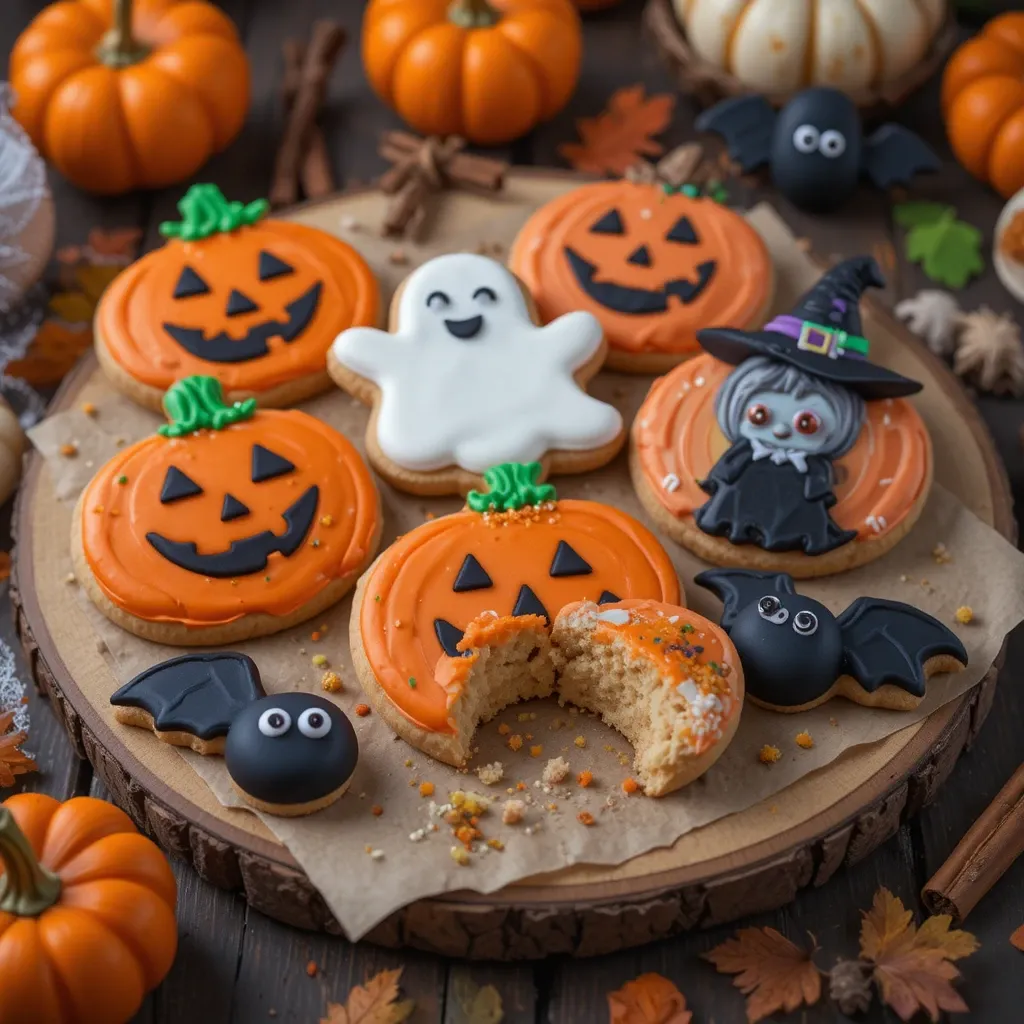
Ever wondered why we call them “Halloween cookies to decorate” instead of just spooky treats? These aren’t your ordinary grab-and-go cookies – they’re edible art projects waiting to happen! Picture this: perfectly baked sugar cookie canvases shaped like pumpkins, ghosts, and witches, just begging for colorful royal icing and sprinkles.
As they say, “the way to a man’s heart is through his stomach,” but the way to anyone’s Halloween spirit is definitely through beautifully decorated cookies! Ready to create some spook-tacular memories in your kitchen?
Why You’ll Love This Halloween Cookies to Decorate Recipe
Creative Family Bonding Experience
These Halloween cookies to decorate offer the perfect opportunity for quality family time. Watch as little hands carefully pipe orange icing onto pumpkin shapes while older kids master intricate spider web designs. The decorating process becomes a cherished tradition that brings generations together.
Budget-Friendly Halloween Fun
Skip the expensive bakery cookies and create professional-looking treats at home for a fraction of the cost. With basic pantry ingredients, you’ll make dozens of cookies that would cost $3-4 each at specialty shops. Plus, you control the quality of ingredients.
Endless Flavor and Design Possibilities
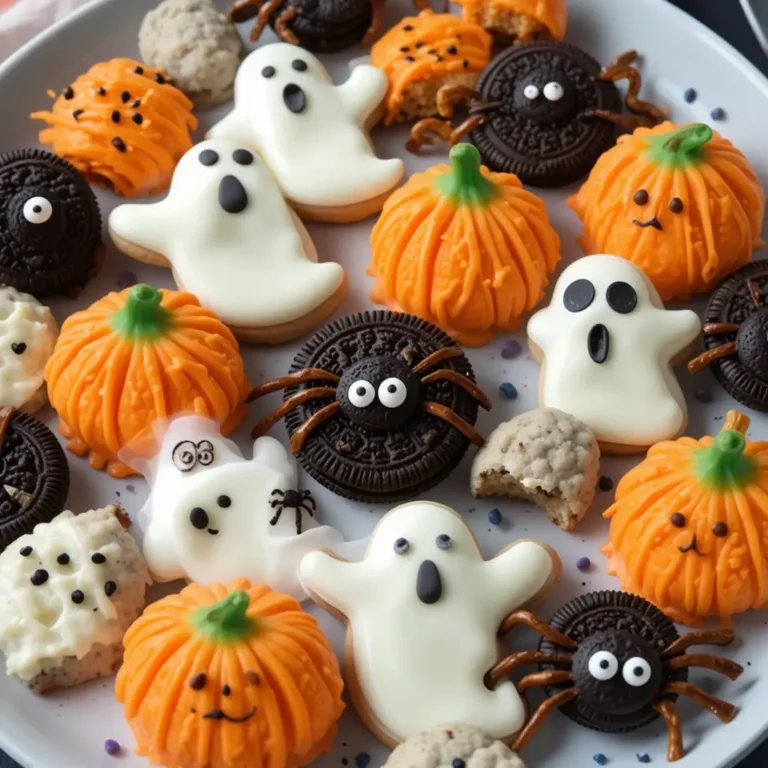
From classic vanilla bases to rich chocolate variations, these cookies adapt to any taste preference. Top with vibrant royal icing, edible glitter, candy eyes, or mini chocolate chips. Unlike our basic rolled cookies recipe, these maintain their shape perfectly for detailed decorating.
Ready to turn your kitchen into a Halloween cookie decorating studio? Let’s get baking!
How to Make Halloween Cookies to Decorate
Quick Overview
These Halloween cookies to decorate are surprisingly simple to master, delivering buttery, sweet cookies with crisp edges perfect for intricate designs. The secret lies in the perfect dough consistency and proper chilling technique.
Prep Time: 30 minutes
Chill Time: 2 hours
Bake Time: 8-10 minutes per batch
Decorating Time: 45-60 minutes
Total Time: 4 hours
Key Ingredients for Halloween Cookies to Decorate
For the Cookies:
- 3 cups all-purpose flour
- 1 cup unsalted butter, softened
- 3/4 cup granulated sugar
- 1 large egg
- 2 teaspoons vanilla extract
- 1/2 teaspoon salt
- 1/2 teaspoon baking powder
For Royal Icing:
- 3 cups powdered sugar
- 2 large egg whites (or 3 tablespoons meringue powder + 4 tablespoons water)
- 1/2 teaspoon vanilla extract
- Food coloring (orange, black, purple, green)
Decorating Supplies:
- Halloween-themed cookie cutters
- Piping bags
- Various piping tips
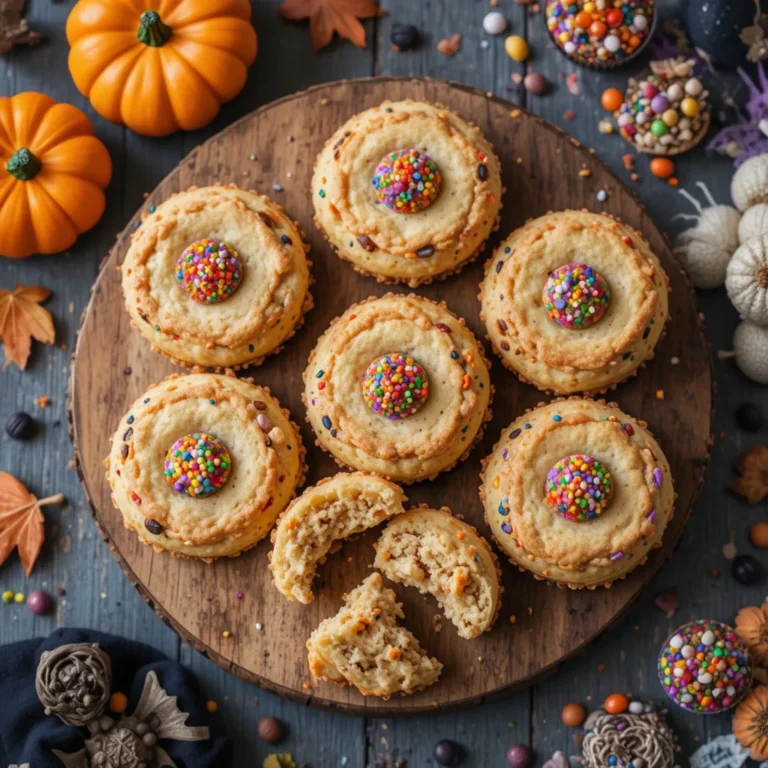
- Candy eyes, sprinkles, edible pearls
- Mini chocolate chips
Step-by-Step Instructions
Step 1: Prepare the Cookie Dough In a large mixing bowl, cream softened butter and granulated sugar until light and fluffy, about 3-4 minutes. Beat in the egg and vanilla extract until well combined.
Step 2: Mix Dry Ingredients In a separate bowl, whisk together flour, salt, and baking powder. Gradually add the dry ingredients to the butter mixture, mixing until just combined. Don’t overmix.
Step 3: Chill the Dough Divide dough in half, wrap each portion in plastic wrap, and flatten into disks. Refrigerate for at least 2 hours or overnight for best results.
Step 4: Roll and Cut On a lightly floured surface, roll chilled dough to 1/4-inch thickness. Use Halloween cookie cutters to create shapes. Place on parchment-lined baking sheets.
Step 5: Bake to Perfection Preheat oven to 350°F (175°C). Bake cookies for 8-10 minutes until edges are lightly golden. Cool completely on baking sheets before decorating.
Step 6: Make Royal Icing Beat egg whites until foamy. Gradually add powdered sugar and vanilla, beating until stiff peaks form. Divide and tint with food coloring.
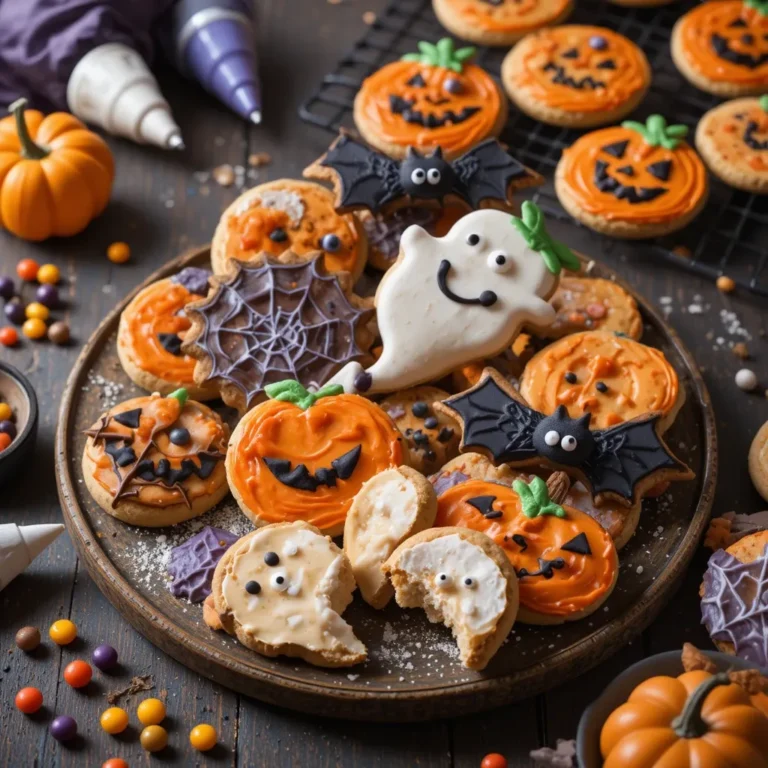
Step 7: Decorate Your Creations Using piping bags fitted with various tips, outline and flood cookies with colored icing. Add details while wet, then let dry completely before adding final touches.
What to Serve Halloween Cookies to Decorate With
Pair these spooky treats with warm apple cider or hot chocolate topped with marshmallow ghosts. For adult gatherings, serve alongside pumpkin spice lattes or Halloween-themed cocktails like witch’s brew punch.
Create a dessert spread featuring orange and black themed treats: chocolate cupcakes with orange frosting, pumpkin cheesecake bars, and candy corn bark. The cookies make perfect party favors when individually wrapped in clear bags tied with orange ribbon.
Top Tips for Perfecting Halloween Cookies to Decorate
Cookie Dough Success
Keep dough well-chilled while working to prevent spreading during baking. If dough becomes too soft while rolling, return to refrigerator for 15 minutes.
Royal Icing Consistency
Achieve the perfect “flooding” consistency by adding water drop by drop until icing flows smoothly but holds its shape. Test by lifting spoon – icing should ribbon back into bowl and disappear within 10 seconds.
Color Mixing Mastery
Use gel food coloring instead of liquid for vibrant colors without thinning the icing. Mix colors in small batches to avoid waste, and remember that colors deepen as they set.
Decoration Timing
Work quickly when adding sprinkles or candy pieces – they must be placed while icing is wet. For layered designs, let base layer dry for 2-3 hours before adding details.
Storing and Reheating Tips
Short-term Storage: Store undecorated cookies in airtight containers at room temperature for up to 1 week. Layer between parchment paper to prevent sticking.
Decorated Cookie Storage: Once icing is completely dry (24 hours), store decorated cookies in single layers in airtight containers. They’ll stay fresh for up to 2 weeks at room temperature.
Freezing Instructions: Freeze undecorated cookies for up to 3 months in freezer bags. Thaw at room temperature before decorating. Avoid freezing decorated cookies as icing may crack.
Gift-Giving Tips: Package decorated cookies in cellophane bags or clear boxes for gifting. Include silica gel packets to maintain freshness during transport.
Frequently Asked Questions
Can I make the cookie dough ahead of time?
Yes! Cookie dough can be prepared up to 3 days in advance and stored in the refrigerator, or frozen for up to 3 months. Thaw frozen dough overnight in the refrigerator before rolling.
What’s the best way to achieve smooth royal icing?
Sift powdered sugar before mixing and beat icing for 3-5 minutes until glossy. Strain through fine-mesh sieve to remove any lumps. Cover with damp towel while working to prevent crusting.
How long should I let decorated cookies dry?
Allow 6-8 hours for icing to set completely before handling. For intricate designs with multiple layers, wait 24 hours before packaging or stacking.
Can I use different cookie cutter shapes?
Absolutely! While Halloween shapes are traditional, any cookie cutter works. Adjust baking time for very small or large shapes – smaller cookies bake faster.
What if my cookies spread during baking?
This usually indicates dough was too warm or contained too much butter. Ensure dough is well-chilled and measure ingredients accurately. Slightly underbake to maintain shape.
Nutritional Information
| Nutrient | Per Cookie (without decoration) |
|---|---|
| Calories | 145 |
| Total Fat | 6g |
| Saturated Fat | 4g |
| Cholesterol | 25mg |
| Sodium | 85mg |
| Total Carbs | 22g |
| Sugars | 8g |
| Protein | 2g |
| Fiber | 0.5g |
Values are approximate and may vary based on specific ingredients used
Additional Creative Ideas and Tips
Theme Variations: Create character-specific cookies like friendly monsters, elegant witches, or cute bats. Use different icing techniques like marbling for galaxy-themed cookies or wet-on-wet for spider web effects.
Interactive Decorating Stations: Set up different stations with various decorating supplies: one for base icing, another for detail work, and a final station for sprinkles and candies. This keeps the process organized and fun for groups.
Educational Opportunities: Teach children about color mixing by showing how red and yellow make orange, or how different icing consistencies create various effects. Incorporate counting and pattern recognition through decorating activities.
Photography Tips: Document your cookie decorating journey with before-and-after photos. Natural lighting works best for showcasing true colors, and props like autumn leaves or Halloween decorations enhance the seasonal mood.
Troubleshooting Common Issues: If icing is too thick, add water one drop at a time. If too thin, add more powdered sugar gradually. For bleeding colors, ensure each color is completely dry before adding adjacent colors. Cracked icing usually indicates the cookies weren’t completely cool before decorating.
These Halloween cookies to decorate aren’t just treats – they’re edible memories waiting to be created. Whether you’re hosting a decorating party, looking for a fun family activity, or preparing homemade gifts, this recipe delivers professional results with homemade heart. The combination of buttery cookies and vibrant decorations creates lasting impressions that extend far beyond Halloween night.
Transform your kitchen into a creative studio and let your imagination run wild with these delightfully spooky treats that bring joy to bakers of all ages!