Easy Halloween Cookies Shapes Recipe + Decorating Ideas
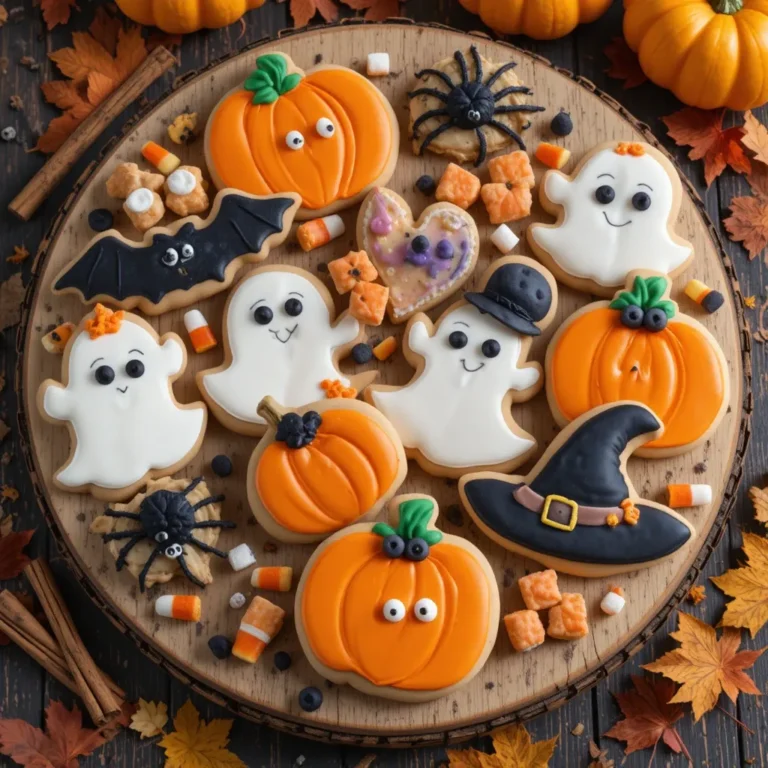
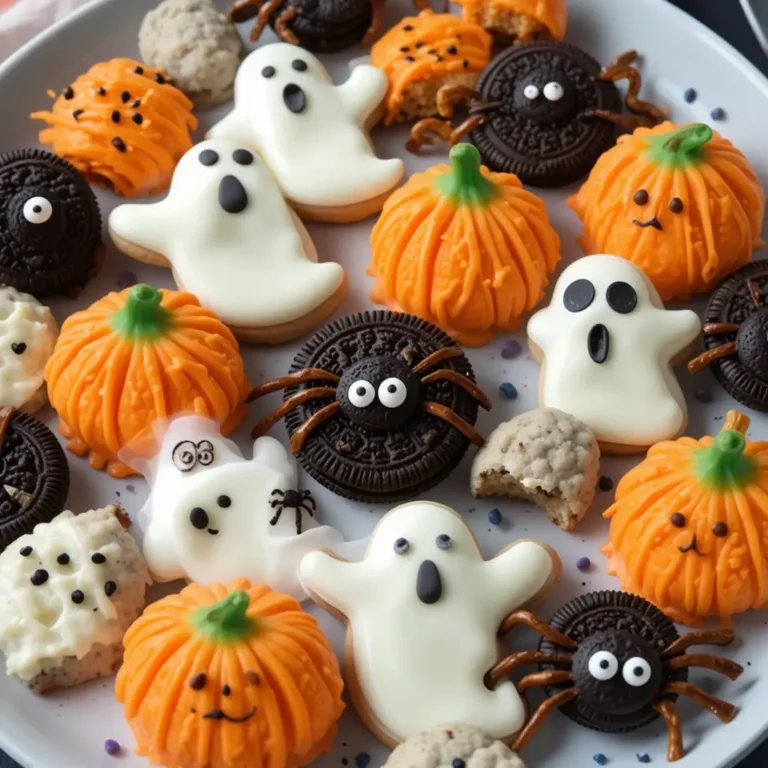
Picture this: the autumn air is crisp, jack-o’-lanterns glow on doorsteps, and your kitchen fills with the heavenly aroma of freshly baked Halloween cookies. These delightfully spooky Halloween cookies shapes aren’t just treats – they’re edible works of art that transform ordinary sugar cookie dough into ghoulish masterpieces.
From grinning pumpkins to friendly ghosts, these cookies are surprisingly simple to make and absolutely perfect for family baking sessions. Unlike our classic chocolate chip cookies, these festive creations let you unleash your creativity while making memories.
What are Halloween Cookies Shapes?
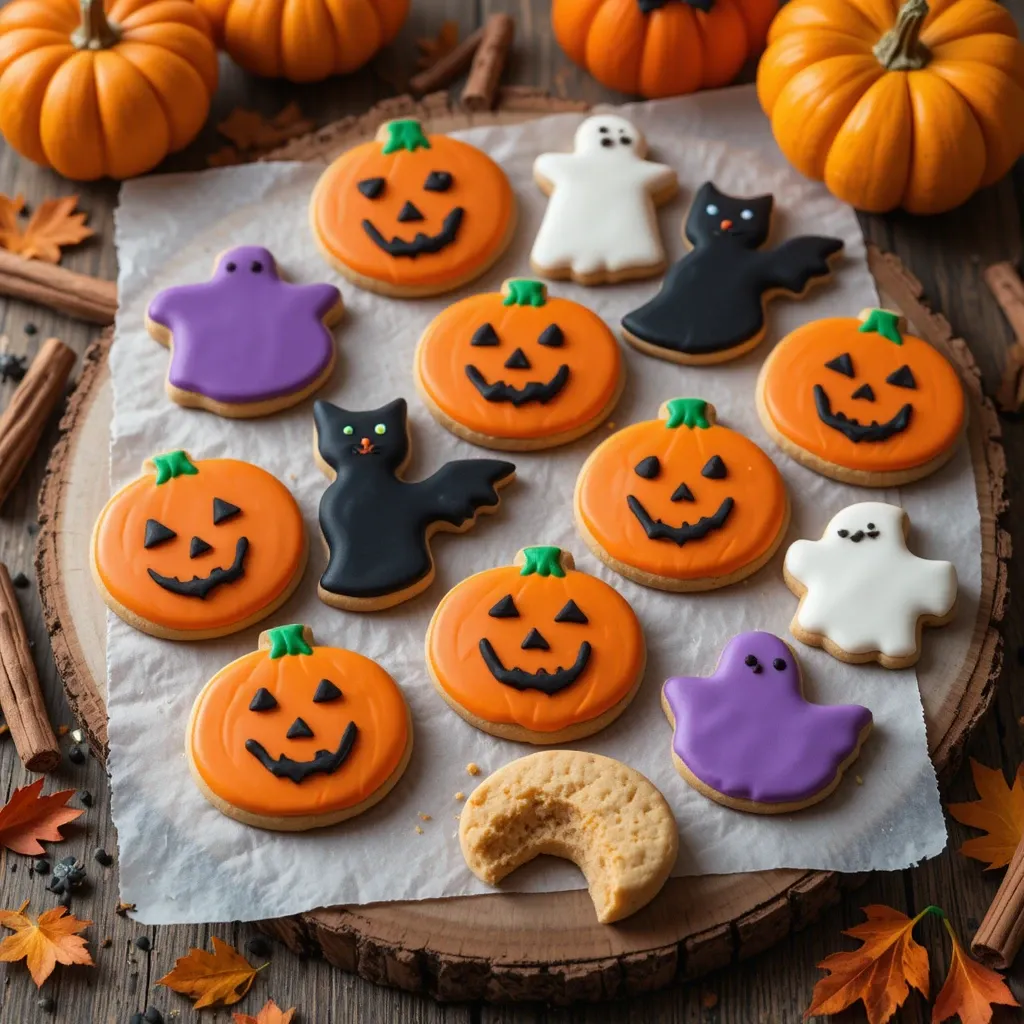
Ever wondered why we call them Halloween cookies shapes instead of just spooky cookies? Well, it’s quite simple really – these aren’t your average round cookies! These playful treats get their name from the endless variety of Halloween-themed cookie cutters that transform basic dough into bats, cats, witches, and more.
Remember the old saying, “the way to a man’s heart is through his stomach”? Well, Halloween Cookies shapes are the express lane to everyone’s heart during spooky season! Ready to start your own cookie magic?
Why You’ll Love This Halloween Cookies Shapes Recipe
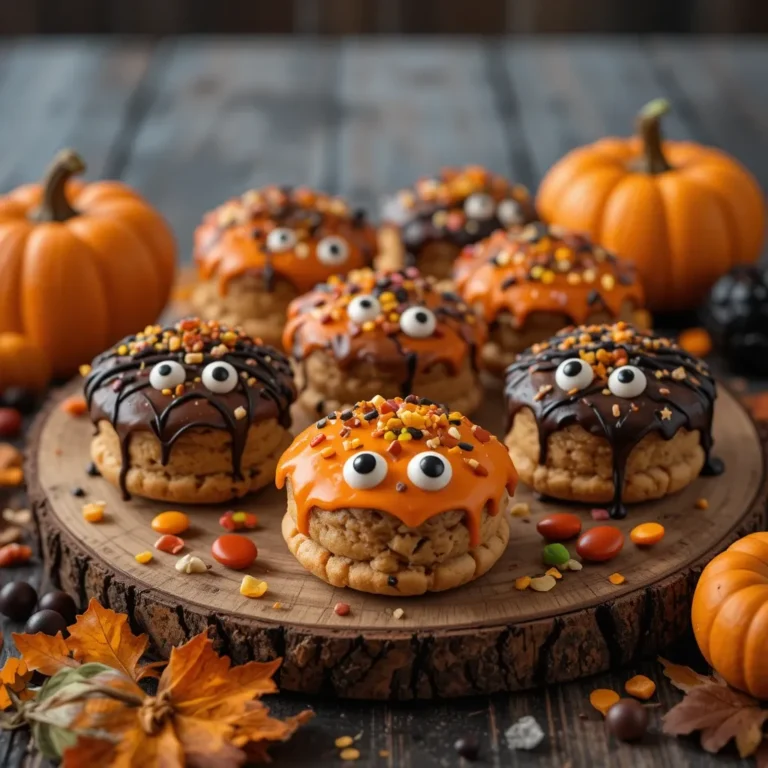
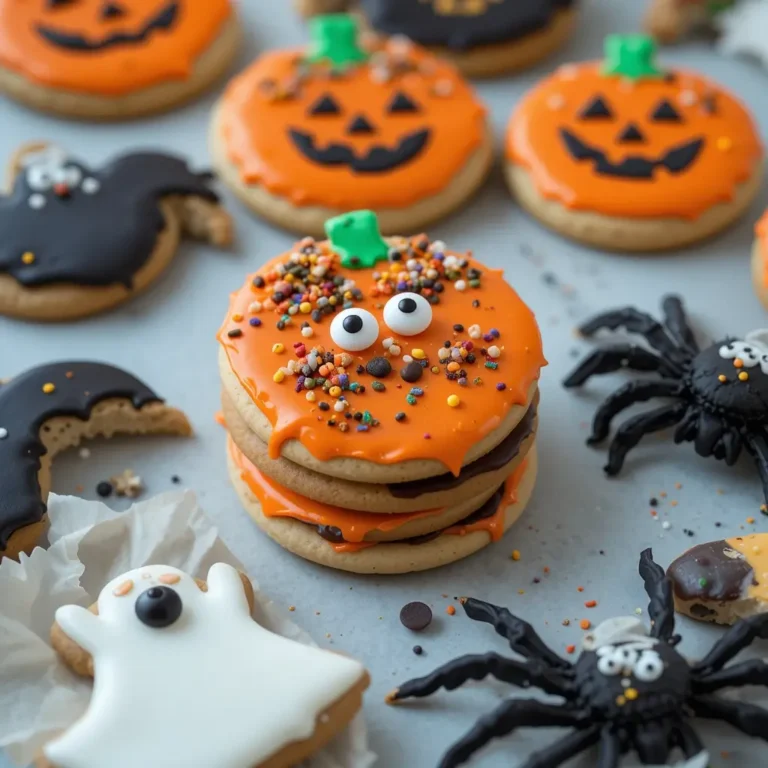
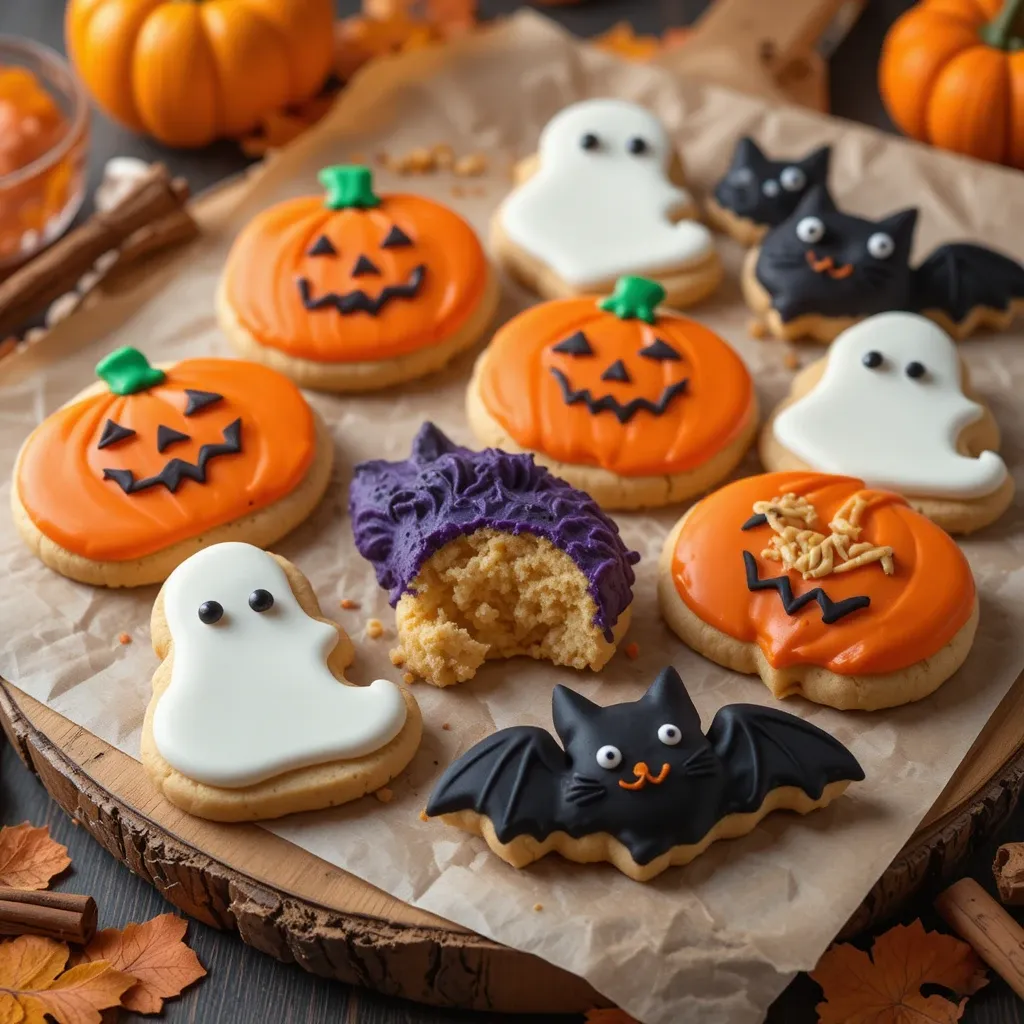
Perfect for Family Fun These Halloween Cookies shapes turn your kitchen into a magical workshop where kids and adults can bond over decorating spooky treats. The soft, buttery texture melts in your mouth while the vibrant orange and black icing creates a visual feast that’s almost too cute to eat.
Budget-Friendly Baking Making Halloween Cookies shapes at home costs a fraction of store-bought decorated cookies. With basic pantry ingredients, you can create dozens of personalized treats that would cost triple at bakeries.
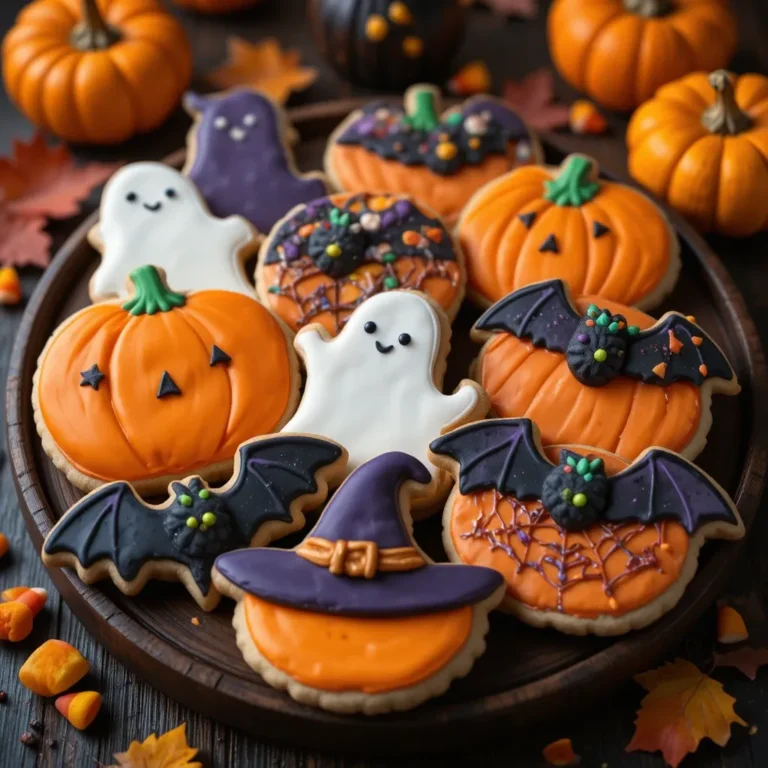
Endless Creativity The beauty lies in the decorating possibilities – from classic jack-o’-lantern faces to intricate spider web designs. Unlike our popular sugar cookies, these seasonal shapes let you experiment with themed colors and spooky details that make each cookie unique. Why not roll up your sleeves and create some Halloween magic in your own kitchen?
How to Make Halloween Cookies Shapes
Quick Overview
These Halloween Cookies shapes combine the simplicity of basic sugar cookies with the excitement of seasonal decorating.
Prep Time: 30 minutes
Chill Time: 2 hours
Baking Time: 8-10 minutes per batch
Decorating Time: 45 minutes
Total Time: 3 hours 25 minutes
The secret lies in the perfectly balanced dough that holds its shape beautifully and the smooth royal icing that dries to a gorgeous finish. You’ll love how the cookies maintain crisp edges while staying tender inside.
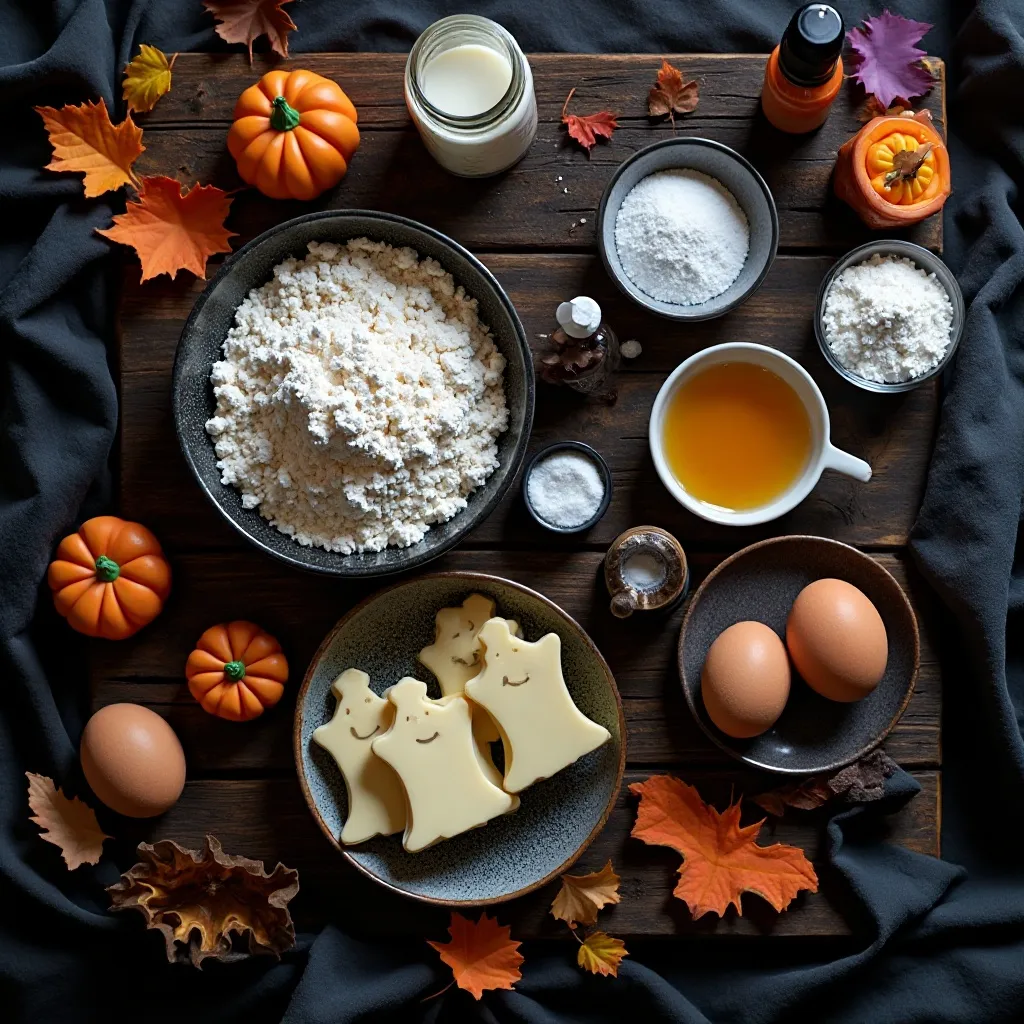
Key Ingredients for Halloween Cookies Shapes
For the Cookie Dough:
- 3 cups all-purpose flour
- 1 teaspoon baking powder
- 1/2 teaspoon salt
- 1 cup (2 sticks) unsalted butter, softened
- 1 cup granulated sugar
- 1 large egg
- 2 teaspoons vanilla extract
- 2 tablespoons milk
For Royal Icing:
- 4 cups powdered sugar
- 3 large egg whites (or 3 tablespoons meringue powder + 1/4 cup water)
- 1 teaspoon vanilla extract
- Orange food coloring
- Black food coloring
- Purple food coloring
Essential Tools:
- Halloween cookie cutters (pumpkins, bats, ghosts, cats, witches)
- Rolling pin
- Parchment paper
- Piping bags or squeeze bottles
Step-by-Step Instructions
Making the Cookie Dough
Step 1: Mix Dry Ingredients In a medium bowl, whisk together flour, baking powder, and salt. Set aside this mixture – it’s the foundation of perfectly structured cookies.
Step 2: Cream Butter and Sugar In a large bowl, beat softened butter and granulated sugar with an electric mixer until light and fluffy, about 3-4 minutes. This creates the tender texture we love.
Step 3: Add Wet Ingredients Beat in the egg, vanilla extract, and milk until well combined. The mixture should be smooth and creamy.
Step 4: Combine Wet and Dry Gradually mix in the flour mixture until a soft dough forms. Don’t overmix – this keeps cookies tender.
Step 5: Chill the Dough Divide dough in half, wrap in plastic wrap, and refrigerate for at least 2 hours. Chilled dough cuts cleaner shapes and prevents spreading.
Rolling and Cutting
Step 6: Prepare for Rolling Preheat oven to 350°F (175°C). Line baking sheets with parchment paper.
Step 7: Roll the Dough On a floured surface, roll dough to 1/4-inch thickness. Work with one portion at a time, keeping the other chilled.
Step 8: Cut Halloween Shapes Use Halloween cookie cutters to cut out shapes. Place cookies 2 inches apart on prepared baking sheets. Re-roll scraps as needed.
Step 9: Bake to Perfection Bake for 8-10 minutes until edges are lightly golden. Centers should still look slightly soft. Cool on baking sheets for 5 minutes before transferring to wire racks.
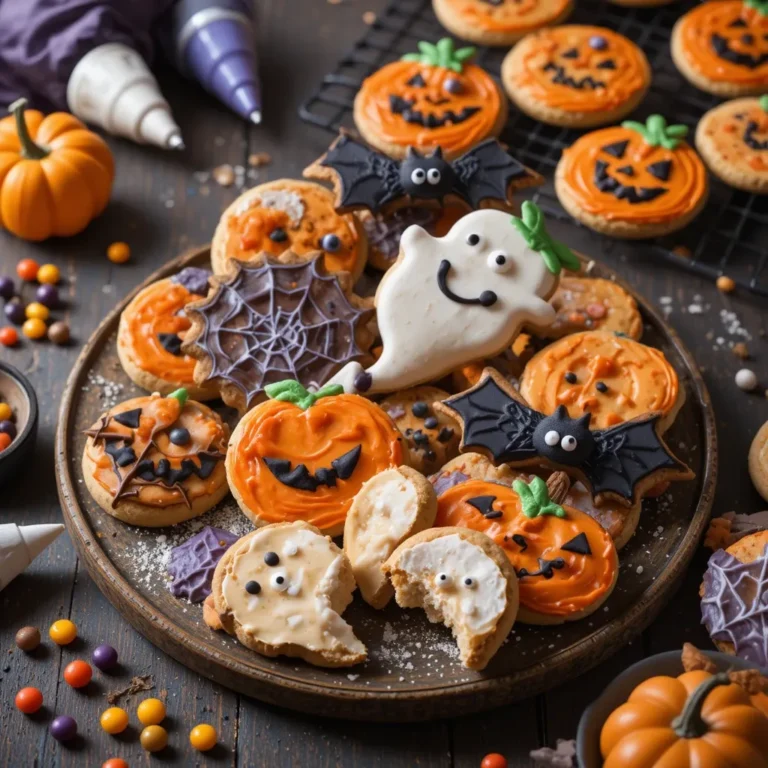
Decorating Magic
Step 10: Prepare Royal Icing Beat powdered sugar, egg whites, and vanilla until stiff peaks form, about 5-7 minutes. Divide into bowls and tint with food coloring.
Step 11: Decorate Your Cookies Transfer icing to piping bags or squeeze bottles. Outline shapes first, then flood with thinned icing. Add details like faces, patterns, and spooky designs.
Step 12: Let Dry Allow decorated cookies to dry for 4-6 hours until icing is completely set.
What to Serve Halloween Cookies Shapes With
These spooky treats pair wonderfully with warm apple cider or hot chocolate topped with mini marshmallows. For Halloween parties, arrange them on black plates with plastic spiders for extra spookiness.
Create a dessert table by serving alongside candy corn, pumpkin bread, and caramel apples. The cookies also make fantastic accompaniments to vanilla ice cream or as portable treats for trick-or-treating.
For adults, try pairing with spiced chai tea or pumpkin spice lattes. The sweet cookie flavors complement warm autumn beverages perfectly.
Top Tips for Perfecting Halloween Cookies Shapes
Cookie Dough Success
Keep It Cool: Always chill your dough before rolling. Warm dough spreads and loses its shape during baking.
Flour Wisely: Dust your work surface and rolling pin lightly with flour, but don’t overdo it. Too much flour makes cookies tough.
Even Rolling: Use rolling pin guides or stack books on either side of your dough to ensure uniform thickness.
Cutting and Baking
Sharp Cutters: Clean cookie cutters between uses for crisp, clean edges. Dip in flour if dough sticks.
Don’t Overbake: Cookies continue cooking on hot pans after removal. Slightly underbaked cookies stay softer.
Cool Completely: Let cookies cool completely before decorating to prevent icing from melting.
Decorating Like a Pro
Icing Consistency: For outlining, icing should hold its shape. For flooding, thin with water until it flows smoothly but isn’t runny.
Work in Sections: Decorate similar colors together to maintain consistency and speed up the process.
Add Details Last: Let base colors dry before adding facial features or fine details.
Storing and Reheating Tips
Short-Term Storage Store undecorated Halloween Cookies shapes in an airtight container at room temperature for up to 1 week. Layer between parchment paper to prevent sticking.
Decorated Cookie Storage Once icing is completely dry, store decorated cookies in single layers in airtight containers. They stay fresh for up to 2 weeks at room temperature.
Freezing Options Freeze unbaked cookie dough wrapped tightly for up to 3 months. Thaw in refrigerator before rolling and cutting.
Baked but undecorated cookies freeze beautifully for up to 3 months. Wrap individually in plastic wrap, then store in freezer bags.
No Reheating Needed These cookies are best served at room temperature. Reheating isn’t recommended as it can make them soft and affect decorated surfaces.
Nutrition Information
| Nutrient | Per Cookie (approximate) |
|---|---|
| Calories | 145 |
| Total Fat | 4g |
| Saturated Fat | 2.5g |
| Cholesterol | 20mg |
| Sodium | 65mg |
| Total Carbs | 26g |
| Sugars | 18g |
| Protein | 2g |
Based on recipe yielding 36 cookies
Frequently Asked Questions
Can I make Halloween Cookies shapes without egg?
Yes! Substitute the egg with 1/4 cup applesauce or 1 tablespoon ground flaxseed mixed with 3 tablespoons water. The texture will be slightly different but still delicious.
How far in advance can I make these cookies?
Undecorated cookies can be made up to 1 week ahead. For decorated cookies, make them 3-4 days in advance for best appearance and taste.
What if I don’t have Halloween cookie cutters?
Get creative! Use a knife to cut free-hand shapes, or improvise with round cutters and kitchen tools to create pumpkins and other shapes.
Can I use store-bought icing instead of royal icing?
While royal icing gives the best results, you can use store-bought decorating icing in a pinch. The finish won’t be as smooth, but it’s much quicker.
Why do my cookies spread during baking?
This usually happens when dough is too warm or contains too much butter. Always chill dough thoroughly and ensure your butter wasn’t overly softened.
How do I fix cracked royal icing?
Cracked icing typically means it was too thick or dried too quickly. Thin your icing slightly and work in a humid environment when possible.
Can I add flavoring to the cookie dough?
Absolutely! Try almond extract, lemon zest, or even pumpkin pie spice to complement the Halloween theme.
What’s the best way to transport decorated cookies?
Layer cookies in sturdy containers with parchment paper between layers. For very detailed cookies, consider individual cellophane bags.
Bonus Creative Ideas
Theme Variations Create mini Halloween scenes by arranging different shaped cookies together. Make haunted houses with rectangular cookies, add tree-shaped cookies for spooky forests, and use round cookies as full moons.
Gift Packaging Package cookies in clear cellophane bags tied with orange and black ribbons. Add Halloween stickers or handwritten tags for personal touches.
Interactive Decorating Station Set up a cookie decorating station at Halloween parties with multiple icing colors, sprinkles, and small candies. Let guests create their own spooky masterpieces.
Seasonal Adaptations This base recipe works beautifully for other holidays too. Use different cutters and colors for Christmas trees, Easter bunnies, or Valentine hearts throughout the year.
These Halloween Cookies shapes aren’t just treats – they’re memories in the making. Whether you’re baking with little ghouls and goblins or creating elegant Halloween party favors, this recipe delivers consistently delicious results that look impressively professional. The combination of buttery cookies and smooth royal icing creates the perfect canvas for your spooky creativity. So grab your favorite Halloween cookie cutters and let the frightfully fun baking begin!