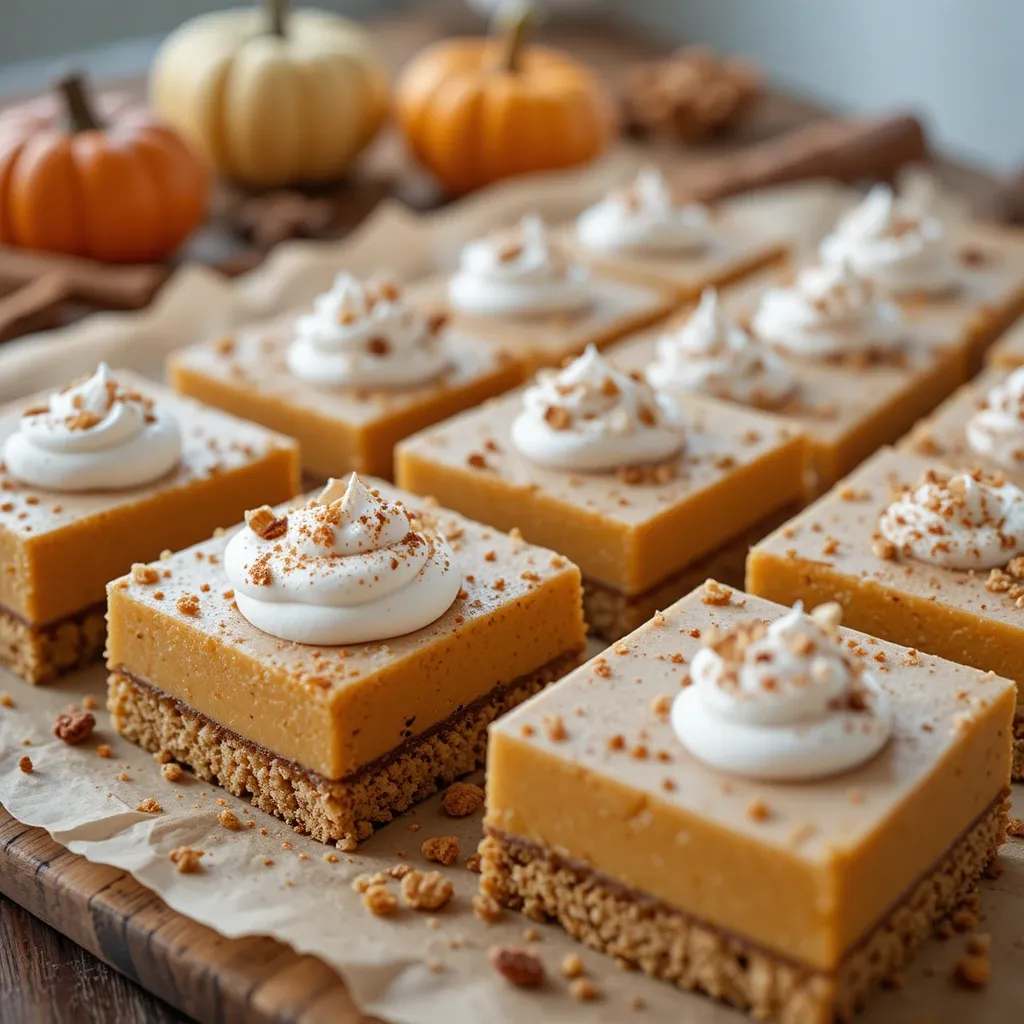
No-Bake Pumpkin Bars: 15-Minute Fall Dessert
Imagine sinking your teeth into creamy, spiced pumpkin goodness that melts in your mouth—without ever turning on your oven! These no-bake pumpkin bars deliver all the cozy fall flavors you crave in just 15 minutes of prep time.
Here’s a fun fact: no-bake desserts actually became popular during the Great Depression when families needed to save on electricity costs. Today, they’re perfect for busy parents, college students, or anyone wanting delicious dessert without the hassle.
These bars taste remarkably similar to our popular pumpkin cheesecake recipe but require zero baking skills and half the time. Get ready to fall in love with your new favorite autumn treat!
What Are No-Bake Pumpkin Bars?
Ever wondered why we call them “bars” when they’re more like creamy squares of heaven? These delightful treats earned their name from their neat, rectangular shape—perfect for cutting into uniform portions that look bakery-professional.
Legend has it that the first no-bake bars were created by a resourceful grandmother who wanted pumpkin pie flavors without heating up her kitchen on a hot day. As they say, “the way to a man’s heart is through his stomach,” and these bars certainly prove that theory right! Ready to create some kitchen magic without breaking a sweat?
Why You’ll Love This No-Bake Pumpkin Bars Recipe
Rich, Velvety Texture That Melts in Your Mouth
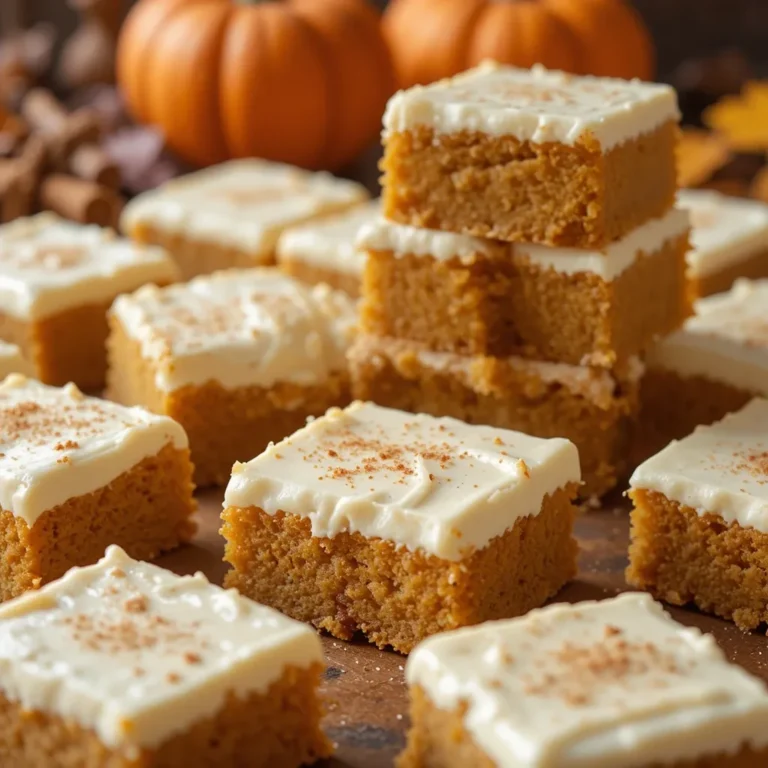
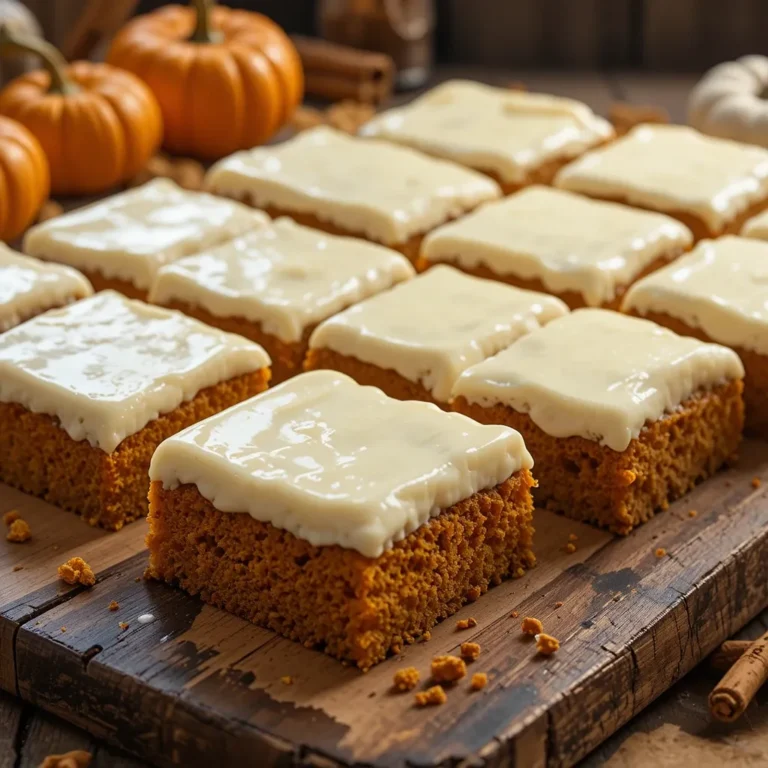
The star of these bars is their incredibly smooth, creamy texture that rivals any fancy restaurant dessert. The combination of cream cheese and whipped topping creates a mousse-like consistency that’s absolutely divine. Each bite delivers warm pumpkin spice flavors with hints of cinnamon, nutmeg, and vanilla that dance on your taste buds.
Budget-Friendly Alternative to Store-Bought Treats
Making these bars at home costs a fraction of what you’d pay for similar desserts at bakeries or grocery stores. With just a handful of affordable ingredients, you can create enough bars to feed a crowd or stock your freezer for weeks. Plus, you control every ingredient, ensuring quality and freshness.
Customizable Toppings and Mix-Ins
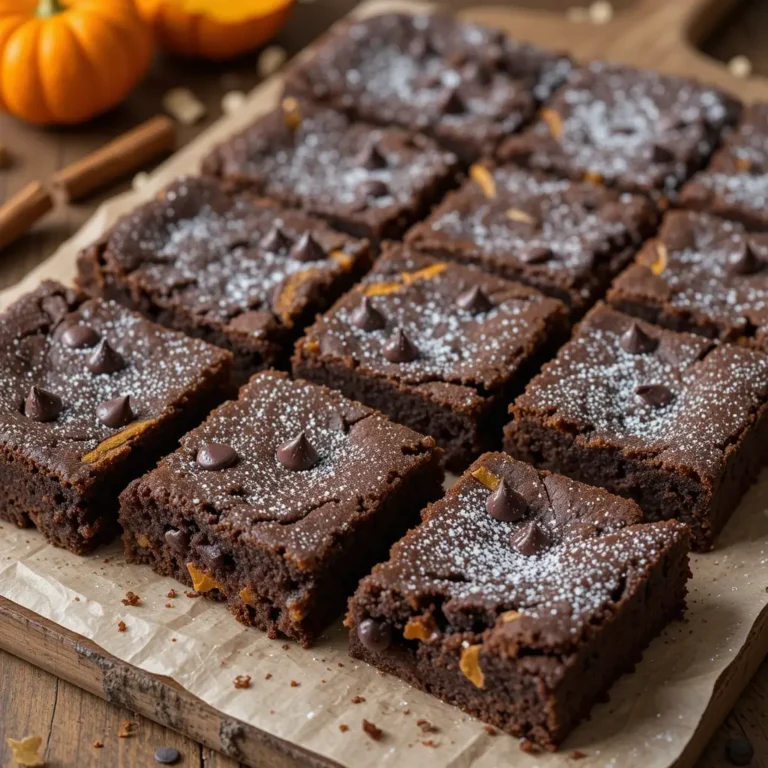
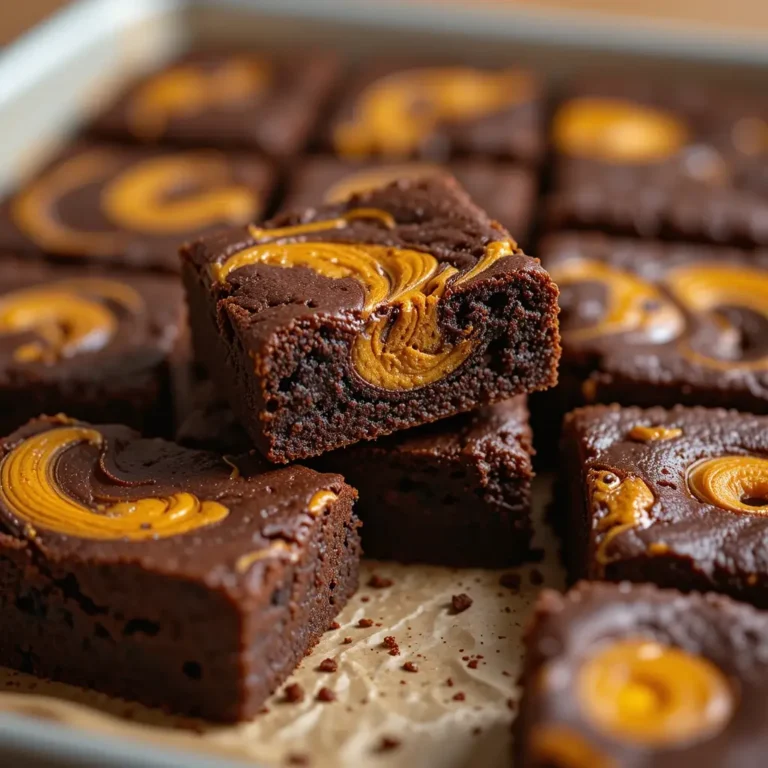
The beauty lies in endless customization options. Top with crushed graham crackers, chopped pecans, mini chocolate chips, or a drizzle of caramel sauce. You can even swirl in some Nutella or add a layer of chocolate ganache. These bars pair beautifully with our cinnamon roll cookies recipe for the ultimate fall dessert spread. Why not give them a try this weekend?
How to Make No-Bake Pumpkin Bars
Quick Overview
These no-bake pumpkin bars are incredibly simple to make and require no special equipment or baking skills. The creamy, spiced filling sits atop a buttery graham cracker crust, creating the perfect balance of textures and flavors.
Prep Time: 15 minutes
Chill Time: 4 hours
Total Time: 4 hours 15 minutes
Serves: 12-16 bars
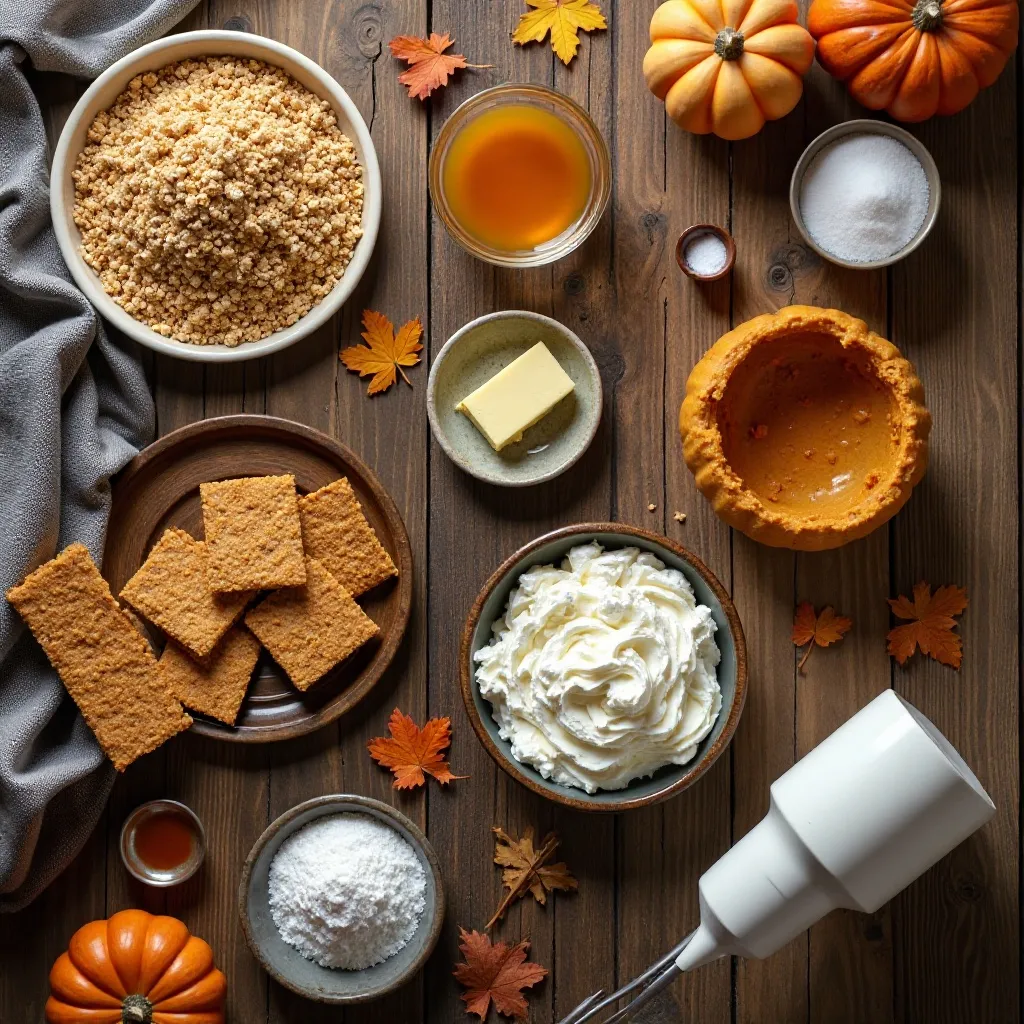
Key Ingredients for No-Bake Pumpkin Bars
For the Crust:
- 2 cups graham cracker crumbs
- 1/2 cup melted butter
- 1/4 cup granulated sugar
- 1/4 teaspoon salt
For the Pumpkin Filling:
- 8 oz cream cheese, softened
- 1 cup pumpkin puree (not pumpkin pie filling)
- 1/2 cup powdered sugar
- 1 teaspoon vanilla extract
- 1 teaspoon ground cinnamon
- 1/2 teaspoon ground nutmeg
- 1/4 teaspoon ground ginger
- 1/8 teaspoon ground cloves
- 8 oz whipped topping (like Cool Whip), thawed
Optional Toppings:
- Extra whipped topping
- Cinnamon sugar
- Crushed pecans or walnuts
- Mini chocolate chips
Step-by-Step Instructions
Step 1: Prepare Your Pan Line an 8×8 or 9×9 inch baking pan with parchment paper, leaving overhang for easy removal. Lightly spray with cooking spray for extra insurance against sticking.
Step 2: Make the Graham Cracker Crust In a medium bowl, combine graham cracker crumbs, melted butter, sugar, and salt. Mix until the mixture resembles wet sand and holds together when squeezed. Press firmly into the bottom of your prepared pan using the bottom of a measuring cup to ensure evenness.
Step 3: Prepare the Pumpkin Filling In a large bowl, beat the softened cream cheese with an electric mixer until light and fluffy, about 2-3 minutes. Add pumpkin puree, powdered sugar, vanilla, and all spices. Beat until smooth and well combined, scraping down sides as needed.
Step 4: Fold in Whipped Topping Gently fold in the thawed whipped topping using a rubber spatula. Be careful not to overmix—you want to maintain that light, airy texture. The mixture should be smooth and creamy.
Step 5: Assemble the Bars Spread the pumpkin mixture evenly over the prepared crust using an offset spatula. Smooth the top and tap the pan gently on the counter to remove air bubbles.
Step 6: Chill Until Set Cover with plastic wrap and refrigerate for at least 4 hours or overnight. The bars need this time to firm up properly for clean slicing.
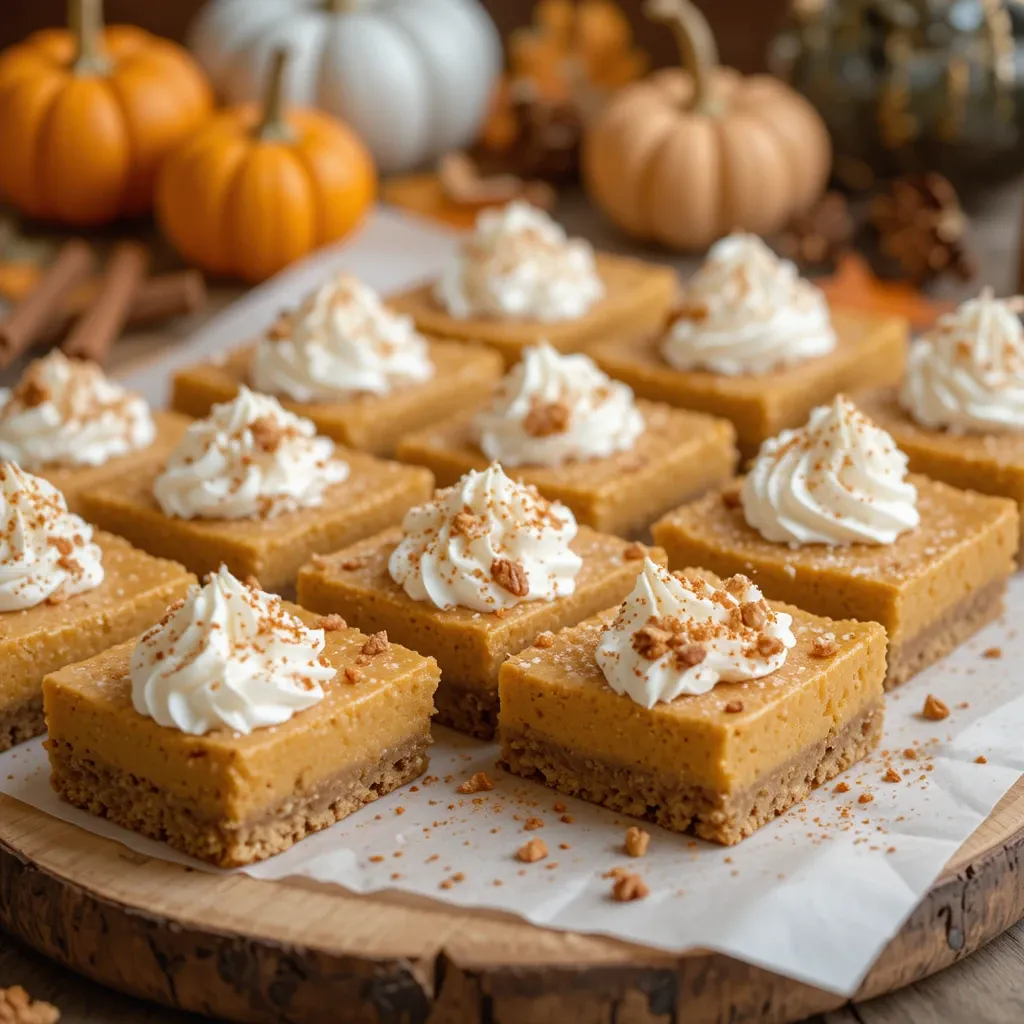
Step 7: Cut and Serve Using the parchment overhang, lift the bars out of the pan. Cut into squares using a sharp knife wiped clean between cuts for neat edges.
What to Serve No-Bake Pumpkin Bars With
These versatile bars pair beautifully with various accompaniments. Serve alongside hot apple cider or pumpkin spice latte for the ultimate fall experience. For a dessert spread, they complement vanilla ice cream perfectly, or try them with a dollop of maple whipped cream.
For fall gatherings, create a dessert table with these bars, apple crisp, and caramel apple slices. They also make excellent potluck contributions when paired with coffee or hot chocolate. During holiday meals, they provide a lighter alternative to heavy pies while still delivering those beloved autumn flavors.
Top Tips for Perfecting No-Bake Pumpkin Bars
Use Room Temperature Cream Cheese
Always ensure your cream cheese is completely softened before mixing. This prevents lumps and creates the silky smooth texture you want. Take it out of the fridge 2-3 hours before making your bars.
Don’t Skip the Chill Time
Patience is key! These bars need adequate chilling time to set properly. Rushing this step will result in messy, difficult-to-cut bars. Overnight chilling produces the best results.
Pack That Crust Firmly
A loose crust will crumble when you try to cut the bars. Use the bottom of a measuring cup or glass to really press down and compact the graham cracker mixture.
Fresh Spice Makes a Difference
While pre-mixed pumpkin pie spice works, combining individual spices creates more complex, vibrant flavors. Replace spices older than a year for maximum impact.
Clean Cuts Every Time
Wipe your knife clean with a damp towel between each cut. This prevents the creamy filling from dragging and ensures professional-looking bars.
Storing and Reheating Tips
Store your no-bake pumpkin bars covered in the refrigerator for up to one week. The bars actually improve in flavor after the first day as the spices meld together beautifully.
For longer storage, these bars freeze exceptionally well. Wrap individual portions in plastic wrap, then place in a freezer-safe container. They’ll keep for up to three months frozen. Thaw in the refrigerator overnight before serving.
No reheating necessary—these bars are meant to be served chilled! If they seem too firm after refrigeration, let them sit at room temperature for 10-15 minutes before serving for the perfect texture.
For parties, cut the bars while frozen for the cleanest edges, then let them thaw on your serving platter.
Nutrition Information
| Nutrient | Per Serving (1 bar) |
|---|---|
| Calories | 285 |
| Fat | 16g |
| Carbohydrates | 32g |
| Protein | 4g |
| Sugar | 24g |
| Fiber | 2g |
| Sodium | 195mg |
Based on 16 servings. Nutritional values are approximate.
Frequently Asked Questions
Can I use fresh pumpkin instead of canned?
Yes, but make sure to cook and puree it first, then strain out excess moisture. Canned pumpkin puree actually works better because it has the ideal consistency and moisture content for this recipe.
How long do these bars need to chill?
Minimum 4 hours, but overnight is ideal. They need this time to firm up properly so they hold their shape when cut.
Can I make these dairy-free?
Absolutely! Use dairy-free cream cheese and coconut whipped topping. The taste will be slightly different but still delicious.
What if my bars are too soft to cut?
They likely need more chilling time. Pop them back in the fridge for another hour or two. You can also freeze them for 30 minutes for easier cutting.
Can I double this recipe?
Yes! Use a 9×13 inch pan instead and increase chilling time slightly. The bars will be a bit thinner but equally delicious.
What’s the difference between pumpkin puree and pumpkin pie filling?
Pumpkin puree is just cooked, mashed pumpkin with nothing added. Pumpkin pie filling contains added spices and sweeteners that would throw off this recipe’s balance.
Creative Variations to Try
Transform your basic bars into exciting variations! Create chocolate pumpkin bars by adding 1/4 cup cocoa powder to the filling. For coffee lovers, add 2 tablespoons instant espresso powder for mocha pumpkin bars.
Try a gingersnap crust instead of graham crackers for extra spice, or add a layer of caramel between the crust and filling for decadent salted caramel pumpkin bars. Swirl in some Nutella or peanut butter for kid-friendly versions.
For holidays, top with sugared cranberries or candied pecans for elegant presentation. Mini chocolate chips folded into the filling create delightful texture surprises.
These no-bake pumpkin bars prove that the most delicious desserts don’t always require the most effort. With their creamy texture, warm spices, and foolproof preparation, they’re destined to become your go-to fall treat.
Whether you’re hosting a party, need a last-minute dessert, or simply want to enjoy autumn flavors without the fuss, these bars deliver every single time. Happy baking (or should we say, happy not-baking)!