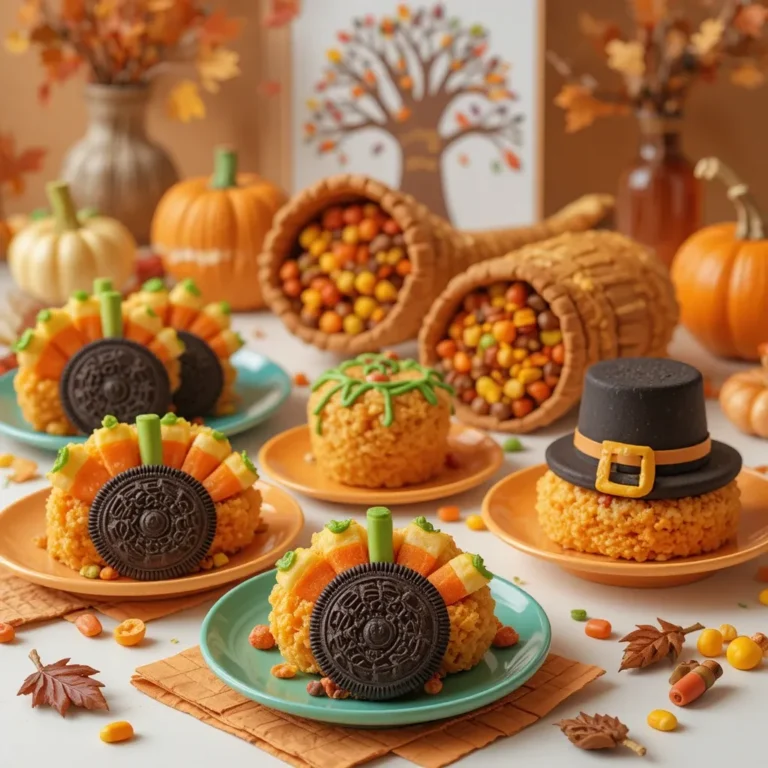
15 Easy Thanksgiving Treats For Students Everyone Will Love
Thanksgiving treats for students don’t have to be complicated or expensive to be absolutely delicious! Whether you’re a busy college student craving comfort food or planning a dorm party, these simple, crowd-pleasing recipes will fill your space with irresistible aromas and warm your heart.
From no-bake pumpkin bites to mini turkey hand pies, these student-friendly treats require minimal ingredients and basic kitchen tools—perfect for those working with limited budgets and dorm-style kitchens.
What Are Thanksgiving Treats for Students?
Ever wondered why college students suddenly become master chefs during Thanksgiving week? It’s simple—nostalgia meets creativity in the kitchen! Thanksgiving treats for students are simplified versions of classic holiday recipes designed for tight budgets, small kitchens, and busy study schedules.
They’re the perfect way to celebrate without breaking the bank or spending hours cooking. After all, the way to ace finals week is through good food and great memories!
Why You’ll Love These Thanksgiving Treats for Students
Budget-Friendly Without Sacrificing Flavor
Let’s face it—student life means watching every penny. These Thanksgiving treats for students cost a fraction of what you’d spend at a bakery or restaurant. Most recipes use pantry staples like canned pumpkin, graham crackers, and marshmallows that you can grab from any grocery store for under $20 total.
Quick and Easy Preparation
No culinary degree required here! Each recipe takes 30 minutes or less, making them perfect for squeezing between classes or study sessions. Unlike traditional Thanksgiving dinners that require hours of preparation, these treats deliver maximum flavor with minimal effort.
Dorm-Room Friendly
Limited to a microwave and mini-fridge? No problem! Many of these recipes require no baking at all, while others only need basic appliances. They’re designed specifically for students who want to celebrate Thanksgiving without access to a full kitchen.
If you loved our quick breakfast recipes for busy mornings, you’ll absolutely adore these festive treats that bring holiday cheer to campus life!
How to Make Thanksgiving Treats for Students
Quick Overview
These Thanksgiving treats are designed with student life in mind. They’re:
- Simple: Most recipes have 5 ingredients or fewer
- Fast: Ready in 30 minutes or less
- Affordable: Average cost per recipe: $8-15
- Shareable: Perfect for dorm gatherings or study groups
- No-fuss: Minimal cleanup required
Time Breakdown:
- Prep Time: 10-15 minutes
- Cook Time: 15-20 minutes (or no cooking required)
- Total Time: 25-35 minutes per recipe
Key Ingredients for Thanksgiving Treats for Students
Here are the essential staples you’ll need to keep on hand:
Pantry Essentials:
- Canned pumpkin puree (15 oz can)
- Graham crackers or vanilla wafers
- Mini marshmallows
- Cream cheese (8 oz blocks)
- Powdered sugar
- Cinnamon and pumpkin pie spice
- Vanilla extract
- Chocolate chips
- Pretzels
- Candy corn
Refrigerated Items:
- Pie crusts (refrigerated or frozen)
- Butter or margarine
- Whipped cream or Cool Whip
Optional Add-ins:
- Chopped pecans or walnuts
- Caramel sauce
- White chocolate chips
- Food coloring (for decorating)
15 Easy Thanksgiving Treats for Students
1. No-Bake Pumpkin Cheesecake Bites

What You’ll Need:
- 8 oz cream cheese, softened
- 1/2 cup pumpkin puree
- 1/4 cup powdered sugar
- 1 tsp pumpkin pie spice
- 1 cup crushed graham crackers
- Mini cupcake liners
Step-by-Step Instructions:
Step 1: Line a mini muffin tin with cupcake liners for easy removal and serving.
Step 2: In a medium bowl, beat the softened cream cheese with an electric mixer (or vigorously by hand) until smooth and fluffy, about 2 minutes.
Step 3: Add pumpkin puree, powdered sugar, and pumpkin pie spice to the cream cheese. Mix until fully combined and the mixture is creamy with no lumps.
Step 4: Spoon about 1 tablespoon of crushed graham crackers into each cupcake liner, pressing down gently to form a base.
Step 5: Top each graham cracker base with the pumpkin cheesecake mixture, filling each liner about three-quarters full.
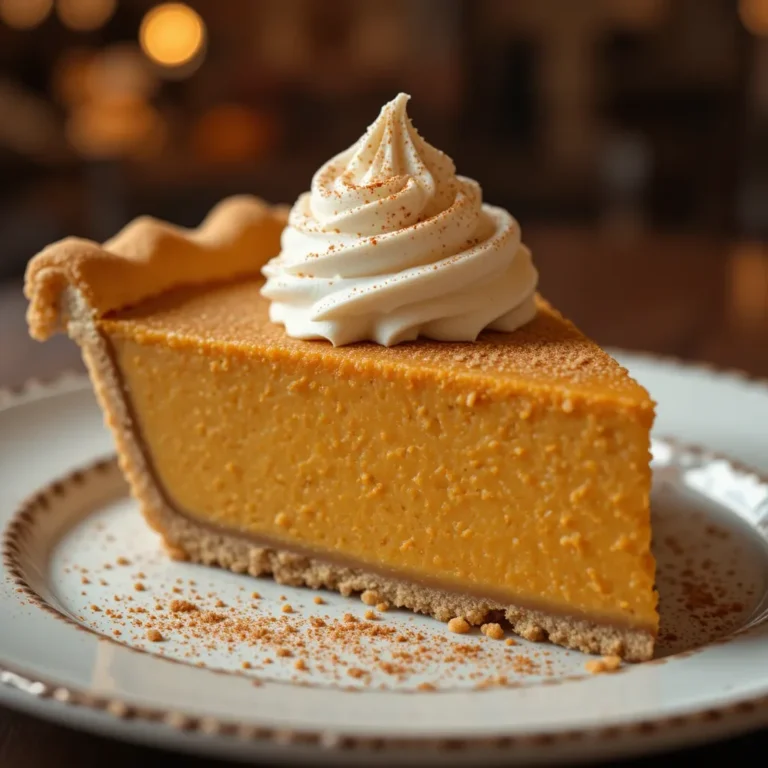
Step 6: Refrigerate for at least 2 hours until firm. Top with a dollop of whipped cream and a sprinkle of cinnamon before serving.
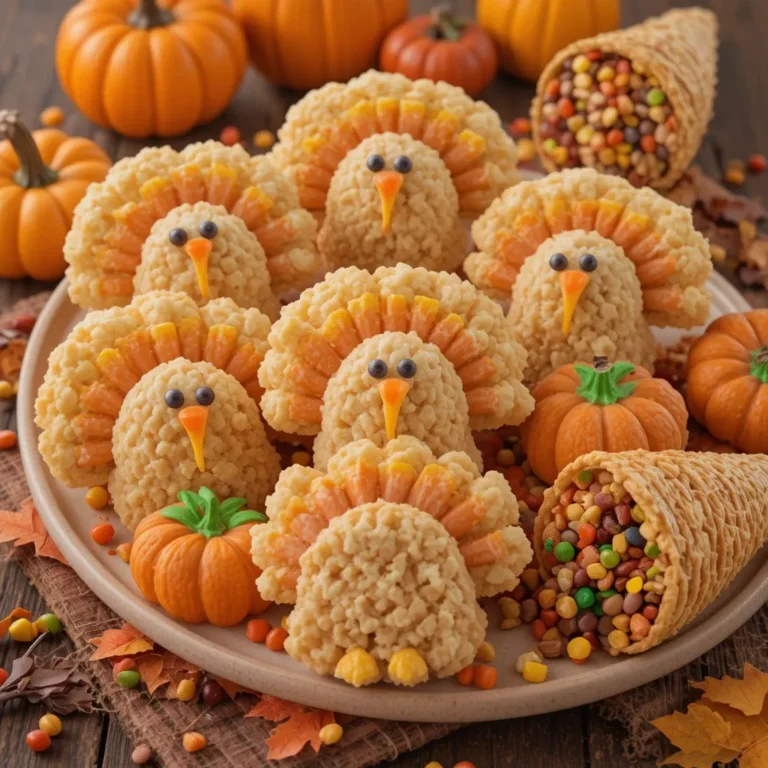
2. Turkey Pretzel Treats

What You’ll Need:
- 20 pretzel rounds
- 20 chocolate kisses
- Candy corn
- Orange and red M&Ms
- White icing or melted white chocolate
Step-by-Step Instructions:
Step 1: Arrange pretzel rounds on a parchment-lined baking sheet to create your turkey base.
Step 2: Place one unwrapped chocolate kiss in the center of each pretzel, pressing down gently.
Step 3: Using white icing as glue, attach candy corn pieces around the pretzel edge to create colorful turkey feathers—arrange 5-6 pieces per turkey.
Step 4: Add orange M&M for the beak and use icing to draw two small white dots for eyes.
Step 5: Use a tiny dot of red icing below the beak to create the turkey’s wattle.
Step 6: Let the icing dry completely (about 15 minutes) before serving or storing in an airtight container.
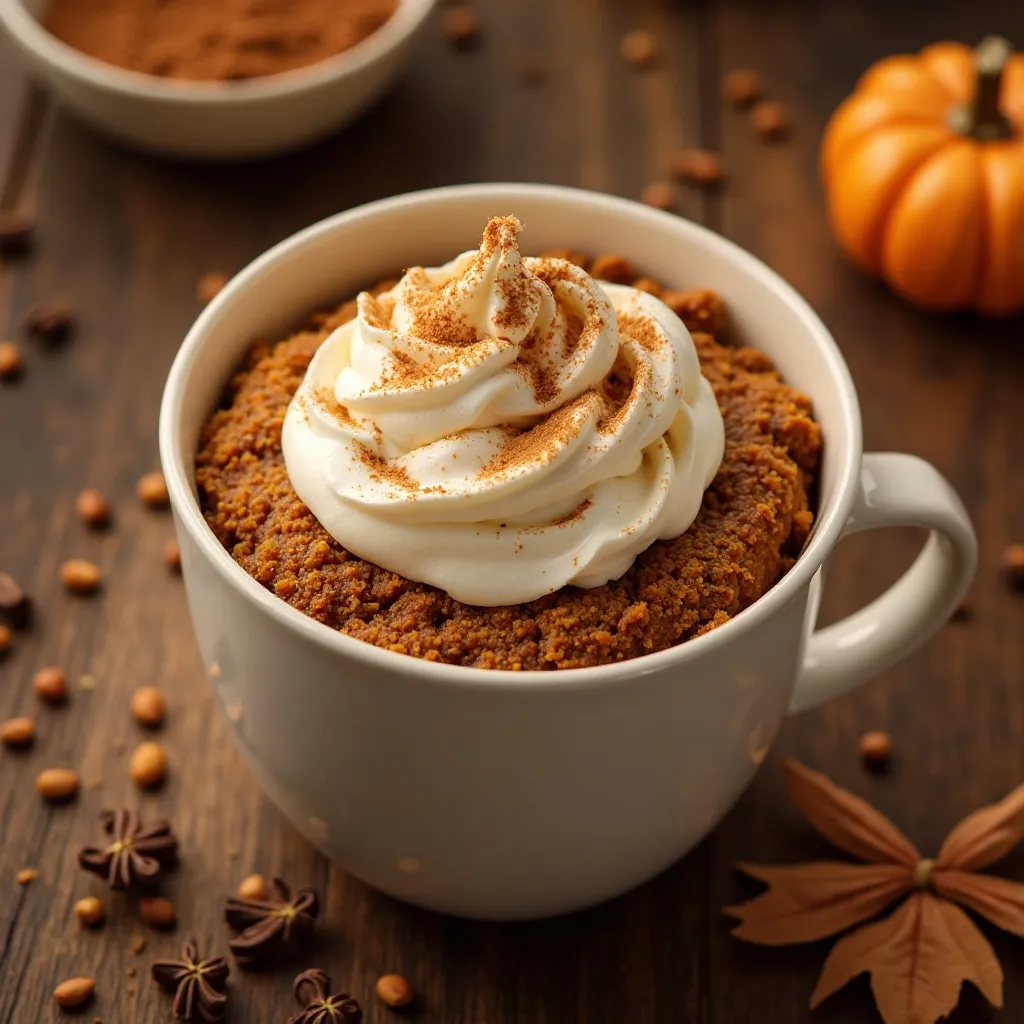
3. Pumpkin Spice Mug Cake
What You’ll Need:
- 4 tbsp all-purpose flour
- 3 tbsp sugar
- 1/4 tsp baking powder
- 1/4 tsp pumpkin pie spice
- 3 tbsp milk
- 2 tbsp pumpkin puree
- 1 tbsp vegetable oil
Step-by-Step Instructions:
Step 1: In a large microwave-safe mug, whisk together flour, sugar, baking powder, and pumpkin pie spice until no lumps remain.
Step 2: Add milk, pumpkin puree, and oil to the dry ingredients. Stir vigorously until you have a smooth, lump-free batter.
Step 3: Microwave on high for 90 seconds. The cake will rise significantly—don’t worry, this is normal!
Step 4: Let cool for 1 minute before carefully removing from the microwave (the mug will be hot).
Step 5: Top with whipped cream, a sprinkle of cinnamon, or a drizzle of caramel sauce.
Step 6: Enjoy immediately while warm for the best texture and flavor.
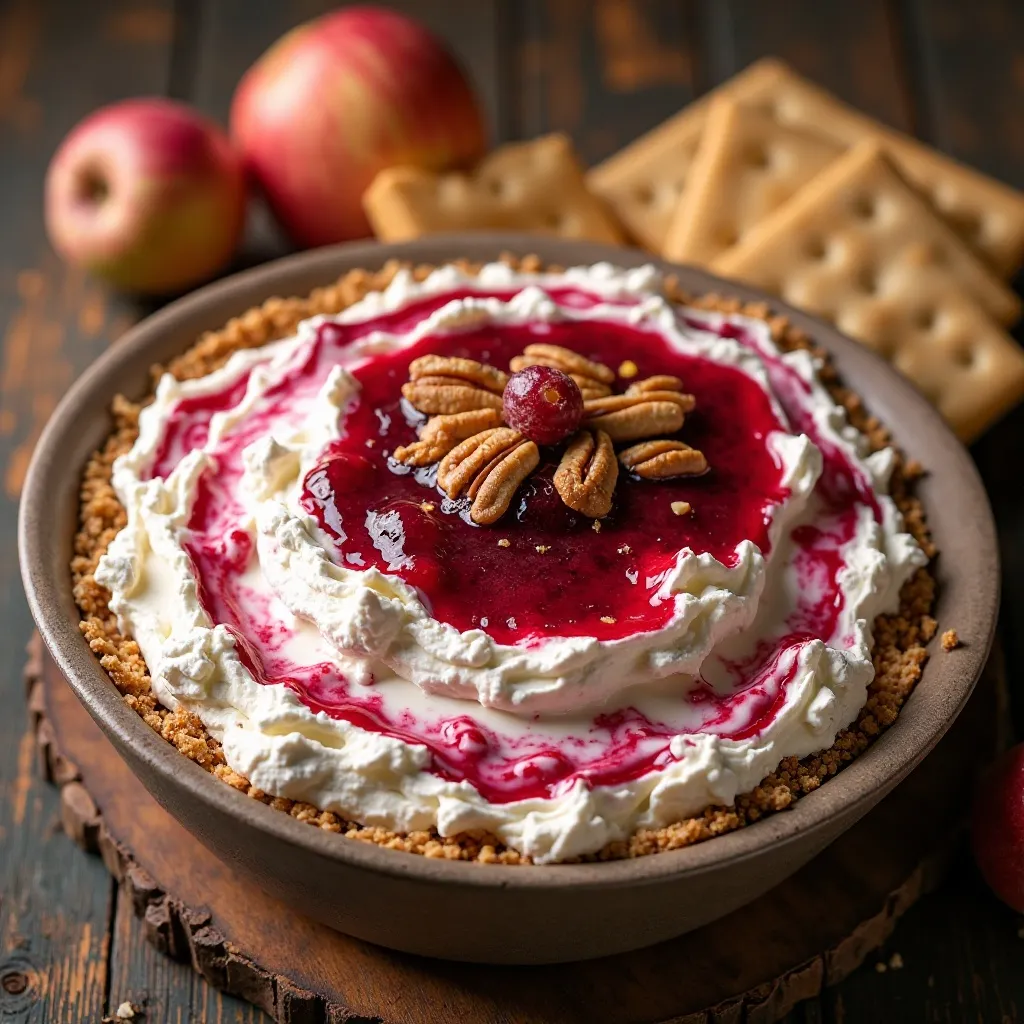
4. Cranberry Cream Cheese Dip
What You’ll Need:
- 8 oz cream cheese, softened
- 1/2 cup cranberry sauce (canned or homemade)
- 2 tbsp brown sugar
- 1/4 cup chopped pecans (optional)
- Graham crackers or apple slices for dipping
Step-by-Step Instructions:
Step 1: Spread softened cream cheese evenly in a shallow serving dish or pie plate, creating a smooth base layer.
Step 2: Spoon cranberry sauce over the cream cheese layer, spreading it gently to the edges without mixing the layers.
Step 3: Sprinkle brown sugar evenly over the cranberry layer for a sweet, caramelized flavor.
Step 4: Top with chopped pecans if desired, adding a delightful crunch to each bite.
Step 5: Refrigerate for 30 minutes to allow flavors to meld together.
Step 6: Serve with graham crackers, vanilla wafers, or fresh apple slices for dipping.
5. Mini Pumpkin Pie Cups
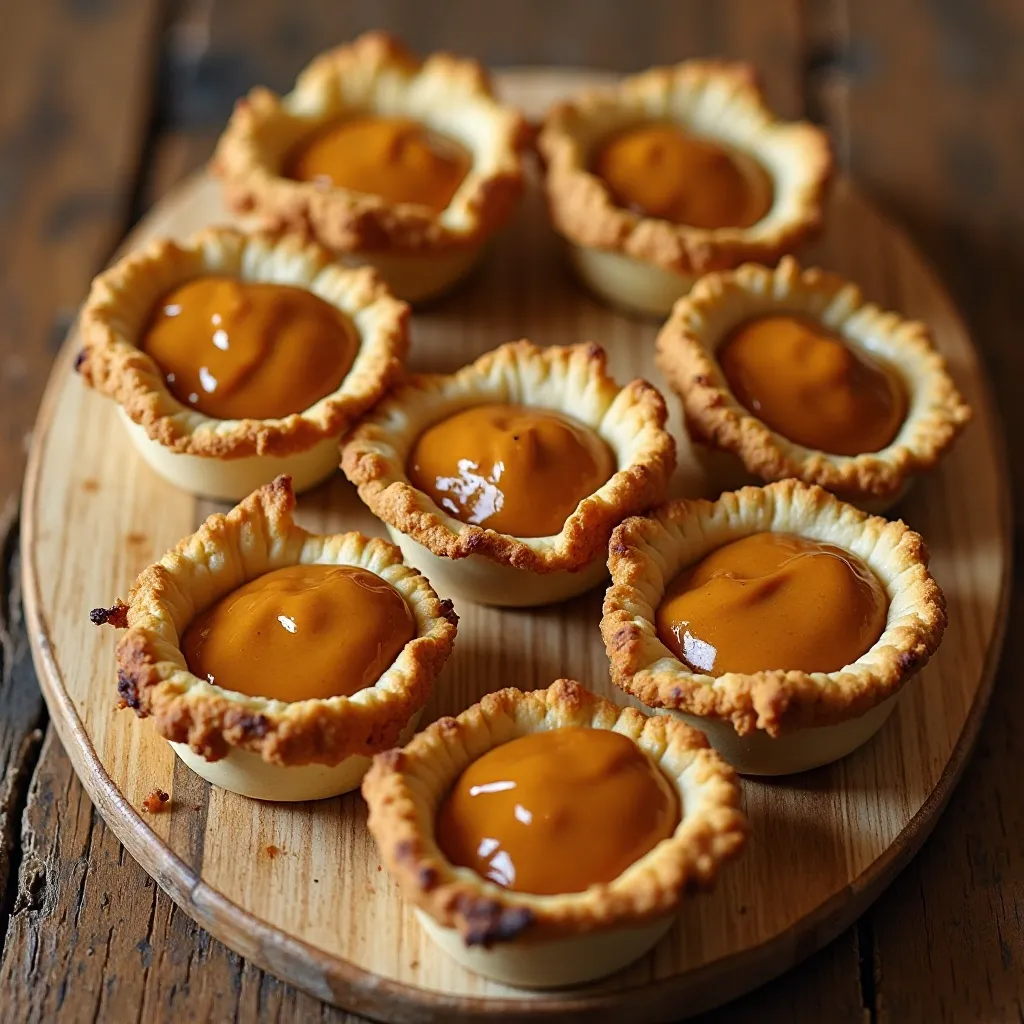
What You’ll Need:
- 1 refrigerated pie crust
- 1 cup pumpkin puree
- 1/2 cup sweetened condensed milk
- 1 egg
- 1 tsp pumpkin pie spice
- Muffin tin
Step-by-Step Instructions:
Step 1: Preheat your oven (or toaster oven) to 350°F and spray a muffin tin with non-stick cooking spray.
Step 2: Roll out the pie crust and cut into circles using a drinking glass or cookie cutter (about 3 inches in diameter).
Step 3: Press each circle into a muffin cup, forming a small pie shell. The dough should come up the sides slightly.
Step 4: In a bowl, whisk together pumpkin puree, sweetened condensed milk, egg, and pumpkin pie spice until smooth.
Step 5: Pour the pumpkin mixture into each pie shell, filling about three-quarters full to prevent overflow.
Step 6: Bake for 20-25 minutes until the filling is set and the crust is golden brown. Cool completely before removing from the tin.
6. Thanksgiving Snack Mix
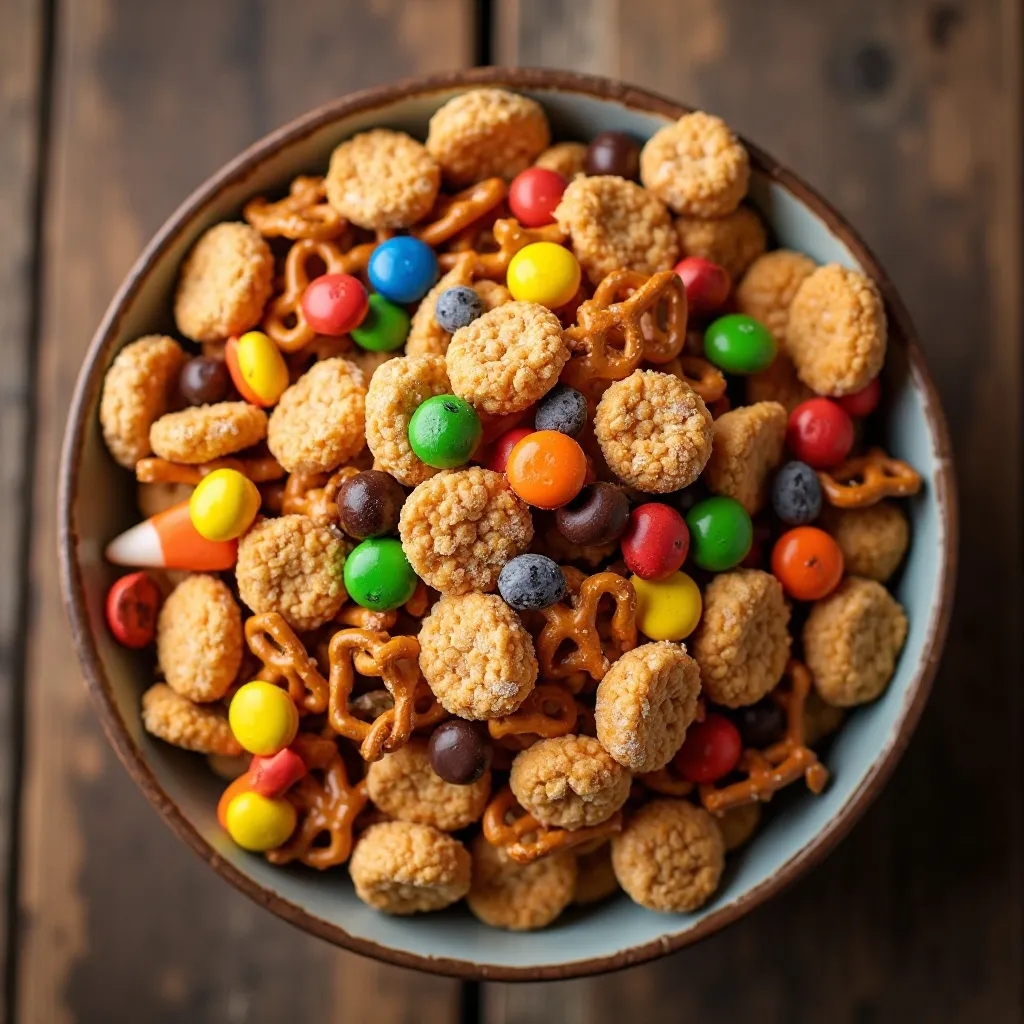
What You’ll Need:
- 2 cups pretzels
- 1 cup candy corn
- 1 cup chocolate chips
- 1 cup peanuts or pecans
- 1 cup Chex cereal
- 1/2 cup M&Ms (fall colors)
Step-by-Step Instructions:
Step 1: In a large mixing bowl, combine pretzels and Chex cereal as your base.
Step 2: Add chocolate chips, creating pockets of sweetness throughout the mix.
Step 3: Toss in nuts for a satisfying crunch and protein boost.
Step 4: Mix in candy corn and M&Ms, distributing colors evenly throughout.
Step 5: Gently toss everything together until well combined and the colors are beautifully distributed.
Step 6: Portion into individual bags or bowls for easy sharing during study sessions.
7. Apple Pie Energy Bites
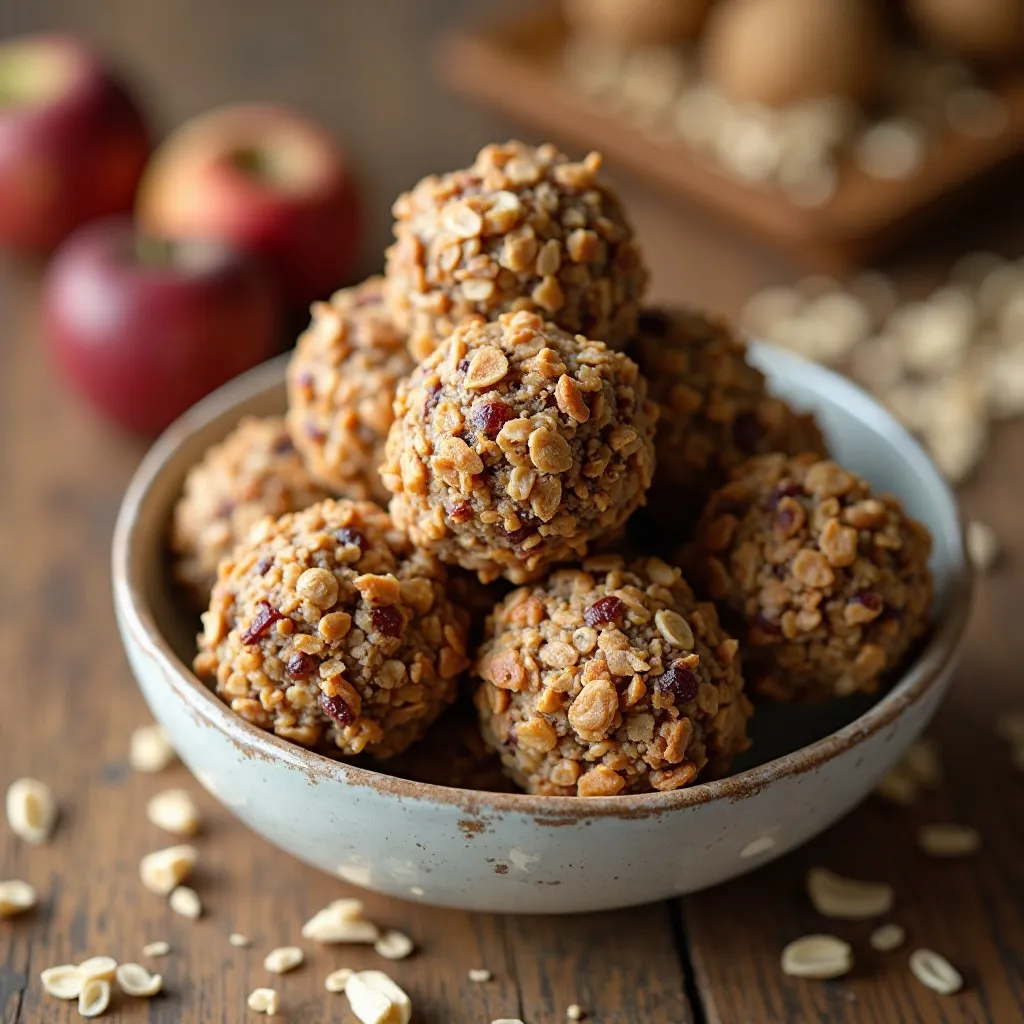
What You’ll Need:
- 1 cup rolled oats
- 1/2 cup almond butter (or peanut butter)
- 1/4 cup honey
- 1/2 cup dried apples, chopped
- 1 tsp cinnamon
- Pinch of nutmeg
Step-by-Step Instructions:
Step 1: Combine oats, almond butter, and honey in a large bowl, stirring until the mixture sticks together.
Step 2: Fold in chopped dried apples, ensuring they’re evenly distributed throughout the mixture.
Step 3: Add cinnamon and nutmeg, stirring well to incorporate the warm, fall spices.
Step 4: Using your hands, roll the mixture into 1-inch balls, applying firm pressure so they hold their shape.
Step 5: Place energy bites on a parchment-lined tray and refrigerate for at least 30 minutes to firm up.
Step 6: Store in an airtight container in the refrigerator for up to one week—perfect for grab-and-go snacking!
8. Sweet Potato Bites with Marshmallow
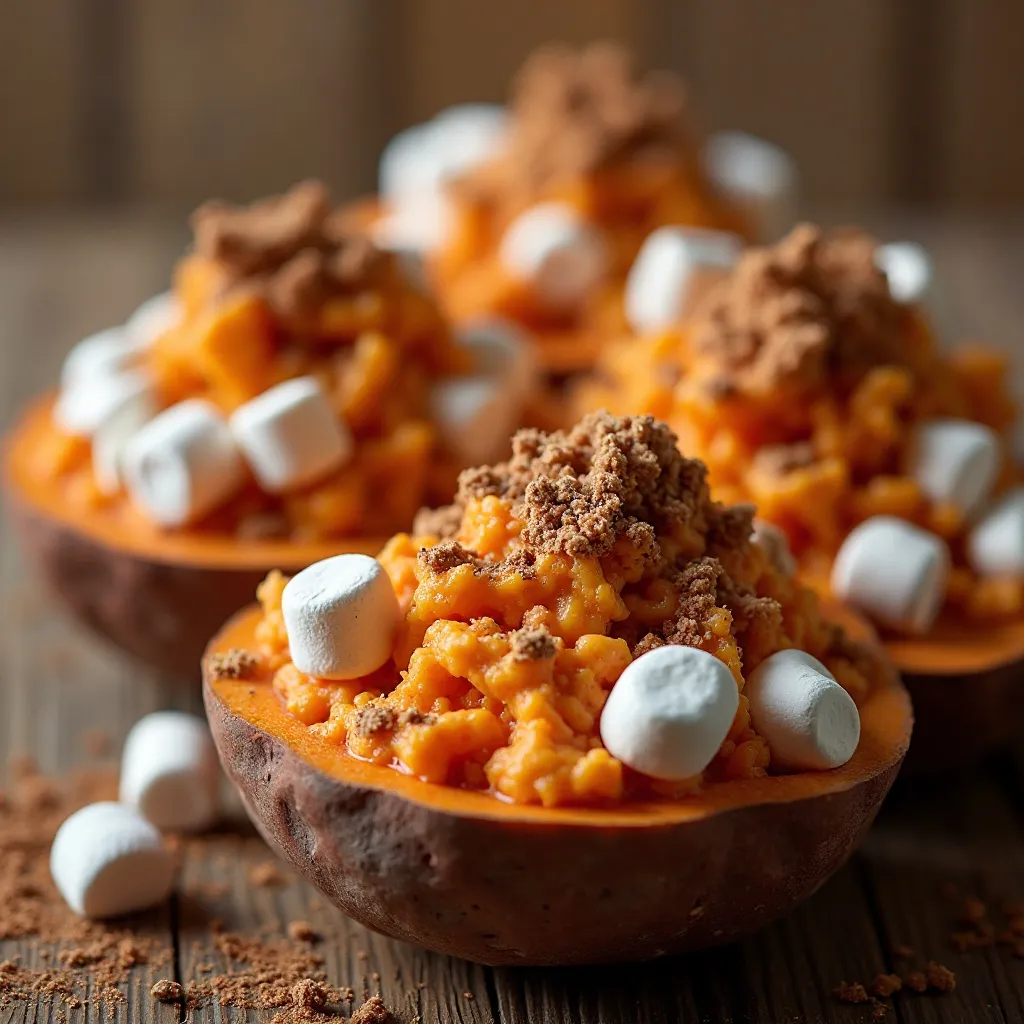
What You’ll Need:
- 1 large sweet potato
- 2 tbsp butter
- 1 tbsp brown sugar
- Mini marshmallows
- Cinnamon
Step-by-Step Instructions:
Step 1: Pierce the sweet potato several times with a fork and microwave on high for 5-7 minutes until soft.
Step 2: Cut the sweet potato in half lengthwise and scoop the flesh into a bowl, leaving the skins intact if desired.
Step 3: Mash the sweet potato with butter and brown sugar until smooth and creamy.
Step 4: Spoon the mixture back into the skins or into small ramekins, creating small serving portions.
Step 5: Top each portion with 3-4 mini marshmallows and a sprinkle of cinnamon.
Step 6: Microwave for 30-45 seconds until the marshmallows are puffy and slightly golden. Serve immediately while warm.
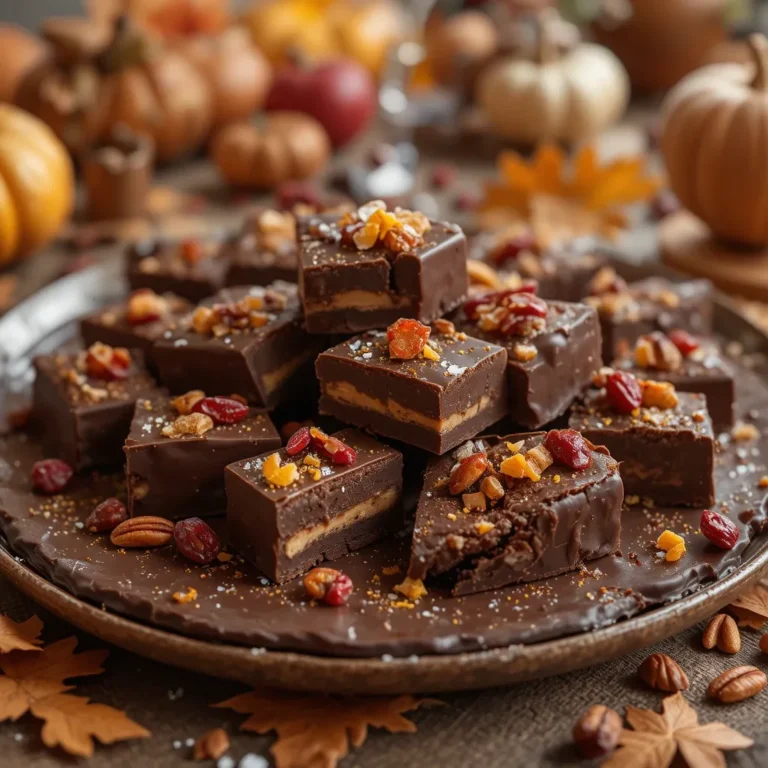
9. Pecan Pie Bark
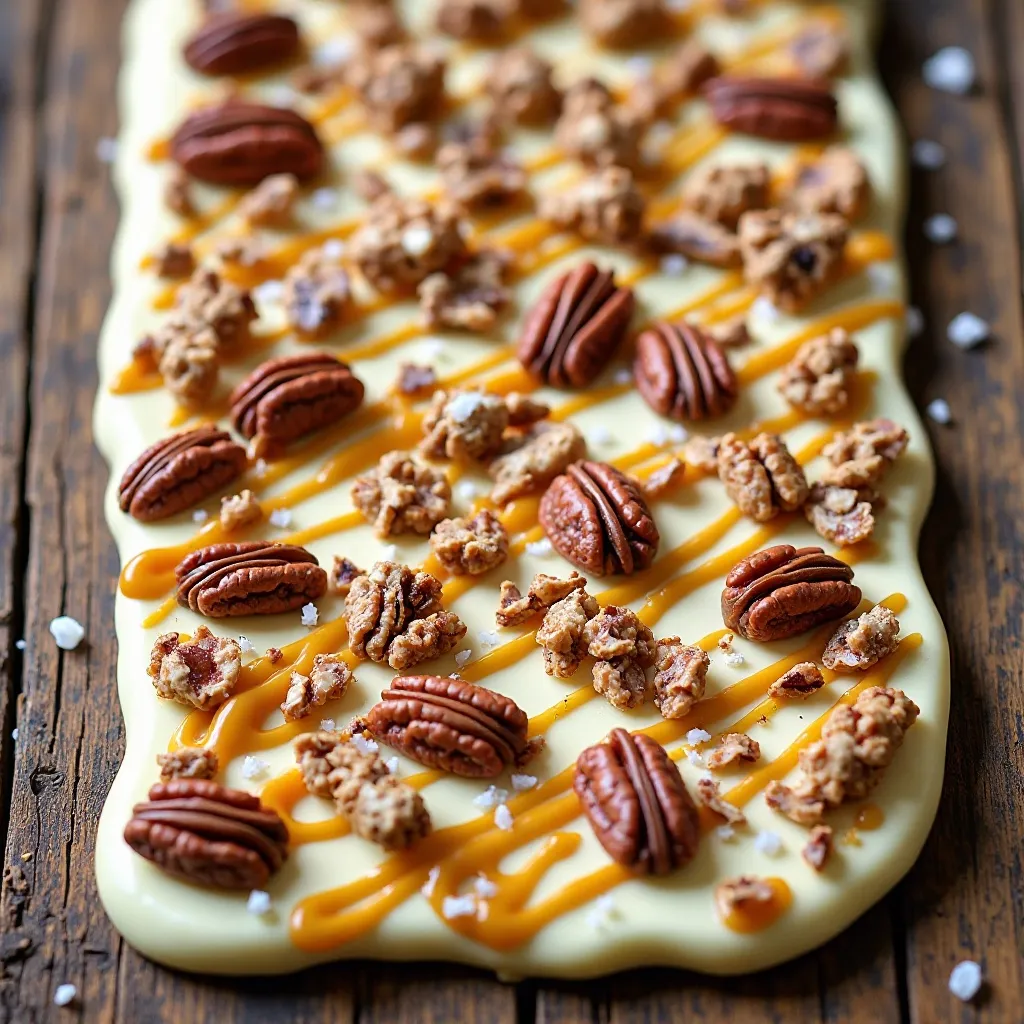
What You’ll Need:
- 2 cups white chocolate chips
- 1 cup chopped pecans, toasted
- 1/4 cup caramel sauce
- Sea salt
Step-by-Step Instructions:
Step 1: Line a baking sheet with parchment paper for easy removal and cleanup.
Step 2: Melt white chocolate chips in the microwave in 30-second intervals, stirring between each interval until smooth.
Step 3: Pour the melted chocolate onto the parchment paper, spreading into a rectangle about 1/4 inch thick.
Step 4: Sprinkle toasted pecans evenly over the chocolate, pressing them gently into the surface.
Step 5: Drizzle caramel sauce over the pecans in a decorative pattern, then sprinkle with a pinch of sea salt.
Step 6: Refrigerate for 30 minutes until completely hardened, then break into irregular pieces like bark.
10. Pumpkin Spice Rice Krispie Treats
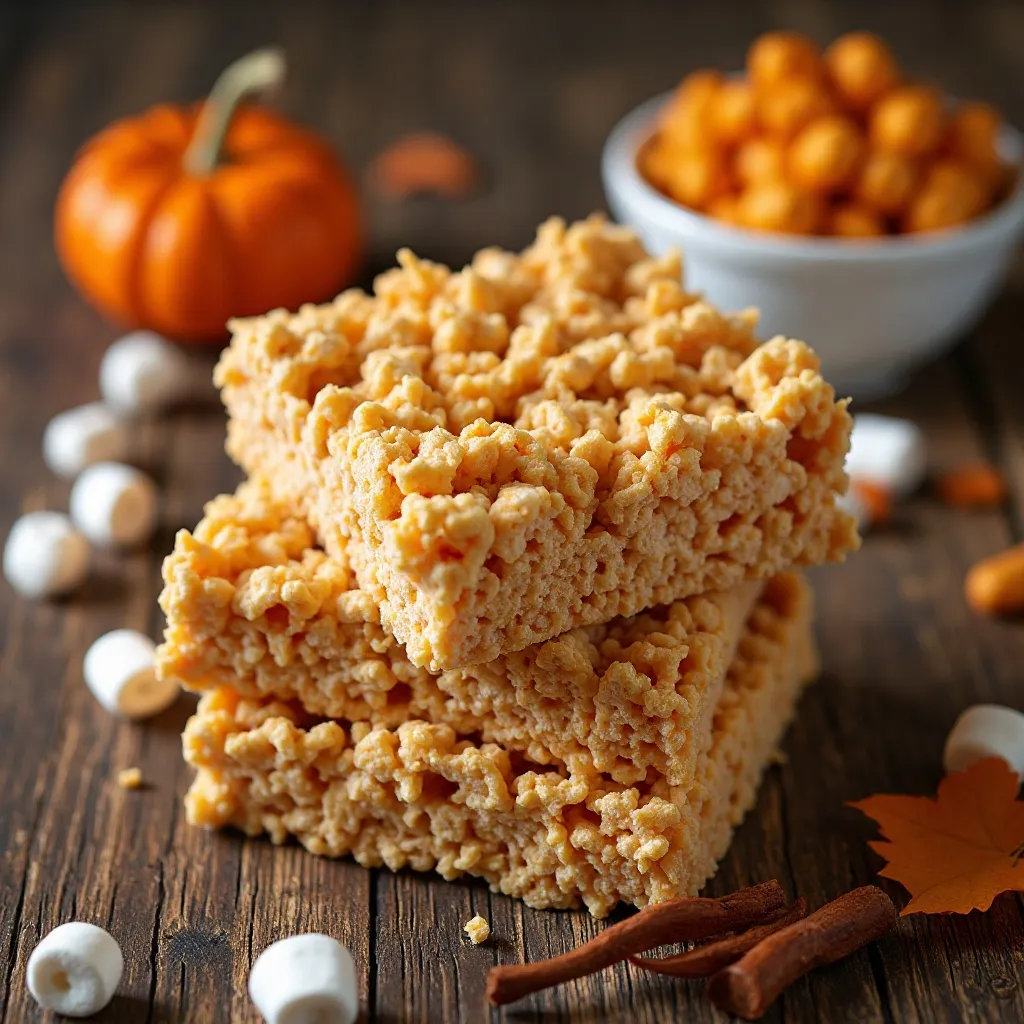
What You’ll Need:
- 3 tbsp butter
- 4 cups mini marshmallows
- 6 cups Rice Krispies cereal
- 1 tsp pumpkin pie spice
- Orange food coloring (optional)
Step-by-Step Instructions:
Step 1: Melt butter in a large microwave-safe bowl for 30 seconds or until fully melted.
Step 2: Add marshmallows to the melted butter and microwave for 90 seconds, stirring halfway through.
Step 3: Stir in pumpkin pie spice and a few drops of orange food coloring if you want festive colored treats.
Step 4: Add Rice Krispies cereal and stir quickly until all pieces are evenly coated with the marshmallow mixture.
Step 5: Press the mixture into a greased 9×13 inch pan using a buttered spatula or wax paper to prevent sticking.
Step 6: Allow to cool for 20 minutes before cutting into squares with a sharp knife.
11. Chocolate Acorn Treats

What You’ll Need:
- Mini Nutter Butter cookies
- Hershey’s Kisses
- Chocolate chips, melted
- Mini chocolate chips for decoration
Step-by-Step Instructions:
Step 1: Melt chocolate chips in a microwave-safe bowl in 20-second intervals until smooth.
Step 2: Dip the flat bottom of each Hershey’s Kiss into the melted chocolate.
Step 3: Attach the chocolate-coated Kiss to the flat side of a Nutter Butter cookie, creating an acorn shape.
Step 4: While the chocolate is still wet, add a mini chocolate chip to the top of the Kiss as the acorn’s stem.
Step 5: Place assembled acorns on parchment paper and refrigerate for 10 minutes to set the chocolate.
Step 6: Store in an airtight container at room temperature for up to 3 days.
12. Cornucopia Snack Cones
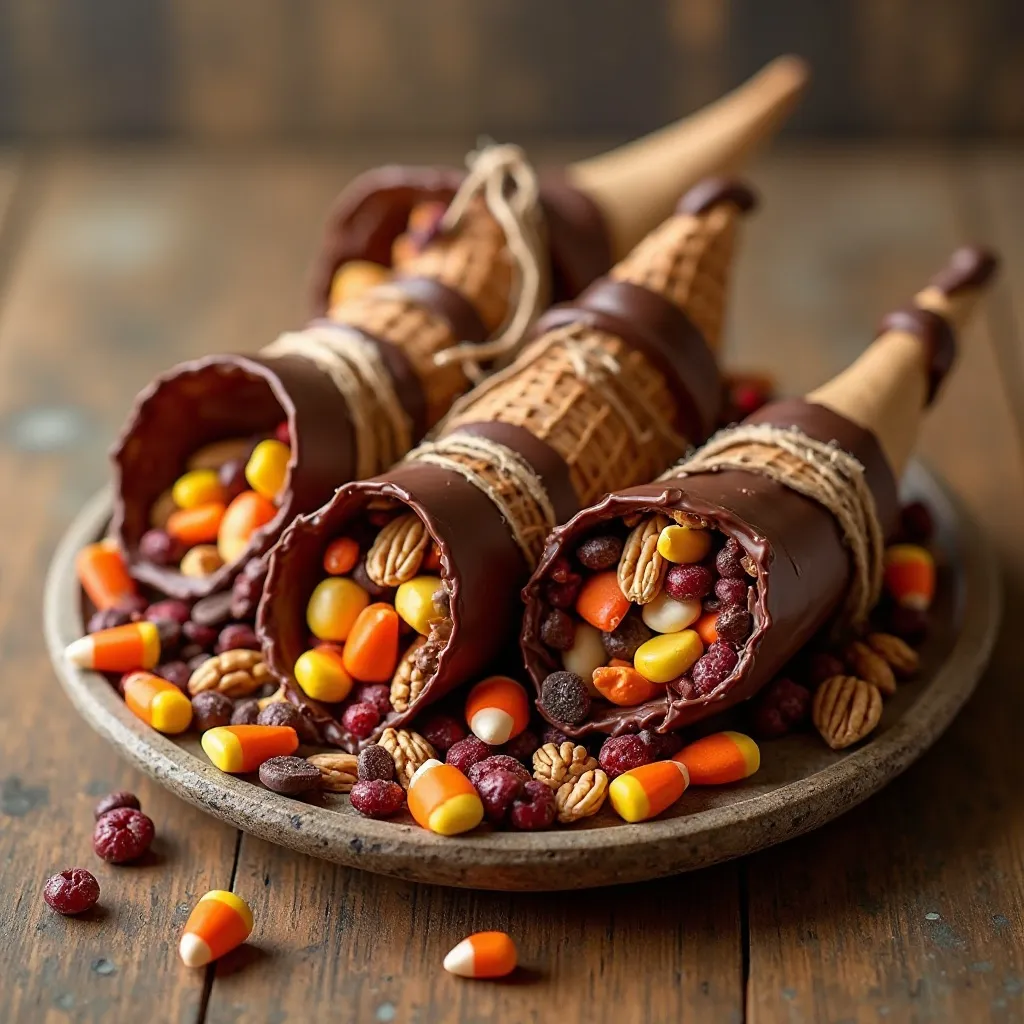
What You’ll Need:
- Ice cream sugar cones
- Melted chocolate or caramel
- Mixed nuts, dried fruit, and candy
Step-by-Step Instructions:
Step 1: Dip the open end of each sugar cone into melted chocolate, coating the rim completely.
Step 2: Let excess chocolate drip off, then place cones on parchment paper to set.
Step 3: Fill each cone with a mixture of nuts, dried cranberries, chocolate chips, and candy corn.
Step 4: Wrap the narrow end of the cone with decorative twine or ribbon to resemble a traditional cornucopia.
Step 5: Allow chocolate to harden completely before serving, about 15 minutes at room temperature.
Step 6: Display on a platter as an edible centerpiece for your Thanksgiving gathering.
13. Caramel Apple Nachos
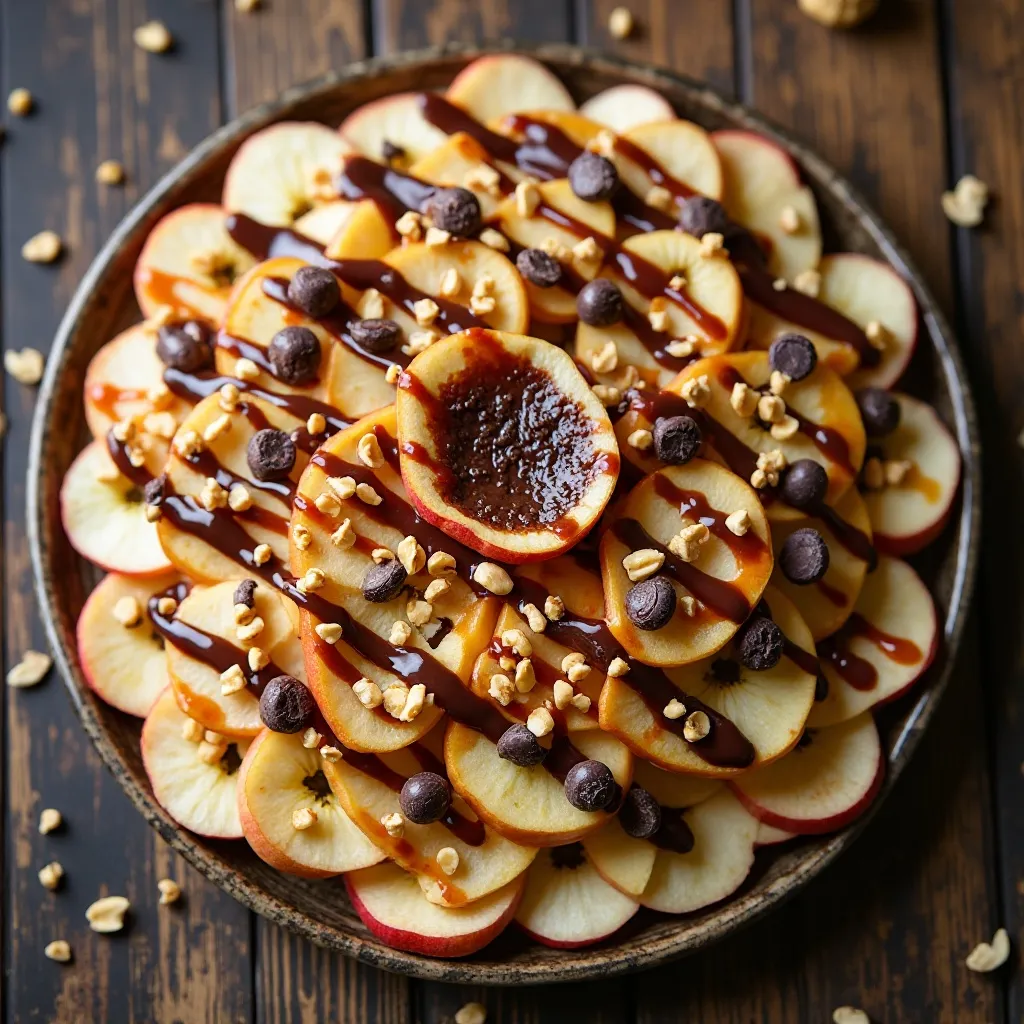
What You’ll Need:
- 3 apples, thinly sliced
- 1/4 cup caramel sauce
- 2 tbsp chocolate sauce
- 2 tbsp chopped peanuts
- 2 tbsp mini chocolate chips
Step-by-Step Instructions:
Step 1: Arrange apple slices on a large plate or platter in an overlapping pattern like nacho chips.
Step 2: Drizzle caramel sauce generously over the apple slices in a back-and-forth motion.
Step 3: Add chocolate sauce in the same manner, creating a crisscross pattern with the caramel.
Step 4: Sprinkle chopped peanuts evenly over the sauced apples for crunch.
Step 5: Add mini chocolate chips as the final topping for extra sweetness.
Step 6: Serve immediately while apples are crisp, with forks or your fingers for easy sharing.
14. Pumpkin Pie Dip
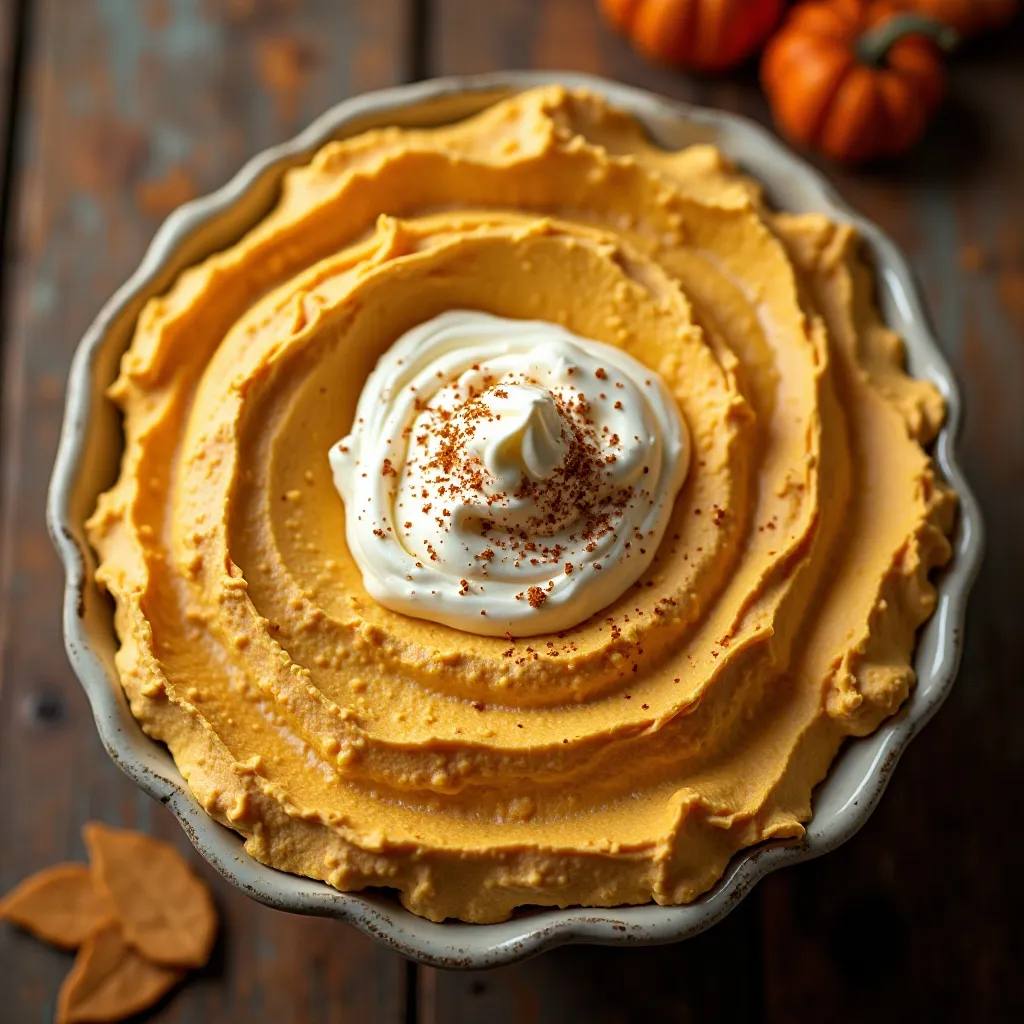
What You’ll Need:
- 8 oz cream cheese, softened
- 1/2 cup pumpkin puree
- 1 cup powdered sugar
- 1 tsp pumpkin pie spice
- 1 cup whipped topping
- Graham crackers for serving
Step-by-Step Instructions:
Step 1: Beat cream cheese in a medium bowl with an electric mixer until light and fluffy, about 2-3 minutes.
Step 2: Add pumpkin puree, powdered sugar, and pumpkin pie spice, beating until completely smooth.
Step 3: Fold in whipped topping gently with a spatula, being careful not to deflate the mixture.
Step 4: Transfer the dip to a serving bowl and smooth the top with a spatula.
Step 5: Refrigerate for at least 1 hour to allow the dip to firm up and flavors to develop.
Step 6: Serve chilled with graham crackers, vanilla wafers, or sliced apples for dipping.
15. Thanksgiving Popcorn
What You’ll Need:
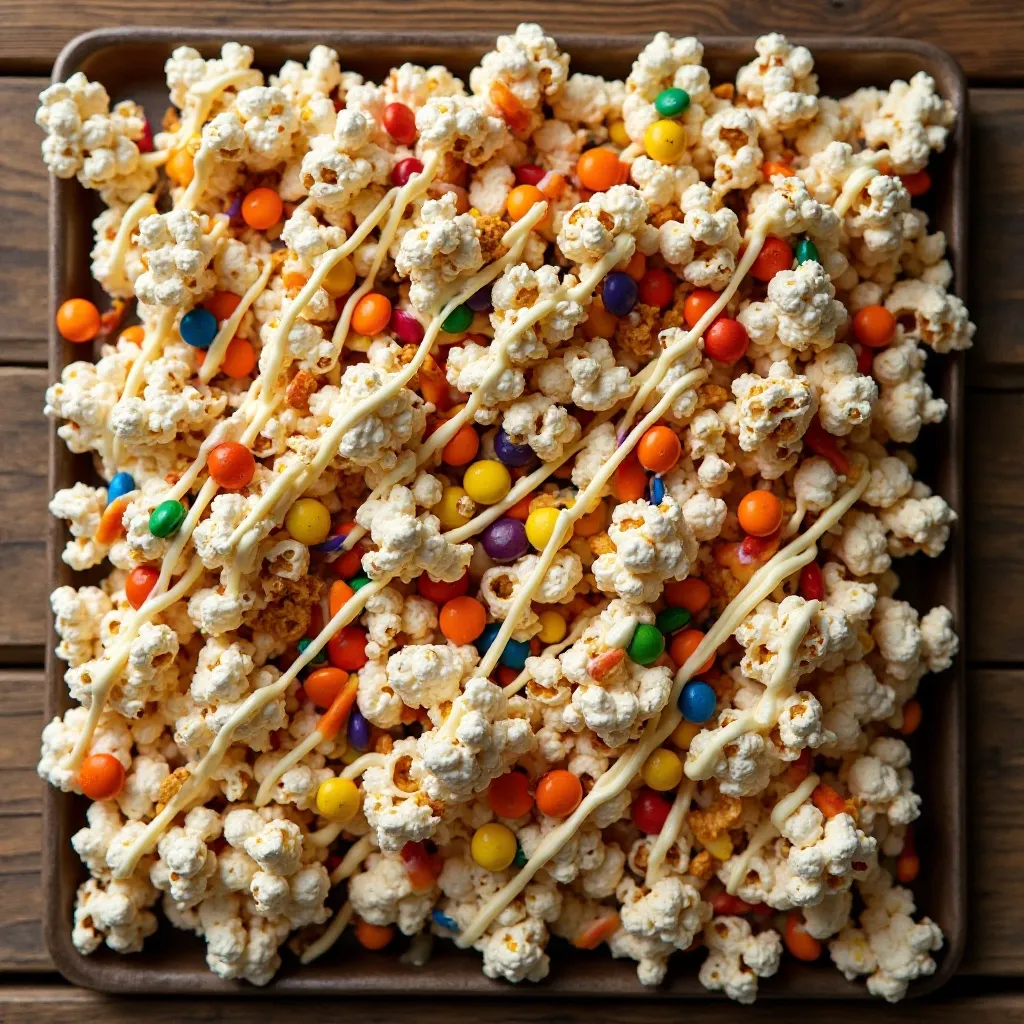
- 8 cups popped popcorn
- 1 cup white chocolate chips
- Fall-colored M&Ms
- Candy corn
- Pretzel pieces
- Sprinkles (optional)
Step-by-Step Instructions:
Step 1: Spread popped popcorn on a large parchment-lined baking sheet, removing any unpopped kernels.
Step 2: Melt white chocolate in the microwave in 30-second intervals, stirring until completely smooth.
Step 3: Drizzle melted white chocolate over the popcorn using a spoon or piping bag in a zigzag pattern.
Step 4: Immediately sprinkle M&Ms, candy corn, and pretzel pieces over the chocolate-coated popcorn.
Step 5: Add festive sprinkles if desired for extra color and fun.
Step 6: Let the chocolate harden completely (about 15 minutes), then break into clusters and serve in bowls.
What to Serve Thanksgiving Treats for Students With
Beverages:
- Hot apple cider or spiced tea
- Pumpkin spice lattes (homemade or from a café)
- Hot chocolate with cinnamon sticks
- Cranberry juice spritzers
- Warm milk with honey
Complementary Snacks:
- Cheese and cracker platters
- Veggie sticks with ranch dip
- Mixed nuts and dried fruit
- Mini sandwiches or sliders
- Popcorn with butter and herbs
For a Complete Study Break Spread: Pair sweet treats with savory options like pizza rolls, chicken wings, or loaded nachos to create a balanced snack table that keeps everyone satisfied during long study sessions.
Movie Night Pairings: Serve your Thanksgiving treats alongside classic comfort foods like mac and cheese bites, mozzarella sticks, or homemade soft pretzels for the ultimate cozy night in.
Top Tips for Perfecting Thanksgiving Treats for Students
Budget-Saving Strategies:
Buy ingredients in bulk with roommates to split costs. Store brands work just as well as name brands for most baking ingredients. Shop at discount stores like Aldi or Walmart for better prices.
Ingredient Substitutions:
No pumpkin pie spice? Make your own by mixing 1 tsp cinnamon, 1/4 tsp ginger, 1/4 tsp nutmeg, and 1/8 tsp cloves.
Can’t find cream cheese? Use Greek yogurt mixed with a little butter for a healthier alternative that works in most recipes.
Out of graham crackers? Vanilla wafers, digestive biscuits, or even crushed pretzels make excellent substitutes.
Time-Saving Hacks:
Prep ingredients the night before and store in labeled containers. This makes assembly quick and stress-free the next day.
Use pre-made pie crusts and frozen puff pastry to save significant time without sacrificing quality.
Double recipes and freeze half for later—most of these treats freeze beautifully for up to 2 months.
Common Mistakes to Avoid:
Don’t overmix batters—this creates tough, dense textures instead of light, fluffy treats.
Always use room temperature cream cheese. Cold cream cheese creates lumps that are nearly impossible to smooth out.
Test your microwave wattage—cooking times vary significantly. Start with less time and add more as needed.
Don’t skip the chilling time for no-bake recipes. This step is crucial for proper texture and prevents messy, falling-apart treats.
Kitchen Equipment Essentials:
Invest in a small hand mixer ($15-20)—it makes mixing exponentially easier and faster.
Parchment paper is your best friend for no-mess cooking and easy cleanup.
Use plastic wrap to press down sticky mixtures without getting your hands messy.
Storing and Reheating Tips
Refrigeration Guidelines:
Most cream cheese-based treats last 3-5 days in an airtight container in the refrigerator. Always label containers with the date you made them.
Cookie and candy-based treats can be stored at room temperature in airtight containers for up to one week.
Keep different treat types in separate containers to prevent flavors from mixing and textures from changing.
Freezing Instructions:
Energy bites, Rice Krispie treats, and bark freeze beautifully for up to 2 months. Wrap individually in plastic wrap, then place in freezer bags.
Thaw frozen treats overnight in the refrigerator or at room temperature for 1-2 hours before serving.
Do not freeze cream-based dips or anything with fresh fruit, as they’ll become watery when thawed.
Reheating Methods:
For mug cakes and baked items, microwave for 10-15 seconds to restore warmth and softness.
Reheat sweet potato bites in the microwave for 30-45 seconds until marshmallows are melty again.
Popcorn and snack mixes don’t need reheating—simply bring to room temperature if stored in the fridge.
Freshness Tips:
Add a slice of bread to containers with cookies or bars to keep them soft and prevent drying out.
Store chocolate-based treats away from heat sources to prevent melting and blooming (white spots).
If treats become stale, crisp them up in a 300°F oven for 5 minutes.
Frequently Asked Questions
Can I make Thanksgiving treats without an oven?
Absolutely! More than half of the recipes in this guide are no-bake, requiring only a microwave or refrigerator. No-bake pumpkin cheesecake bites, pretzel turkeys, snack mixes, and dips are perfect for dorm living without full kitchen access.
What are the cheapest Thanksgiving treats to make for students?
The most budget-friendly options include Thanksgiving snack mix ($10 for a large batch), pumpkin spice Rice Krispie treats ($8 total), and turkey pretzel treats ($12 for 20 pieces). These recipes use affordable pantry staples and create large quantities perfect for sharing.
How far in advance can I make Thanksgiving treats?
Most treats can be made 2-3 days ahead and stored properly. Energy bites, bark, and Rice Krispie treats actually taste better after sitting for a day as flavors develop. Make-ahead preparation saves time during busy exam weeks and holiday travels.
Are these Thanksgiving treats suitable for dietary restrictions?
Many recipes can be adapted! Use dairy-free cream cheese and coconut milk for vegan versions. Swap regular chocolate for dark chocolate in gluten-free recipes. Energy bites are naturally gluten-free, and most snack mixes can be customized to accommodate allergies.
What Thanksgiving treats travel well to bring home?
Bark, energy bites, snack mixes, and individually wrapped Rice Krispie treats travel excellently. Pack them in hard-sided containers with parchment paper between layers to prevent crushing. Avoid cream-based dips and anything requiring refrigeration for long car rides.
Can I use fresh pumpkin instead of canned?
Yes, but canned pumpkin is actually more convenient and consistent for baking. If using fresh, roast and puree the pumpkin, then drain excess moisture through cheesecloth. One 15-oz can equals about 2 cups fresh pumpkin puree.
What’s the best way to transport treats to a Thanksgiving potluck?
Use disposable aluminum pans with lids for easy transport and gifting. Layer delicate items with parchment paper and transport in coolers with ice packs if needed. Mason jars work perfectly for dips and layered desserts that look beautiful and travel safely.
How do I make treats look more festive?
Use fall colors in your decorating—orange, yellow, red, and brown create instant Thanksgiving vibes. Add autumn-themed sprinkles, candy corn, and chocolate leaves. Present treats on platters garnished with small pumpkins, artificial leaves, or cinnamon sticks for visual appeal.
Nutritional Information
Approximate Nutrition Per Serving (Varies by Recipe):
| Nutritional Component | Average Amount |
|---|---|
| Calories | 150-250 |
| Total Fat | 8-12g |
| Saturated Fat | 4-6g |
| Cholesterol | 10-25mg |
| Sodium | 75-150mg |
| Total Carbohydrates | 20-35g |
| Dietary Fiber | 1-3g |
| Sugars | 15-25g |
| Protein | 2-5g |
Note: Values are approximate and vary significantly based on specific recipes and portion sizes. These treats are intended as occasional indulgences, not everyday foods.
Final Thoughts
Creating Thanksgiving treats for students doesn’t require a gourmet kitchen, culinary expertise, or a huge budget. These simple, delicious recipes prove that you can celebrate the holiday spirit even in a tiny dorm room with limited resources.
The beauty of these treats lies in their versatility—make them for yourself as a study break reward, share them with roommates during a Netflix marathon, or bring them to Friendsgiving celebrations. Each recipe is designed to be forgiving, adaptable, and most importantly, absolutely delicious.
Remember, Thanksgiving is about gratitude, togetherness, and creating memories. Whether you’re miles from home or celebrating on campus, these treats bring comfort and joy to your college experience. Don’t stress about perfection—cooking is about experimenting, having fun, and nourishing yourself and others.
Start with one or two recipes that appeal to you most, then expand your repertoire as you gain confidence. Before you know it, you’ll be the friend everyone counts on for amazing homemade treats!
Ready to get started? Pick your favorite recipe, gather your ingredients, and let the Thanksgiving celebration begin. Your taste buds (and your friends) will thank you!
Pin this guide for later and share it with your college friends who need some holiday cooking inspiration. Happy Thanksgiving, and happy cooking!