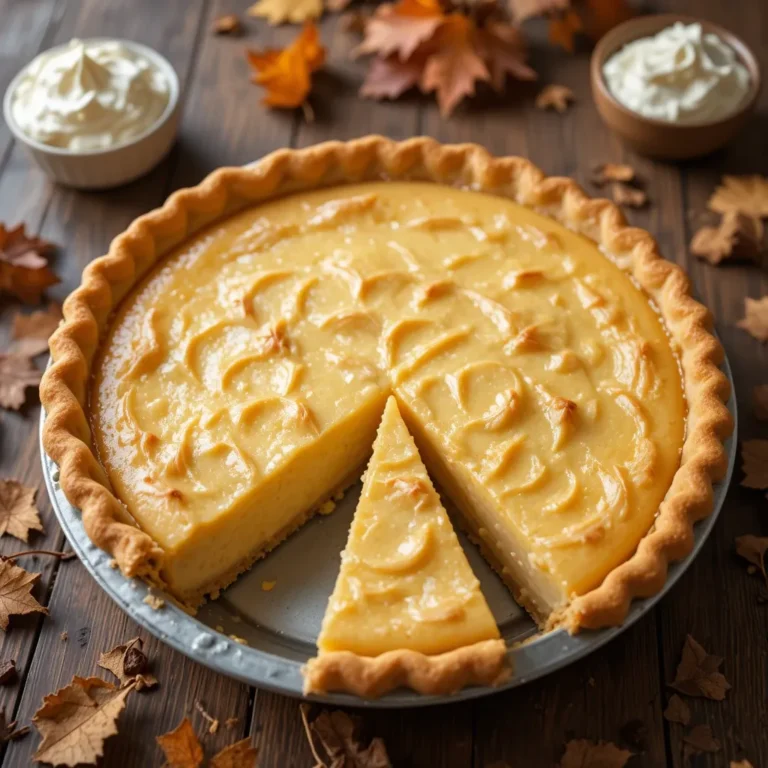
30 Minute Thanksgiving Mini Treats Everyone Will Love
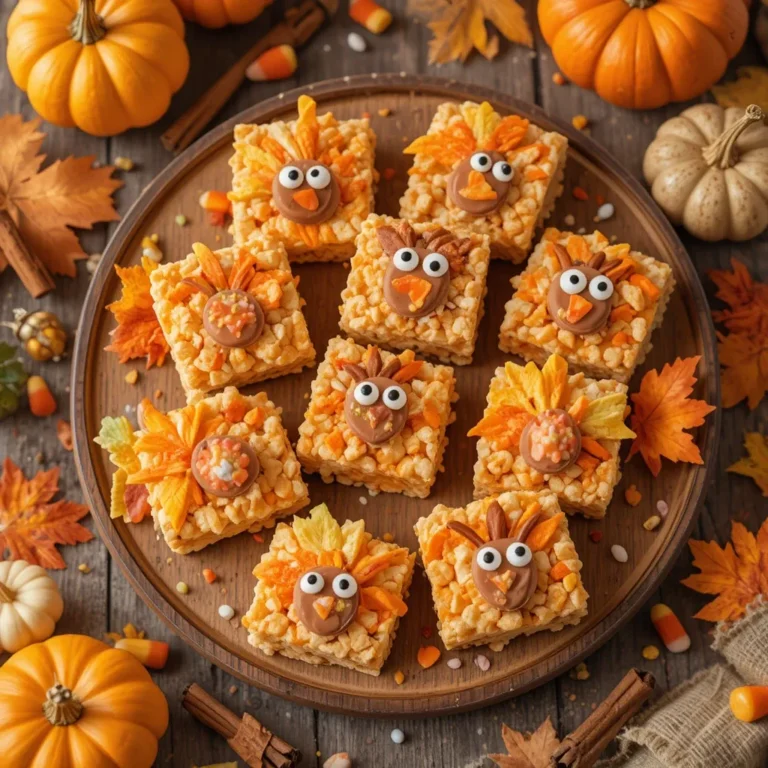
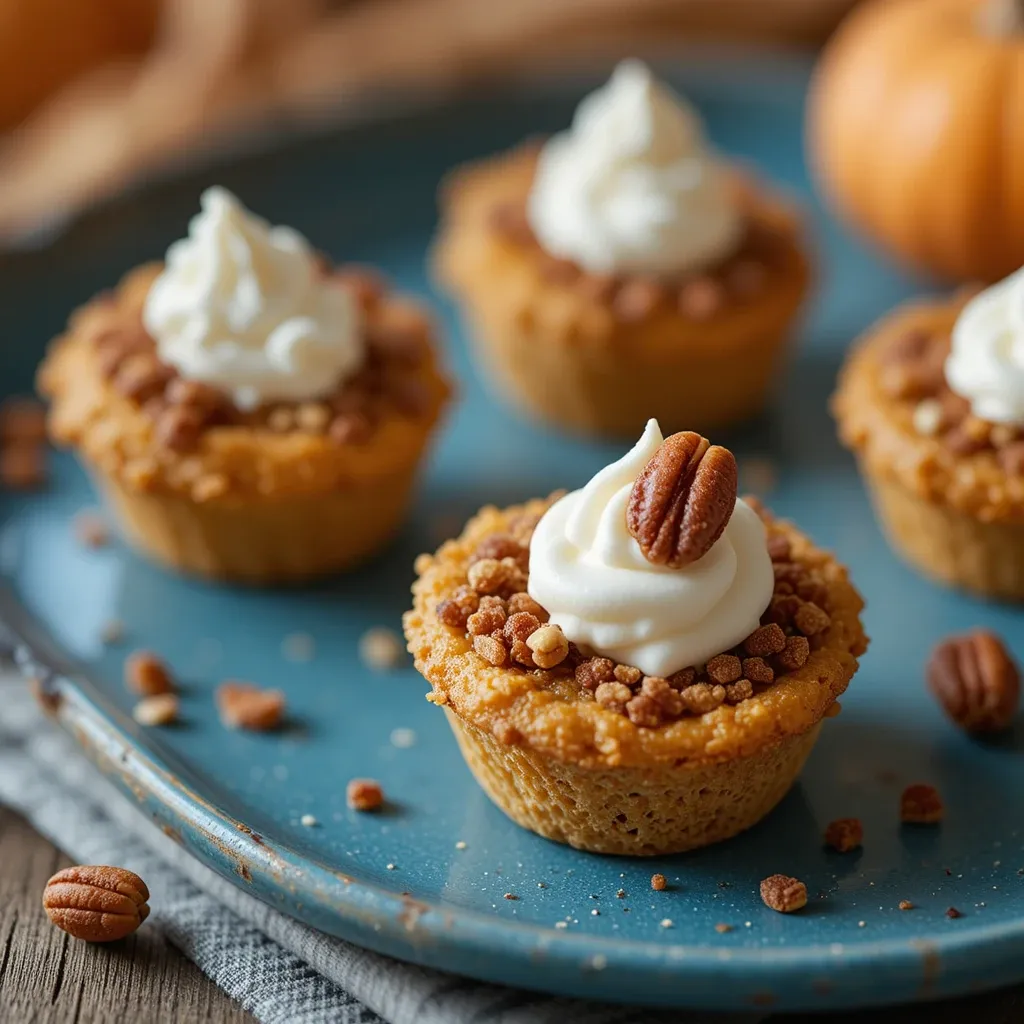
Picture this: golden, buttery bites of Thanksgiving perfection that disappear in seconds at your holiday gathering. These thanksgiving mini treats are the ultimate crowd-pleasers, combining all the beloved flavors of the season in adorable, poppable portions.
Here’s a fun fact: mini desserts became a holiday staple during the 1950s when hostesses discovered guests loved sampling multiple flavors without committing to full-sized portions. These treats are special because they’re surprisingly simple to make, require just 30 minutes of prep time, and are perfect for families with picky eaters who want “just a taste” of everything.
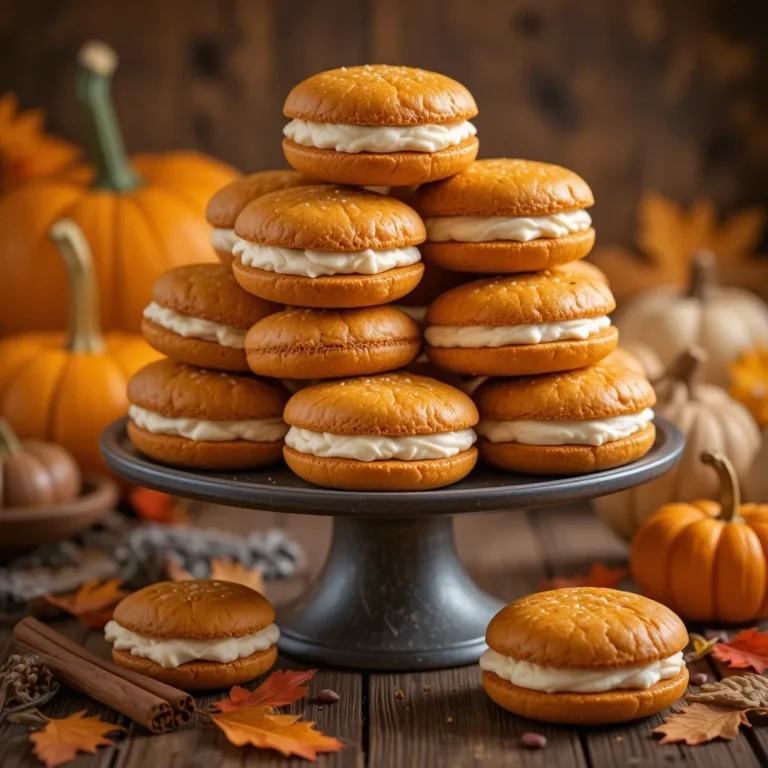
Much like our popular Pumpkin Spice Cookies, these mini delights capture autumn’s essence while being incredibly versatile for any skill level. Get ready to become the hero of your Thanksgiving table with these irresistible little bites!
What Are Thanksgiving Mini Treats?
Ever wondered why we call them “mini treats” instead of just “small desserts”? Well, there’s something magical about the word “mini” that makes everything more adorable and less intimidating, right? These thanksgiving mini treats earned their name because they pack maximum holiday flavor into minimum space—perfect for those who subscribe to the “eyes bigger than stomach” philosophy!
As the classic saying goes, “the way to a man’s heart is through his stomach,” but the way to everyone’s heart at Thanksgiving is through bite-sized portions they can’t resist. Ready to make memories one tiny, delicious bite at a time?
Why You’ll Love This Thanksgiving Mini Treats Recipe
The Ultimate Party Pleaser
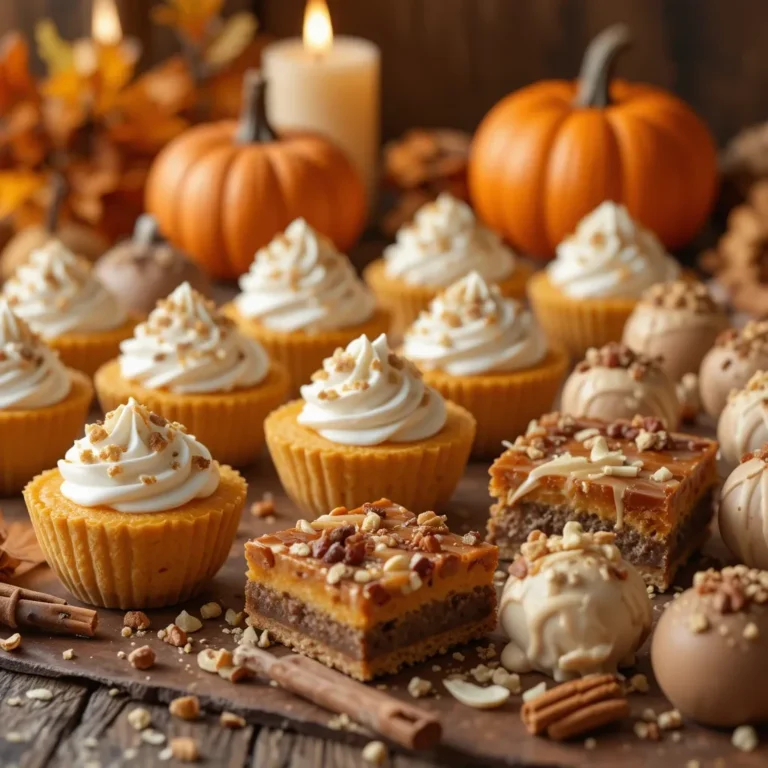
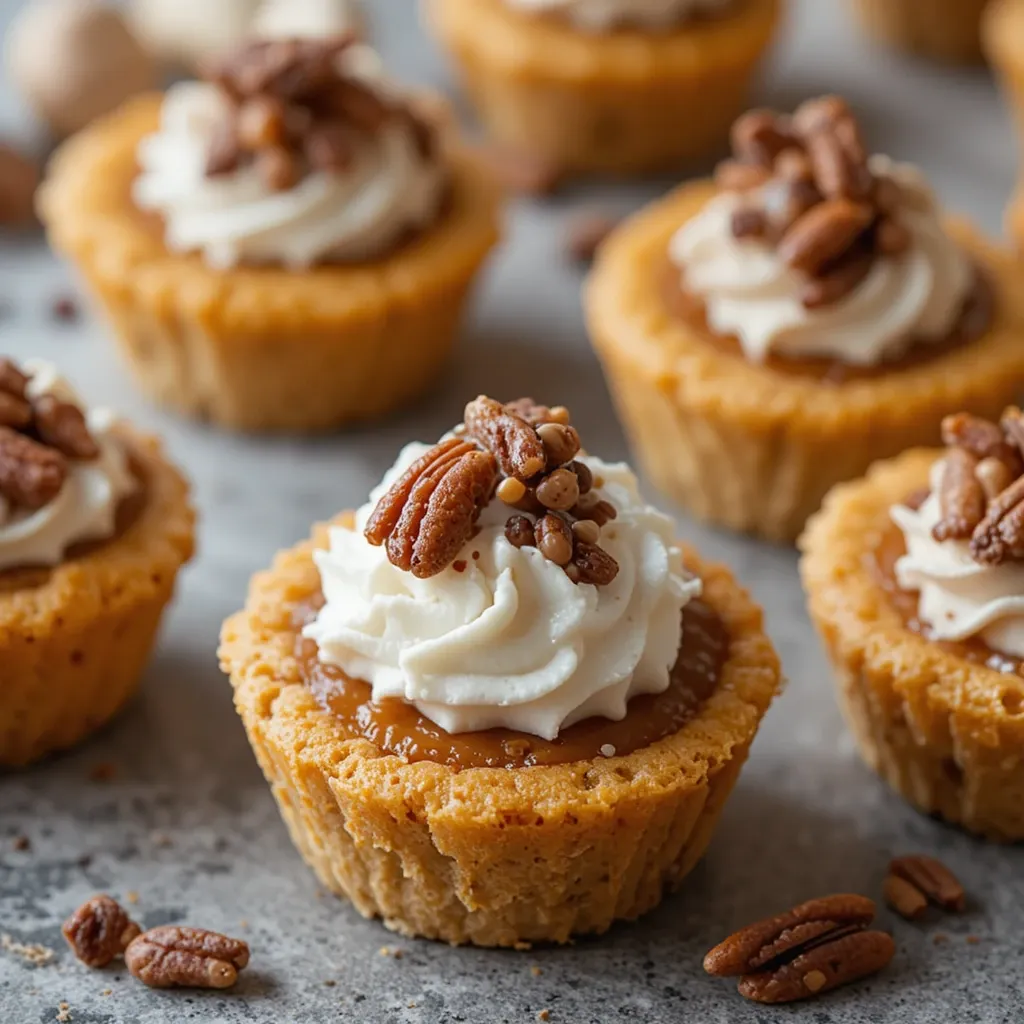
These thanksgiving mini treats are absolute showstoppers at any holiday gathering. Each bite delivers layers of buttery crust, sweet filling, and festive toppings that create an explosion of autumn flavors. The mini format means guests can try multiple varieties without feeling overly full, making them perfect for grazing tables and dessert spreads.
Budget-Friendly Holiday Baking
Making these treats at home saves you serious money compared to buying fancy bakery platters. A single batch yields 24-36 mini treats for a fraction of the cost of store-bought alternatives. You’ll spend about $15-20 on ingredients that would cost $40-50 at a bakery, plus you control the quality of every ingredient.
Customizable and Crowd-Approved
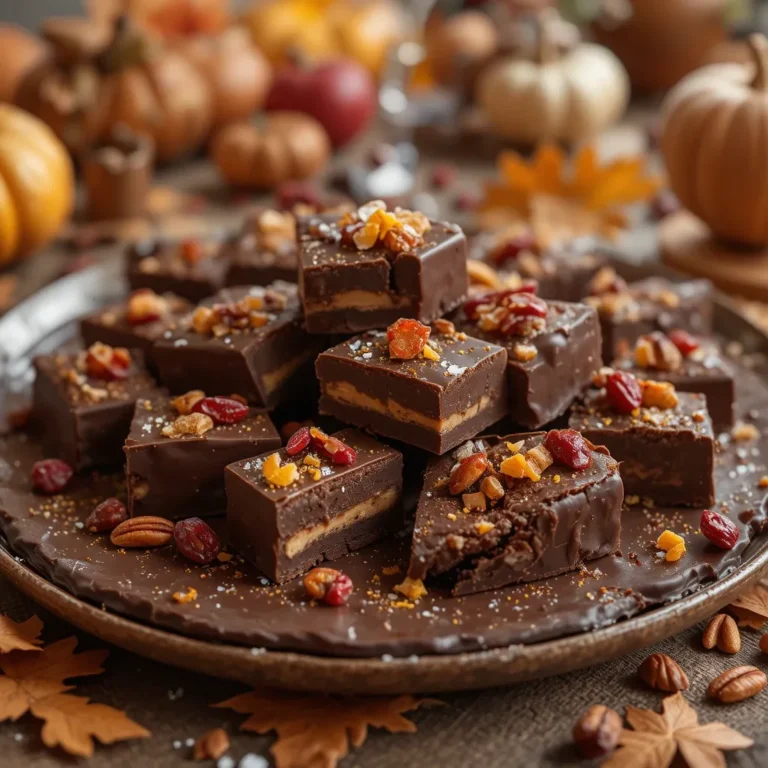
The beauty of these treats lies in their versatility. Top them with candied pecans, drizzle with caramel, add a dollop of spiced cream cheese, or dust with cinnamon sugar. Similar to our Mini Apple Hand Pies, these allow for endless creativity while maintaining that classic Thanksgiving taste. The individual portions also mean everyone gets their own perfect serving—no fighting over the last piece!
Ready to transform your holiday dessert game? Let’s get baking and create these memorable little bites that’ll have everyone asking for the recipe!
How to Make Thanksgiving Mini Treats
Quick Overview
These thanksgiving mini treats are remarkably easy to prepare, making them perfect for busy holiday schedules. You’ll love how the buttery crust melts in your mouth while the sweet, spiced filling provides that classic autumn comfort.
The standout element is the beautiful golden color and perfectly portioned size that makes presentation effortless.
Time Breakdown:
- Prep Time: 25 minutes
- Baking Time: 18-22 minutes
- Cooling Time: 15 minutes
- Total Time: Approximately 1 hour
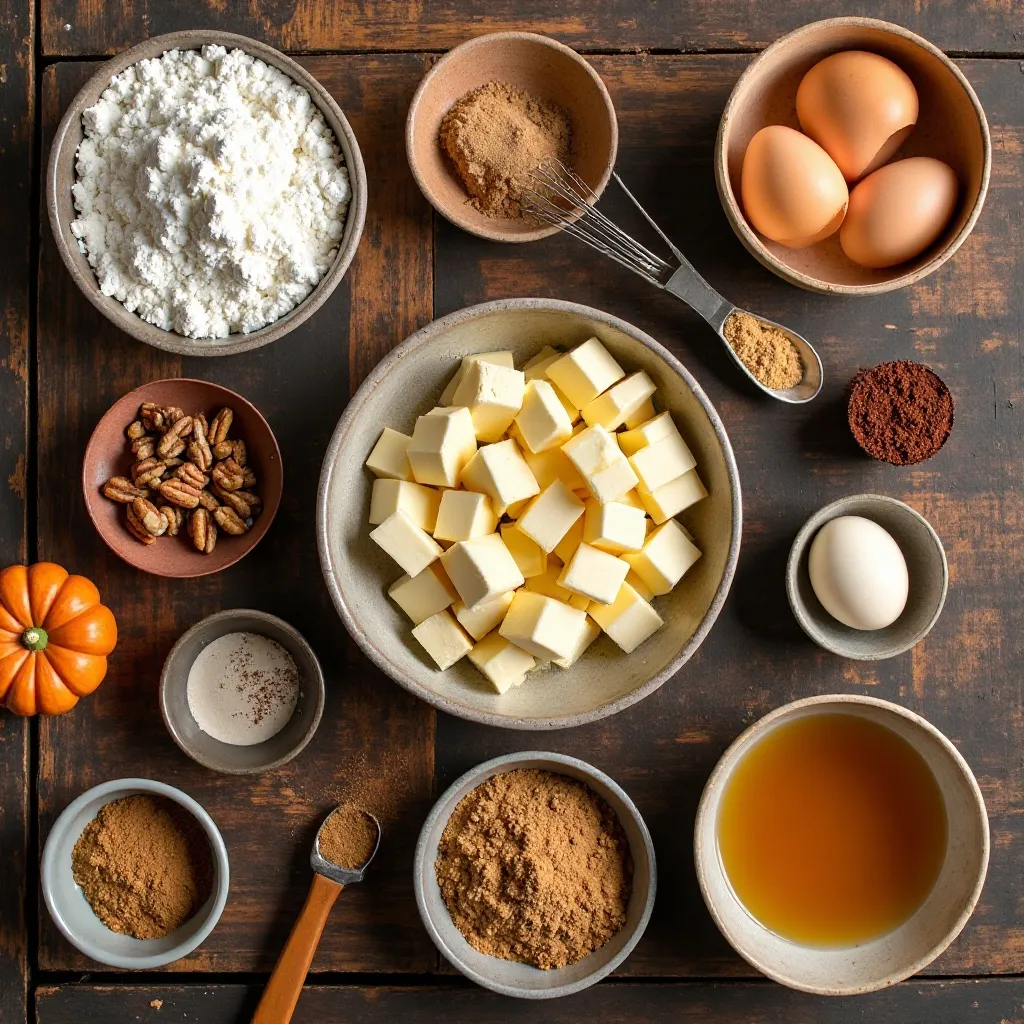
Key Ingredients for Thanksgiving Mini Treats
For the Crust:
- 2 cups all-purpose flour
- ½ cup powdered sugar
- 1 cup cold unsalted butter, cubed
- 1 teaspoon vanilla extract
- ¼ teaspoon salt
For the Filling:
- 1 cup pumpkin puree (not pumpkin pie filling)
- ½ cup brown sugar, packed
- 2 large eggs
- ½ cup heavy cream
- 1 teaspoon ground cinnamon
- ½ teaspoon ground nutmeg
- ¼ teaspoon ground ginger
- ¼ teaspoon ground cloves
- 1 teaspoon vanilla extract
For Topping:
- ½ cup chopped pecans
- 2 tablespoons maple syrup
- Whipped cream for serving
- Cinnamon stick garnish (optional)
Step-by-Step Instructions
Prepare Your Workspace
Start by preheating your oven to 350°F (175°C). Grease a 24-cup mini muffin tin thoroughly with butter or non-stick spray, making sure to coat the sides well to prevent sticking. Set aside on a stable surface.
Make the Buttery Crust
In a large mixing bowl, combine 2 cups of all-purpose flour, ½ cup powdered sugar, and ¼ teaspoon salt. Add the cubed cold butter and use a pastry cutter or your fingers to work it into the flour mixture until it resembles coarse crumbs with pea-sized butter pieces throughout. This should take about 3-4 minutes. Add 1 teaspoon vanilla extract and mix until the dough just comes together. Don’t overmix or your crust will be tough.
Form the Mini Crusts
Take about 1 tablespoon of dough and press it into the bottom and up the sides of each muffin cup, creating a small cup shape. Use your thumb to press firmly and evenly, ensuring there are no gaps or thin spots. The crust should be about ⅛-inch thick. Repeat for all 24 cups.
Prepare the Pumpkin Filling
In a medium bowl, whisk together 1 cup pumpkin puree, ½ cup packed brown sugar, and 2 large eggs until smooth and well combined. Add ½ cup heavy cream, 1 teaspoon cinnamon, ½ teaspoon nutmeg, ¼ teaspoon ginger, ¼ teaspoon cloves, and 1 teaspoon vanilla extract. Whisk vigorously for about 1 minute until the mixture is completely smooth with no lumps.
Fill the Crusts
Carefully spoon or pour the pumpkin filling into each prepared crust, filling them about ¾ full. Leave a small gap at the top as the filling will puff up slightly during baking. Wipe any spills from the edges of the muffin tin.
Add the Pecan Topping
In a small bowl, toss ½ cup chopped pecans with 2 tablespoons maple syrup until coated. Sprinkle a small amount of the pecan mixture on top of each filled mini treat, distributing evenly across all 24.
Bake to Golden Perfection
Place the muffin tin in the preheated oven and bake for 18-22 minutes. The treats are done when the filling is set and doesn’t jiggle when gently shaken, and the crust edges are lightly golden brown. Watch carefully during the last few minutes to prevent over-browning.
Cool and Remove
Remove from the oven and let the treats cool in the pan for 10 minutes. Run a small offset spatula or butter knife around the edges of each treat to loosen them. Carefully lift each one out and transfer to a wire cooling rack. Allow to cool for an additional 15 minutes before serving or topping.
Add Final Touches
Just before serving, add a small dollop of whipped cream on top of each treat. For extra presentation, garnish with a tiny piece of cinnamon stick or a light dusting of cinnamon sugar.
What to Serve Thanksgiving Mini Treats With
These thanksgiving mini treats pair beautifully with a variety of beverages and complementary dishes.
Serve alongside hot apple cider, spiced chai lattes, or rich coffee for a cozy afternoon treat. The warm spices in the treats harmonize perfectly with these seasonal drinks.
For a complete dessert spread, arrange them on a platter with Mini Pecan Tassies, Cranberry Brie Bites, and Maple Walnut Fudge squares. The variety of textures and flavors creates an impressive grazing table.
Consider pairing with vanilla ice cream or bourbon whipped cream for adults. The cold, creamy element contrasts beautifully with the spiced filling.
For a lighter option, serve with fresh fruit like sliced pears, apple wedges, or a handful of fresh cranberries on the side.
Top Tips for Perfecting Thanksgiving Mini Treats
Use Cold Butter for Flaky Crust
The secret to an incredibly tender, flaky crust is using cold butter straight from the refrigerator. Cold butter creates steam pockets during baking, resulting in that melt-in-your-mouth texture everyone loves. If your kitchen is warm, pop the butter in the freezer for 5 minutes before using.
Don’t Overfill the Cups
Fill each crust only ¾ full with the pumpkin mixture. Overfilling causes spillover during baking, creating a mess and uneven treats. The filling expands slightly as it bakes, so leaving space ensures neat, professional-looking results.
Test for Doneness Properly
The filling should be set but still have a slight jiggle in the center, similar to pumpkin pie. Overbaking creates a grainy texture. Insert a toothpick near the edge—it should come out mostly clean with just a few moist crumbs.
Customize Your Spices
Feel free to adjust spices to your preference. Add ⅛ teaspoon of cardamom for a unique twist, or increase the cinnamon if you love bold spice. You can also use 2 teaspoons of pumpkin pie spice instead of individual spices.
Make-Ahead Strategy
Prepare the crust dough up to 2 days in advance and refrigerate wrapped in plastic. The filling can also be made a day ahead and stored covered in the fridge. This breaks up the work and reduces holiday stress.
Prevent Soggy Bottoms
Ensure your crust is evenly pressed with no thin spots. Blind baking the crusts for 5 minutes before adding filling creates an extra barrier against sogginess, though it’s optional with this recipe.
Storing and Reheating Tips
Refrigerator Storage
Store thanksgiving mini treats in an airtight container in the refrigerator for up to 5 days. Place parchment paper between layers to prevent sticking. Let them come to room temperature for 15 minutes before serving, or enjoy them chilled for a firmer texture.
Freezing for Later
These treats freeze beautifully for up to 3 months. Place cooled treats in a single layer on a baking sheet and freeze for 1 hour until solid. Transfer to a freezer-safe container or zip-top bag, separating layers with parchment paper. Label with the date.
Reheating Instructions
To reheat refrigerated treats, microwave individual pieces for 10-15 seconds or warm in a 300°F oven for 5-7 minutes. For frozen treats, thaw overnight in the refrigerator, then warm as directed. Avoid overheating, which can make the filling watery.
Best Serving Method
For optimal flavor and texture, add whipped cream and any fresh toppings just before serving rather than storing them with toppings. This keeps the crust crisp and the presentation fresh.
My Kitchen Testing Story
I’ll be honest—the first time I attempted these thanksgiving mini treats was a bit of a disaster. I was testing recipes for our family’s Thanksgiving dinner, and in my excitement, I filled the crusts way too full. Cue pumpkin filling bubbling over everywhere and my kitchen smelling like a spice factory exploded.
My seven-year-old daughter walked in, looked at the overflowing muffin tin, and said, “Mom, they look like baby volcanoes!”
She wasn’t wrong.
But here’s the thing: even those messy, overflowing first attempts tasted absolutely incredible. My husband couldn’t stop eating them despite their appearance. That’s when I knew I had a winner.
On my second attempt, I adjusted the filling amount and perfected the technique. The result? Gorgeous, bakery-worthy treats that disappeared within minutes at our Thanksgiving potluck. Three different people asked for the recipe, and my mother-in-law (who’s notoriously hard to impress) actually complimented my baking. That’s when I knew these mini treats were something special worth sharing.
Common Baking Mistakes to Avoid
Mistake #1: Warm Butter in the Crust
Using room temperature or melted butter ruins the flaky texture. The butter needs to be cold to create those delicate, crumbly layers. If your dough feels greasy or sticky, your butter was too warm. Chill the dough for 15 minutes before proceeding.
Mistake #2: Overworking the Dough
Mixing the crust too much develops gluten, making it tough and chewy instead of tender. Mix just until the dough comes together. You should still see small butter pieces throughout—this is exactly what you want.
Mistake #3: Using Pumpkin Pie Filling Instead of Puree
Pumpkin pie filling already contains sugar and spices, which throws off the recipe balance. Always use pure pumpkin puree. Check the ingredient list—it should only say “pumpkin.”
Mistake #4: Not Greasing the Pan Thoroughly
Even with non-stick pans, these treats can stick if not properly greased. Pay special attention to the sides of each cup. Using butter to grease works better than cooking spray for this recipe.
Mistake #5: Opening the Oven Door Too Early
Resist the urge to check on your treats before the 15-minute mark. Opening the door releases heat and can cause the filling to crack or sink. Trust the process and only peek after 15 minutes.
Mistake #6: Removing from Pan Too Soon
These treats need that initial 10-minute cooling period in the pan to set properly. Removing them too early causes breakage and messy removal. Patience is key here.
Mistake #7: Overbaking
The filling should still have a slight jiggle when you remove them from the oven. They’ll continue setting as they cool. Overbaked treats become dry and crumbly instead of creamy and delicious.
Frequently Asked Questions
Can I make these thanksgiving mini treats ahead of time?
Absolutely! These treats are perfect for advance preparation. Bake them up to 2 days before your event and store in the refrigerator in an airtight container. You can also freeze them for up to 3 months. Just thaw overnight and add fresh whipped cream before serving.
Can I use a different type of pan if I don’t have a mini muffin tin?
Yes, you can adapt this recipe for regular muffin tins or even a 9-inch tart pan. For regular muffin tins, increase baking time to 25-30 minutes. For a large tart, bake for 35-40 minutes. The mini version is ideal for portion control and presentation, though.
What can I substitute for pumpkin puree?
Sweet potato puree works wonderfully as a substitute and provides a similar texture and color. You can also use butternut squash puree for a slightly different flavor profile. Avoid using canned sweet potato pie filling as it contains added sugars.
How do I know when the treats are fully baked?
The crust edges should be light golden brown, and the filling should be set around the edges with just a slight jiggle in the center. A toothpick inserted near the edge should come out with only a few moist crumbs. The center will firm up as the treats cool.
Can I make these dairy-free or vegan?
For dairy-free, substitute the butter with cold coconut oil or vegan butter, and use coconut cream instead of heavy cream. For fully vegan treats, replace eggs with flax eggs (2 tablespoons ground flaxseed mixed with 6 tablespoons water, left to thicken for 5 minutes).
Why did my crust turn out tough instead of flaky?
Tough crust typically results from overworking the dough or using warm butter. Handle the dough minimally and ensure your butter is cold. Also, avoid adding extra flour, which can make the crust dense.
Can I use pre-made pie crust to save time?
While homemade crust tastes best, you can use store-bought pie crust in a pinch. Roll it out and cut circles to fit your muffin cups. The texture won’t be quite as buttery and tender, but it’s a reasonable shortcut for busy schedules.
What’s the best way to get the treats out of the pan without breaking them?
Let them cool in the pan for 10 minutes first, then run a small offset spatula or butter knife around each edge. Gently twist and lift. If they’re still sticking, let them cool a few minutes longer. Proper greasing prevents most sticking issues.
Nutrition Information
| Nutrient | Per Serving (1 mini treat) |
|---|---|
| Calories | 145 |
| Total Fat | 8g |
| Saturated Fat | 4.5g |
| Cholesterol | 35mg |
| Sodium | 45mg |
| Total Carbohydrates | 16g |
| Dietary Fiber | 1g |
| Sugars | 8g |
| Protein | 2g |
| Vitamin A | 45% DV |
| Calcium | 2% DV |
| Iron | 4% DV |
Nutritional values are approximate and based on one mini treat without additional whipped cream topping. Values may vary depending on specific ingredients used.
Final Thoughts
These thanksgiving mini treats truly embody the spirit of the holiday season—warm, comforting, and meant to be shared with loved ones. Their perfectly portioned size makes them ideal for parties, potlucks, or simply enjoying with family while watching the Thanksgiving parade.
The beauty of this recipe lies in its simplicity and versatility. Whether you’re an experienced baker or trying your hand at holiday treats for the first time, you’ll find success with these little bites of autumn perfection.
Don’t forget to snap a photo of your beautiful creations and share them with friends and family. These treats have a way of bringing people together and creating sweet memories around the table.
Happy baking, and may your Thanksgiving be filled with love, laughter, and plenty of delicious treats!