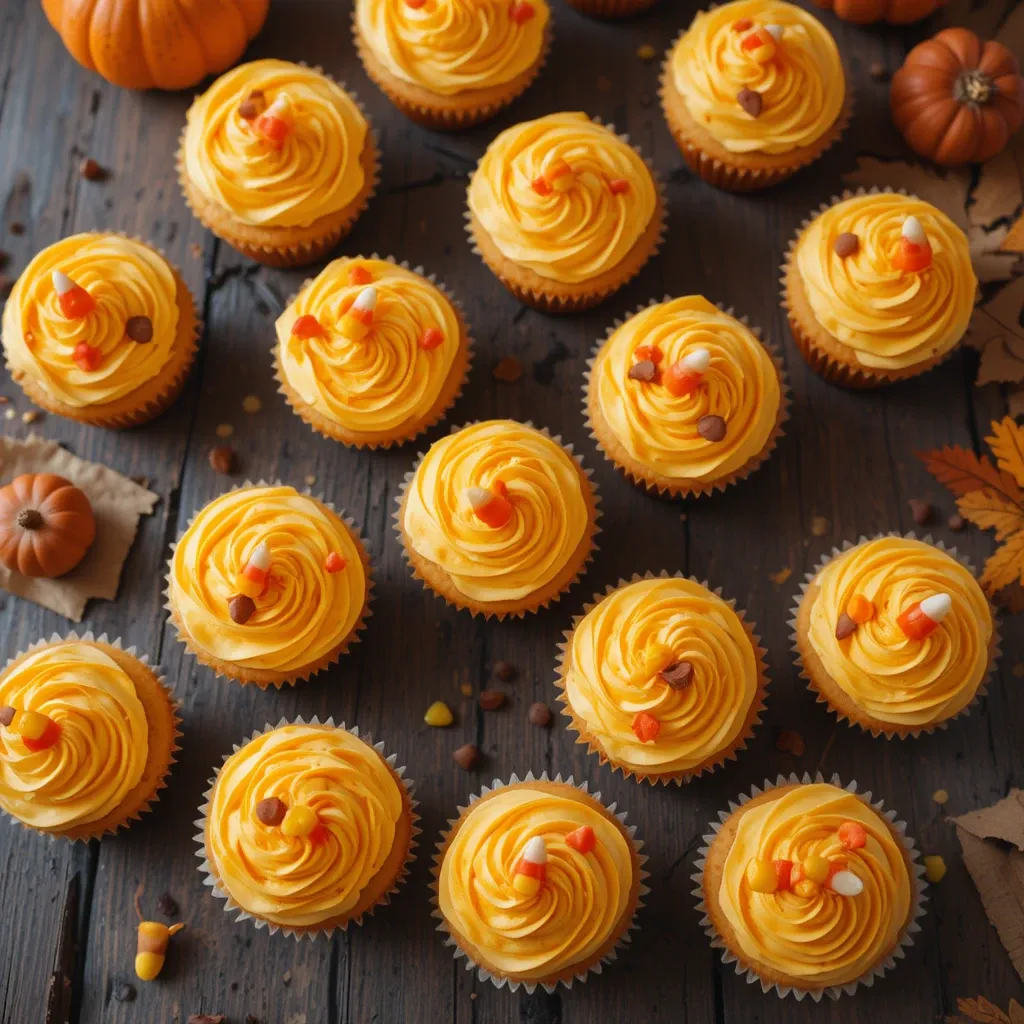
Thanksgiving Cupcakes with Candy Corn – Easy Fall Dessert Recipe
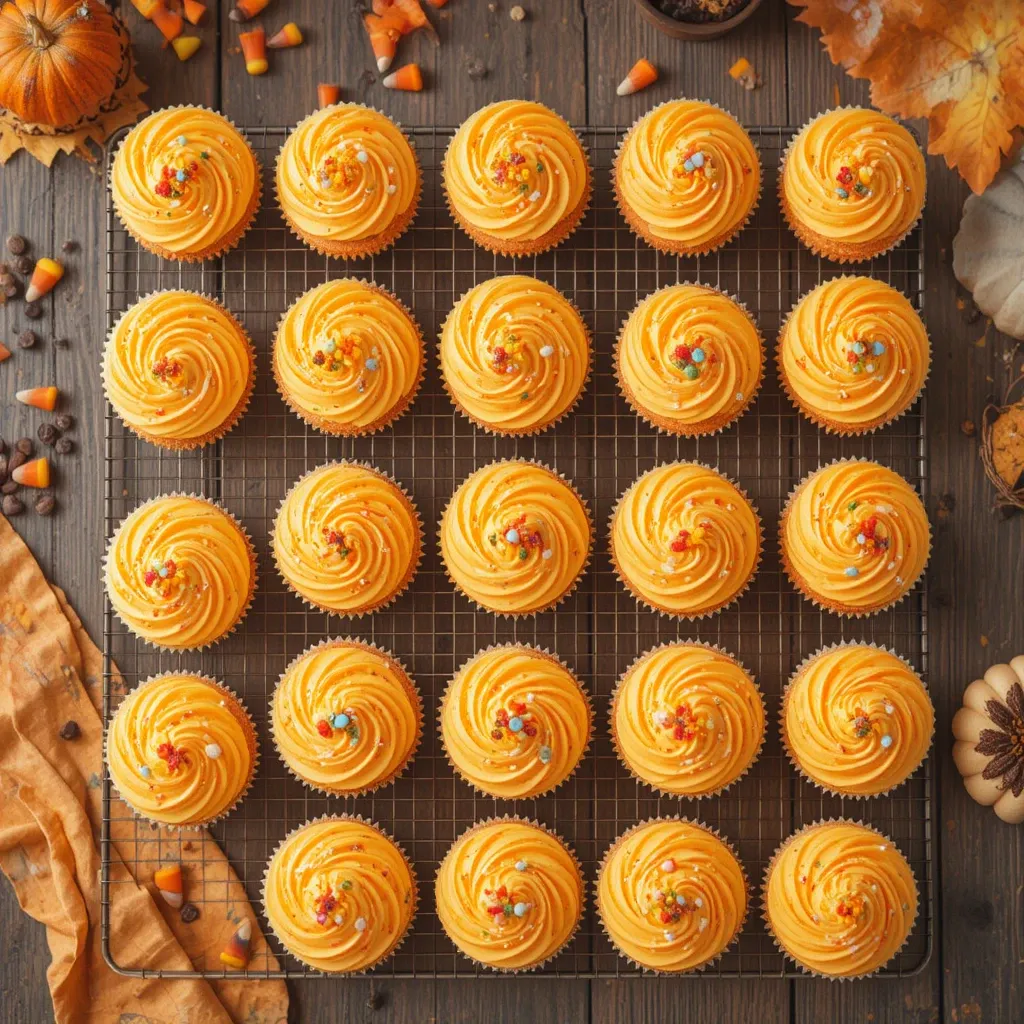
Imagine biting into a moist, buttery cupcake crowned with swirls of orange and yellow frosting and topped with festive candy corn. These Thanksgiving cupcakes with candy corn are the perfect way to celebrate autumn’s sweetest holiday. They’re surprisingly simple to make, taking just 30 minutes of active prep time, making them ideal for busy home bakers.
Much like our popular pumpkin spice cookies, these cupcakes capture the essence of fall in every bite. Whether you’re hosting a Thanksgiving potluck or just want to bring seasonal cheer to your dessert table, these adorable treats will have everyone asking for seconds.
What is a Thanksgiving Cupcake with Candy Corn?
Ever wonder why we call these Thanksgiving cupcakes with candy corn? Well, it’s pretty straightforward—they’re cupcakes decorated to celebrate Thanksgiving using candy corn as the star topping! These festive treats combine classic vanilla or spiced cupcakes with autumn-colored frosting and those iconic tri-colored candies we all know and love.
Some say candy corn is love it or hate it, but when perched atop a perfectly frosted cupcake, even skeptics become believers. After all, the way to anyone’s heart is through their stomach, and these cupcakes deliver both nostalgia and deliciousness in one bite. Ready to create your own batch of these festive beauties? Let’s get baking!
Why You’ll Love This Thanksgiving Cupcakes with Candy Corn
Perfect for Any Thanksgiving Celebration
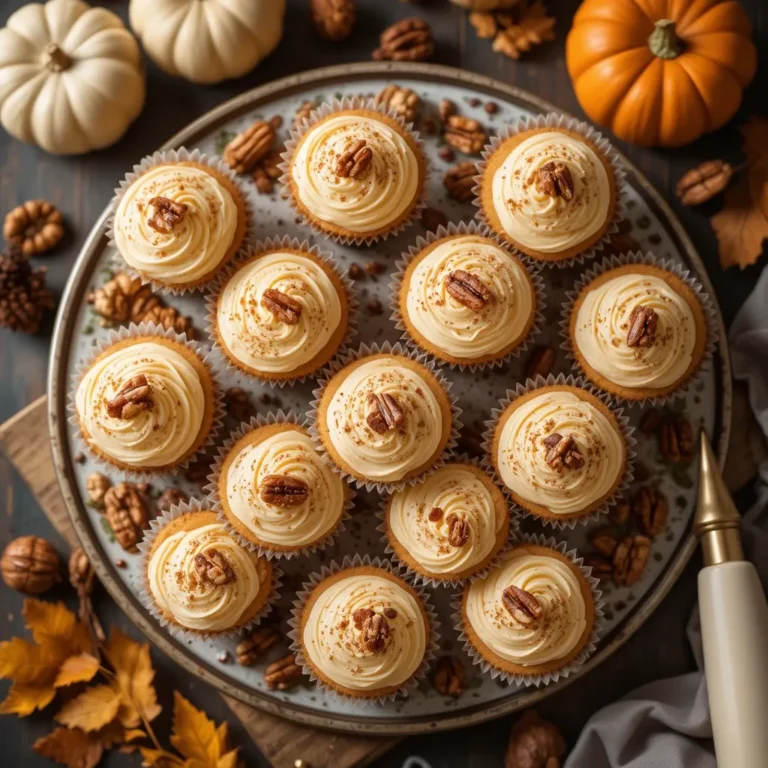
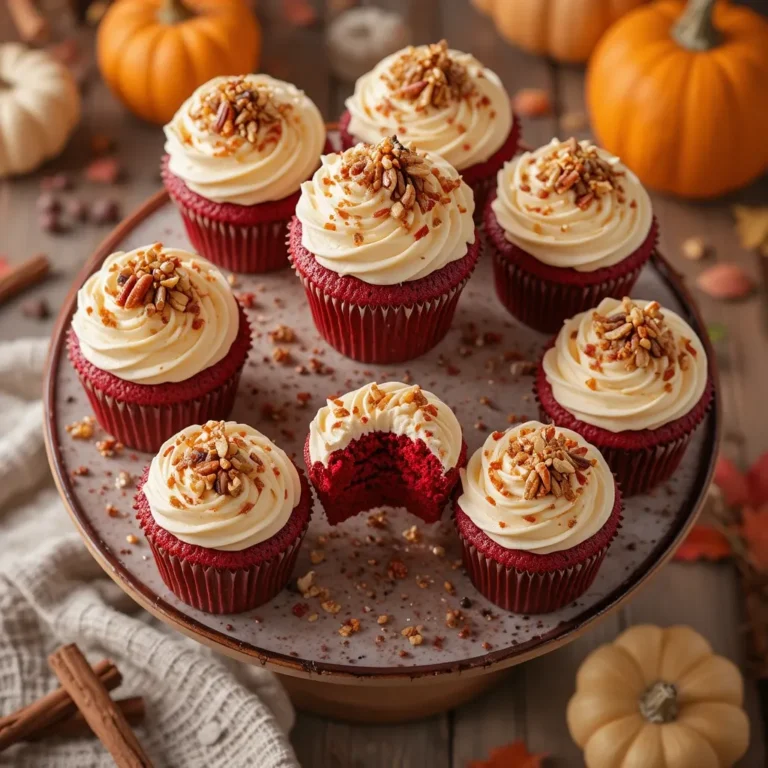
These cupcakes are show-stoppers without the stress. The moist, tender crumb pairs beautifully with smooth buttercream frosting that you can tint in gorgeous fall colors—burnt orange, golden yellow, or even deep burgundy. They’re Instagram-worthy yet approachable enough for baking novices.
Budget-Friendly Homemade Goodness
Skip the expensive bakery prices! Making Thanksgiving cupcakes with candy corn at home costs a fraction of what you’d pay at specialty shops. A batch of 24 cupcakes typically costs under $10, and you probably already have most ingredients in your pantry. The candy corn topping adds festive flair for just pennies per cupcake.
Customizable and Crowd-Pleasing
The beauty of these cupcakes lies in their versatility. Add pumpkin pie spice to the batter for warmth, or keep them classic vanilla. Top with cream cheese frosting instead of buttercream if you prefer tangy sweetness. Much like our beloved apple cider donuts, these treats appeal to all ages. Kids love decorating them, making this recipe perfect for family bonding.
Ready to impress your Thanksgiving guests? Grab your mixing bowls and let’s create these festive masterpieces together!
How to Make Thanksgiving Cupcakes with Candy Corn
Quick Overview
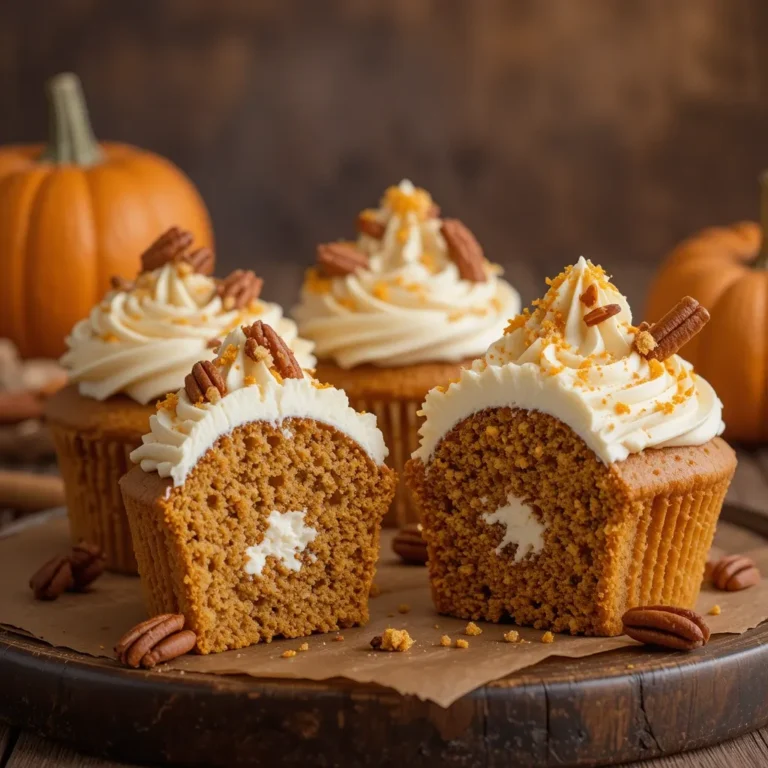
These Thanksgiving cupcakes with candy corn are wonderfully easy to prepare, making them perfect for both beginner bakers and seasoned pros. The cupcakes themselves are light, fluffy, and infused with subtle vanilla warmth. The real magic happens when you pipe on silky buttercream and crown each one with colorful candy corn.
Time Breakdown:
- Prep Time: 20 minutes
- Baking Time: 18-20 minutes
- Cooling Time: 30 minutes
- Decorating Time: 15 minutes
- Total Time: Approximately 1 hour 25 minutes
- Yield: 24 cupcakes
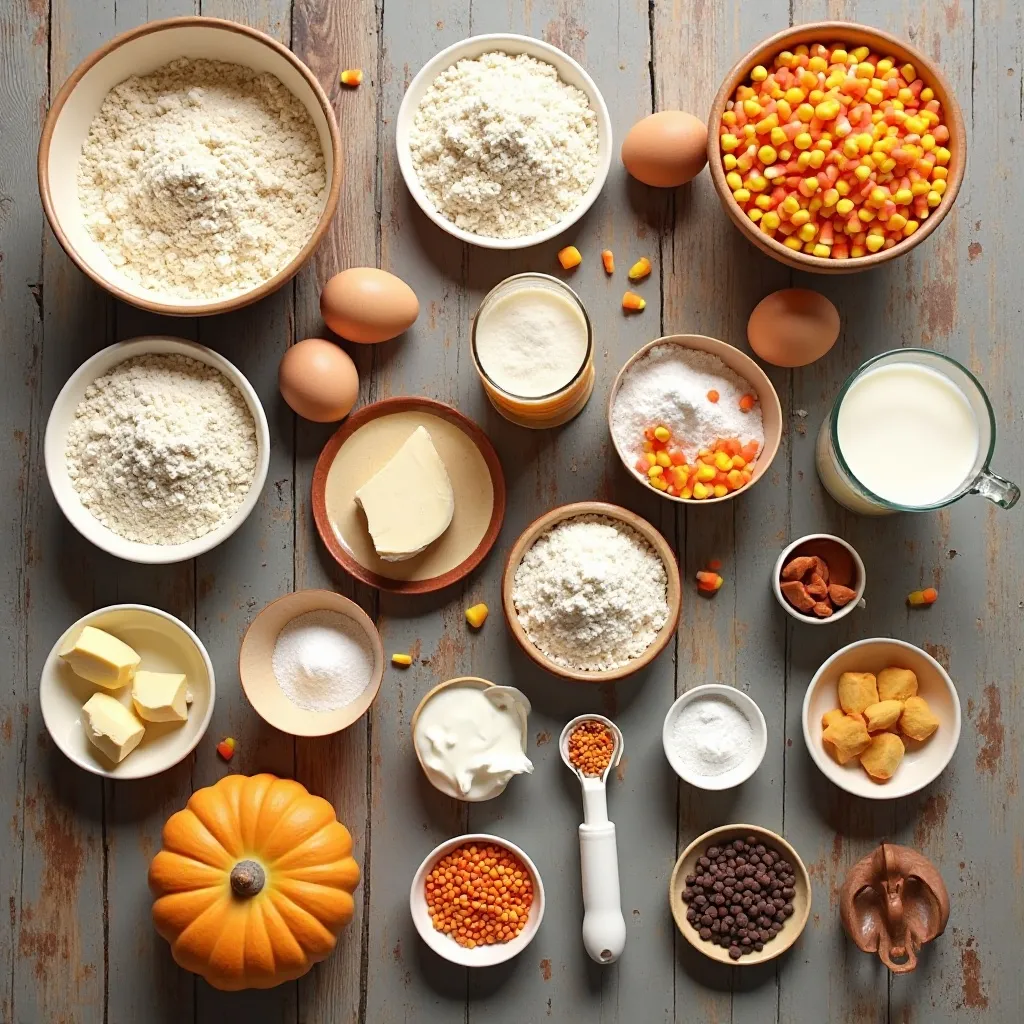
Key Ingredients for Thanksgiving Cupcakes with Candy Corn
For the Cupcakes:
- 1¾ cups all-purpose flour
- 1½ teaspoons baking powder
- ½ teaspoon baking soda
- ½ teaspoon salt
- ½ cup unsalted butter, softened
- 1 cup granulated sugar
- 2 large eggs, room temperature
- 2 teaspoons vanilla extract
- ½ cup sour cream, room temperature
- ½ cup whole milk, room temperature
- 1 teaspoon pumpkin pie spice (optional, for fall flavor)
For the Frosting:
- 1 cup unsalted butter, softened
- 4 cups powdered sugar
- 3-4 tablespoons heavy cream
- 2 teaspoons vanilla extract
- Orange and yellow gel food coloring
- Pinch of salt
For Decoration:
- 1 cup candy corn
- Fall-colored sprinkles (optional)
- Mini chocolate chips (optional)
Step-by-Step Instructions
Step 1: Prepare Your Baking Setup
Preheat your oven to 350°F (175°C). Line two 12-cup muffin tins with paper cupcake liners in fall colors—think orange, yellow, brown, or traditional white. This step ensures easy removal and adds to the festive presentation.
Step 2: Mix the Dry Ingredients
In a medium bowl, whisk together the flour, baking powder, baking soda, salt, and pumpkin pie spice if using. Whisking thoroughly ensures even distribution of leavening agents, which creates uniformly risen cupcakes. Set this bowl aside while you work on the wet ingredients.
Step 3: Cream Butter and Sugar
In a large mixing bowl, use an electric mixer on medium-high speed to beat the softened butter and granulated sugar together for 3-4 minutes. The mixture should become pale, fluffy, and nearly doubled in volume. This creaming process incorporates air, which makes your cupcakes light and tender.
Step 4: Add Eggs and Vanilla
Add the eggs one at a time, beating well after each addition. Scrape down the sides of the bowl to ensure everything incorporates evenly. Mix in the vanilla extract. The batter should look smooth and slightly glossy at this point.
Step 5: Combine Wet Ingredients
In a small measuring cup, whisk together the sour cream and milk until smooth and well combined. This mixture adds moisture and creates that bakery-style tender crumb we’re after.
Step 6: Alternate Adding Dry and Wet Ingredients
With your mixer on low speed, add the flour mixture in three additions, alternating with the sour cream mixture in two additions. Start and end with the flour mixture. Mix just until combined after each addition—overmixing leads to tough, dense cupcakes. The final batter should be smooth and thick but pourable.
Step 7: Fill and Bake
Using an ice cream scoop or large spoon, fill each cupcake liner about two-thirds full. This ensures room for the cupcakes to rise without overflowing. Bake for 18-20 minutes, or until a toothpick inserted into the center comes out clean or with just a few moist crumbs. The tops should spring back when lightly touched.
Step 8: Cool Completely
Remove the cupcake pans from the oven and let them cool in the pans for 5 minutes. Then transfer the cupcakes to a wire cooling rack to cool completely, about 30 minutes. Never frost warm cupcakes—the frosting will melt into a mess!
Step 9: Make the Buttercream Frosting
While cupcakes cool, prepare your frosting. In a large bowl, beat the softened butter with an electric mixer on medium speed for 2-3 minutes until creamy and smooth. Gradually add the powdered sugar, one cup at a time, beating on low speed after each addition. Add the vanilla extract, salt, and 3 tablespoons of heavy cream. Beat on high speed for 3-4 minutes until the frosting is light, fluffy, and spreadable. Add more cream if needed for desired consistency.
Step 10: Color the Frosting
Divide the frosting into two or three bowls depending on how many colors you want. Add orange gel food coloring to one bowl and yellow to another, leaving one bowl white if desired. Stir each color thoroughly or use a mixer to achieve vibrant, even colors. For a marbled effect, place different colored frostings side by side in a piping bag.
Step 11: Frost the Cupcakes
Fit a large piping bag with a star tip (like Wilton 1M or 2D). Fill the bag with your colored frosting. Hold the bag perpendicular to the cupcake surface and pipe in a circular motion from the outside edge toward the center, building upward to create a beautiful swirl. Alternatively, use an offset spatula to spread frosting in smooth or textured swirls.
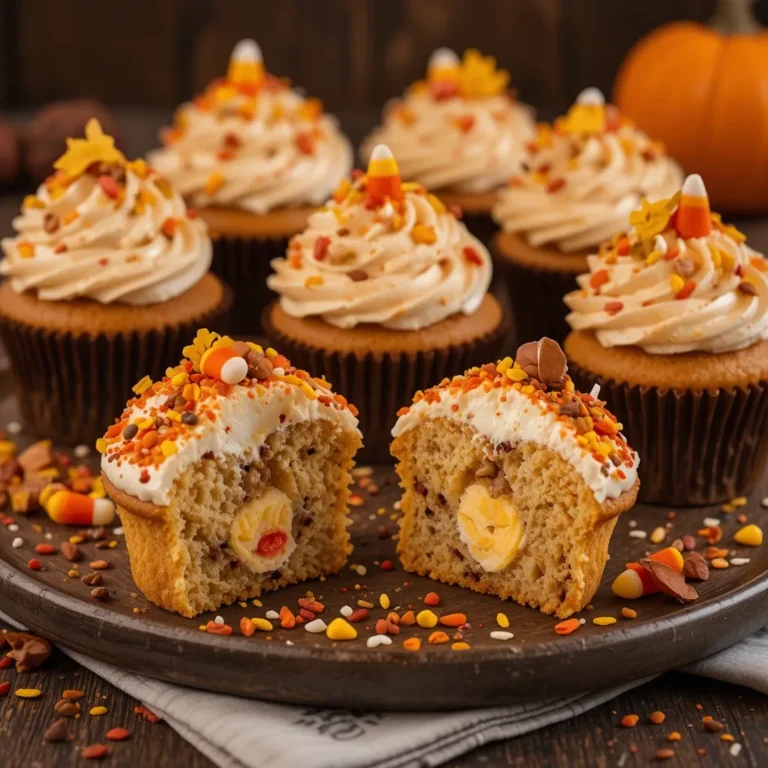
Step 12: Add Candy Corn Decoration
While the frosting is still fresh, press 3-5 pieces of candy corn into the top of each cupcake. Arrange them in a small cluster, scatter them artistically, or create a pattern—get creative! Add fall sprinkles or mini chocolate chips for extra pizzazz.
What to Serve Thanksgiving Cupcakes with Candy Corn With
These festive cupcakes pair beautifully with various Thanksgiving beverages and desserts. Serve them alongside hot apple cider or spiced chai tea for a cozy autumn experience. They also complement creamy hot chocolate topped with whipped cream.
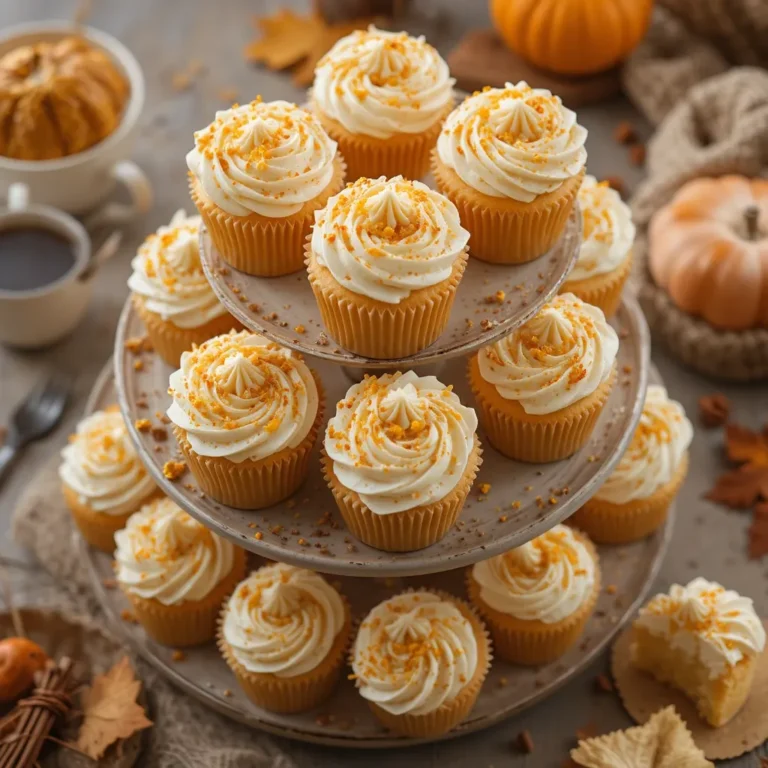
For a complete dessert spread, arrange these cupcakes on a tiered stand with other fall treats like pumpkin pie bars, pecan tassies, or caramel apple slices. The variety creates an impressive display that gives guests options.
If you’re serving them at a kids’ table, pair with cold milk or warm cider. For adult gatherings, pumpkin spice lattes, or even bourbon-spiked coffee to balance the sweetness.
These cupcakes also make excellent additions to Thanksgiving dessert buffets, potluck contributions, or classroom party treats. Their portable, individual-serving format makes them practical for any gathering.
Top Tips for Perfecting Thanksgiving Cupcakes with Candy Corn
Room Temperature Ingredients Are Essential
Always use room temperature eggs, milk, and sour cream. Cold ingredients don’t emulsify properly with butter, resulting in dense, uneven cupcakes. Let eggs and dairy sit at room temperature for 30-45 minutes before baking, or place eggs in warm water for 5 minutes to speed the process.
Don’t Overmix the Batter
Once you add flour, mix only until you can’t see dry streaks. Overmixing develops gluten, making cupcakes tough and chewy instead of tender and fluffy. Use a rubber spatula to fold in the last bits of flour if needed.
Use an Ice Cream Scoop for Even Cupcakes
A standard ice cream scoop ensures each cupcake liner gets the same amount of batter, resulting in uniformly sized cupcakes that bake evenly. This professional trick guarantees consistent results every time.
Test for Doneness Properly
Insert a toothpick into the center of a cupcake in the middle of the pan. It should come out clean or with a few moist crumbs—never wet batter. Overbaking creates dry cupcakes, so check at 18 minutes and add time as needed.
Make Frosting Extra Fluffy
Beat your butter for a full 2-3 minutes before adding sugar. This incorporates air that makes frosting lighter. If frosting seems too thick, add cream one teaspoon at a time. Too thin? Add more powdered sugar in ¼ cup increments.
Gel Food Coloring Beats Liquid
Gel or paste food coloring creates vibrant colors without thinning your frosting. Liquid food coloring can make frosting runny and requires much more product to achieve rich autumn hues.
Chill Frosted Cupcakes Briefly
After piping frosting, refrigerate cupcakes for 10 minutes. This sets the frosting, making it easier to transport or store without smudging your beautiful designs.
Storing and Reheating Tips
Room Temperature Storage: Store Thanksgiving cupcakes with candy corn in an airtight container at room temperature for up to 2 days. Place parchment paper between layers if stacking to protect frosting. Keep them away from direct sunlight and heat sources that could melt the frosting.
Refrigerator Storage: For longer storage, refrigerate cupcakes in an airtight container for up to 5 days. The buttercream will firm up in the fridge. Let cupcakes sit at room temperature for 20-30 minutes before serving to restore their soft texture and allow flavors to bloom.
Freezing Instructions: These cupcakes freeze beautifully! For unfrosted cupcakes, wrap each individually in plastic wrap, place in a freezer bag, and freeze for up to 3 months. Thaw at room temperature for 1-2 hours before frosting.
For frosted cupcakes, flash-freeze them on a baking sheet for 1 hour, then wrap individually and store in a freezer container for up to 1 month. Thaw in the refrigerator overnight, then bring to room temperature before serving.
Reheating Tips: These cupcakes are best enjoyed at room temperature and don’t require reheating. If you’ve frozen unfrosted cupcakes, you can warm them in a 300°F oven for 5 minutes to restore that fresh-baked feel before frosting and serving.
Common Baking Mistakes to Avoid
Opening the Oven Door Too Early: Resist the temptation to peek! Opening the oven door before the 15-minute mark releases heat and can cause cupcakes to sink in the middle. Wait until at least 18 minutes to check for doneness.
Using Old Baking Powder or Baking Soda: Leavening agents lose potency over time. Test baking powder by mixing a teaspoon with hot water—it should bubble vigorously. Test baking soda with vinegar for the same reaction. Replace if they’re flat or older than 6 months.
Overfilling Cupcake Liners: Two-thirds full is the magic number. Overfilled liners create mushroom-top cupcakes with strange shapes. Underfilled liners result in flat cupcakes that dry out quickly. Use a scoop for consistency.
Not Prepping Ingredients Properly: Butter that’s too cold won’t cream properly. Butter that’s too warm makes greasy, dense cupcakes. Aim for butter that holds its shape but leaves an indent when pressed—about 65-68°F.
Skipping the Cooling Process: Frosting warm cupcakes melts the buttercream into a soupy mess. Always let cupcakes cool completely—no cheating! If you’re in a hurry, pop them in the fridge for 15 minutes to speed cooling.
Using the Wrong Flour: All-purpose flour is essential for proper texture. Cake flour makes them too delicate, while bread flour makes them tough. Measure flour by spooning it into the measuring cup and leveling off—don’t pack it down.
Frequently Asked Questions
Can I make these cupcakes ahead of time?
Absolutely! Bake cupcakes 1-2 days ahead and store in an airtight container at room temperature. Frost them the day of serving for the freshest presentation. You can also freeze unfrosted cupcakes for up to 3 months and frost when ready to serve.
What can I substitute for candy corn?
If you’re not a candy corn fan, try autumn-themed decorations like chocolate leaves, fondant pumpkins, candy pumpkins, caramel bits, or chopped pecans. You can also use fall-colored M&Ms, Reese’s Pieces, or mini marshmallows tinted orange and yellow.
Can I make these cupcakes gluten-free?
Yes! Use a 1:1 gluten-free flour blend that contains xanthan gum. Cup4Cup, Bob’s Red Mill 1-to-1, or King Arthur Measure for Measure work well. The texture may be slightly denser but still delicious.
How do I make the frosting more stable in warm weather?
Add 2 tablespoons of meringue powder to your buttercream for extra stability. You can also use a cream cheese frosting base (less prone to melting) or try Swiss meringue buttercream, which holds up better in heat than American buttercream.
Can I add pumpkin to these cupcakes?
Yes! Replace ½ cup of the sour cream and milk mixture with ½ cup pumpkin puree. You may need to add 1-2 extra minutes to the baking time. The cupcakes will have a denser texture and beautiful orange color.
What’s the best way to transport these cupcakes?
Use a cupcake carrier with individual wells to prevent shifting. If you don’t have one, place cupcakes in a shallow box lined with non-slip shelf liner. Don’t stack them, and keep them cool during transport.
Can I use this recipe to make a layer cake instead?
Definitely! This batter makes two 8-inch or 9-inch round cakes. Bake at 350°F for 25-30 minutes. Cool completely before frosting and decorating with candy corn around the edges.
Why did my cupcakes sink in the middle?
Common causes include overmixing the batter, opening the oven door too early, oven temperature too low, or old leavening agents. Make sure your oven is properly preheated and avoid opening the door during the first 15 minutes.
Can I make dairy-free Thanksgiving cupcakes?
Yes! Use dairy-free butter sticks (not margarine) for both the cupcakes and frosting. Replace milk with almond, oat, or soy milk. Use dairy-free sour cream or coconut cream for the cupcakes. Replace heavy cream in frosting with coconut cream.
How do I get perfectly smooth frosting?
Beat room temperature butter until very fluffy before adding sugar. Sift powdered sugar to remove lumps. Add liquid gradually until you reach the perfect consistency. For ultra-smooth frosting, beat on high speed for 4-5 minutes to eliminate air bubbles.
Nutrition Information
| Nutrient | Per Cupcake |
|---|---|
| Calories | 285 |
| Total Fat | 12g |
| Saturated Fat | 7g |
| Cholesterol | 45mg |
| Sodium | 125mg |
| Total Carbohydrates | 42g |
| Dietary Fiber | 0g |
| Sugars | 32g |
| Protein | 2g |
Nutrition information is approximate and based on standard ingredients. Values may vary depending on specific brands used.
Final Thoughts
These Thanksgiving cupcakes with candy corn bring together everything we love about fall baking: comforting flavors, festive colors, and the joy of sharing homemade treats with loved ones. They’re simple enough for beginners yet impressive enough to wow your holiday guests.
The best part? You can customize them endlessly. Add cinnamon to the batter, use maple frosting, or swap candy corn for other fall decorations. Make them your own tradition.
So preheat that oven, grab your mixing bowls, and create these delightful cupcakes that capture the spirit of Thanksgiving in every bite. Your family and friends will be asking for this recipe year after year!
Happy baking, and Happy Thanksgiving! 🧁🍂