Easy Mini Thanksgiving Cookies Decorated Step-by-Step Guide
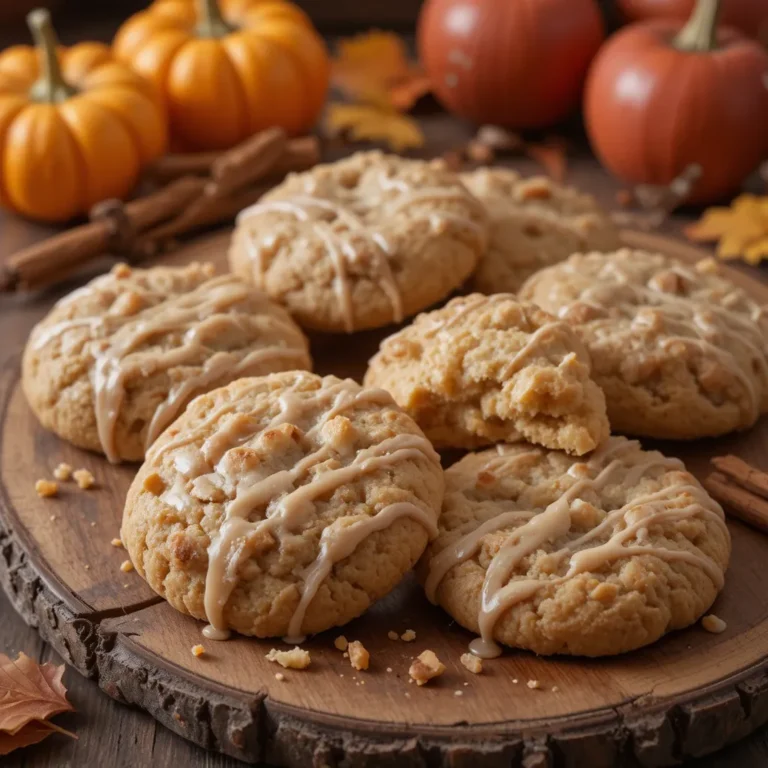
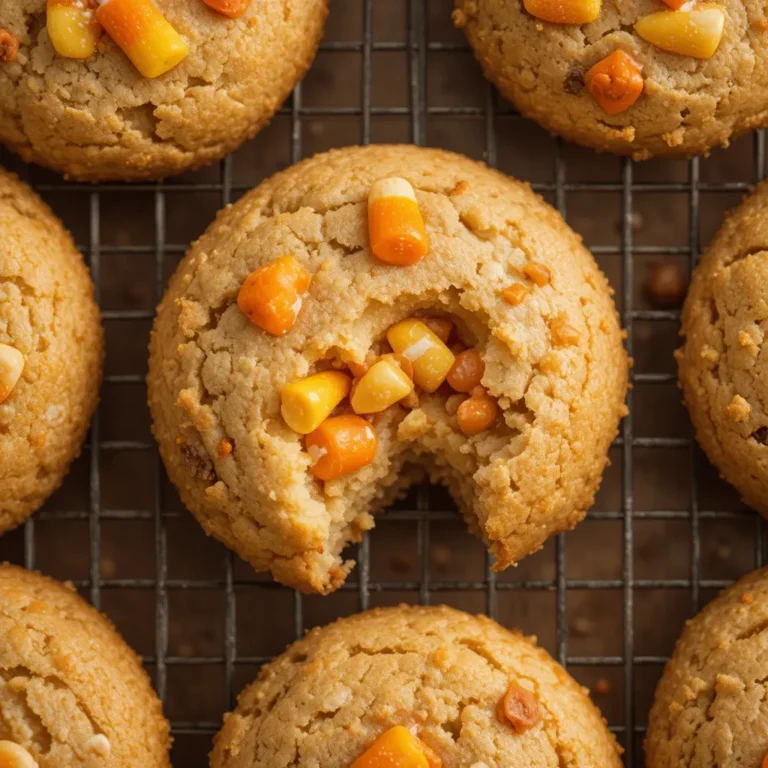
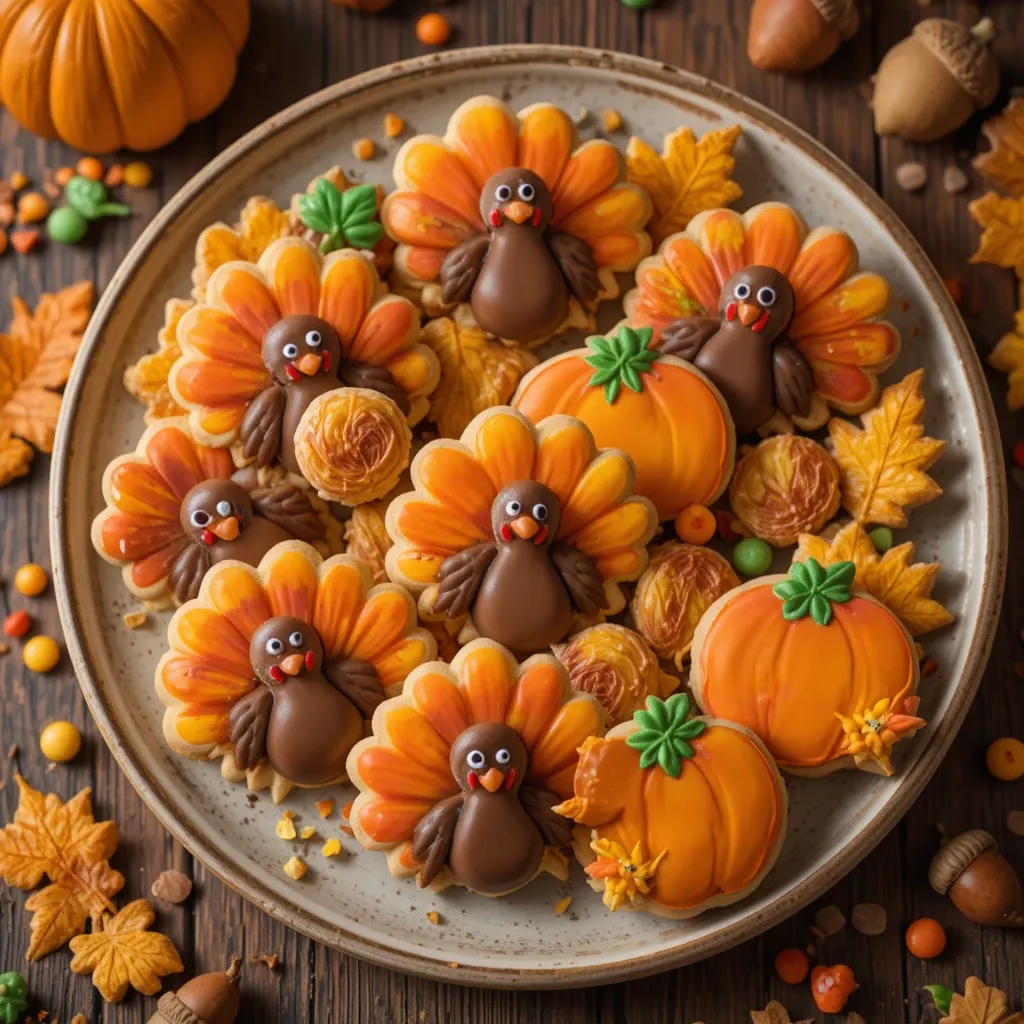
Bite-sized cookies adorned with turkeys, pumpkins, and autumn leaves that taste as amazing as they look! These mini thanksgiving cookies decorated are the perfect addition to your holiday spread. They’re buttery, sweet, and absolutely irresistible. Here’s a fun fact: decorated cookies date back to 16th century Germany, but these festive versions bring modern charm to your Thanksgiving table.
What makes these special? They’re surprisingly simple to make, require less than 90 minutes from start to finish, and kids absolutely adore decorating them. If you loved my Thanksgiving Sugar Cookie Bars, you’ll flip for these miniature masterpieces that let everyone creativity shine!
What Are Mini Thanksgiving Cookies Decorated?
Ever wondered why we call them “mini thanksgiving cookies decorated” instead of just Thanksgiving cookies? Well, the “mini” makes them perfectly pop-able, the “Thanksgiving” gives them purpose, and “decorated” is where the magic happens! These aren’t your average cookies gathering dust in the cookie jar.
They’re tiny canvases waiting for your artistic touch with royal icing, fondant, and edible decorations. As the saying goes, “the way to a man’s heart is through his stomach,” and these adorable treats prove it works for everyone! Ready to become the Thanksgiving cookie hero your family didn’t know they needed?
Why You’ll Love This Mini Thanksgiving Cookies Decorated Recipe
Irresistibly Cute and Customizable
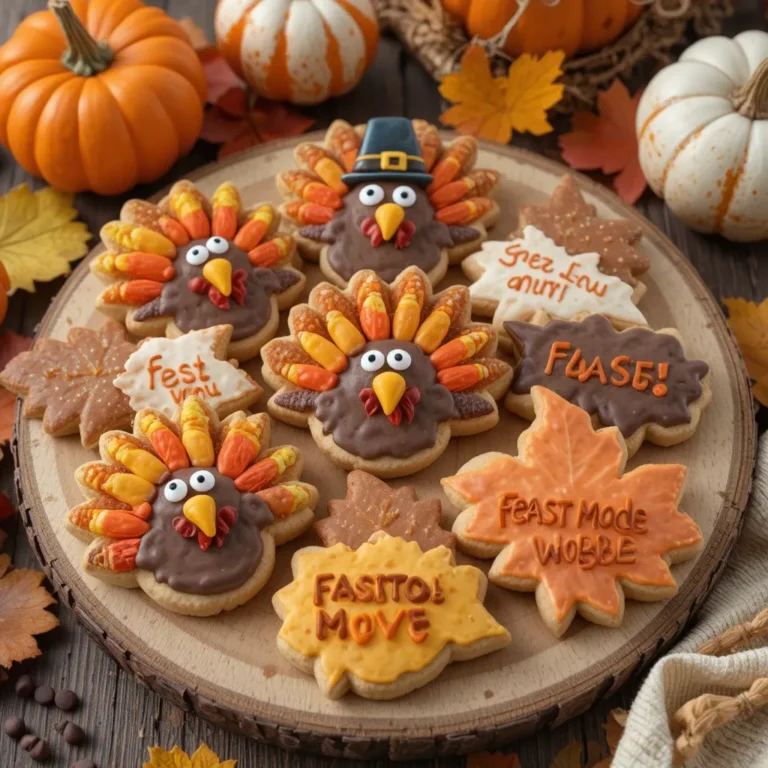
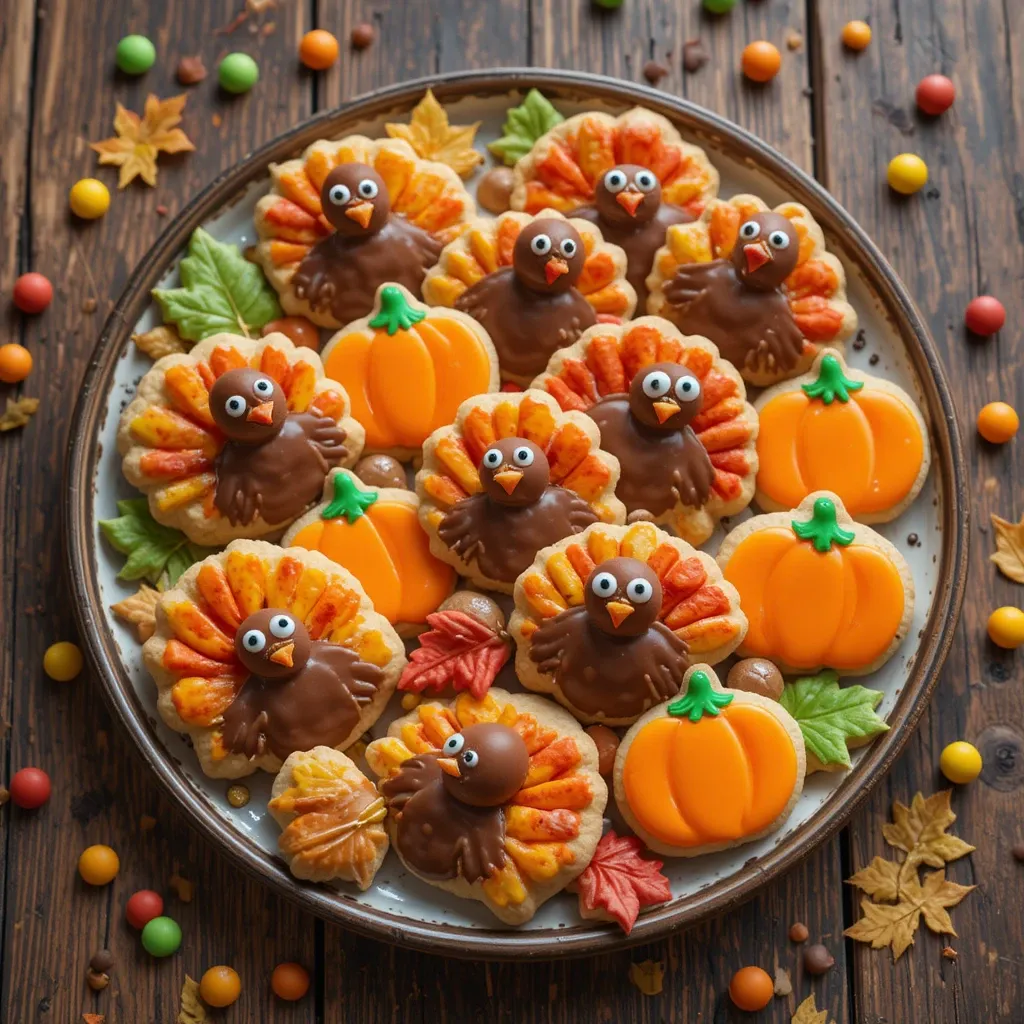
These mini thanksgiving cookies decorated steal the show at any Thanksgiving gathering. Each cookie becomes a tiny work of art featuring turkeys with colorful tail feathers, golden pumpkins, and vibrant fall leaves. The buttery vanilla base provides the perfect canvas, while the smooth royal icing allows for precise detailing. Your creativity has no limits here!
Budget-Friendly Holiday Baking
Forget spending $30-40 on a dozen decorated cookies from the bakery. Making these at home costs a fraction of that price. With basic pantry staples like flour, butter, and sugar, plus some inexpensive food coloring and decorating supplies, you’ll create dozens of professional-looking cookies. The investment? About $15 for enough ingredients to make 40-50 mini cookies. That’s serious savings!
Flavor Meets Function
The cookie base is tender, buttery, and not too sweet, which perfectly balances the sugary icing decorations. You can customize the flavors too—add vanilla extract, almond extract, or even cinnamon for a warm autumn twist. The icing dries firm, making these cookies stackable and perfect for gifting.
Speaking of gifting, if you enjoy making treats to share, check out my Pumpkin Spice Snickerdoodles recipe for another crowd-pleaser. These mini thanksgiving cookies decorated are ideal for cookie exchanges, classroom parties, or creating lasting memories with your little ones in the kitchen.
How to Make Mini Thanksgiving Cookies Decorated
Quick Overview
These mini thanksgiving cookies decorated combine a classic sugar cookie base with festive royal icing designs. The result? Adorable, professional-looking treats that taste heavenly. The cookies are crisp on the edges, tender in the center, and hold their shape beautifully.
Time Breakdown:
- Prep Time: 30 minutes
- Chilling Time: 1 hour
- Baking Time: 8-10 minutes per batch
- Decorating Time: 45-60 minutes
- Total Time: Approximately 2 hours 30 minutes
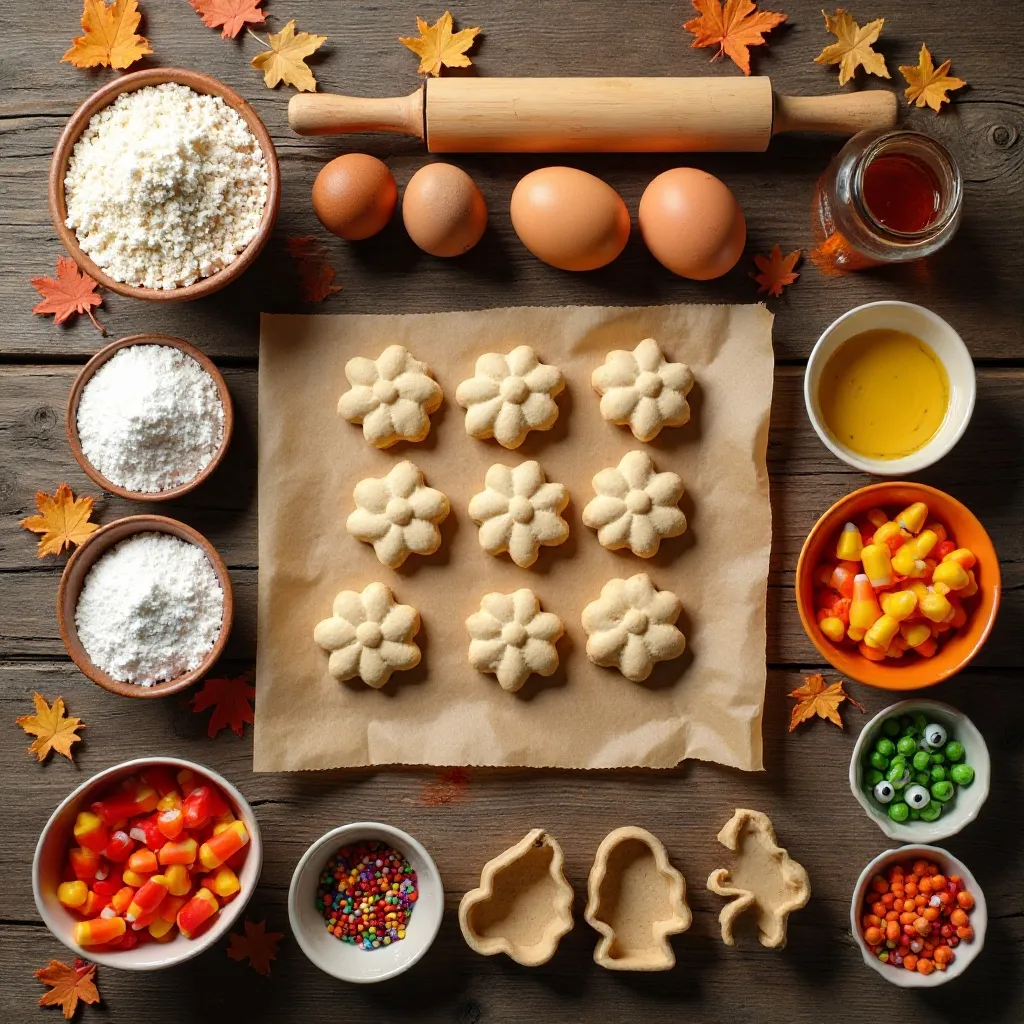
Key Ingredients for Mini Thanksgiving Cookies Decorated
For the Cookies:
- 2¾ cups all-purpose flour
- 1 teaspoon baking powder
- ½ teaspoon salt
- 1 cup (2 sticks) unsalted butter, softened
- ¾ cup granulated sugar
- 1 large egg
- 2 teaspoons vanilla extract
- 1 teaspoon almond extract (optional)
For the Royal Icing:
- 4 cups powdered sugar, sifted
- 3 tablespoons meringue powder
- 5-6 tablespoons warm water
- Gel food coloring (orange, brown, red, yellow, green)
For Decorating:
- Mini candy eyes
- Orange candy corn (for turkey beaks)
- Small candies or sprinkles
- Edible markers (optional)
Step-by-Step Instructions
Making the Cookie Dough:
Step 1: Whisk together the flour, baking powder, and salt in a medium bowl. Set this dry mixture aside while you prepare the wet ingredients.
Step 2: In a large mixing bowl, beat the softened butter and sugar together using an electric mixer on medium-high speed. Continue beating for 3-4 minutes until the mixture becomes light, fluffy, and pale in color. This creaming process incorporates air and creates tender cookies.
Step 3: Add the egg, vanilla extract, and almond extract (if using) to the butter mixture. Beat on medium speed for another minute until everything is fully combined and smooth.
Step 4: Gradually add the dry ingredients to the wet ingredients in three additions. Mix on low speed after each addition until just combined. Avoid overmixing, as this can create tough cookies. The dough should come together into a soft, cohesive ball.
Step 5: Divide the dough in half and shape each portion into a flat disk. Wrap each disk tightly in plastic wrap and refrigerate for at least 1 hour or up to 3 days. Chilling is crucial—it prevents the cookies from spreading too much during baking and makes rolling easier.
Rolling and Cutting:
Step 6: Preheat your oven to 350°F (175°C). Line two baking sheets with parchment paper or silicone baking mats.
Step 7: Remove one disk of dough from the refrigerator. On a lightly floured surface, roll the dough to about ¼-inch thickness. Use mini Thanksgiving cookie cutters (1.5-2 inches in size) shaped like turkeys, pumpkins, leaves, and acorns to cut out shapes.
Step 8: Carefully transfer the cut cookies to the prepared baking sheets using a thin spatula, spacing them about 1 inch apart. Gather the dough scraps, re-roll, and cut more cookies. Repeat with the second disk of dough.
Baking:
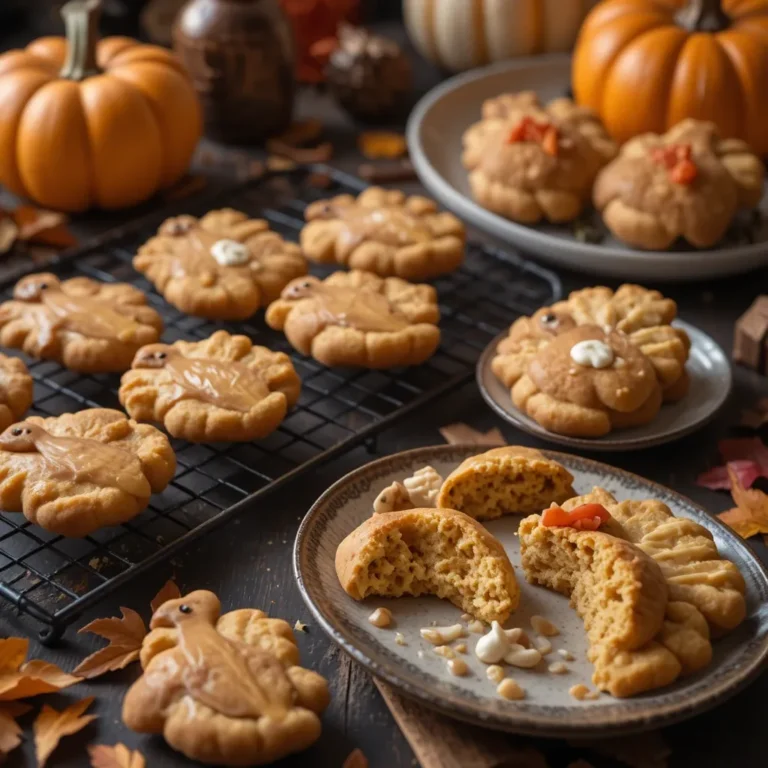
Step 9: Bake the cookies for 8-10 minutes, or until the edges are just barely golden. The centers should still look slightly soft—they’ll firm up as they cool. Avoid overbaking, as mini cookies can dry out quickly.
Step 10: Allow the cookies to cool on the baking sheet for 5 minutes, then transfer them to a wire cooling rack. Let them cool completely before decorating—this takes about 30 minutes.
Making the Royal Icing:
Step 11: In a large bowl, combine the sifted powdered sugar and meringue powder. Add 5 tablespoons of warm water and beat with an electric mixer on low speed for 30 seconds, then increase to medium-high speed. Beat for 5-7 minutes until the icing forms stiff, glossy peaks. If the icing is too thick, add more water one teaspoon at a time. If too thin, add more powdered sugar.
Step 12: Divide the royal icing into separate bowls—one for each color you’ll need. For Thanksgiving themes, prepare orange, brown, red, yellow, and green. Add gel food coloring drop by drop, mixing thoroughly until you achieve the desired shade.
Step 13: For outlining and details, use the icing at stiff consistency. For flooding (filling in large areas), thin the icing by adding water drop by drop until it reaches the consistency of honey—it should settle smooth within 10 seconds when you drizzle it.
Decorating:
Step 14: Transfer the stiff icing into piping bags fitted with small round tips (size 2 or 3) for outlining. Use separate bags for flooding icing.
Step 15: For turkey cookies, outline the body in brown icing and let it set for 5 minutes. Flood the body with thinned brown icing. While wet, pipe colorful tail feathers in red, orange, and yellow. Add a small orange triangle for the beak and attach candy eyes. Use red icing for the wattle.
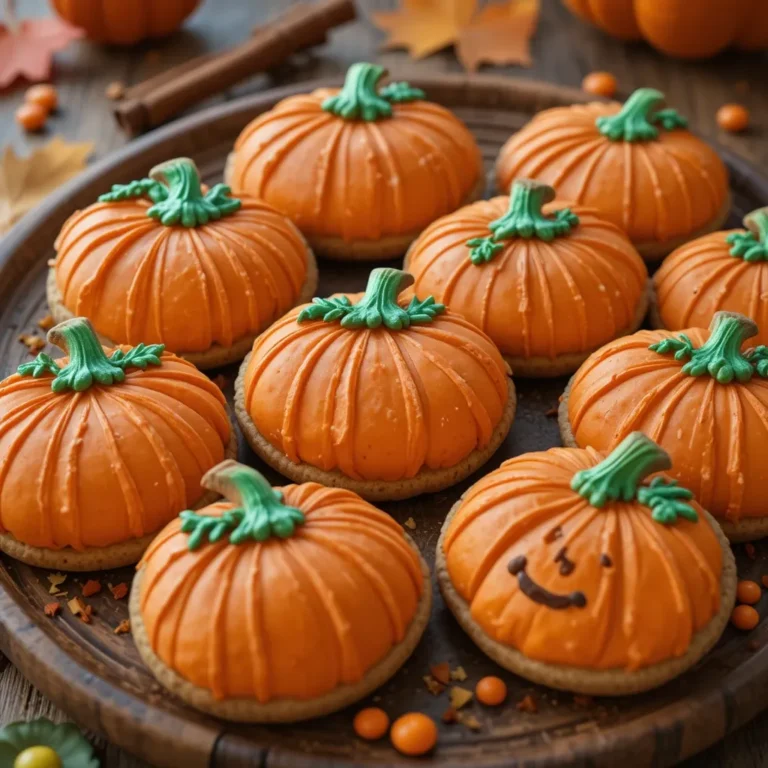
Step 16: For pumpkin cookies, outline in orange and flood with thinned orange icing. Once dry (about 20 minutes), pipe green stems and add detail lines with brown icing.
Step 17: For leaf cookies, outline and flood with green, orange, red, or yellow icing. While still wet, use a toothpick to drag colors together for a marbled effect. Add vein details with a darker shade once dry.
Step 18: Allow all decorated cookies to dry completely at room temperature for at least 4-6 hours or overnight. The icing should be hard to the touch and no longer sticky.
What to Serve Mini Thanksgiving Cookies Decorated With
These mini thanksgiving cookies decorated pair beautifully with various beverages and complement your Thanksgiving dessert spread perfectly.
Hot Beverages: Serve alongside hot apple cider, pumpkin spice lattes, or chai tea. The warm spices in these drinks enhance the buttery sweetness of the cookies.
Coffee Bar: Create a festive coffee station with these cookies as the perfect accompaniment. They’re ideal for dunking!
Dessert Platters: Arrange them on a beautiful platter with other Thanksgiving desserts like pecan pie bites, pumpkin cheesecake squares, or apple crisp.
Kids’ Table: Set up a decorating station where children can add their own touches to pre-iced cookies using sprinkles, candies, and edible markers.
Gift Packaging: Package them in clear cellophane bags tied with autumn ribbons as party favors or hostess gifts.
Ice Cream Pairing: Serve with vanilla bean or cinnamon ice cream for an elevated dessert experience.
Top Tips for Perfecting Mini Thanksgiving Cookies Decorated
Chill the Dough Properly
Never skip the chilling step. Cold dough is easier to roll, holds its shape better during baking, and produces crisper cookies. If the dough becomes too warm while rolling, pop it back in the fridge for 15 minutes.
Roll to Even Thickness
Use rolling pin guides or rubber bands to ensure your dough is evenly ¼-inch thick. This guarantees uniform baking and prevents some cookies from burning while others remain underdone.
Use Quality Cookie Cutters
Mini metal cookie cutters create cleaner edges than plastic ones. Dip cutters in flour between cuts to prevent sticking.
Master Royal Icing Consistency
Getting the right icing consistency is crucial. Outlining requires stiff icing that holds its shape. Flooding needs honey-like consistency that self-levels but doesn’t run off the cookie. Test on a plate before piping.
Allow Proper Drying Time
Patience pays off! Let outlined sections dry 5-10 minutes before flooding. Allow flooded sections to dry 20-30 minutes before adding details on top. This prevents colors from bleeding together.
Ingredient Substitutions
Can’t find meringue powder? Substitute with 2 egg whites, but note the icing won’t be as stable. No almond extract? Use all vanilla—the cookies will still be delicious. For gluten-free cookies, use a 1:1 gluten-free baking flour blend.
Storage During Decorating
Keep unused icing covered with damp paper towels to prevent crusting. Press plastic wrap directly onto the icing surface.
Color Mixing Tips
Gel food coloring provides vibrant colors without thinning the icing. Start with less—you can always add more. Brown can be tricky; mix red, yellow, and a touch of green for a warm brown shade.
Storing and Reheating Tips
Room Temperature Storage:
Store undecorated cookies in an airtight container at room temperature for up to 1 week. Place parchment paper between layers to prevent sticking.
Decorated Cookie Storage:
Once the royal icing is completely dry (24 hours is best), store decorated mini thanksgiving cookies decorated in an airtight container at room temperature for up to 2 weeks. Layer them between sheets of parchment or wax paper to protect the decorations.
Freezing Undecorated Cookies:
Freeze baked, undecorated cookies for up to 3 months. Wrap them tightly in plastic wrap, then place in freezer bags. Thaw at room temperature for 30 minutes before decorating.
Freezing Cookie Dough:
Freeze the wrapped dough disks for up to 3 months. Thaw overnight in the refrigerator before rolling and baking.
Do Not Freeze Decorated Cookies:
Freezing can cause the royal icing to crack and colors to bleed. It’s best to freeze before decorating.
Shipping Decorated Cookies:
These cookies ship beautifully! Once completely dry, place them in a sturdy box with plenty of padding. Layer cookies between bubble wrap or parchment paper. They’ll stay fresh for 2-3 weeks.
Common Baking Mistakes to Avoid
Mistake #1: Using Warm Butter
Using butter that’s too soft creates cookies that spread excessively. Your butter should be at room temperature—it should give slightly when pressed but not leave an indent. If your butter is too soft, the cookies will lose their shape.
Mistake #2: Overworking the Dough
Once you add the flour, mix just until combined. Overmixing develops gluten, resulting in tough, dense cookies instead of tender ones.
Mistake #3: Rolling Dough Too Thin
Mini cookies need to be ¼-inch thick. Thinner cookies become too crispy and may burn before they’re fully baked. Thicker cookies won’t bake evenly.
Mistake #4: Not Letting Cookies Cool Completely
Decorating warm cookies causes the icing to melt and slide off. Always wait until cookies are completely cool to the touch—at least 30 minutes.
Mistake #5: Making Icing Too Thick or Too Thin
Too-thick icing won’t spread smoothly and creates lumpy surfaces. Too-thin icing runs off the edges. Test your consistency before committing to decorating all your cookies.
Mistake #6: Rushing the Drying Process
Impatient decorators stack cookies before the icing is dry, ruining hours of work. Royal icing needs 4-6 hours minimum to dry completely. Overnight is even better.
Mistake #7: Using Expired Baking Powder
Old baking powder loses its potency, resulting in flat cookies. Test yours by adding a spoonful to hot water—it should bubble vigorously.
Mistake #8: Skipping the Parchment Paper
Baking directly on the pan can cause sticking and uneven browning. Always use parchment paper or silicone mats.
Frequently Asked Questions
How far in advance can I make mini thanksgiving cookies decorated?
You can bake the undecorated cookies up to 1 week before your event and store them in an airtight container. Decorate them 2-3 days in advance once you’re ready. Fully decorated cookies stay fresh for 2 weeks when properly stored.
Can I use store-bought cookie dough?
Yes! Sugar cookie dough from the refrigerated section works in a pinch. Roll it to ¼-inch thickness and use your mini cutters. The texture won’t be quite as tender as homemade, but it’s a great time-saver.
What if I don’t have mini cookie cutters?
Use regular-sized cutters and adjust the baking time to 10-12 minutes. You can also cut the dough with a sharp knife to create simple shapes like squares or triangles.
How do I prevent air bubbles in royal icing?
Mix royal icing on low speed to minimize air incorporation. If bubbles appear, gently tap the bowl on the counter several times. Use a toothpick to pop any bubbles on decorated cookies before the icing dries.
Can I make these cookies vegan?
Yes! Substitute butter with vegan butter (Earth Balance works well), replace the egg with 1 tablespoon ground flaxseed mixed with 3 tablespoons water, and use aquafaba (chickpea liquid) instead of meringue powder for the icing.
Why did my cookies spread during baking?
This usually happens when the dough is too warm or the butter was too soft. Always chill the dough thoroughly. Also, make sure your oven is fully preheated before baking.
How do I get vibrant colors in my icing?
Use gel food coloring instead of liquid. Gel colors are highly concentrated and won’t thin your icing. Add color gradually—a little goes a long way!
Can kids help make these cookies?
Absolutely! Kids love cutting shapes and decorating. Give them pre-iced cookies and simple decorations like sprinkles and candies to add. It’s a wonderful Thanksgiving activity that creates lasting memories.
What’s the best way to transport decorated cookies?
Transport them in a single layer in flat containers. If you must stack them, ensure the bottom layer is completely dry and place parchment paper between layers. Keep containers in a cool, dry place during transport.
How do I fix mistakes in royal icing?
If you make a mistake while the icing is still wet, use a damp paper towel to gently wipe it away and start over. If the icing is dry, you can carefully scrape it off with a knife or pipe new icing over it.
Nutrition Information
| Nutrient | Per Cookie (1 mini cookie) |
|---|---|
| Calories | 95 |
| Total Fat | 4g |
| Saturated Fat | 2.5g |
| Cholesterol | 15mg |
| Sodium | 45mg |
| Total Carbohydrates | 14g |
| Dietary Fiber | 0g |
| Sugars | 9g |
| Protein | 1g |
Note: Nutrition information is approximate and based on one mini cookie with standard royal icing decoration. Values may vary depending on size and decoration details.
Final Thoughts
These mini thanksgiving cookies decorated are more than just dessert—they’re edible art that brings joy to your Thanksgiving celebration. Whether you’re baking with kids, preparing treats for a holiday party, or simply want to add something special to your dessert table, these cookies deliver on every level.
The beauty of this recipe lies in its versatility. You can adapt the decorations to match your skill level, from simple flooded cookies with minimal details to intricately designed masterpieces. The buttery cookie base provides the perfect foundation for your creativity.
Start a new Thanksgiving tradition this year by gathering your family in the kitchen to create these festive treats. The memories you make while decorating will be just as sweet as the cookies themselves. Don’t forget to share your creations on social media using #MiniThanksgivingCookies—we’d love to see your beautiful designs!
Happy baking, and may your Thanksgiving be filled with love, laughter, and plenty of these adorable mini thanksgiving cookies decorated!