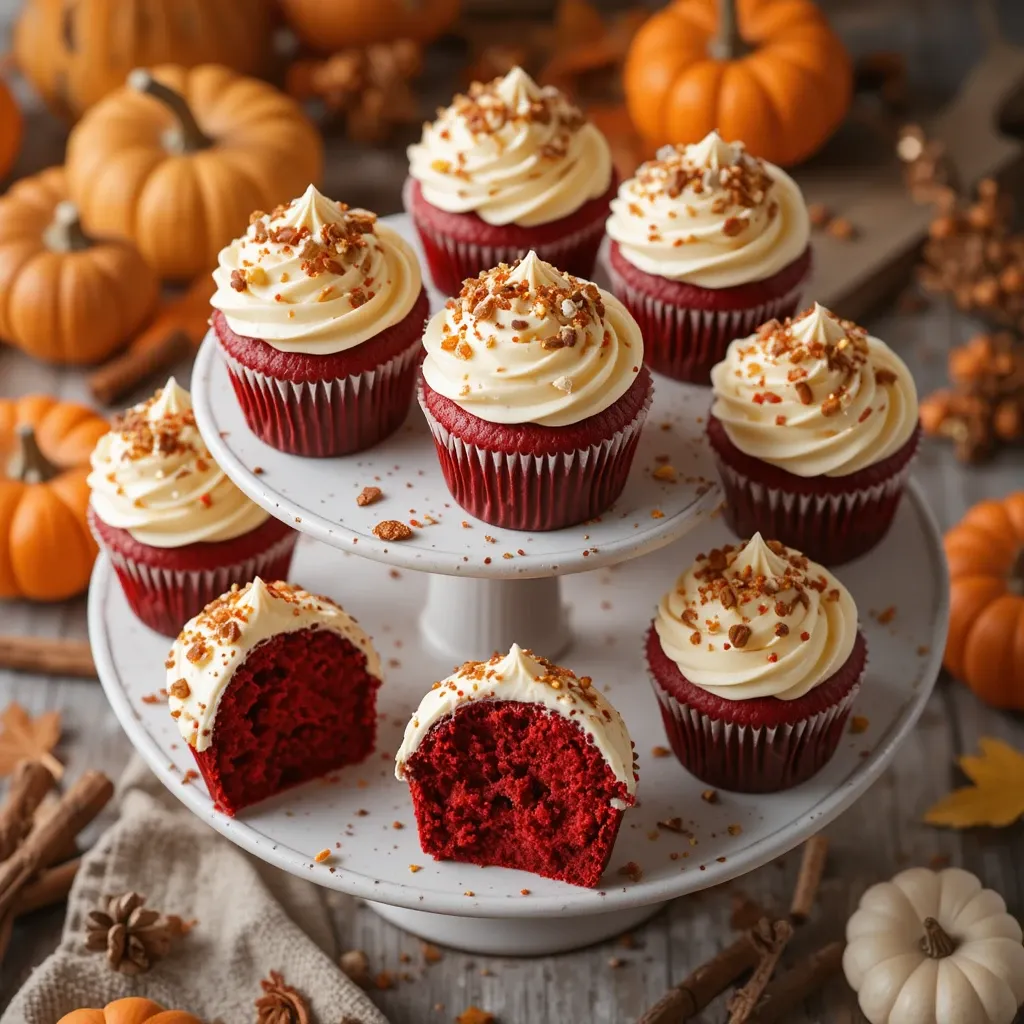
Thanksgiving Cupcakes Red Velvet Perfect Holiday Dessert
These Thanksgiving cupcakes red velvet are absolutely stunning with their rich crimson color and velvety soft crumb. Picture this: moist, chocolatey cupcakes topped with clouds of cream cheese frosting that melt in your mouth. Here’s a fun fact—red velvet cake became popular during the Great Depression when bakers used beet juice for color!
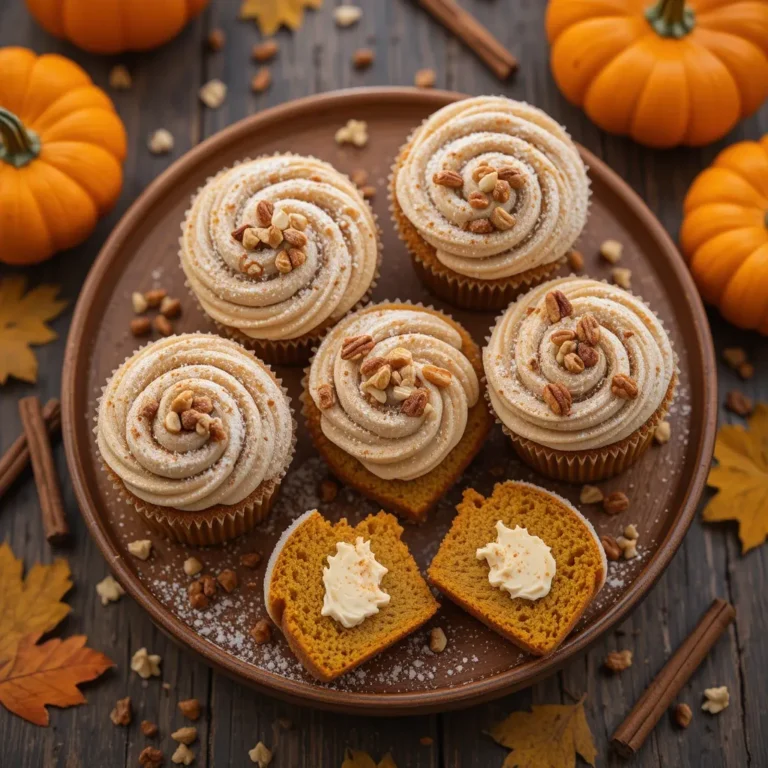
This recipe is special because it combines festive holiday vibes with classic Southern charm. You’ll love how simple it is to whip up these beauties in under an hour. If you enjoyed our [Classic Pumpkin Cupcakes], you’ll absolutely adore this festive twist. Get ready to impress your guests with dessert that looks as amazing as it tastes!
What Are Thanksgiving Cupcakes Red Velvet?
Ever wonder why we call them “red velvet” when they’re really just chocolate cupcakes in disguise? These Thanksgiving cupcakes red velvet get their name from the smooth, velvety texture created by the magical combination of buttermilk and vinegar.
The slight cocoa flavor makes them subtly chocolatey without being overpowering. Legend has it that the Waldorf-Astoria Hotel made this dessert famous in the 1950s! As they say, the way to a man’s heart is through his stomach, and these gorgeous cupcakes prove it. Ready to create some holiday magic in your kitchen?
Why You’ll Love This Thanksgiving Cupcakes Red Velvet Recipe
The Show-Stopping Presentation
These cupcakes are Instagram-worthy gorgeous! The vibrant red color against fluffy white frosting creates a stunning contrast that screams celebration. Your guests will think you spent hours at a fancy bakery.
Budget-Friendly Holiday Baking
Making Thanksgiving cupcakes red velvet at home saves you serious money compared to bakery prices. You’ll spend around $12-15 for two dozen cupcakes versus $40-60 at specialty shops. Plus, you probably already have most ingredients in your pantry!
That Irresistible Cream Cheese Frosting
The tangy, sweet cream cheese frosting is the perfect partner for these tender cupcakes. It’s not overly sweet, which lets the subtle cocoa flavor shine through. Each bite offers that perfect balance of rich cake and creamy topping.
These remind me of our popular [Carrot Cake Cupcakes] but with a festive holiday twist. The texture is incredibly moist, and they stay fresh for days when stored properly.
Ready to become the dessert hero at your Thanksgiving table? Let’s dive into making these beauties!
How to Make Thanksgiving Cupcakes Red Velvet
Quick Overview
These Thanksgiving cupcakes red velvet are surprisingly easy to make, even for beginner bakers. The secret is in the simple mixing method—no fancy techniques required! You’ll love the tender crumb created by buttermilk and the gorgeous color from food coloring. The flavor profile combines subtle chocolate notes with a hint of tanginess that makes them uniquely delicious.
Time Breakdown:
- Prep Time: 20 minutes
- Baking Time: 18-20 minutes
- Cooling Time: 30 minutes
- Frosting Time: 15 minutes
- Total Time: 1 hour 25 minutes
- Yield: 24 cupcakes
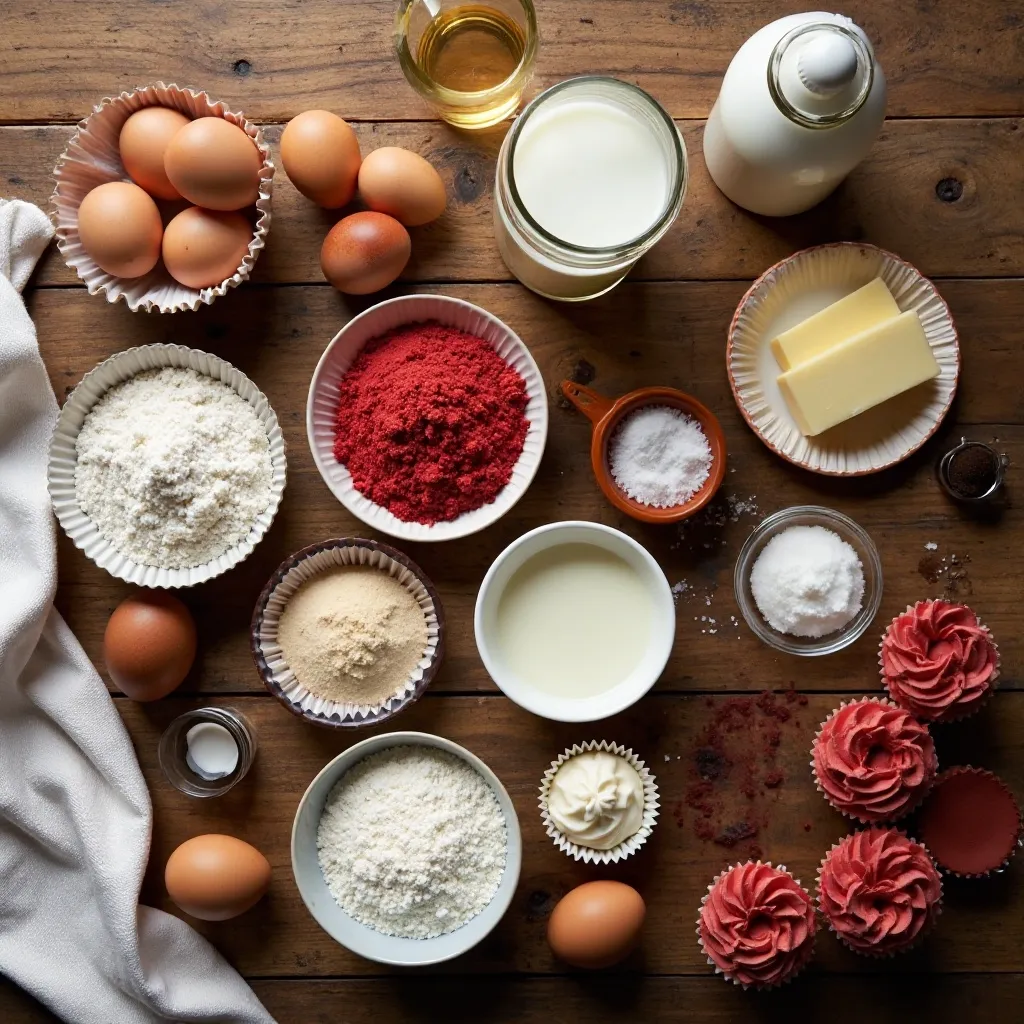
Key Ingredients for Thanksgiving Cupcakes Red Velvet
For the Cupcakes:
- 2½ cups all-purpose flour
- 1½ cups granulated sugar
- 1 teaspoon baking soda
- 1 teaspoon salt
- 1 teaspoon cocoa powder
- 1½ cups vegetable oil
- 1 cup buttermilk, room temperature
- 2 large eggs, room temperature
- 2 tablespoons red food coloring
- 1 teaspoon white vinegar
- 1 teaspoon vanilla extract
For the Cream Cheese Frosting:
- 16 oz cream cheese, softened
- 1 cup unsalted butter, softened
- 4 cups powdered sugar, sifted
- 2 teaspoons vanilla extract
- Pinch of salt
Optional Decorations:
- Crushed pecans
- Mini chocolate chips
- Fall-colored sprinkles
- Edible gold leaf
- Cinnamon sticks for garnish
Step-by-Step Instructions
Preparing Your Workspace
Preheat your oven to 350°F (175°C). Line two 12-cup muffin tins with paper cupcake liners. Make sure all your ingredients are at room temperature for the best texture. This is crucial because cold ingredients don’t blend smoothly and can create lumps in your batter.
Mixing the Dry Ingredients
In a large mixing bowl, sift together the flour, sugar, baking soda, salt, and cocoa powder. Sifting prevents lumps and ensures even distribution of leavening agents. Set this bowl aside while you prepare the wet ingredients.
Combining Wet Ingredients
In a separate large bowl, whisk together the vegetable oil and buttermilk until well combined. The mixture should look smooth and emulsified. Add the eggs one at a time, whisking after each addition. This ensures each egg is fully incorporated before adding the next.
Adding Color and Flavor
Stir in the red food coloring, white vinegar, and vanilla extract. The vinegar reacts with the baking soda to create extra lift and tenderness. Don’t worry if the mixture looks bright—that’s exactly what you want! The color will deepen slightly during baking.
Creating the Batter
Gradually fold the dry ingredients into the wet mixture using a rubber spatula or wooden spoon. Mix gently until just combined—you should still see a few small streaks of flour. Overmixing develops gluten, which makes cupcakes tough and dense. The batter should be smooth and pourable but not runny.
Filling the Cupcake Liners
Using a ⅓ cup measuring cup or ice cream scoop, fill each cupcake liner about ⅔ full. This gives the cupcakes room to rise without overflowing. Try to make each portion as equal as possible for even baking.
Baking to Perfection
Place both muffin tins in the preheated oven on the middle rack. Bake for 18-20 minutes, rotating the pans halfway through for even browning. The cupcakes are done when a toothpick inserted in the center comes out with just a few moist crumbs attached. Don’t overbake—they’ll continue cooking slightly as they cool.
Cooling Process
Remove the pans from the oven and let the cupcakes cool in the tins for 5 minutes. Then transfer them to a wire cooling rack. Let them cool completely before frosting—about 25-30 minutes. Frosting warm cupcakes will cause the cream cheese frosting to melt and slide off.
Making the Cream Cheese Frosting
While cupcakes cool, make your frosting. In a large bowl, beat the softened cream cheese and butter together using an electric mixer on medium speed for 3-4 minutes. The mixture should be light and fluffy with no lumps. Scrape down the sides of the bowl frequently.
Finishing the Frosting
Gradually add the sifted powdered sugar, one cup at a time, beating on low speed after each addition. Once all the sugar is incorporated, add vanilla extract and salt. Increase speed to medium-high and beat for 2-3 minutes until light and airy. The frosting should hold stiff peaks.
Frosting Your Cupcakes
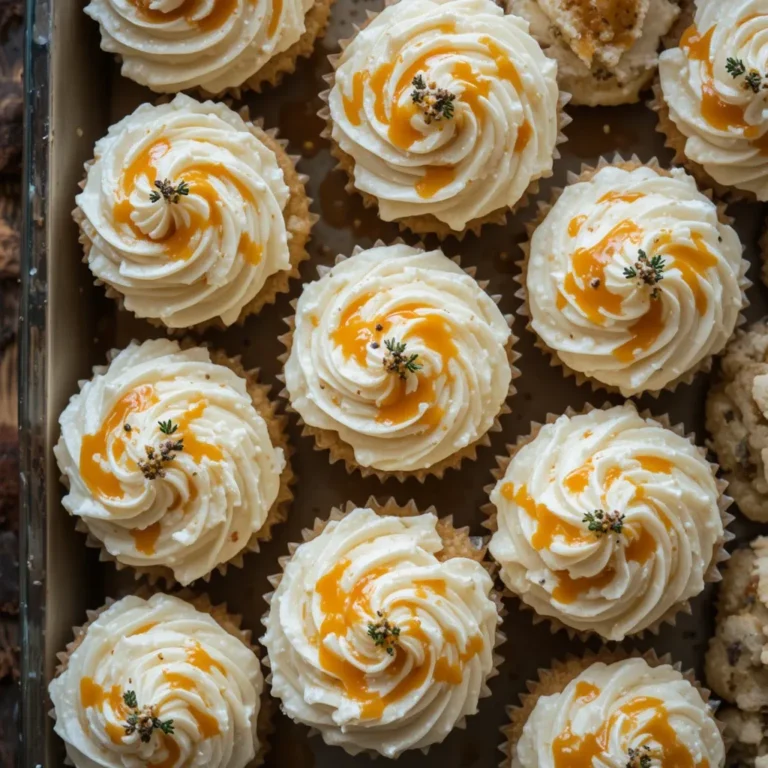
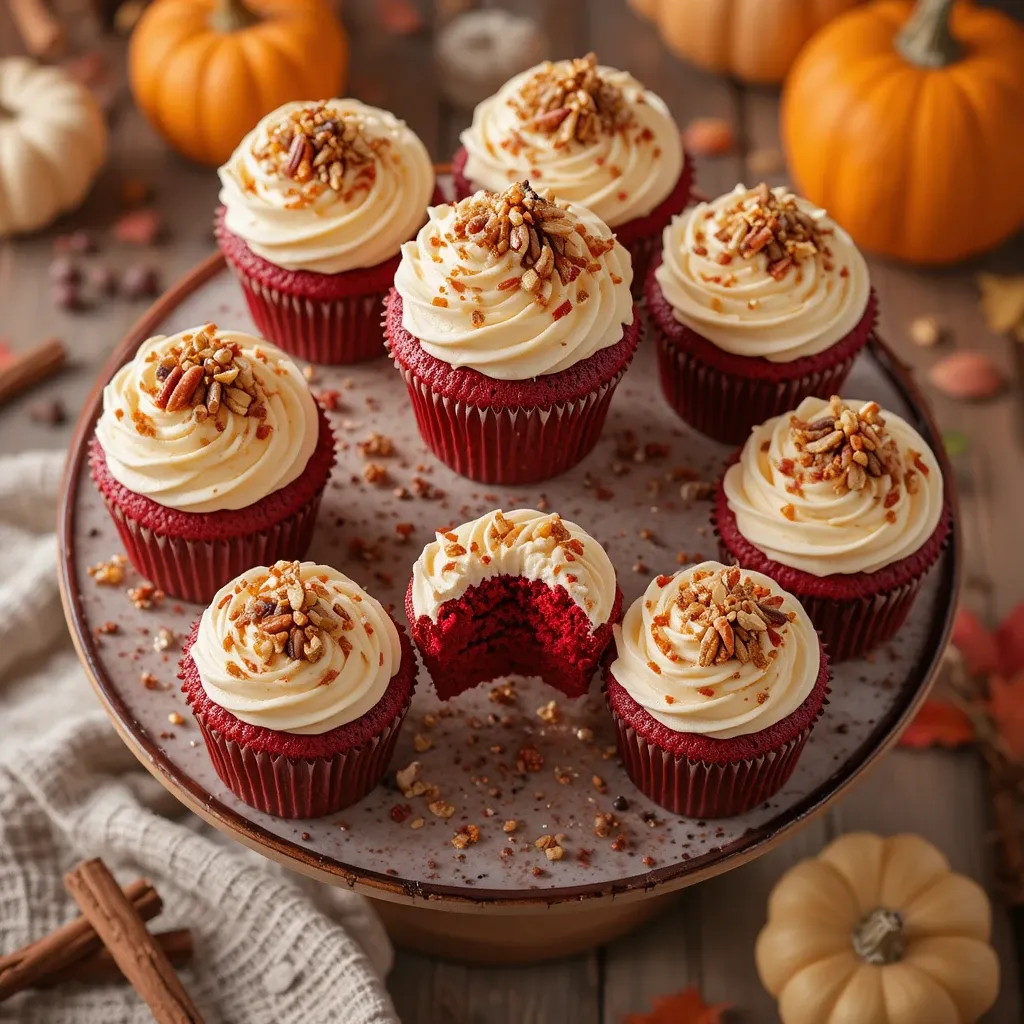
Transfer frosting to a piping bag fitted with your favorite tip (I love using a large star tip for swirls). Pipe generous swirls onto each cooled cupcake, starting from the outside and working inward in a circular motion. Alternatively, you can spread frosting with an offset spatula for a rustic look.
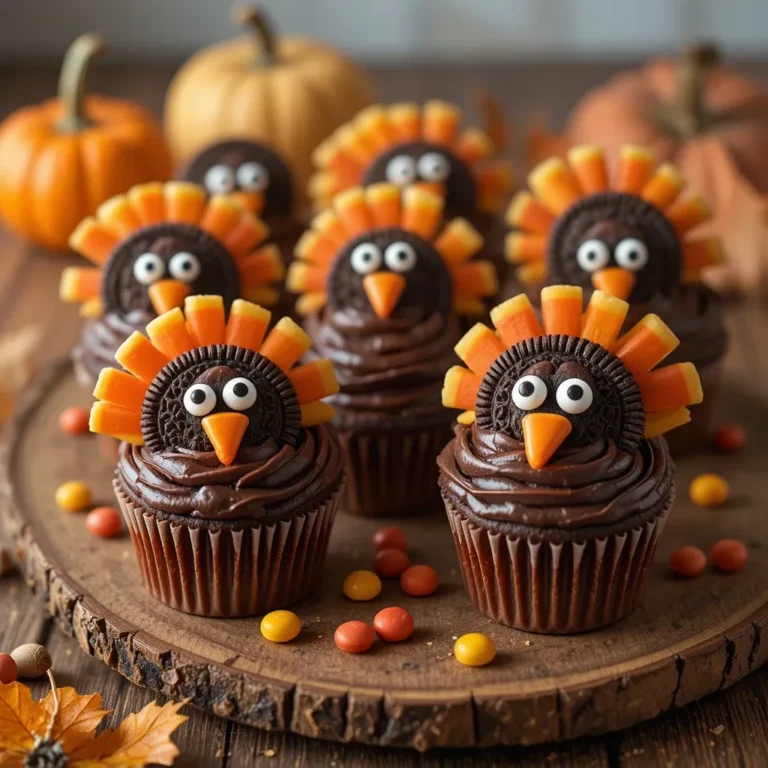
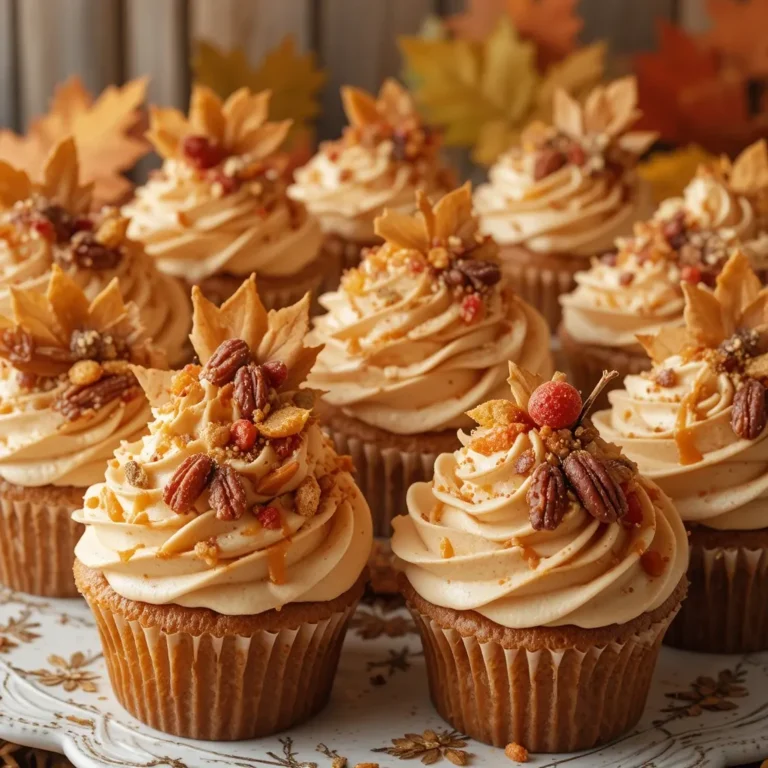
Final Decorations
Add your chosen toppings while the frosting is still soft so they stick. Crushed pecans add a wonderful nutty crunch. Fall-colored sprinkles bring festive cheer. Get creative and make each cupcake unique!
What to Serve Thanksgiving Cupcakes Red Velvet With
Hot Beverages
These cupcakes pair beautifully with spiced apple cider, warm cinnamon tea, or rich hot chocolate. The warm spices complement the subtle cocoa flavor. Coffee lovers will enjoy how espresso cuts through the sweetness of the cream cheese frosting.
Complementary Desserts
Create a dessert table by serving these alongside pumpkin pie, pecan tart, or apple crisp. The variety gives guests options while the red velvet adds a colorful contrast to traditional brown and orange desserts.
Savory Balance
After a heavy Thanksgiving meal of turkey, stuffing, and mashed potatoes, these cupcakes offer a lighter dessert option. The tangy cream cheese frosting cleanses the palate beautifully.
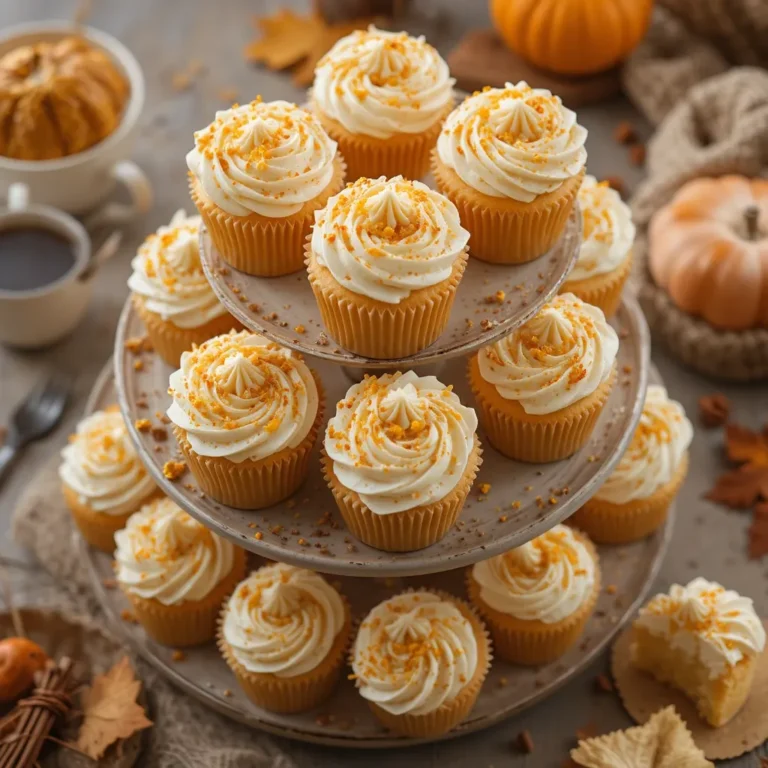
Party Presentation
Display them on a tiered cupcake stand surrounded by fresh fall foliage, mini pumpkins, and cinnamon sticks. Add small name cards for a personalized touch at seated dinners.
Top Tips for Perfecting Thanksgiving Cupcakes Red Velvet
Temperature Matters
Always bring eggs, buttermilk, and cream cheese to room temperature before starting. Cold ingredients don’t emulsify properly and can create a dense, uneven texture. Set them out 30-45 minutes before baking.
Food Coloring Choice
Use gel food coloring instead of liquid for more vibrant color without adding extra moisture. You’ll need less gel coloring to achieve that signature red velvet hue. Liquid coloring can make batter runny.
Buttermilk Substitute
No buttermilk? Make your own by adding 1 tablespoon white vinegar or lemon juice to 1 cup regular milk. Let it sit for 5 minutes until it curdles slightly. This creates the same tangy flavor and tender texture.
Measuring Flour Correctly
Spoon flour into your measuring cup and level it off with a knife. Don’t scoop directly from the bag—this packs flour and adds too much, making cupcakes dry. Proper measuring makes a huge difference!
Testing for Doneness
Insert a toothpick into the center of a cupcake in the middle of the pan (edge cupcakes bake faster). It should come out with a few moist crumbs, not wet batter. Overbaked cupcakes become dry and crumbly.
Frosting Consistency
If frosting is too soft to pipe, refrigerate for 15-20 minutes. Too stiff? Add 1-2 tablespoons of heavy cream and beat again. The perfect consistency holds its shape but spreads smoothly.
Make-Ahead Strategy
Bake cupcakes a day ahead and store unfrosted in an airtight container. Frost them the morning of your event for maximum freshness. You can also freeze unfrosted cupcakes for up to 3 months.
Color Consistency
Different brands of food coloring produce different results. Start with the recommended amount, then add more if needed. Remember that color deepens slightly as cupcakes bake.
Storing and Reheating Tips
Room Temperature Storage
Frosted cupcakes can sit at room temperature for 2-3 hours during a party. After that, they should be refrigerated due to the cream cheese frosting. Store them in a covered container to prevent drying.
Refrigerator Storage
Place cupcakes in an airtight container and refrigerate for up to 5 days. The cream cheese frosting stays fresh and the cupcakes remain moist. Let them sit at room temperature for 20-30 minutes before serving for the best flavor and texture.
Freezing Instructions
Freeze unfrosted cupcakes for best results. Wrap each cooled cupcake individually in plastic wrap, then place in a freezer-safe container or bag. They’ll keep for up to 3 months. Thaw at room temperature and frost fresh before serving.
Freezing Frosted Cupcakes
If you must freeze frosted cupcakes, flash-freeze them uncovered on a baking sheet for 1 hour. Then wrap individually and store in a container. The frosting may lose some texture but will still taste delicious.
Refreshing Refrigerated Cupcakes
Take cupcakes out of the fridge 30 minutes before serving. This allows the frosting to soften and the cake to return to its tender texture. Cold cupcakes lack the melt-in-your-mouth quality.
Common Baking Mistakes to Avoid
Overmixing the Batter
Stop mixing as soon as you no longer see dry flour streaks. Overmixing develops gluten, creating tough, chewy cupcakes instead of tender ones. Use gentle folding motions rather than aggressive stirring.
Opening the Oven Too Early
Resist peeking for the first 15 minutes! Opening the oven door causes temperature drops that can make cupcakes sink in the center. Only check after 18 minutes of baking time.
Using Old Baking Soda
Baking soda loses potency after 6 months. Test yours by dropping a pinch in vinegar—it should fizz vigorously. Old baking soda won’t give your cupcakes proper rise.
Skipping the Sifting
Sifting cocoa powder prevents dark specks and ensures even chocolate distribution. It also aerates dry ingredients for lighter cupcakes. Don’t skip this simple but important step!
Wrong Oven Temperature
Use an oven thermometer to verify accuracy. Many ovens run hot or cold. Baking at the wrong temperature causes uneven cooking, sunken centers, or dry edges.
Frosting Warm Cupcakes
This is the #1 mistake! Warm cupcakes melt cream cheese frosting, creating a soupy mess. Always wait until cupcakes are completely cool to the touch.
Not Leveling Batter
Gently tap filled muffin tins on the counter to remove air bubbles and level batter. This prevents lopsided cupcakes and ensures even baking across all cups.
Frequently Asked Questions
Can I make Thanksgiving cupcakes red velvet without buttermilk?
Absolutely! Mix 1 tablespoon white vinegar into 1 cup whole milk and let sit for 5 minutes. This homemade buttermilk works perfectly. You can also use sour cream thinned with a bit of milk for extra richness.
Why are my red velvet cupcakes not red enough?
You may need more food coloring or a different brand. Gel colors are much more concentrated than liquid. Some cocoa powders are darker and dull the red color—use Dutch-processed for lighter results.
Can I use natural food coloring for these cupcakes?
Yes, but natural red food coloring (from beets or berries) produces more burgundy or brownish-red tones rather than bright red. You’ll need significantly more natural coloring to achieve good color.
How do I prevent cupcake liners from peeling away?
This happens when cupcakes are stored while still warm or in very dry conditions. Always cool completely before storing. Using quality liners and proper baking temperature also helps them stick better.
Can I make these cupcakes ahead of time?
Yes! Bake cupcakes up to 2 days ahead and store unfrosted at room temperature in an airtight container. Make frosting up to 1 week ahead and refrigerate. Bring frosting to room temperature and re-whip before using.
What’s the difference between red velvet and chocolate cupcakes?
Red velvet uses much less cocoa powder (just 1 tablespoon per batch) and includes buttermilk and vinegar for tang. Chocolate cupcakes are intensely chocolatey while red velvet is subtly flavored with a unique velvety texture.
Why did my cupcakes sink in the middle?
Common causes include opening the oven door too early, expired baking soda, overfilling liners, or underbaking. Make sure your oven temperature is accurate and don’t overmix the batter.
Can I substitute oil with butter in this recipe?
You can, but oil creates a moister cupcake with better shelf life. If using butter, use ¾ cup (12 tablespoons) melted butter in place of 1 cup oil. The texture will be slightly different but still delicious.
How can I make mini Thanksgiving red velvet cupcakes?
Use mini muffin tins and reduce baking time to 10-12 minutes. Fill liners only ½ full. This recipe makes about 48-60 mini cupcakes, perfect for parties!
Is it okay to use salted butter in the frosting?
Unsalted butter is best so you control the salt level. If using salted butter, omit the pinch of salt in the frosting recipe. The difference is subtle but noticeable.
Nutrition Information
| Nutrient | Per Cupcake (with frosting) |
|---|---|
| Calories | 385 |
| Total Fat | 22g |
| Saturated Fat | 9g |
| Cholesterol | 55mg |
| Sodium | 245mg |
| Total Carbohydrates | 45g |
| Dietary Fiber | 0.5g |
| Sugars | 35g |
| Protein | 3g |
| Calcium | 45mg |
| Iron | 1mg |
Note: Nutrition information is approximate and may vary based on specific ingredients used and portion sizes.
Expert Baking Tips for Success
The Secret to Extra Moist Cupcakes
Add 2 tablespoons of sour cream to your batter for incredible moisture and richness. This professional baker’s trick keeps cupcakes tender for days. The slight tanginess also enhances the red velvet flavor profile.
Creating Bakery-Style Frosting Swirls
Hold your piping bag perpendicular to the cupcake surface for the most professional look. Apply steady, even pressure and move in smooth circles. Practice on parchment paper first if you’re nervous!
Achieving Perfect Cupcake Domes
Fill liners exactly ⅔ full—no more, no less. Too little batter creates flat cupcakes while too much causes mushroom tops. Use a spring-loaded cookie scoop for consistent portions every time.
Enhancing the Chocolate Flavor
Use Dutch-processed cocoa powder for a smoother, less acidic chocolate taste. It also helps maintain that gorgeous red color. Regular cocoa powder works but produces a slightly different flavor.
Making Cupcakes More Festive
Add a teaspoon of cinnamon or pumpkin pie spice to the batter for extra Thanksgiving warmth. Top with candied pecans, caramel drizzle, or a sprinkle of edible gold dust for elegance.
Final Thoughts
These Thanksgiving cupcakes red velvet are guaranteed to steal the show at your holiday gathering! They’re elegant yet approachable, impressive yet easy to make. The combination of moist, tender cake and tangy cream cheese frosting is absolutely irresistible.
Whether you’re hosting Thanksgiving dinner or bringing dessert to a potluck, these cupcakes travel well and please everyone from kids to grandparents. The festive red color adds visual interest to your dessert spread while the familiar flavors feel comforting and special.
Don’t be intimidated by the deep red color or fancy frosting—this recipe is truly foolproof when you follow the instructions. Start to finish, you’ll have beautiful cupcakes in just over an hour.
So grab your mixing bowls and get baking! Your family will be asking you to make these Thanksgiving cupcakes red velvet year after year. They might even become your new holiday tradition.
Happy Thanksgiving baking!
Have you tried this recipe? Let me know in the comments below! Share your photos and tag us on social media. I love seeing your beautiful creations!
Don’t forget to pin this recipe for later and share it with your friends who love holiday baking!