Thanksgiving Cupcakes with Sprinkles – Easy Fall Dessert Recipe
Picture this: fluffy, golden cupcakes crowned with swirls of silky frosting and a cascade of autumn-colored sprinkles that instantly brighten your Thanksgiving table. These thanksgiving cupcakes with sprinkles are more than just dessert—they’re edible joy wrapped in festive fall colors.
I’ll never forget the year my niece chose these over pumpkin pie, and honestly, I didn’t blame her one bit. They’re simpler than making a full cake, faster than traditional Thanksgiving desserts, and absolutely irresistible to both kids and adults alike.
What Are Thanksgiving Cupcakes with Sprinkles?
Ever wonder why we call them thanksgiving cupcakes with sprinkles instead of just “fall cupcakes”? Well, it’s simple really—these little beauties capture the entire essence of Thanksgiving in one bite-sized treat. They’re festive, they’re fun, and they prove that old saying true: the way to anyone’s heart is through their stomach!
The sprinkles aren’t just decoration; they’re a celebration of gratitude, family, and that cozy autumn feeling we all crave. Ready to bake up some thanksgiving magic? Let’s get started!
Why You’ll Love This Thanksgiving Cupcakes with Sprinkles
The Perfect Balance of Festive and Delicious
These thanksgiving cupcakes with sprinkles strike that perfect balance between looking gorgeous and tasting absolutely divine. The moist, tender crumb is infused with warm spices like cinnamon and nutmeg, creating that cozy fall flavor everyone craves during the holidays.
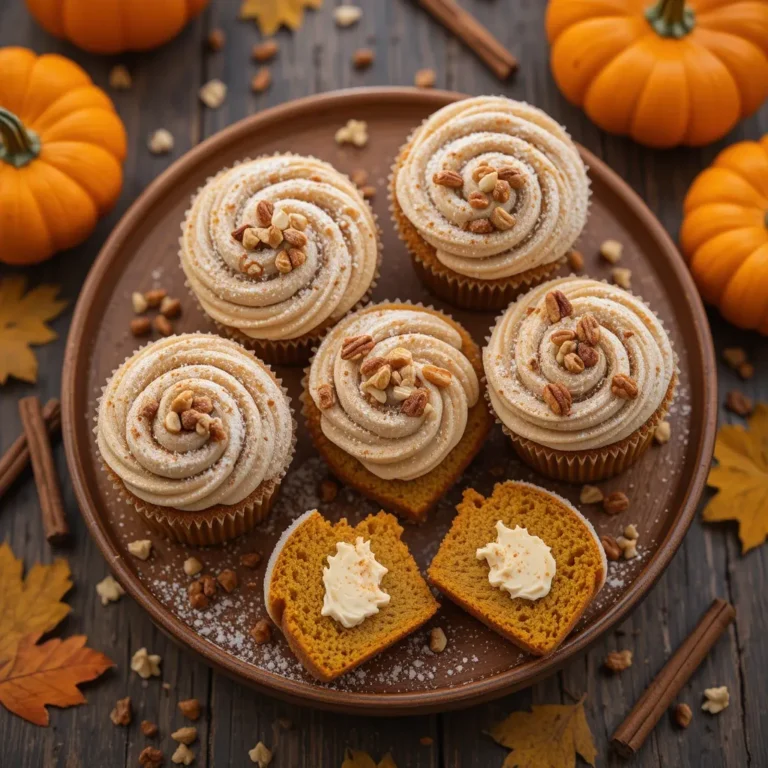
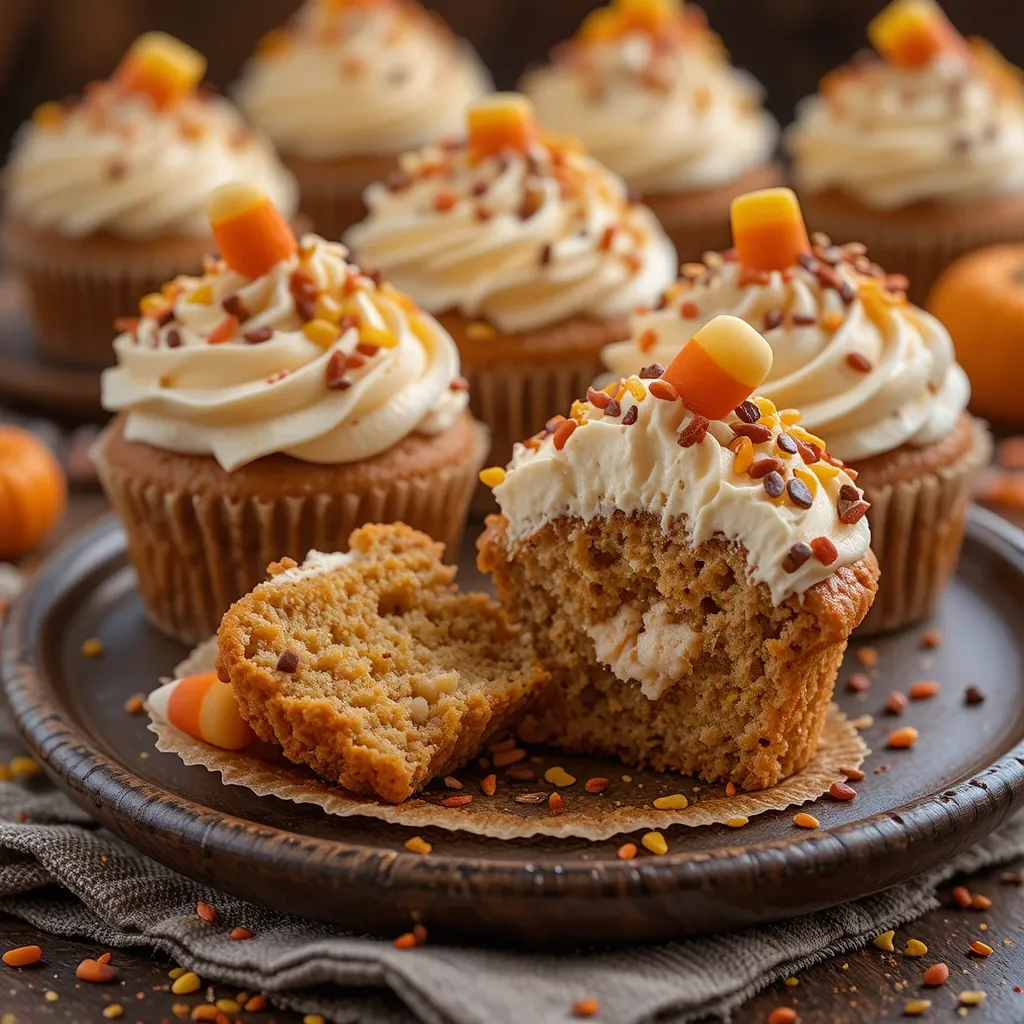
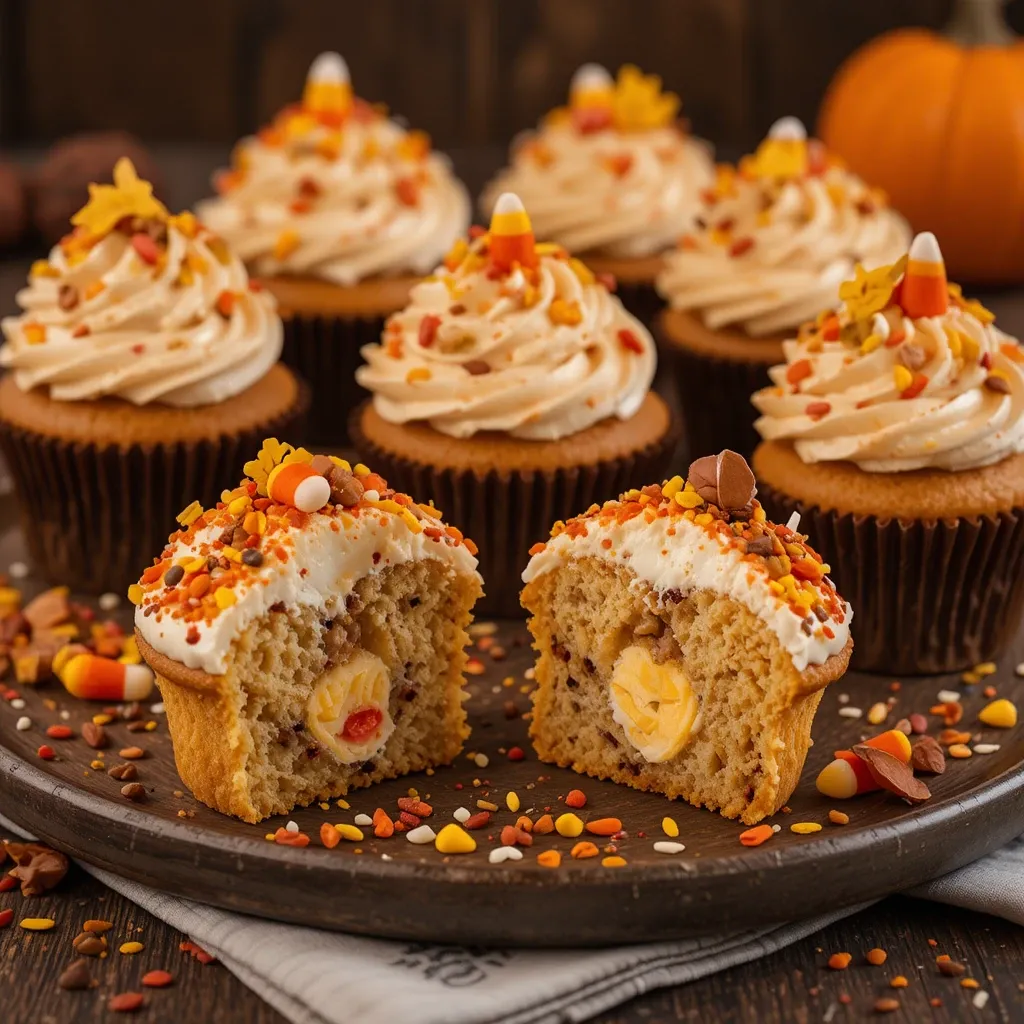
The real magic happens with the frosting—smooth, creamy, and perfectly sweet without being overwhelming. Then comes the fun part: those festive sprinkles in orange, yellow, brown, and red that transform simple cupcakes into showstopping thanksgiving treats.
Budget-Friendly Holiday Baking
Let’s talk dollars and cents for a moment. Store-bought thanksgiving desserts can easily set you back $30-40, and that’s if you’re lucky. Making these thanksgiving cupcakes with sprinkles at home costs a fraction of that—usually around $8-12 for a full batch of 24 cupcakes.
You’re probably already stocking most ingredients in your pantry anyway. Plus, you get the satisfaction of saying “I made these!” when everyone’s complimenting your baking skills. If you’re looking for more budget-friendly holiday treats, check out my pumpkin spice cookies—they’re another wallet-friendly winner!
Customizable and Crowd-Pleasing
Here’s what I absolutely love: these cupcakes are endlessly customizable. Want cream cheese frosting instead of buttercream? Go for it. Prefer maple flavor? Add a splash of maple extract. Have dietary restrictions at your thanksgiving table? You can adapt these beauties to be gluten-free or dairy-free without sacrificing flavor.
Kids adore decorating them (just give them extra sprinkles and watch the magic happen). Adults appreciate the sophisticated spice blend. They’re the ultimate please-everyone thanksgiving dessert, and they won’t take up precious oven space on the big day since you can make them ahead.
How to Make Thanksgiving Cupcakes with Sprinkles
Quick Overview
These thanksgiving cupcakes with sprinkles are surprisingly straightforward to whip up, even if you’re not a seasoned baker. The batter comes together in one bowl, requiring just basic mixing—no fancy techniques needed.
What makes them special is the warm spice blend that fills your kitchen with those irresistible fall aromas. The cupcakes themselves are moist and tender with a delicate crumb that practically melts in your mouth.
Time Breakdown:
- Prep Time: 15 minutes
- Baking Time: 18-20 minutes
- Cooling Time: 30 minutes
- Frosting Time: 15 minutes
- Total Time: Approximately 1 hour 20 minutes
- Yield: 24 cupcakes
Key Ingredients for Thanksgiving Cupcakes with Sprinkles
For the Cupcakes:
- 2 cups all-purpose flour
- 1½ cups granulated sugar
- 2 teaspoons baking powder
- ½ teaspoon baking soda
- 1 teaspoon salt
- 1½ teaspoons ground cinnamon
- ½ teaspoon ground nutmeg
- ¼ teaspoon ground ginger
- ⅛ teaspoon ground cloves
- ½ cup unsalted butter, softened to room temperature
- ½ cup vegetable oil
- 3 large eggs, room temperature
- 2 teaspoons vanilla extract
- 1 cup whole milk, room temperature
- ¼ cup sour cream
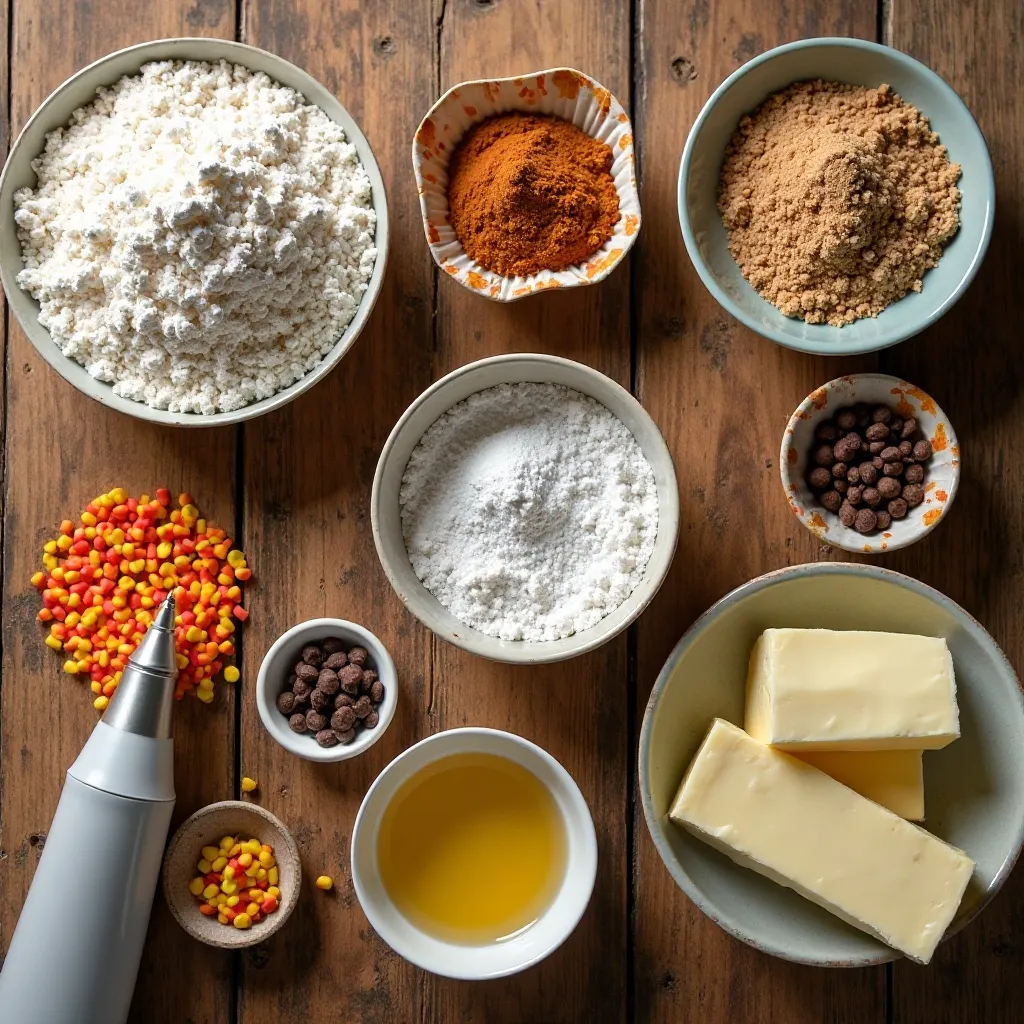
For the Frosting:
- 1 cup unsalted butter, softened
- 4-5 cups powdered sugar
- ⅓ cup heavy cream
- 2 teaspoons vanilla extract
- Pinch of salt
- Gel food coloring (optional, for autumn colors)
For Decoration:
- Thanksgiving-themed sprinkles (autumn mix with orange, yellow, brown, red)
- Optional: candy corn, mini chocolate chips, or fondant leaves
Step-by-Step Instructions
Step 1: Prepare Your Kitchen
Start by preheating your oven to 350°F (175°C). Line two 12-cup muffin tins with cupcake liners—I prefer autumn-colored liners for that extra festive touch. Let your butter, eggs, and milk sit at room temperature for about 30 minutes before starting. This simple step ensures everything incorporates smoothly and creates that perfect, even crumb.
Step 2: Mix the Dry Ingredients
In a large mixing bowl, whisk together the flour, sugar, baking powder, baking soda, salt, cinnamon, nutmeg, ginger, and cloves. Whisk thoroughly for about 30 seconds to ensure all the spices are evenly distributed. This is crucial—you don’t want one cupcake packed with cinnamon while another barely tastes it.
Step 3: Cream the Butter and Oil
In a separate large bowl (or your stand mixer bowl), beat the softened butter and vegetable oil together on medium speed for about 2 minutes. Using both butter and oil is my secret weapon—butter provides flavor while oil keeps the cupcakes incredibly moist for days. Beat until the mixture is light and fluffy.
Step 4: Add Eggs and Vanilla
Add the eggs one at a time, beating well after each addition. This gradual process helps create a stable emulsion and prevents the batter from curdling. Pour in the vanilla extract and beat for another 30 seconds until everything is beautifully combined and smooth.
Step 5: Combine Wet and Dry Ingredients
Now comes the alternating method. Add about one-third of your dry ingredient mixture to the butter mixture and beat on low speed until just combined. Pour in half the milk, beat gently, then add another third of the dry ingredients. Add the remaining milk, beat again, and finish with the final portion of dry ingredients.
Finally, fold in the sour cream with a spatula. Don’t overmix—stop as soon as you no longer see flour streaks. Overmixing develops gluten, which makes cupcakes dense and tough.
Step 6: Fill and Bake
Using an ice cream scoop or large spoon, fill each cupcake liner about two-thirds full. This is important—too little batter and you get flat cupcakes, too much and they’ll overflow and create mushroom tops.
Bake for 18-20 minutes, rotating the pans halfway through for even baking. The cupcakes are done when a toothpick inserted into the center comes out clean or with just a few moist crumbs. The tops should spring back when lightly touched.
Step 7: Cool Completely
Remove the pans from the oven and let the cupcakes cool in the pans for 5 minutes. Then transfer them to a wire cooling rack. This step is non-negotiable—frosting warm cupcakes leads to melted, runny frosting that slides right off. Let them cool completely, about 30 minutes.
Step 8: Make the Frosting
While your cupcakes cool, prepare the frosting. Beat the softened butter on medium-high speed for 3-4 minutes until it’s pale and fluffy. Reduce speed to low and gradually add the powdered sugar, one cup at a time.
Once all the sugar is incorporated, add the heavy cream, vanilla extract, and salt. Increase speed to high and beat for 3-4 minutes until the frosting is light, fluffy, and has a smooth, spreadable consistency. If you want colored frosting, divide it into portions and add gel food coloring to achieve autumn shades.
Step 9: Frost and Decorate
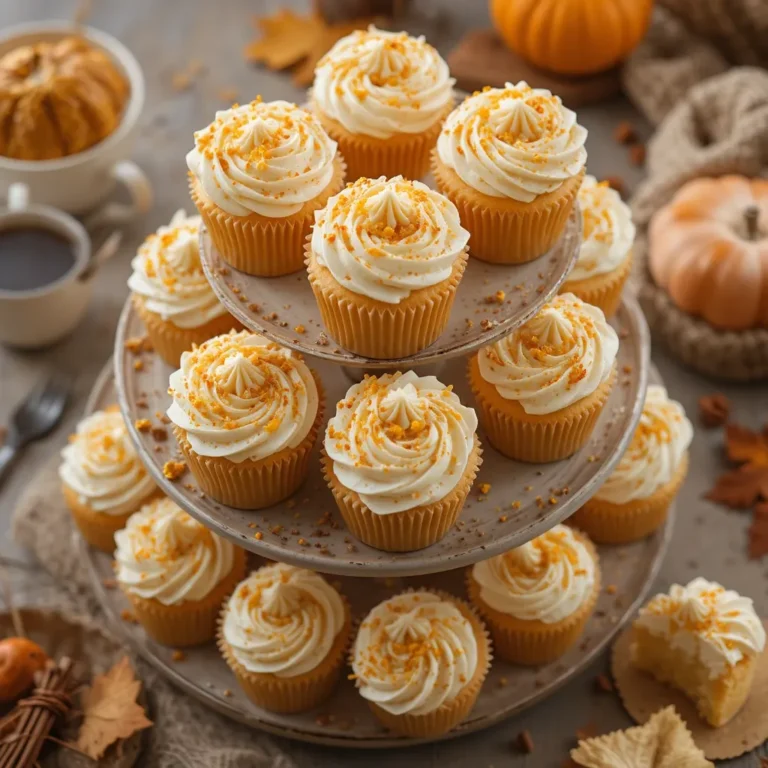
Transfer your frosting to a piping bag fitted with your favorite tip—I love using a large star tip for those gorgeous swirls. Pipe generous swirls of frosting onto each cooled cupcake, starting from the outside and working your way toward the center in a circular motion.
Step 10: Add the Sprinkles
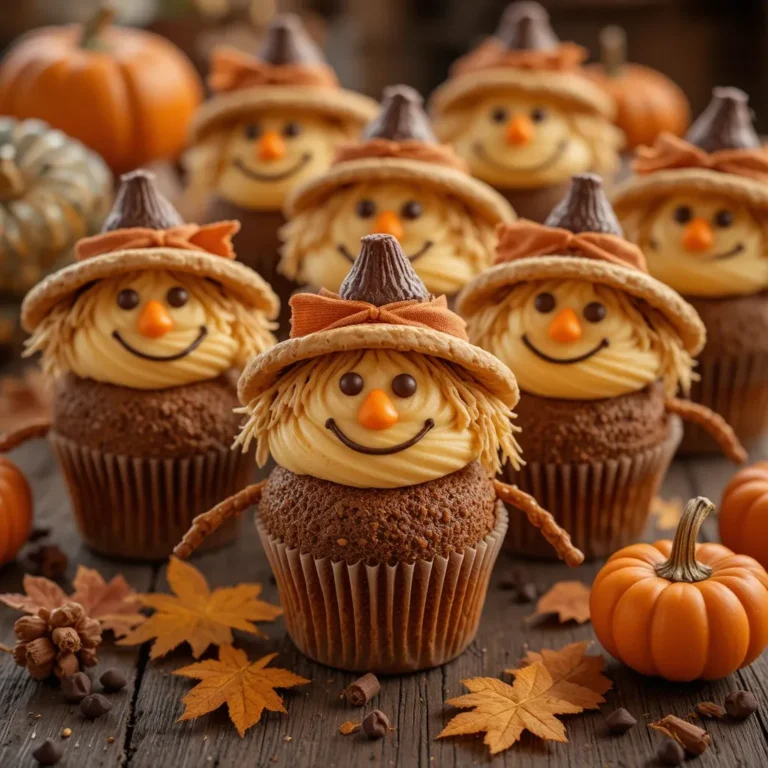
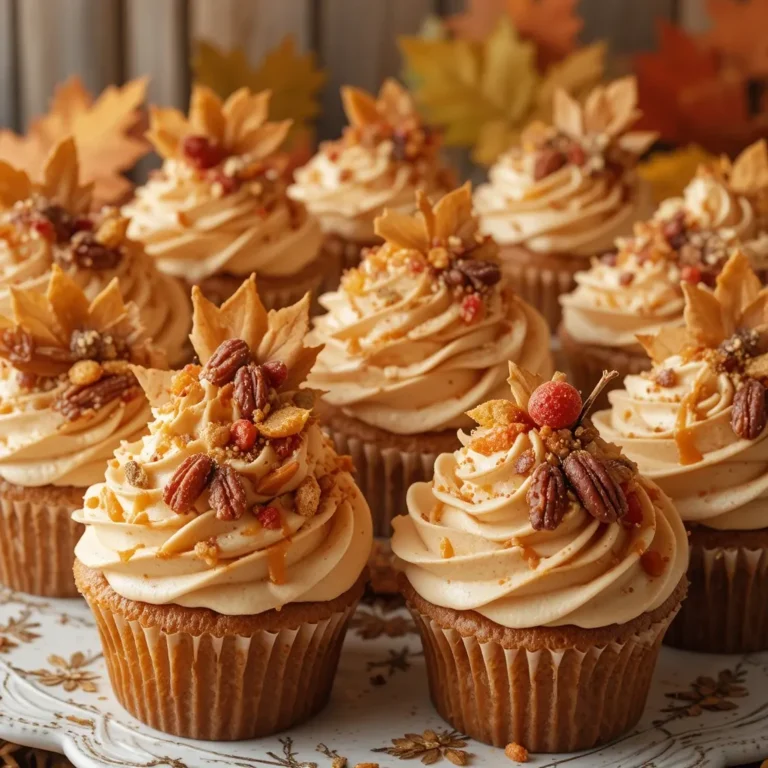
Here’s the fun part! Immediately after frosting (while the frosting is still soft), generously sprinkle your thanksgiving-themed sprinkles over each cupcake. Don’t be shy—the more sprinkles, the more festive they look. You can also add candy corn, mini chocolate chips, or small fondant autumn leaves for extra decoration.
What to Serve Thanksgiving Cupcakes with Sprinkles With
These thanksgiving cupcakes with sprinkles are versatile desserts that pair beautifully with various beverages and complement your thanksgiving spread perfectly.
Hot Beverages: Serve them alongside steaming cups of spiced apple cider, pumpkin spice lattes, or hot chocolate with cinnamon sticks. The warm drinks enhance the spices in the cupcakes and create that cozy fall feeling.
Coffee and Tea: A robust French press coffee or chai tea latte makes an excellent pairing for afternoon thanksgiving gatherings. The slight bitterness of coffee balances the sweetness of the frosting perfectly.
Cold Options: For a refreshing contrast, try them with cold milk, apple juice, or even sparkling cider. Kids especially love dunking them in cold milk!
On Your Dessert Table: Position these cupcakes alongside traditional thanksgiving desserts like pumpkin pie, pecan pie, and apple crisp. They provide a lighter, individual-sized option for guests who want just a small sweet bite after the big meal.
Top Tips for Perfecting Thanksgiving Cupcakes with Sprinkles
Temperature Matters
Always use room temperature ingredients—this is probably the single most important tip I can give you. Cold eggs and milk don’t incorporate well with butter, leading to a lumpy batter and dense cupcakes. Set everything out 30-60 minutes before baking. If you forget, you can quickly bring eggs to room temperature by placing them in a bowl of warm water for 5 minutes.
Don’t Overmix the Batter
Once you add the flour, mix only until you can’t see dry flour anymore. Overmixing activates the gluten in flour, resulting in tough, dense cupcakes instead of light, fluffy ones. It’s okay if there are a few small lumps—they’ll bake out.
Use an Ice Cream Scoop
For perfectly uniform cupcakes that bake evenly, use a spring-loaded ice cream scoop to portion the batter. This ensures each cupcake is the same size and bakes at the same rate. No more dealing with some burnt and some underbaked!
The Toothpick Test
Start checking your cupcakes at 18 minutes. Insert a toothpick into the center of a middle cupcake (edge ones bake faster). It should come out clean or with a few moist crumbs—but not wet batter. Every oven is different, so watch closely near the end of baking time.
Cool Completely Before Frosting
I know it’s tempting to frost them while they’re still warm, but resist! Warm cupcakes will melt your frosting, creating a soupy mess. Be patient and let them cool completely—about 30 minutes on a wire rack.
Frosting Consistency
If your frosting is too thick to pipe, add cream one tablespoon at a time until it reaches the perfect consistency. Too thin? Add more powdered sugar, ¼ cup at a time. The frosting should hold its shape but still be smooth and creamy.
Make Ahead for Less Stress
These cupcakes actually taste better the day after baking—the flavors meld together beautifully. Bake them the day before thanksgiving, store unfrosted in an airtight container, and frost them thanksgiving morning. This saves precious time on the busy holiday.
Storing and Reheating Tips
Room Temperature Storage
Frosted thanksgiving cupcakes with sprinkles can sit at room temperature for up to 2 days if kept in an airtight container. This works well if you’re serving them within a day or two. Just make sure they’re completely covered to prevent the frosting from drying out or absorbing odors.
Refrigerator Storage
For longer storage, refrigerate your frosted cupcakes in an airtight container for up to 5 days. The buttercream frosting holds up beautifully in the fridge. Before serving, let them sit at room temperature for 20-30 minutes—this brings out the full flavor and softens the frosting to that perfect creamy texture.
Freezing for Future Enjoyment
Want to bake these way ahead? Freeze unfrosted cupcakes for up to 3 months! Wrap each cupcake individually in plastic wrap, then place them all in a large freezer bag. When you’re ready to serve, thaw them overnight in the refrigerator or at room temperature for a few hours, then frost and decorate fresh.
You can also freeze frosted cupcakes, though I prefer freezing them unfrosted. If freezing frosted cupcakes, place them on a baking sheet and freeze until solid (about 2 hours), then transfer to an airtight container. This prevents the frosting from getting smooshed.
Reheating Tips
While these cupcakes are delicious at room temperature, you can warm unfrosted ones in the microwave for 10-15 seconds for that fresh-from-the-oven taste. Don’t microwave frosted cupcakes—the frosting will melt into a puddle!
Tips for Avoiding Common Baking Mistakes
Mistake #1: Dense, Heavy Cupcakes
This usually happens from overmixing the batter or using cold ingredients. Remember to mix only until the flour disappears and ensure all ingredients are at room temperature before starting.
Mistake #2: Flat, Sunken Centers
Check your baking powder and baking soda expiration dates! Old leavening agents won’t create the rise you need. Also, avoid opening the oven door during the first 15 minutes of baking—the temperature drop can cause cupcakes to collapse.
Mistake #3: Overflowing Cupcakes
Fill liners only two-thirds full. It seems like such a small amount, but cupcakes rise significantly during baking. Too much batter creates those awkward mushroom tops that are impossible to frost nicely.
Mistake #4: Dry, Crumbly Texture
Overbaking is the culprit here. Start checking at 18 minutes and remove them as soon as a toothpick comes out with moist crumbs. Remember, they continue cooking slightly after leaving the oven.
Mistake #5: Lumpy Frosting
Make absolutely sure your butter is properly softened—it should leave a slight indent when pressed but not be greasy or melted. Beat it well before adding powdered sugar, and sift your powdered sugar if it’s lumpy.
Mistake #6: Uneven Baking
Rotate your pans halfway through baking to compensate for hot spots in your oven. If your cupcakes consistently bake unevenly, invest in an oven thermometer—many ovens run hot or cold.
Frequently Asked Questions
Can I make these thanksgiving cupcakes with sprinkles ahead of time?
Absolutely! These cupcakes are perfect for advance preparation. Bake the cupcakes up to 2 days ahead and store them unfrosted in an airtight container at room temperature. Frost them the morning you plan to serve them. You can even freeze unfrosted cupcakes for up to 3 months for ultra-advance planning.
What kind of sprinkles work best for thanksgiving cupcakes?
Look for autumn or harvest-themed sprinkle mixes containing orange, yellow, brown, red, and gold colors. Jimmies (those classic rod-shaped sprinkles) hold up best on frosting. Nonpareils (the tiny ball sprinkles) work too, though they can bleed color slightly. Avoid sanding sugar if you want a smooth frosting surface—it’s pretty but creates a crunchy texture.
Can I use a box cake mix instead of making from scratch?
Sure! Use a spice cake or yellow cake mix and add 1 teaspoon of cinnamon and ½ teaspoon of nutmeg to the batter to achieve that thanksgiving flavor. However, homemade really does taste better and isn’t much more difficult—I promise the extra 5 minutes of effort is worth it.
How do I get my frosting to look professional?
The secret is using a piping bag with a large star or round tip. Hold the bag perpendicular to the cupcake, apply steady pressure, and pipe in a circular motion from the outside toward the center. Release pressure and lift straight up. Practice on parchment paper first if you’re nervous! Alternatively, use an offset spatula to create beautiful swirls.
What’s the best way to transport these cupcakes?
Invest in a cupcake carrier—they’re inexpensive and worth every penny. If you don’t have one, place cupcakes in a 9×13 inch pan and cover with plastic wrap supported by toothpicks (to keep it from touching the frosting). Drive carefully and avoid sudden stops!
Can I make these cupcakes gluten-free?
Yes! Substitute a 1:1 gluten-free flour blend for the all-purpose flour. Look for blends containing xanthan gum (like Bob’s Red Mill or King Arthur). The texture will be slightly different but still delicious. Make sure all other ingredients are certified gluten-free if needed for celiac disease.
Why did my cupcakes sink in the middle?
Several factors cause sinking: opening the oven door too early, underbaking, using old leavening agents, or overmixing the batter. The most common culprit is opening the oven door before the cupcakes have set—wait at least 15 minutes before peeking.
Can I use oil instead of butter in these cupcakes?
The recipe actually uses both! The combination creates the perfect texture—butter for flavor and oil for moisture. You could use all oil (1 cup total) for a dairy-free version, but you’ll sacrifice some flavor richness.
Nutrition Information
| Nutrient | Per Cupcake (1/24 of recipe) |
|---|---|
| Calories | 285 |
| Total Fat | 14g |
| Saturated Fat | 7g |
| Cholesterol | 55mg |
| Sodium | 180mg |
| Total Carbohydrates | 38g |
| Dietary Fiber | 0.5g |
| Sugars | 28g |
| Protein | 2g |
Note: Nutrition information is approximate and may vary based on specific ingredients and portion sizes used.
Final Thoughts
These thanksgiving cupcakes with sprinkles have become my go-to holiday dessert when I want something special but don’t have hours to spend in the kitchen. They’re proof that you don’t need complicated techniques or fancy ingredients to create something truly memorable.
What I love most is watching kids’ faces light up when they see that cascade of colorful sprinkles—it’s pure joy in cupcake form. And the adults? They appreciate the subtle spice blend and homemade quality that beats any store-bought dessert hands down.
Whether you’re hosting thanksgiving dinner for twenty or bringing dessert to someone else’s celebration, these cupcakes travel well, look gorgeous on any table, and disappear faster than you can say “pass the pumpkin pie.”
So this thanksgiving, give yourself the gift of stress-free baking. Whip up a batch of these beauties, watch them disappear, and bask in all those compliments. You’ve got this—and your thanksgiving table just got a whole lot sweeter!