No Bake Thanksgiving Treats That Look Fancy But Are So Easy
When Thanksgiving rolls around, your oven is already working overtime with the turkey, casseroles, and pies. That’s exactly why no bake Thanksgiving treats have become my absolute lifesaver! These delightful desserts require zero oven time, minimal cleanup, and honestly taste just as impressive as anything you’d slave over a hot stove for. Last year, I made three different no bake treats, and guests were convinced I’d been baking all day.
The best part? I actually had time to enjoy my coffee that morning instead of being covered in flour at 6 AM. These treats are perfect for busy hosts, beginner bakers, or anyone who simply wants to add more dessert variety without the stress.
What Are No Bake Thanksgiving Treats?
You know that magical moment when you realize you can have your cake and eat it too—literally, without turning on the oven? That’s the beauty of no bake Thanksgiving treats! These are delicious desserts that come together using your refrigerator or freezer instead of heat.
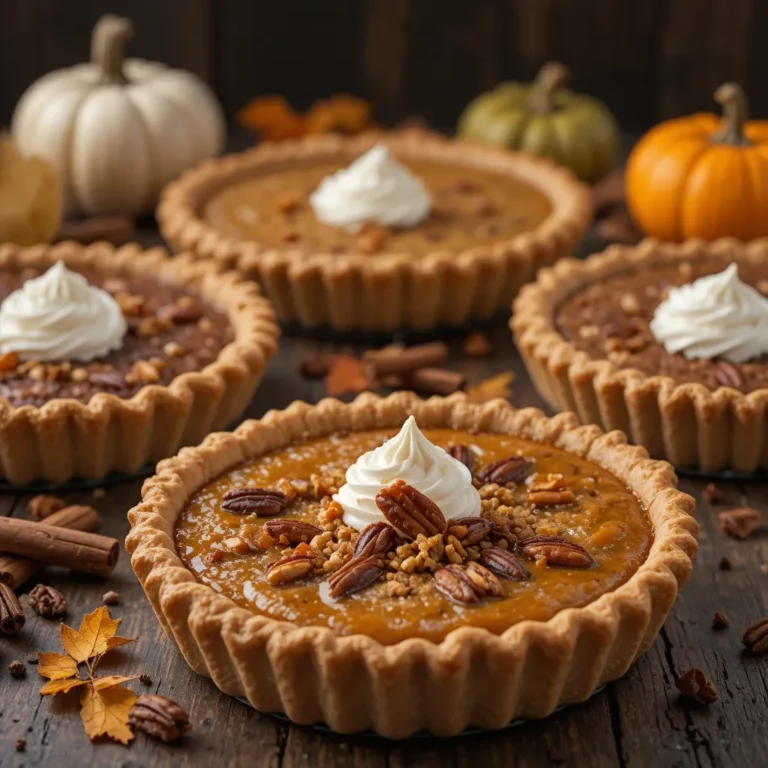
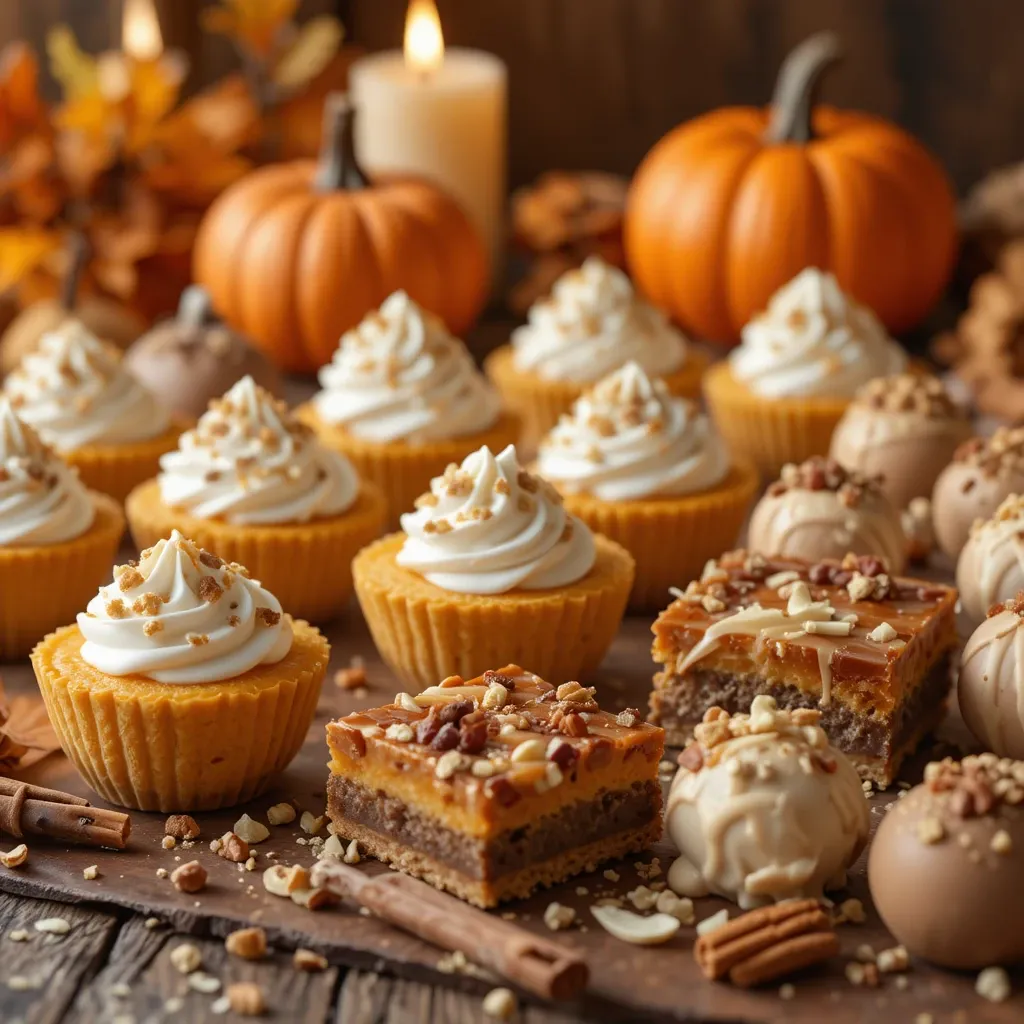
Think creamy cheesecakes, rich chocolate truffles, pumpkin parfaits, and pecan pie bars that set up perfectly cold. As they say, “the way to a man’s heart is through his stomach,” and trust me, these no-fuss treats will win over every heart at your Thanksgiving table. Ready to discover how simple holiday baking can actually be? Let’s dive in!

Why You’ll Love These No Bake Thanksgiving Treats
They’re Absolute Stress-Relievers
The main highlight of no bake Thanksgiving treats is the freedom they give you. While your turkey roasts and your green bean casserole bubbles away, these desserts are chilling peacefully in your fridge. No timer watching, no burnt edges, no oven juggling. I remember my first Thanksgiving hosting—I tried making six different baked desserts and nearly had a meltdown. Now? I make most of my desserts no-bake, and I actually enjoy the holiday instead of surviving it.
Save Money and Impress Everyone
Making no bake Thanksgiving treats at home costs a fraction of what you’d spend at a bakery. A fancy pumpkin cheesecake at a store might run you $30-40, but you can make one at home for under $15. Plus, you can customize the flavors exactly how your family loves them—more cinnamon, less sugar, extra chocolate, whatever your heart desires!
Endless Flavor Possibilities
From classic pumpkin and pecan flavors to creative cranberry white chocolate combinations, no bake treats let you play with all those beautiful fall flavors we crave. Cream cheese, cookie crusts, spiced fillings, caramel drizzles—every layer adds something special. If you loved my no bake pumpkin pie recipe, you’ll absolutely adore these variations that take the same easy approach but multiply the options. The best part? You can make them days ahead, so they’re perfect for meal planning.
Ready to transform your Thanksgiving dessert game? Let’s get started with these foolproof treats that’ll have everyone asking for your “secret” recipe!
How to Make No Bake Thanksgiving Treats
Quick Overview
These no bake Thanksgiving treats are incredibly simple to master. Most recipes follow a similar pattern: create a crust, prepare a creamy filling, let it chill, and add toppings. The beauty is in the simplicity—no special baking skills required, just patience while they set.
Time Breakdown:
- Prep Time: 15-30 minutes
- Chill Time: 2-4 hours (or overnight)
- Total Time: 2.5-4.5 hours
- Servings: 8-12 (depending on recipe)
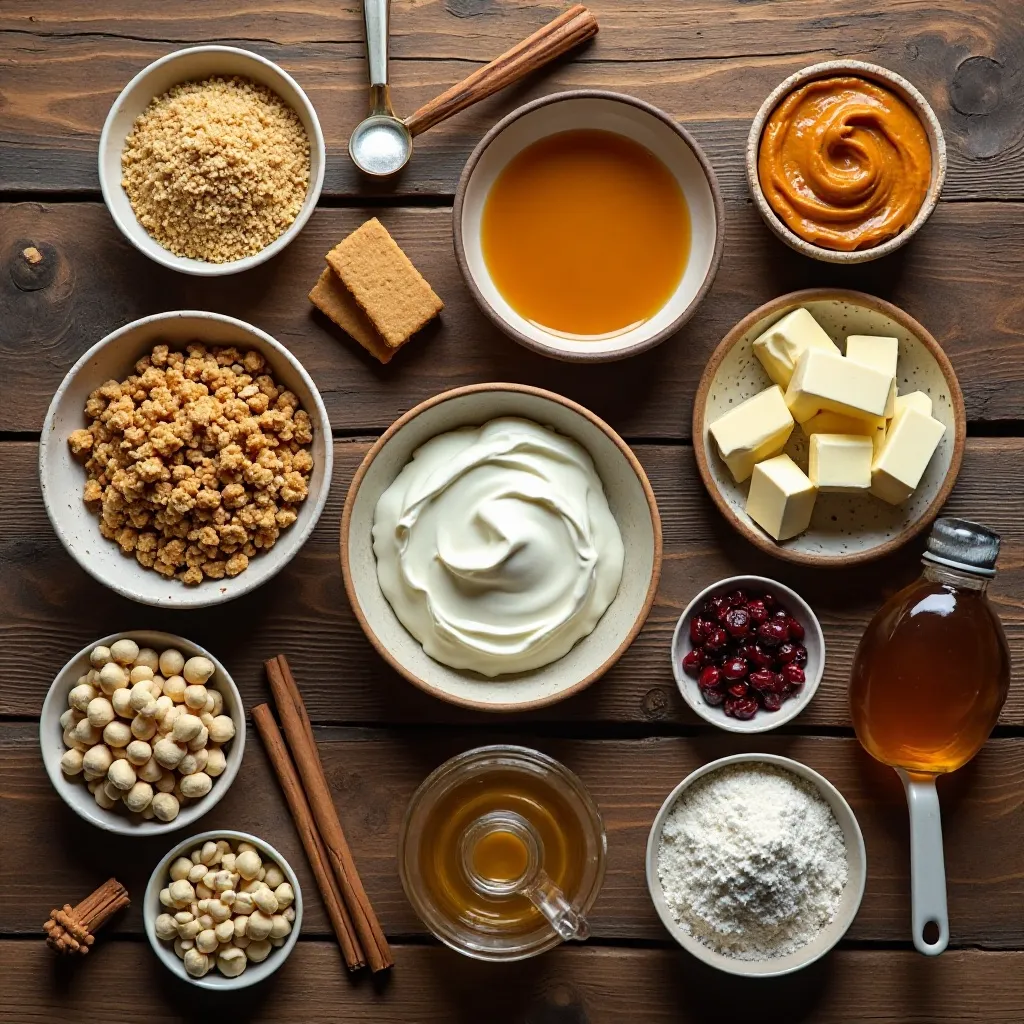
Key Ingredients for No Bake Thanksgiving Treats
Let me walk you through the essential ingredients you’ll need for various no bake Thanksgiving treats. These pantry staples and simple components create magic together!
For Crusts:
- 2 cups graham cracker crumbs (or gingersnap cookies for extra spice)
- 6 tablespoons melted butter
- 3 tablespoons sugar
- Pinch of salt
For Fillings:
- 16 oz cream cheese, softened to room temperature
- 1 cup heavy whipping cream
- ¾ cup powdered sugar
- 1 can (15 oz) pumpkin puree (not pumpkin pie filling!)
- 2 teaspoons pumpkin pie spice
- 1 teaspoon vanilla extract
- ¼ teaspoon salt
For Toppings:
- Whipped cream (homemade or store-bought)
- Chopped pecans or walnuts
- Caramel sauce
- Chocolate shavings
- Fresh cranberries
- Cinnamon stick for garnish
Optional Add-ins:
- Mini chocolate chips
- Crushed toffee bits
- Maple syrup
- White chocolate chips
Step-by-Step Instructions
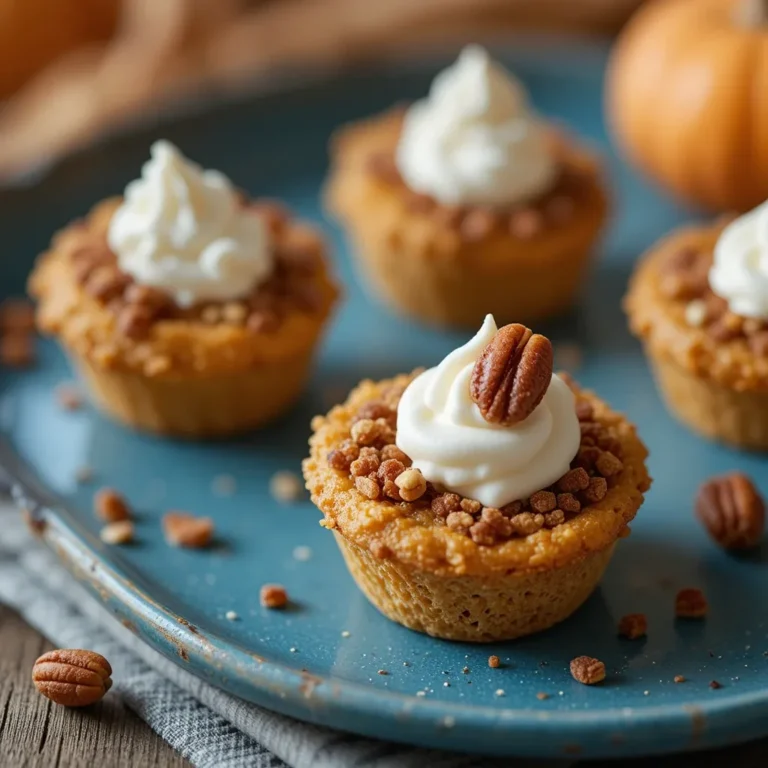
Making the Perfect No Bake Pumpkin Cheesecake Cups
Step 1: Prepare Your Crust
Start by crushing your graham crackers into fine crumbs. I like using my food processor, but a rolling pin and a zip-top bag works perfectly too—it’s also a great way to release some pre-holiday stress! Mix the crumbs with melted butter, sugar, and a tiny pinch of salt. The mixture should feel like wet sand and hold together when you squeeze it.
Press about 2 tablespoons of this mixture into the bottom of each serving cup or glass. Use the back of a spoon or your fingers to really pack it down firmly. This creates that satisfying crunch everyone loves. Pop these in the fridge while you make the filling.
Step 2: Whip Your Cream Cheese Base
This is where the magic happens! Take your softened cream cheese (and I mean really soft—leave it out for at least an hour) and beat it with an electric mixer for 2-3 minutes until it’s completely smooth and fluffy. No lumps allowed here! Scrape down the sides of the bowl to make sure everything gets incorporated.
Add your powdered sugar gradually, beating well after each addition. This prevents sugar clouds from covering your entire kitchen—learned that one the hard way!
Step 3: Add the Pumpkin Flavor
Mix in your pumpkin puree, pumpkin pie spice, vanilla extract, and salt. Beat on medium speed for another 2 minutes until everything is beautifully combined and the color is even throughout. Taste it at this stage (quality control is important, right?) and adjust the spices if you want more warmth.
Step 4: Fold in the Whipped Cream
In a separate bowl, whip your heavy cream until stiff peaks form. This usually takes about 3-4 minutes with an electric mixer. You’ll know it’s ready when you lift the beaters and the peaks stand up straight without drooping.
Gently fold the whipped cream into your pumpkin mixture using a rubber spatula. Use a folding motion—scoop from the bottom, bring it up and over—rather than stirring. This keeps all that air you just whipped in, creating the fluffiest, lightest texture.
Step 5: Assemble and Chill
Spoon or pipe the filling over your chilled crusts. I love using a piping bag because it looks so professional, but honestly, a spoon works just fine. Fill each cup almost to the top, leaving just a little room for toppings.
Cover each cup with plastic wrap (press it gently onto the surface to prevent a skin from forming) and refrigerate for at least 4 hours, or preferably overnight. This gives everything time to set up properly and lets the flavors meld together beautifully.
Step 6: Add Final Touches
Right before serving, top each cup with a dollop of whipped cream, a sprinkle of chopped pecans, and a light drizzle of caramel sauce. Add a tiny dusting of cinnamon or a cinnamon stick for that picture-perfect finish.
No Bake Pecan Pie Bars
Step 1: Create the Cookie Crust
Combine 2 cups of vanilla wafer crumbs with melted butter and press into a parchment-lined 9×9 inch pan. Make sure you press it evenly into the corners. Refrigerate while making the filling.
Step 2: Make the Pecan Filling
Mix together softened cream cheese, brown sugar, and a touch of maple syrup until smooth. Fold in chopped toasted pecans—and please toast them first! It only takes 5 minutes in a dry skillet and amplifies the flavor tenfold.
Step 3: Layer and Set
Spread the pecan mixture over the chilled crust, smooth the top, and refrigerate for at least 3 hours. Cut into bars and watch them disappear!
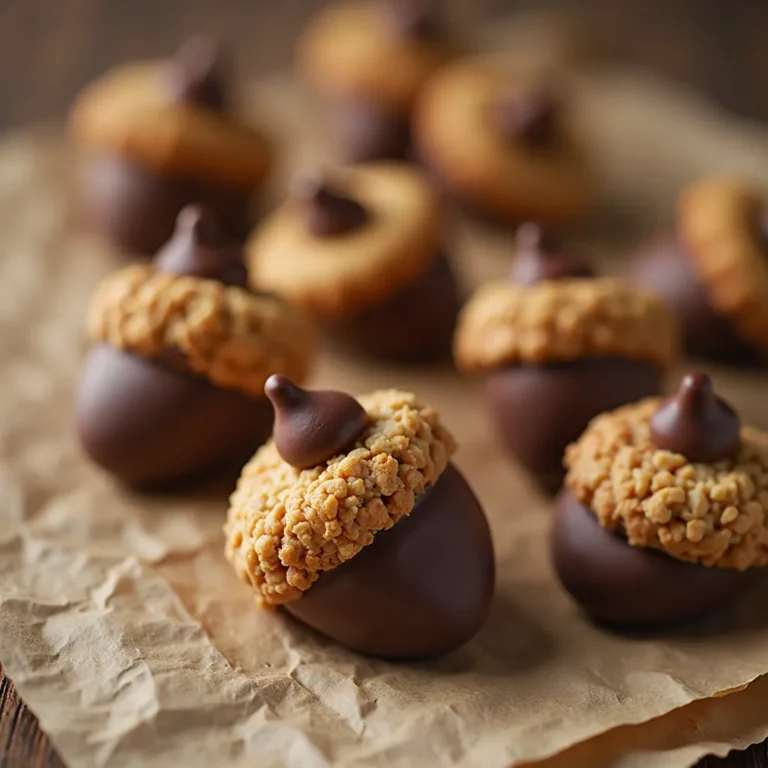
Cranberry White Chocolate Truffles
Step 1: Mix the Base
Beat cream cheese with powdered sugar until fluffy. Fold in dried cranberries and white chocolate chips that you’ve chopped into smaller pieces.
Step 2: Form and Chill
Roll the mixture into 1-inch balls and place on a parchment-lined tray. Chill for 1 hour until firm.
Step 3: Coat the Truffles
Melt white chocolate and dip each truffle, letting excess drip off. Place back on parchment and sprinkle with crushed freeze-dried cranberries for a beautiful garnish. Refrigerate until set.
What to Serve No Bake Thanksgiving Treats With
These treats are incredibly versatile! Here are my favorite pairings:
Hot Beverages:
- Spiced apple cider
- Pumpkin spice lattes
- Hot chocolate with a cinnamon stick
- French press coffee (the richness complements the sweetness)
- Chai tea latte
For a Complete Dessert Spread: Pair your no bake treats with a warm apple crisp or my famous pecan pie. The contrast of warm and cold desserts is absolutely divine and gives guests options.
Fresh Fruit: Serve alongside fresh pear slices, apple wedges, or a bowl of sugared cranberries. The fresh acidity cuts through the richness perfectly.
Top Tips for Perfecting No Bake Thanksgiving Treats
Let Cream Cheese Come to Room Temperature
This is the number one mistake I see! Cold cream cheese creates lumps that no amount of mixing will fix. Set it out at least one hour before you start, or place the wrapped package in warm water for 10 minutes if you’re short on time.
Don’t Skip the Chilling Time
I know it’s tempting to dig in early, but these treats need their full chill time to set properly. If you cut into them too soon, they’ll be messy and won’t hold their shape. Trust the process!
Use Quality Ingredients
Since there’s no baking to mask flavors, ingredient quality really shines through. Use real vanilla extract, not imitation. Choose full-fat cream cheese, not low-fat versions. Your taste buds will thank you.
Toast Your Nuts
Whether you’re using pecans, walnuts, or almonds, always toast them first. Spread them on a dry skillet over medium heat for 4-5 minutes, stirring constantly. The oils release and the flavor intensifies dramatically.
Make Ahead for Best Results
Most no bake treats actually taste better the next day after the flavors have melded. Make them 1-2 days before Thanksgiving for optimal results.
Level Your Layers
If you’re making layered treats, use an offset spatula to smooth each layer. This creates those beautiful, distinct layers when you cut into them.
Prevent Soggy Crusts
If your crust tends to get soggy, try adding a thin layer of melted white chocolate between the crust and filling. Let it set for 10 minutes before adding the filling. This creates a moisture barrier.
Storage Containers Matter
Use airtight containers to prevent your treats from absorbing other refrigerator odors. Nobody wants their cheesecake tasting like last night’s garlic bread!
Storing and Reheating Tips
Refrigerator Storage:
Store no bake Thanksgiving treats in airtight containers in the refrigerator for up to 5 days. Make sure they’re covered well to prevent them from drying out or absorbing odors. I like using glass containers with tight-fitting lids.
For individual portions like cheesecake cups, keep the plastic wrap on until ready to serve. For bars or slices, separate layers with parchment paper to prevent sticking.
Freezer Storage:
Most no bake treats freeze beautifully for up to 3 months! Wrap individual portions tightly in plastic wrap, then aluminum foil, and place in a freezer-safe bag. Label with the date and contents.
To freeze bars or slices, place them on a parchment-lined tray and freeze until solid (about 2 hours), then transfer to a freezer bag. This prevents them from sticking together.
Thawing Instructions:
Transfer frozen treats to the refrigerator and let them thaw overnight. Never thaw at room temperature as this can make them watery. For individual cups or truffles, they’ll need about 4-6 hours in the fridge.
Note on Reheating:
Here’s the thing—these are no bake treats for a reason! They’re meant to be served cold or at cool room temperature. If they’ve been refrigerated, let them sit out for about 10-15 minutes before serving to take the chill off. This enhances the flavors and improves the texture.
The only exception is if you’ve made something like a chocolate ganache topping that’s become too firm. You can gently warm just the topping in 5-second microwave bursts, stirring between each, until it’s pourable again.
Tips for Avoiding Common Mistakes
Mistake #1: Over-Mixing the Filling
Once you’ve folded in the whipped cream, stop mixing! Over-mixing deflates all those beautiful air bubbles and creates a dense, heavy texture instead of light and fluffy.
Mistake #2: Using Pumpkin Pie Filling Instead of Pure Pumpkin
Always use pure pumpkin puree, NOT pumpkin pie filling. Pie filling already has sugar and spices added, which will throw off your recipe’s balance and make it overly sweet.
Mistake #3: Not Pressing the Crust Firmly Enough
A loose crust will crumble apart when you try to serve your treats. Press down firmly and evenly—you want it compact and sturdy.
Mistake #4: Adding Toppings Too Early
Wait until just before serving to add whipped cream, caramel drizzles, or fresh fruit. Added too early, they can make your treats soggy or cause colors to bleed.
Mistake #5: Rushing the Setting Process
Trying to speed up chilling by using the freezer might seem smart, but it can create ice crystals and affect the texture. Slow and steady in the fridge wins this race.
Mistake #6: Using a Dull Knife to Cut
For clean slices, use a sharp knife warmed under hot water, then wiped dry. Do this before each cut for professional-looking portions.
Mistake #7: Forgetting to Measure Accurately
Baking is science, even when there’s no actual baking! Measure ingredients accurately, especially the cream cheese and liquids, to ensure proper setting.
Frequently Asked Questions
Can I make no bake Thanksgiving treats ahead of time?
Absolutely! In fact, most no bake treats taste better after sitting for a day or two. Make them up to 3 days in advance and store them covered in the refrigerator. This is perfect for holiday meal planning and reduces day-of stress.
Do no bake desserts need to be refrigerated?
Yes, always! Since these treats contain dairy products like cream cheese and whipped cream, they must be kept refrigerated. They should never sit at room temperature for more than 2 hours.
Can I use low-fat cream cheese for no bake treats?
I really don’t recommend it. Low-fat cream cheese has more water content and less fat, which affects both the texture and ability to set properly. It can result in a runny filling that never quite firms up. Stick with full-fat for best results.
What can I substitute for graham crackers in the crust?
You have so many options! Try gingersnap cookies for extra spice, vanilla wafers for a milder flavor, chocolate cookies for richness, or even crushed pretzels for a sweet-salty twist. Just use the same amount of crumbs.
How do I know when my no bake dessert is set?
Gently press the center with your finger. It should feel firm and spring back slightly, not jiggle or leave an indentation. The edges should also appear set and pull away slightly from the container.
Can I freeze no bake Thanksgiving treats?
Most freeze wonderfully! Wrap them tightly and freeze for up to 3 months. Thaw overnight in the refrigerator. The exception is treats with fresh fruit toppings—add those after thawing.
Why did my no bake cheesecake turn out runny?
This usually happens from not enough chilling time, using low-fat cream cheese, or over-mixing which deflated the whipped cream. Make sure you beat the cream to stiff peaks and fold it in gently. Also, ensure your cream cheese is at room temperature before starting.
Can I make these dairy-free?
Yes! Use dairy-free cream cheese and coconut cream in place of heavy cream. The texture will be slightly different but still delicious. Make sure to whip the coconut cream when it’s very cold for best results.
What’s the best way to transport no bake treats?
Keep them cold! Use an insulated cooler with ice packs. For layered desserts or cups, keep them level during transport. Individual portions in cups are much easier to transport than large pies or cakes.
How far in advance can I make the crust?
You can make crusts up to 3 days ahead. Press them into your pan or cups, cover tightly with plastic wrap, and refrigerate until ready to fill.
Nutrition Information
| Nutrient | Per Serving (Pumpkin Cheesecake Cup) |
|---|---|
| Calories | 285 |
| Total Fat | 19g |
| Saturated Fat | 11g |
| Cholesterol | 55mg |
| Sodium | 180mg |
| Total Carbohydrates | 26g |
| Dietary Fiber | 1g |
| Sugars | 20g |
| Protein | 4g |
| Vitamin A | 45% DV |
| Calcium | 6% DV |
| Iron | 4% DV |
Note: Nutritional values are approximate and will vary based on specific ingredients used and portion sizes.
Final Thoughts
No bake Thanksgiving treats have completely changed how I approach holiday hosting. Instead of being chained to my oven and stressed about timing, I can prepare beautiful, delicious desserts in advance and actually enjoy time with my family.
The best part? These treats are so impressive that guests always assume they took hours of effort. Little do they know you were sipping coffee while they chilled in the fridge!
Whether you’re making pumpkin cheesecake cups, pecan pie bars, or cranberry truffles, remember that baking (or not baking!) should be joyful, not stressful. Start with one simple recipe, master it, and then expand your repertoire.
This Thanksgiving, give yourself the gift of time. Make these no bake treats, save your oven for the turkey, and spend those extra hours making memories instead of messes.
What’s your favorite no bake Thanksgiving treat? Drop a comment below—I’d love to hear what your family loves! And if you try any of these recipes, please snap a photo and tag me. Seeing your creations absolutely makes my day!
Happy (stress-free) Thanksgiving baking—er, not baking! 🎃🍂
Pin this recipe for later and follow me for more easy holiday recipes!
Save this post to your Thanksgiving Desserts board so you can find it when you need it!