Perfect Thanksgiving Cookies Circle Recipe So Easy
Picture this: golden-brown circular cookies cooling on my kitchen counter, each one decorated with fall colors and the warm scent of cinnamon and nutmeg filling every corner of my house. That’s exactly what happened last November when I first experimented with these thanksgiving cookies circle designs, and honestly, I haven’t looked back since.
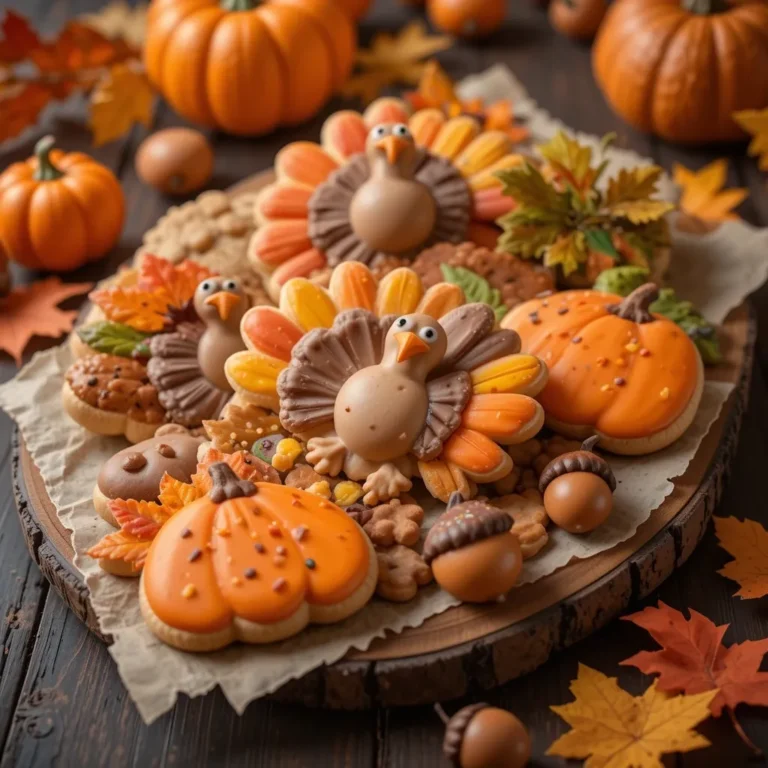
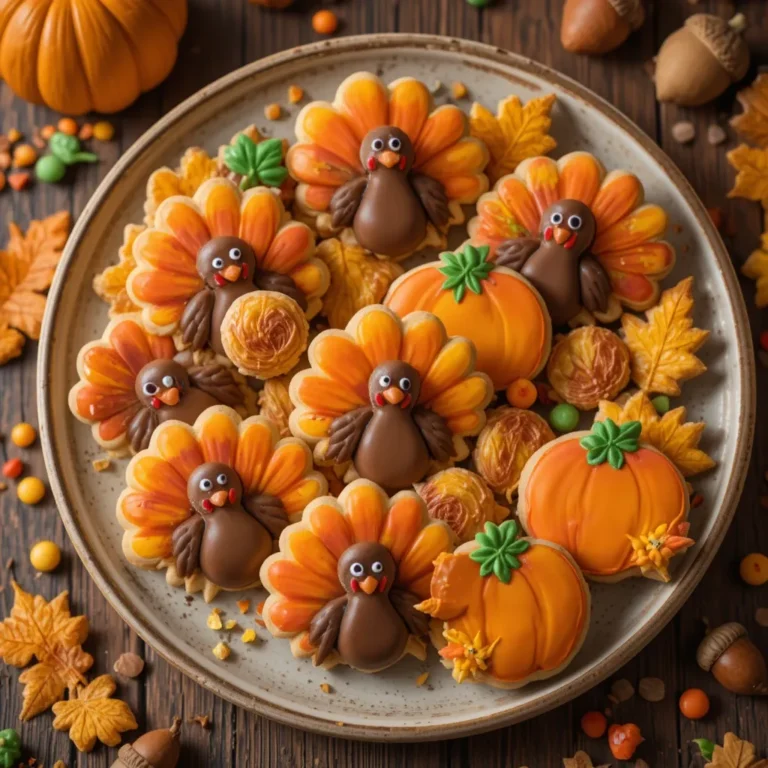
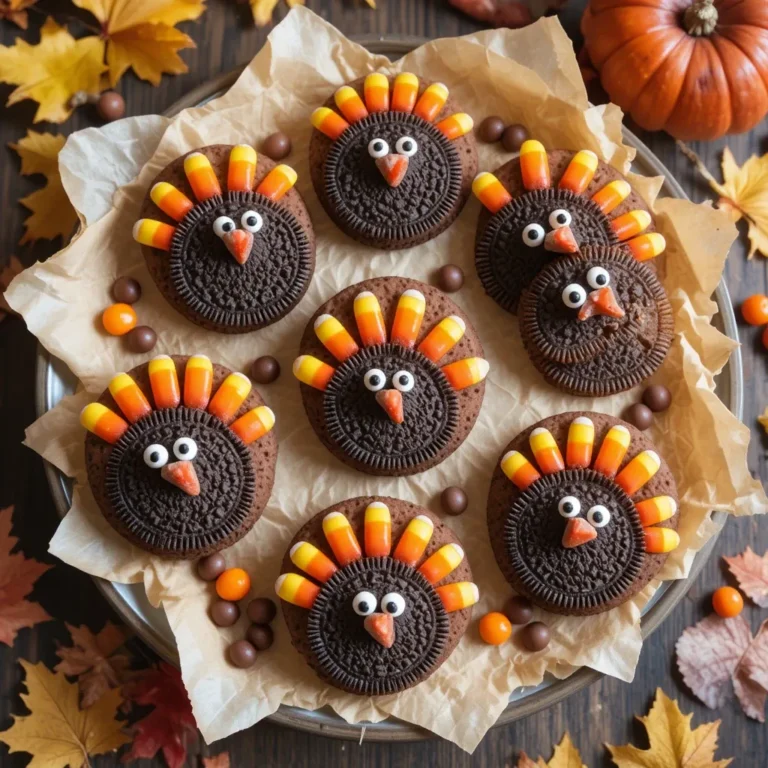
I’ve been making variations of these round Thanksgiving cookies for about four years now, and they’ve become such a staple at our holiday gatherings that my sister-in-law actually texts me in October to make sure I’m planning to bring them. There’s something about the circular shape that makes them perfect for decorating with fall themes – think tiny pumpkins arranged in a ring, autumn leaves creating a wreath pattern, or even a simple turkey face that makes kids giggle.
The first time I made these, I’ll admit I was skeptical about whether the shape really mattered. Spoiler alert: it does! The circular cookies bake more evenly than irregular shapes, they stack beautifully for gifting, and they give you this perfect canvas for creative decorating. Plus, using a round cookie cutter means less dough waste compared to intricate turkey or leaf cutters. Win-win.
What Makes These Thanksgiving Cookies Circle So Special
Here’s the thing about these thanksgiving cookies circle – they’re not just another sugar cookie recipe with fall sprinkles thrown on top. I’ve tested this recipe at least a dozen times (my waistline can confirm), tweaking the ratios until I got that perfect balance of crispy edges and soft centers.
These cookies hit that sweet spot between looking impressive and being actually doable on a busy November day when you’re already juggling a dozen other dishes. The dough is forgiving, the baking time is consistent, and they taste incredible even if your decorating skills are more “enthusiastic toddler” than “professional baker.” Ask me how I know.
What really sets these apart is the subtle spice blend that screams Thanksgiving without overwhelming the buttery cookie base. We’re talking warm cinnamon, a hint of nutmeg, and just a whisper of ginger that makes people ask, “What’s in these?” in the best possible way.
Why This Recipe Works Every Time
Foolproof for Beginners
I promise, if you can use a cookie cutter, you can make these. My neighbor who claims she “can’t bake” made a batch last year and they turned out gorgeous. The dough doesn’t spread excessively, it doesn’t stick to cutters if you prep right, and there’s no chilling required for 17 hours like some recipes demand.
Budget-Friendly Ingredients
You probably have 90% of what you need in your pantry right now. No fancy vanilla beans or imported chocolate here – just good quality basics that deliver big flavor. I’ve made these thanksgiving cookies circle countless times, and my ingredient cost is usually under $10 for about 3 dozen cookies.
Perfect for Decorating
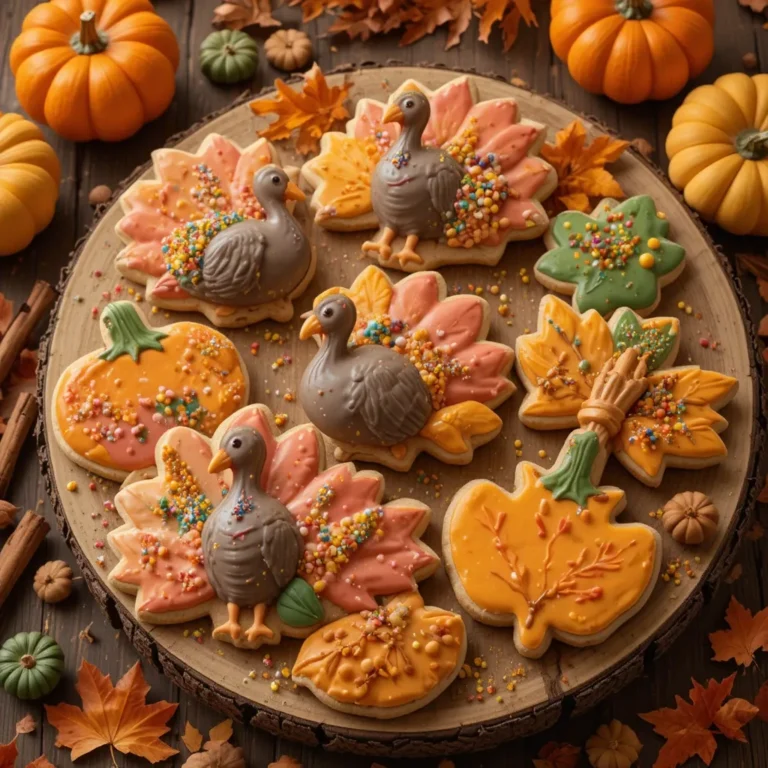
The smooth, round surface is honestly a decorator’s dream. Whether you’re going simple with colored sugar or getting fancy with royal icing designs, that circular shape gives you so many options. I’ve done everything from minimalist gold leaf accents to full-on cornucopia scenes, and the round canvas works for all of it.
They Actually Stay Fresh
In my opinion, nothing’s worse than cookies that taste like cardboard by day two. These stay soft and flavorful for up to a week in an airtight container. I tested this thoroughly last Thanksgiving when I made them five days early – they were just as delicious on Turkey Day as they were fresh from the oven.
Crowd-Pleasing Flavor
Trust me on this: I’ve served these to picky seven-year-olds and my food-snob uncle who went to culinary school. Everyone loves them. The spice level is approachable but interesting, the texture is satisfying, and they pair perfectly with coffee, tea, or a cold glass of milk.
Recipe Details
| Recipe Information | |
|---|---|
| Prep Time | 20 minutes |
| Cook Time | 11 minutes per batch |
| Total Time | 45 minutes |
| Servings | 36 cookies |
| Difficulty | Easy |
| Calories | 95 per cookie |
| Protein | 1g |
| Carbs | 13g |
| Fat | 4g |
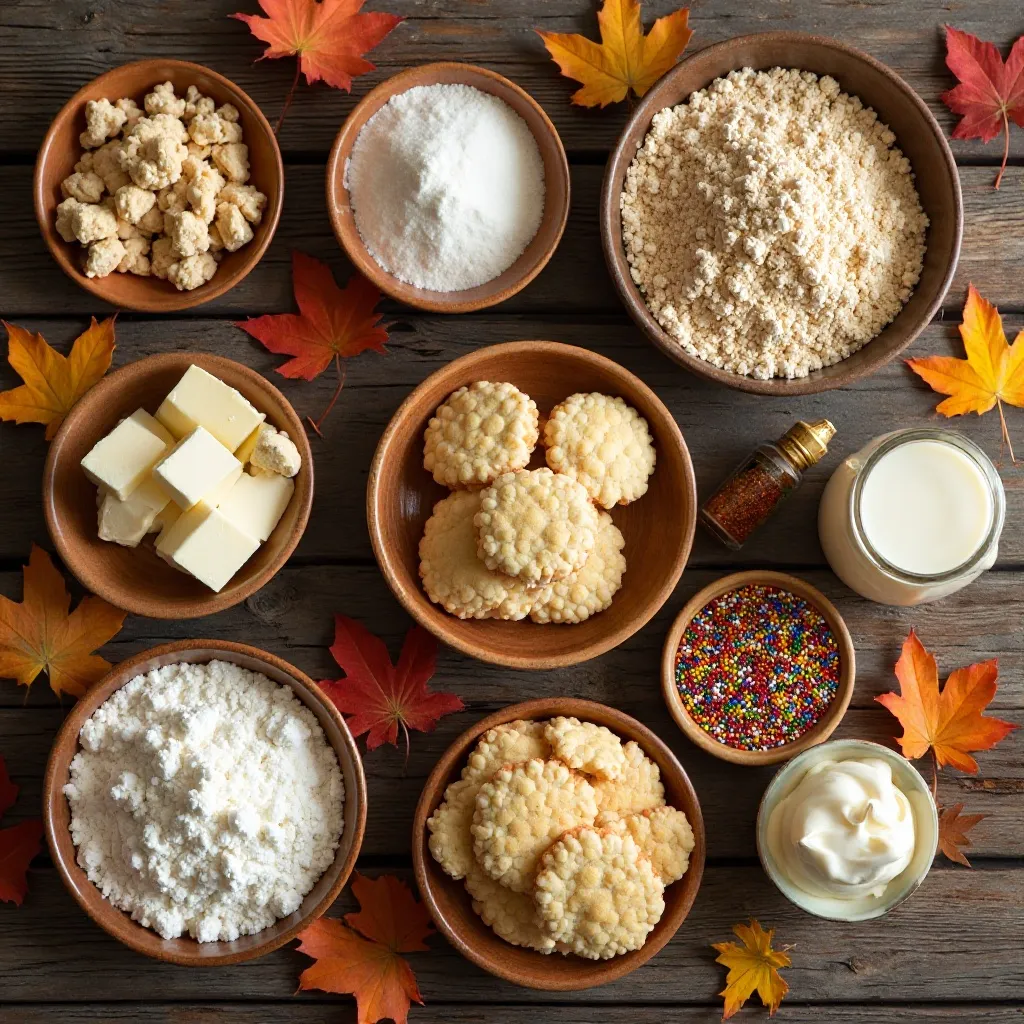
Thanksgiving Cookies Circle Ingredients
Let me tell you about these ingredients – they’re simple but mighty. The key player here is real butter (don’t even think about margarine unless you want to break my heart), and quality ground spices make a noticeable difference. I always use fresh cinnamon rather than the jar that’s been sitting in my cabinet since 2019.
One thing I’ve learned from making these so many times: room temperature eggs and butter are non-negotiable. I once tried to rush it with cold eggs and the dough was lumpy and weird. Learn from my mistakes, friends.
For the Cookie Dough:
- 3 cups all-purpose flour
- 1½ teaspoons baking powder
- ½ teaspoon salt
- 1 teaspoon ground cinnamon
- ½ teaspoon ground nutmeg
- ¼ teaspoon ground ginger
- 1 cup (2 sticks) unsalted butter, softened
- 1 cup granulated sugar
- 1 large egg
- 2 teaspoons vanilla extract
- 1 tablespoon milk
For Decorating:
- Royal icing or buttercream frosting
- Fall-colored sprinkles (orange, yellow, brown, red)
- Edible gold dust (optional but fancy)
- Food coloring gels
How to Make Perfect Thanksgiving Cookies Circle
The Simple Process
Here’s what I love about this recipe – it’s straightforward enough that I can make it while helping kids with homework or watching a football game. The most important thing? Don’t rush the mixing steps. I learned this the hard way when I tried to speed through and ended up with tough cookies.
Step 1: Prep Your Workspace
Preheat your oven to 350°F and line two baking sheets with parchment paper. (Pro tip: I like to use a light-colored baking sheet because dark ones can make the bottoms too brown.) Get your round cookie cutters ready – I use a 3-inch circle for standard cookies, but you can go smaller or larger depending on your preference.
You’ll know your oven is ready when it beeps, but I actually wait an extra 5 minutes to make sure it’s fully heated. This makes such a difference in even baking, and it’s a trick that took me years to figure out.
Step 2: Mix the Dry Ingredients
In a medium bowl, whisk together flour, baking powder, salt, cinnamon, nutmeg, and ginger. Make sure you really whisk it – I give it a good 30 seconds of vigorous mixing to ensure the spices are evenly distributed. Nobody wants a cookie that’s perfectly spiced on one side and bland on the other.
Step 3: Cream Butter and Sugar
In a large bowl (or stand mixer if you’re fancy), beat the softened butter and sugar together for about 3 minutes until it’s light and fluffy. It should look almost white and have a mousse-like texture. This is where the magic happens – proper creaming creates those tender cookies we’re after.
Step 4: Add Wet Ingredients
Beat in the egg, vanilla extract, and milk until combined. The mixture might look slightly curdled – don’t panic, this is totally normal. Just keep mixing for another 30 seconds and it’ll smooth out.
Step 5: Combine Everything
Gradually add your dry ingredients to the wet mixture, mixing on low speed (or stirring by hand) until just combined. Here’s where people mess up: overmixing makes tough cookies. Mix until you barely see flour streaks, then stop. The dough should be soft but not sticky.
Step 6: Roll and Cut
Lightly flour your work surface and rolling pin. Roll the dough to about ¼-inch thickness – I’ve found this is the perfect thickness for cookies that are substantial but not too thick. Use your circular cookie cutter to cut out shapes, placing them about 2 inches apart on your prepared baking sheets.
When I first started making these thanksgiving cookies circle, I made them too thin and they turned into crispy frisbees. Not the texture we’re going for, trust me.
Step 7: Bake to Golden Perfection
Bake for 10-12 minutes, until the edges are just starting to turn golden. The centers might look slightly underdone – that’s perfect! They’ll continue cooking on the hot pan after you remove them from the oven. I usually bake mine for exactly 11 minutes, and they come out perfect every single time.
Your kitchen will smell absolutely incredible at this point. Like, your neighbors might text you asking what you’re making kind of incredible.
Step 8: Cool Completely
Let the cookies cool on the baking sheet for 5 minutes, then transfer to a wire rack. This is crucial – if you try to decorate warm cookies, the icing will melt into a sad puddle. Ask me how I know (hint: it involved my daughter’s birthday and a minor frosting disaster).
My Favorite Ways to Decorate These
This is where you can really get creative with your thanksgiving cookies circle! I’ve tried probably twenty different decoration styles over the years, and here are my go-to approaches:
For a Quick Weeknight Version: Simply dust the cooled cookies with cinnamon sugar or dip half of each cookie in melted chocolate. Takes 5 minutes, looks elegant, tastes amazing.
For Holiday Gatherings: Use orange, brown, and yellow royal icing to create autumn leaves, mini pumpkins, or even a simple striped pattern. I like to pipe a border around the edge and fill it in – gives that professional bakery look without requiring professional skills.
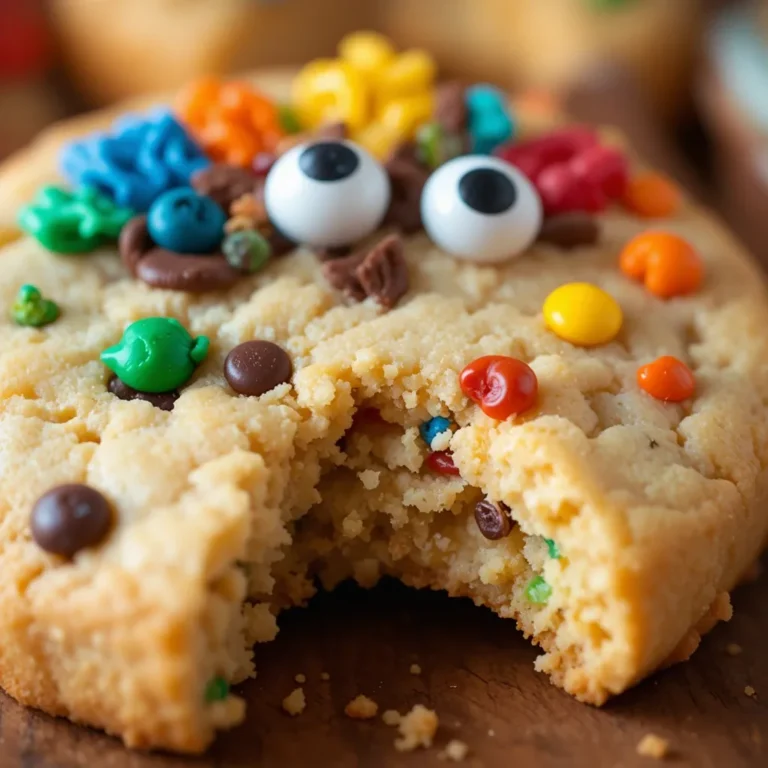
For Kids’ Tables: Let the little ones go wild with fall sprinkles, edible glitter, and colored frosting. The circular shape is perfect for making turkey faces – one cookie for the body, add candy corn for feathers, and you’ve got instant kid approval.
My personal favorite? A simple swirl of cream cheese frosting with a sprinkle of crushed pecans and a tiny drizzle of caramel. Tastes like fall in cookie form.
Pro Tips from My Kitchen
Can I make the dough ahead?
Absolutely! I make this dough up to 3 days in advance all the time. Wrap it tightly in plastic wrap and refrigerate. Just let it sit at room temperature for about 10 minutes before rolling – if it’s too cold, it’ll crack. I’ve noticed that dough that’s been chilled actually rolls out more smoothly than fresh dough.
Use parchment paper, not greasing
Trust me on this one. I tried greasing my pans once and the cookies spread too much and lost their perfect circular shape. Parchment paper (or silicone baking mats) gives you consistent results every single time.
The toothpick test doesn’t work here
Unlike cakes, you can’t test cookie doneness with a toothpick. Instead, look for those lightly golden edges. The center should still look soft and slightly underbaked. They’ll firm up as they cool, I promise.
Room temperature ingredients are crucial
I know I mentioned this earlier, but it’s worth repeating. Cold butter won’t cream properly, and cold eggs can make your dough seize up. I usually set everything out about an hour before I start baking. On busy days, I soften butter in the microwave using 5-second bursts.
Don’t skip the cooling rack
When I first started baking these thanksgiving cookies circle, I’d leave them on the baking sheet to cool completely. Big mistake – the bottoms got soggy from trapped steam. A wire rack allows air circulation on all sides, keeping your cookies perfectly crisp on the edges.
My foolproof timing trick
Set a timer for 10 minutes, then check the cookies. If the edges aren’t golden yet, give them another minute. I’ve baked these in probably six different ovens at this point (thanks to moving and various Thanksgiving locations), and every oven runs slightly different. Your nose will also tell you when they’re close – when that warm spice aroma gets stronger, they’re almost done.
Storing and Keeping Fresh
Here’s the honest truth: these cookies rarely last long enough for storage to be an issue at my house. But when I’m making them for gifting or prepping ahead for Thanksgiving, here’s what works:
Room Temperature Storage: Keep cookies in an airtight container at room temperature for up to one week. I like to place parchment paper between layers to prevent decorated cookies from sticking together. They actually taste even better on day two after the flavors have melded.
Freezer Storage: These freeze beautifully! Place undecorated, cooled cookies in a freezer-safe container with parchment between layers. They’ll keep for up to 3 months. Thaw at room temperature for about an hour before decorating. I usually bake a double batch and freeze half for emergency cookie situations.
Best Way to Reheat: If you want that fresh-from-the-oven experience, pop them in a 300°F oven for about 5 minutes. The edges crisp up nicely while the center stays soft.
Pro tip for decorated cookies: If you’re stacking decorated cookies, make sure the icing is completely set first (give it at least 4 hours with royal icing, overnight for buttercream). I learned this lesson when I ruined a dozen beautifully decorated cookies by stacking them too soon. The designs smudged together and it looked like a cookie crime scene.
Variations to Try
Make It Chocolate
Replace ½ cup of flour with ½ cup unsweetened cocoa powder for chocolate thanksgiving cookies circle. They’re incredible with orange-tinted icing that looks like pumpkins.
Add Nuts
Fold in ½ cup finely chopped pecans or walnuts to the dough for extra texture and nutty flavor. My dad requests this version every year.
Maple Spice Version
Replace the vanilla extract with maple extract and add an extra ½ teaspoon of cinnamon. Decorate with maple-flavored icing for a truly autumn experience.
Mini Cookie Size
Use a 1½-inch cutter for bite-sized cookies perfect for cookie platters. Adjust baking time to 8-9 minutes. These are dangerous because you can easily eat ten without realizing it.
Recipe FAQs
Why did my cookies spread too much?
This usually happens if your butter was too soft or melted, or if your dough was too warm when it went into the oven. Make sure butter is softened but still holds its shape, and if your kitchen is warm, chill the cut cookies for 15 minutes before baking.
Can I use cookie cutters other than circles?
Of course! While I love the thanksgiving cookies circle shape, this dough works with any cutter. Just note that intricate shapes might require a couple extra minutes of baking time.
My cookies are hard and crunchy – what happened?
You either baked them too long or rolled the dough too thin. Remember, slightly underbaked is better than overbaked. They’ll continue to firm up as they cool.
Can I make these gluten-free?
I’ve successfully used a 1:1 gluten-free flour blend in place of regular flour. The texture is slightly more crumbly but still delicious. Make sure your blend contains xanthan gum for best results.
How do I prevent my icing from running?
Make sure your cookies are completely cool before decorating. For royal icing, use a thicker consistency for borders and outlines, then thin it slightly for flooding. I learned this from watching way too many cookie decorating videos at 2 AM.
Can I use salted butter?
You can, but omit the added salt in the recipe. I prefer unsalted butter because it gives me more control over the final flavor.
Complete Your Thanksgiving Dessert Table
These thanksgiving cookies circle pair beautifully with other fall desserts. I love serving them alongside:
Classic pumpkin pie – The spices in the cookies complement the pumpkin perfectly without overwhelming your palate. Plus, cookies are way easier to eat while standing and mingling than pie.
Apple cider – Hot or cold, the flavors just work together. I sometimes set up a “cookie and cider” station at Thanksgiving that’s always a hit with both kids and adults.
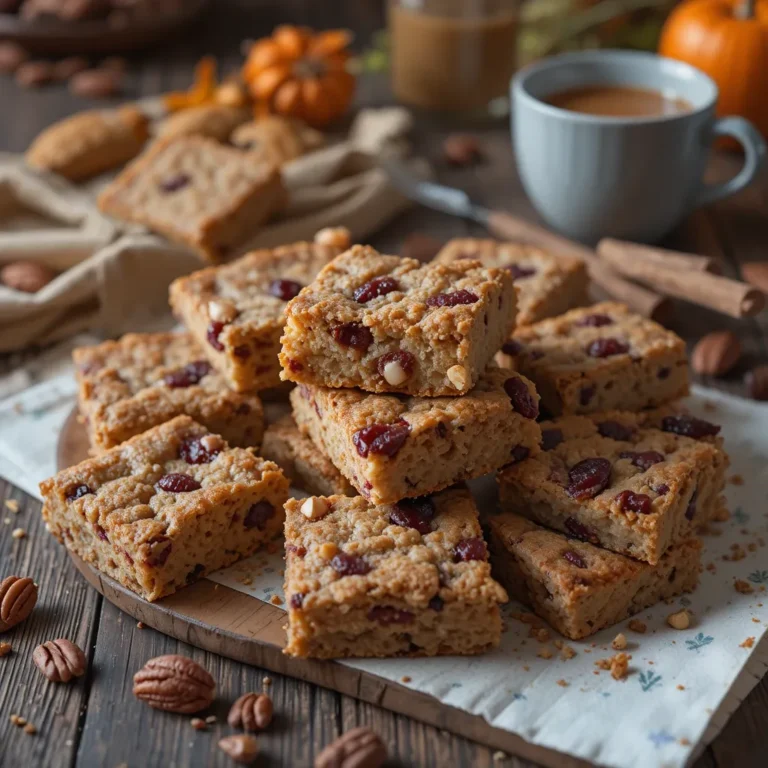
Pecan pie bars – The buttery cookie contrasts nicely with the rich, gooey pecan filling. Together they create this perfect sweet ending to the meal.
Cranberry sauce – Hear me out on this one. A slightly tart cranberry compote spread on one of these cookies is absolutely divine. It sounds weird but tastes incredible.
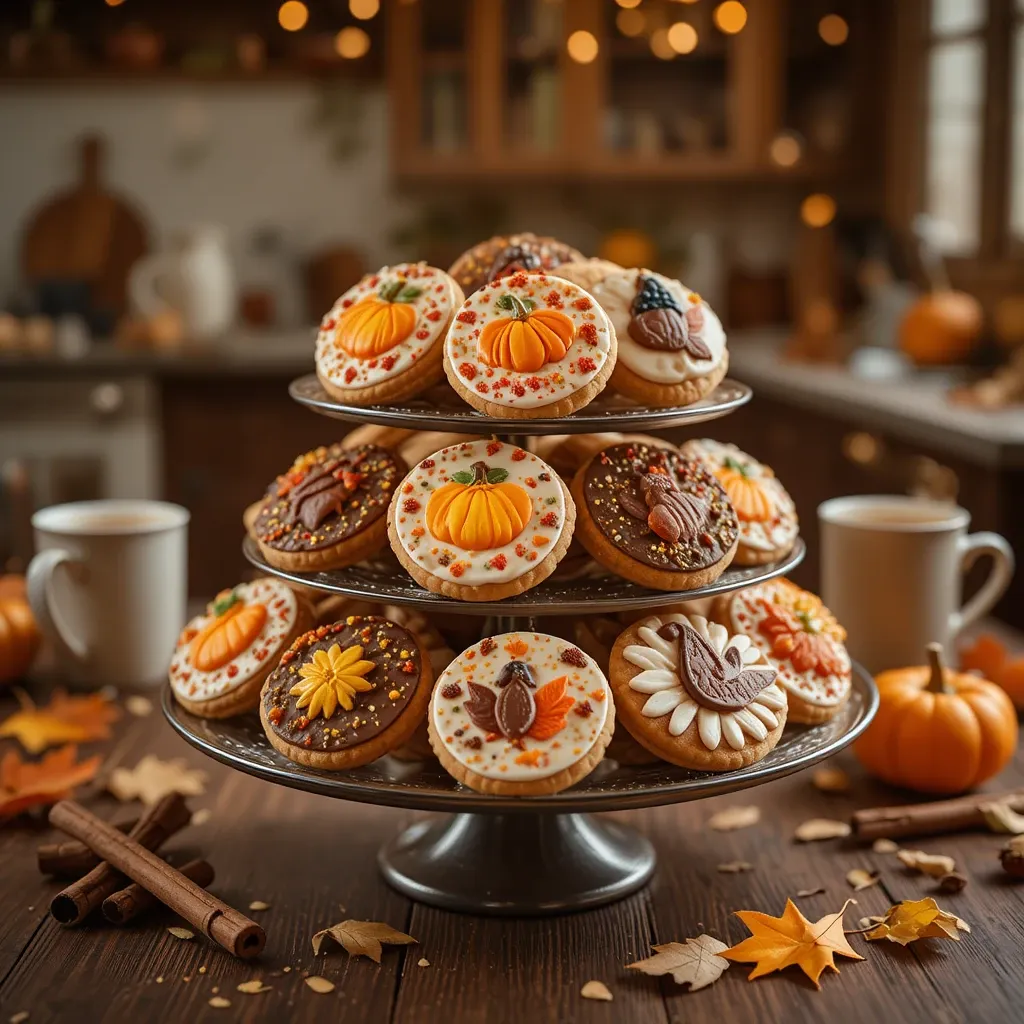
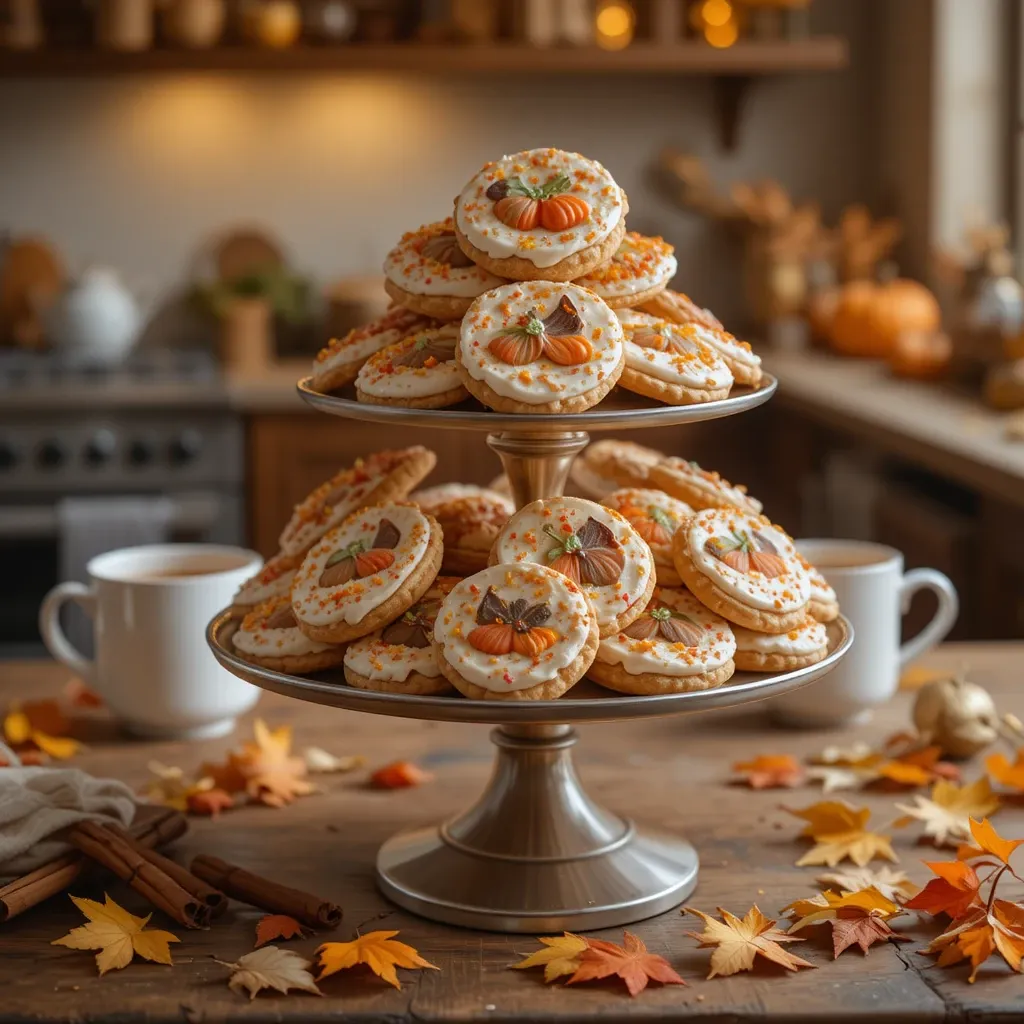
For Thanksgiving specifically, I arrange these cookies on a tiered stand with fresh rosemary sprigs and mini pumpkins for decoration. Takes two minutes to set up and looks like something from a magazine.
My Final Thoughts
After making these thanksgiving cookies circle more times than I can count, they’ve earned their spot as a non-negotiable part of my November baking lineup. They’re forgiving enough for busy holiday schedules, impressive enough for guests, and delicious enough that my teenage son has been known to hide a few in his room for later.
The real magic of this recipe isn’t just in how they taste (though they’re pretty amazing). It’s in how they bring people together. Last Thanksgiving, my niece helped me decorate these cookies while we talked about her college plans. The year before, my mom and I made a triple batch while watching the parade. These cookies have become part of our family’s holiday story.
So grab your circular cookie cutter, put on some music, and give these a try. Your kitchen will smell amazing, you’ll have gorgeous cookies to serve or gift, and who knows? Maybe these will become part of your holiday tradition too.
Now it’s your turn – tell me in the comments what decoration style you’re going to try first! And if you make these, snap a photo and tag me. I genuinely love seeing everyone’s creative takes on this recipe.