Easy Thanksgiving Whoopie Pies Ready in 30 Minutes
Picture this: It’s two days before Thanksgiving, and I’m staring at my kitchen counter covered in flour, wondering why I thought making three different pies from scratch was a good idea. My mom calls and casually mentions she’s bringing two pies. My sister? She’s bringing one too. That’s when it hit me—I needed something different. Something that screamed “Thanksgiving” but wouldn’t have me elbow-deep in pie dough at midnight.
Enter Thanksgiving whoopie pies. Game changer.
I’ve been making these for the past four years, and honestly, they’ve become more requested than traditional pumpkin pie at my Thanksgiving table. The first time I made them, I was skeptical. Could a whoopie pie really capture those cozy fall flavors? Spoiler alert: absolutely yes. They’re like if pumpkin pie and a soft cookie had a baby, then filled it with the most incredible cream cheese frosting you’ve ever tasted.
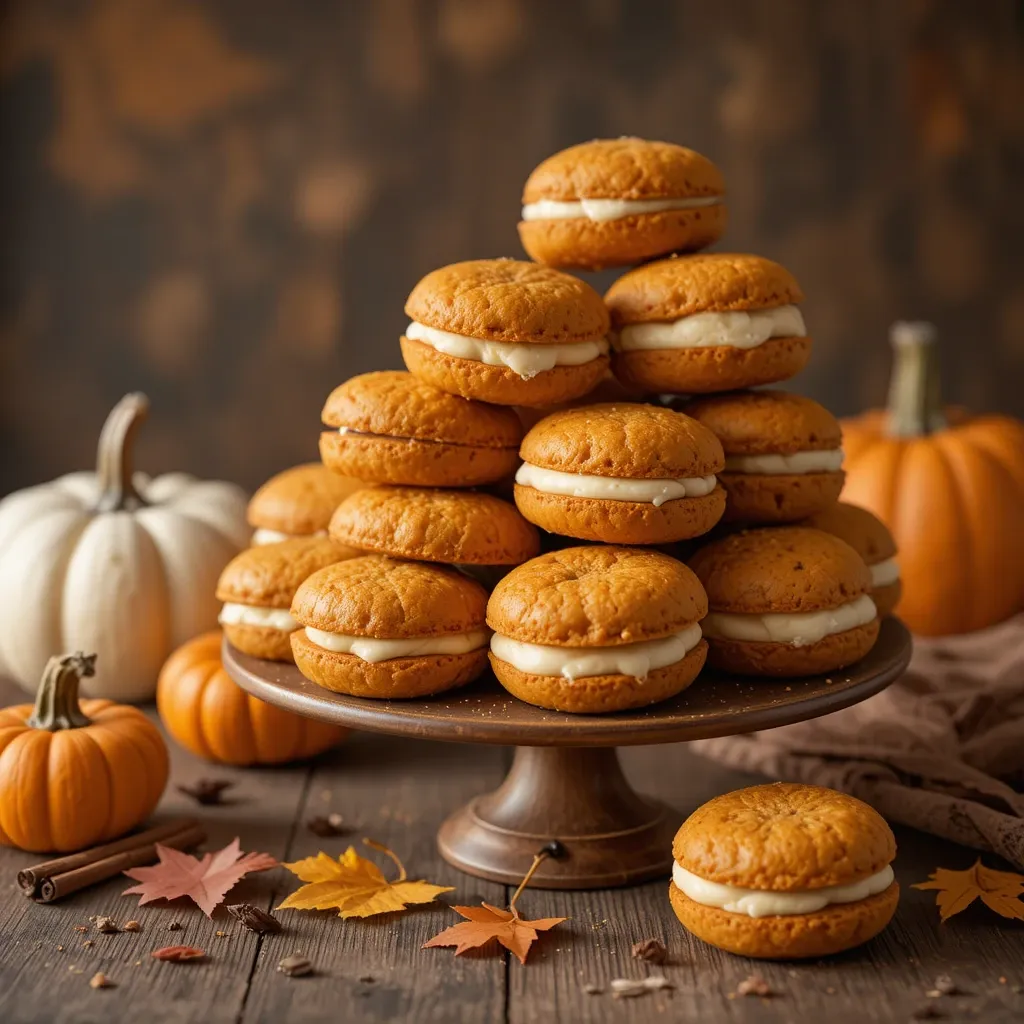
What I love most is how they look on a dessert spread. Those little sandwiches with their golden-orange color and cream peeking out the sides? They practically beg to be photographed. And unlike a pie that gets demolished after one person cuts into it, whoopie pies let everyone grab their own perfect portion. No awkward “is that piece too big?” moments.
What Makes Thanksgiving Whoopie Pies So Special
Let’s talk about why these aren’t just another fall dessert trying to ride the pumpkin spice wave.
Traditional whoopie pies originated in Pennsylvania (or Maine, depending on who you ask—it’s a whole thing), but these Thanksgiving versions take that classic concept and give it an autumn makeover. We’re talking real pumpkin puree, warm spices, and a filling that’s somehow both light and indulgent.
The genius of a whoopie pie is in its texture. The cakes are soft and pillowy—not quite cookie, not quite cake, but something magnificently in-between. When you bite into one, you get that slight give from the cake, then the creamy filling, then more cake. It’s a textural experience that regular cookies just can’t match.
And here’s something most recipes won’t tell you: these actually taste better the next day. I know, I know—who has leftovers at Thanksgiving? But I’ve tested this extensively (mostly by hiding a few from my family), and after sitting overnight, the cakes absorb just a hint of moisture from the filling, making them even more tender. Trust me on this one.
Why This Recipe Works Every Time
It’s Actually Easy (No, Really)
I’m not going to lie to you and say these take five minutes. But compared to wrestling with pie crust or tempering chocolate? These are a breeze. The batter comes together in one bowl with a hand mixer. No fancy techniques, no creaming butter for ten minutes, no “fold in gently with a rubber spatula exactly 12 times.” You literally just mix it and scoop it.
The first time I made these, it took me about 40 minutes start to finish. Now? I can have them in the oven in 15 minutes flat.
Budget-Friendly Ingredients You Probably Have
Unless you’re completely out of everything, you likely have most of these ingredients already. The star player is a can of pumpkin puree (not pumpkin pie filling—learned that lesson the hard way). Everything else? Flour, sugar, spices, eggs, butter. The most “specialty” ingredient is cream cheese for the filling, and let’s be real, that’s hardly exotic.
They’re Make-Ahead Friendly
Here’s the secret that took me years to figure out: you can make these up to two days ahead. In my opinion, this makes them superior to so many Thanksgiving desserts that demand last-minute attention. I usually make mine on Tuesday, store them in an airtight container, and pull them out Thursday morning. One less thing to stress about when you’re trying to time seventeen dishes to finish simultaneously.
Portion Control That Actually Works
Ever notice how at Thanksgiving, everyone claims they’re “too full for dessert” but then somehow finds room for a sliver of pie? These whoopie pies solve that problem. They’re substantial enough to feel like a real dessert but small enough that people don’t feel guilty grabbing one (or two, or three—I don’t judge).
Kids and Adults Both Love Them
My 7-year-old nephew won’t touch pumpkin pie. Says the texture is “weird and slimy” (kids, am I right?). But these? He ate four last Thanksgiving before his mom caught him. They’ve got that approachable cookie vibe that makes them less intimidating than a fancy dessert, but the flavors are sophisticated enough to impress the adults at the table.
Recipe Details
| Recipe Details | |
|---|---|
| Prep Time | 20 minutes |
| Cook Time | 12 minutes |
| Total Time | 32 minutes (plus cooling) |
| Servings | 18 whoopie pies |
| Difficulty | Easy |
| Calories | 285 per whoopie pie |
| Protein | 3g |
| Carbs | 38g |
| Fat | 14g |
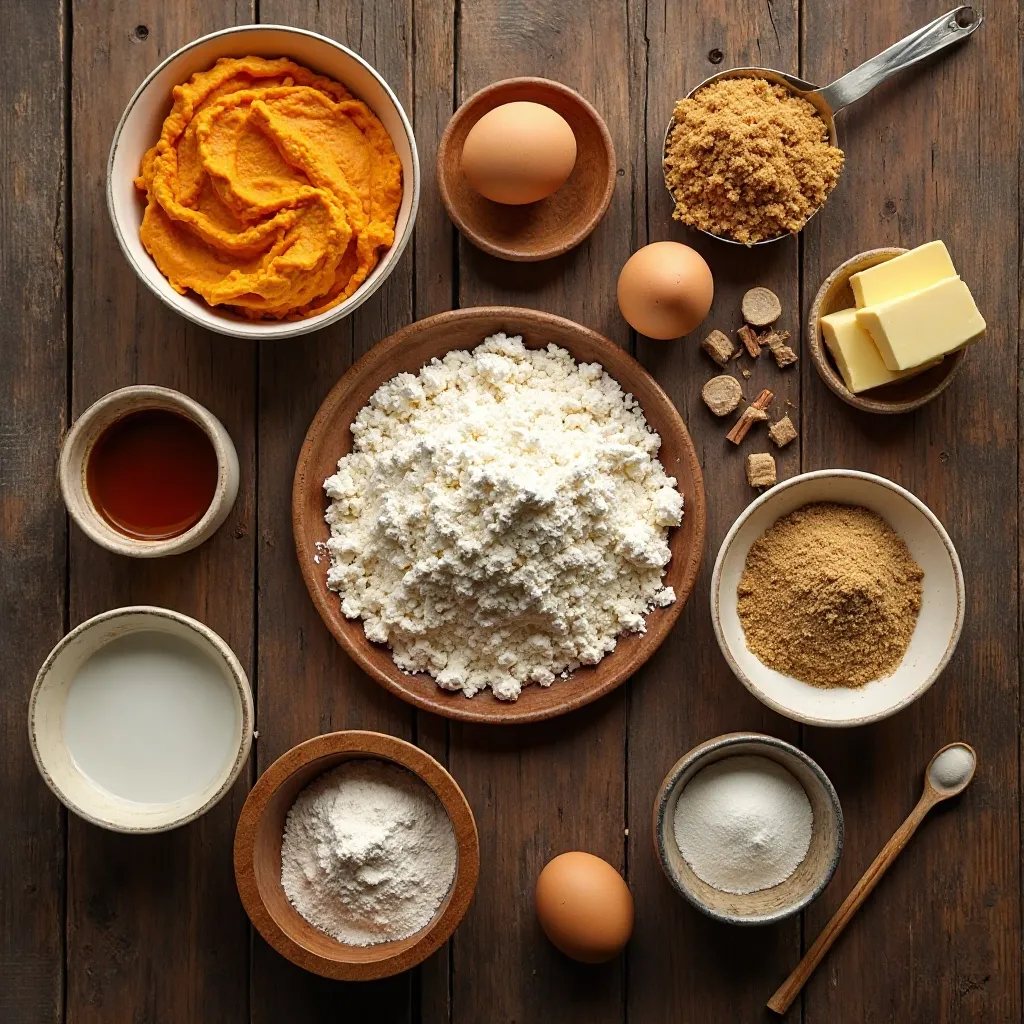
Ingredients for Thanksgiving Whoopie Pies
Before we dive into the ingredient list, let me say this: the quality of your pumpkin puree matters. I learned this the hard way one year when I grabbed a cheap can and wondered why my whoopie pies tasted bland. Spring for a decent brand—Libby’s is my go-to because it’s consistent and actually tastes like pumpkin. Also, don’t skip the molasses. I know it seems like a small amount, but it adds this deep, caramel-like richness that makes people ask, “What’s that flavor I can’t quite place?”
For the Cakes:
- 2 cups all-purpose flour
- 1 teaspoon baking powder
- 1 teaspoon baking soda
- ½ teaspoon salt
- 1 tablespoon ground cinnamon
- 1 teaspoon ground ginger
- ½ teaspoon ground nutmeg
- ¼ teaspoon ground cloves
- 1 cup pumpkin puree (not pumpkin pie filling)
- 1 cup packed light brown sugar
- ½ cup vegetable oil
- 2 large eggs
- 1 teaspoon vanilla extract
- 1 tablespoon molasses
For the Cream Cheese Filling:
- 8 oz cream cheese, softened (don’t skip the softening—lumpy filling is sad filling)
- ½ cup unsalted butter, softened
- 3 cups powdered sugar
- 1 teaspoon vanilla extract
- 1 teaspoon maple extract (optional but SO good)
- Pinch of salt
How to Make Thanksgiving Whoopie Pies
Quick Overview
Here’s the quick version before we dive in: you’ll make a spiced pumpkin cake batter, scoop it onto baking sheets, bake until they’re just set, let them cool completely (patience, friend), then whip up a dreamy cream cheese filling and sandwich everything together. The whole process is straightforward, and I promise your kitchen will smell absolutely incredible.
Step-by-Step Instructions
Step 1: Prep Your Workspace
Preheat your oven to 350°F and line two large baking sheets with parchment paper. Don’t use wax paper—I’ve seen that mistake happen, and it’s not pretty. Regular parchment works perfectly and nothing sticks. I also like to pull out all my ingredients now so I’m not scrambling for the molasses while my mixer is running.
Step 2: Mix the Dry Ingredients
In a medium bowl, whisk together the flour, baking powder, baking soda, salt, cinnamon, ginger, nutmeg, and cloves. When you whisk these together, the smell is just chef’s kiss. That’s how you know fall has officially arrived in your kitchen. Make sure everything is evenly distributed—you don’t want to bite into a clove pocket. Set this aside.
Step 3: Combine the Wet Ingredients
In a large mixing bowl (or the bowl of your stand mixer), combine the pumpkin puree, brown sugar, oil, eggs, vanilla extract, and molasses. Beat on medium speed until everything is smooth and well combined, about 2 minutes. The mixture should look glossy and uniform. I’ve noticed that if you rush this step, your whoopie pies can end up with an uneven texture, so take your time.
Step 4: Bring It All Together
Gradually add the dry ingredients to the wet ingredients, mixing on low speed just until combined. Don’t overmix! The batter should be thick and scoopable, kind of like a thick cake batter. If it seems too thin (which happened to me once when I accidentally added an extra egg), add a tablespoon of flour at a time until you get the right consistency.
[Insert image: Finished batter in a mixing bowl]
Step 5: Scoop and Bake
Using a cookie scoop or two spoons, drop rounded tablespoons of batter onto your prepared baking sheets, spacing them about 2 inches apart. They’ll spread slightly but not dramatically. I usually get about 12-14 cookies per sheet. Try to make them uniform in size so they pair up nicely later—your inner perfectionist will thank you.
Bake for 11-13 minutes. You’ll know they’re done when the tops spring back lightly when touched and the edges just start to set. They might look slightly underdone in the center, but they’ll firm up as they cool. I’ve learned that overbaked whoopie pies are dense and dry, so err on the side of slightly underbaked. My foolproof timing trick? Set a timer for 11 minutes, then check them every 30 seconds after that.
Step 6: Cool Completely
Let the cakes cool on the baking sheet for 5 minutes, then transfer them to a wire rack to cool completely. And I mean completely. If you try to fill warm whoopie pies, the filling will melt and you’ll have a glorious mess. Ask me how I know. (I promise, it’s worth the wait!)
[Insert image: Baked whoopie pie cakes cooling on a wire rack]
Step 7: Make the Filling
While the cakes cool, make your filling. In a large bowl, beat the softened cream cheese and butter together until fluffy and smooth, about 3 minutes. Gradually add the powdered sugar, one cup at a time, beating well after each addition. Add the vanilla extract, maple extract (if using), and a pinch of salt. Beat on high speed for another 2 minutes until the filling is light, fluffy, and absolutely irresistible. The secret to perfect filling is making sure your cream cheese and butter are truly at room temperature. Cold ingredients will give you a lumpy filling, and nobody wants that.
Step 8: Assembly Time
Match up your cooled cakes by size so you have nice even pairs. Turn half of them flat-side up. Using a piping bag, a ziplock bag with the corner snipped off, or just a spoon, add about 2 tablespoons of filling to the flat side of one cake. Top with another cake, flat-side down, and gently press until the filling spreads to the edges. Don’t press too hard or the filling will squish out (though honestly, that’s not the worst problem to have).
My Favorite Ways to Serve These
Thanksgiving whoopie pies are versatile enough to work in just about any dessert situation, but here’s how I typically serve them.
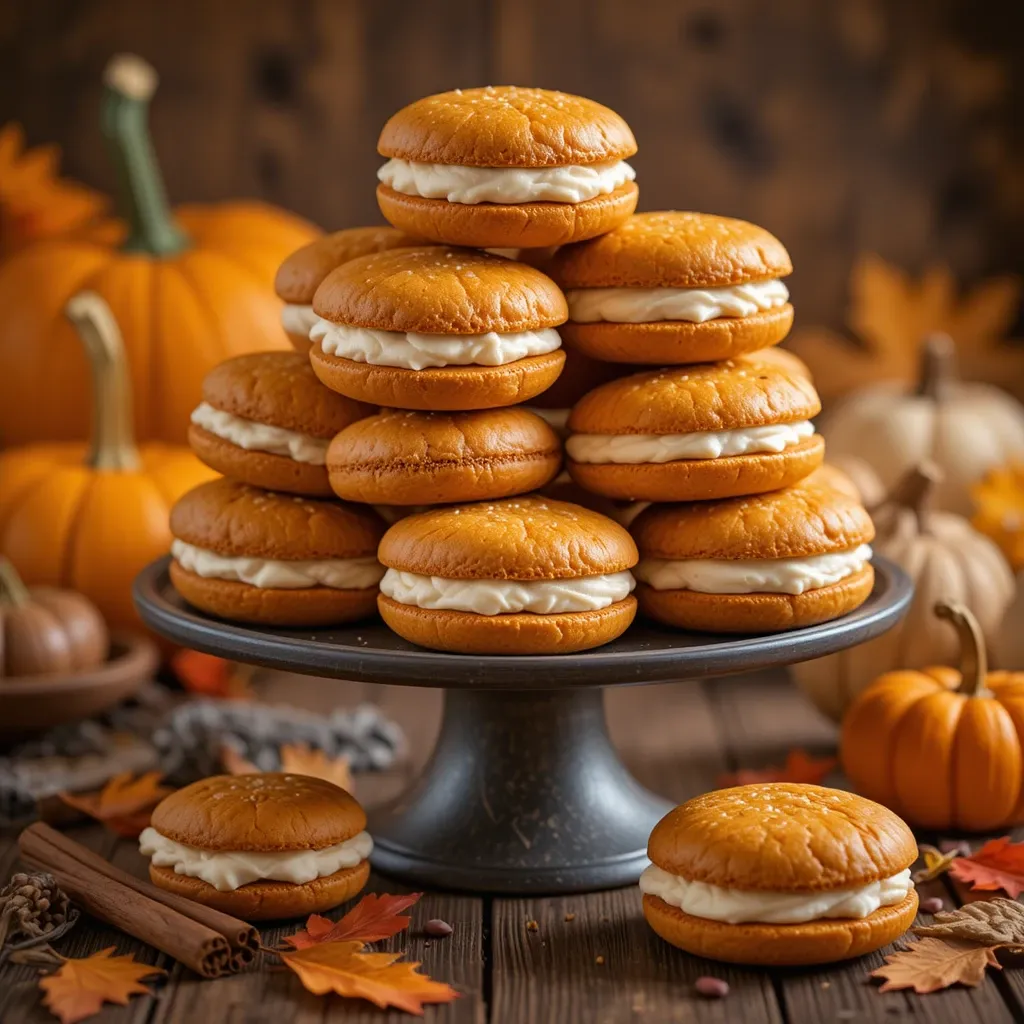
At Thanksgiving dinner, I arrange them on a tiered cake stand with some mini pumpkins and cinnamon sticks scattered around for decoration. It makes for a stunning centerpiece on the dessert table and takes zero effort. If I’m feeling fancy, I’ll dust them lightly with powdered sugar right before serving.
For a more casual gathering, I’ll put them in a large glass jar or cookie tin. There’s something about seeing them all stacked up that makes people smile. Plus, it makes storage easy if you’re making them ahead.
These also pair beautifully with coffee or hot apple cider. The spices in the cakes echo the warmth of fall drinks, and the cream cheese filling provides a nice contrast to the bold flavors. I’ve served them at afternoon coffee gatherings, and they disappear faster than I can refill the coffee pot.
Want to make them extra special? Serve them slightly warm with a scoop of vanilla ice cream on the side. I know, I know—that sounds insane for an already indulgent dessert. But try it once. The cold ice cream against the soft, spiced cake is absolutely incredible.
[Insert image: Whoopie pies on a tiered stand with autumn decorations]
Pro Tips from My Kitchen
Can I make these ahead of time?
Yes! In fact, I prefer making these 1-2 days ahead. Store them in an airtight container in the refrigerator, separated by layers of parchment paper. They’ll stay fresh for up to 5 days, and the flavors actually deepen as they sit. Just bring them to room temperature about 30 minutes before serving for the best texture.
Use room temperature ingredients for the filling
This is huge. Cold cream cheese will give you a lumpy filling no matter how long you beat it. I leave mine out for about an hour before starting. If you forget, you can cut the cream cheese into cubes and microwave it in 10-second bursts, but watch it carefully—you want it soft, not melted.
Don’t overmix the batter
Once you add the flour mixture to the wet ingredients, mix just until you don’t see dry flour anymore. Overmixing develops the gluten in the flour, which makes your whoopie pies tough instead of tender. I use a rubber spatula to finish mixing by hand for the last few strokes—gives me more control.
My foolproof timing trick
Instead of relying solely on time, look for visual cues. The cakes should look set around the edges and the centers should spring back lightly when touched. If you see any wet batter when you gently press the center, give them another minute. I’ve made these so many times that I can tell by smell when they’re done—the spices really bloom in that last minute of baking.
Make them mini for parties
Use a smaller cookie scoop (about 1 tablespoon) to make mini whoopie pies. They’re perfect for parties where people want to try multiple desserts. You’ll get about 36 mini whoopie pies from this recipe, and they bake in 8-10 minutes instead.
Storing and Reheating Tips
Refrigerator Storage
Store your Thanksgiving whoopie pies in an airtight container in the refrigerator for up to 5 days. I like to separate layers with parchment paper to prevent them from sticking together. The cream cheese filling needs to stay cold, so don’t leave them out at room temperature for more than 2 hours.
Freezer Instructions
These freeze beautifully! Place assembled whoopie pies on a baking sheet and freeze until solid, about 2 hours. Then transfer them to a freezer-safe container or bag, separating layers with parchment paper. They’ll keep for up to 3 months. Thaw in the refrigerator overnight before serving.
Pro tip I learned the hard way: don’t freeze them in a stack without the initial freeze on the baking sheet. They’ll stick together and you’ll have a whoopie pie disaster when you try to separate them.
Best Way to Reheat
Honestly, I don’t usually reheat these since they’re meant to be served at room temperature or chilled. But if you want to warm them slightly (which is delicious), microwave individual whoopie pies for about 8-10 seconds. Just enough to take the chill off without melting the filling.
Variations to Try
Make It Spicy
Add ¼ teaspoon of cayenne pepper to the dry ingredients for a subtle kick. It sounds weird, but the heat plays beautifully with the sweet spices and actually makes the pumpkin flavor more prominent. This is my husband’s favorite version.
Chocolate Drizzle
Melt 4 oz of dark chocolate and drizzle it over the tops of the assembled whoopie pies. Let it set before storing. It adds a fancy touch and who doesn’t love the combination of pumpkin and chocolate?
Maple Pecan Version
Add ½ cup of finely chopped pecans to the batter and use maple extract instead of vanilla. Increase the maple extract in the filling to 2 teaspoons. These taste like liquid fall.
Make Them Gluten-Free
I’ve successfully made these with a 1:1 gluten-free flour blend. Add ½ teaspoon of xanthan gum if your blend doesn’t already include it. The texture is slightly denser but still delicious.
Recipe FAQs
Can I use fresh pumpkin instead of canned?
You can, but honestly, canned pumpkin is more consistent. If you do use fresh, make sure to cook it down until it’s very thick and dry. Watery pumpkin puree will make your cakes spread too much and affect the texture.
Why did my whoopie pies turn out flat?
This usually means the baking soda or baking powder was old, or the oven temperature was too low. Make sure your leavening agents are fresh (if you can’t remember when you bought them, replace them), and use an oven thermometer to check your actual temperature.
Can I use a different filling?
Absolutely! Marshmallow fluff mixed with butter makes a traditional whoopie pie filling. Or try mascarpone instead of cream cheese for a lighter, less tangy filling. I’ve even done a brown butter frosting version that was incredible.
How do I prevent the filling from squishing out?
Don’t overfill them—2 tablespoons of filling per whoopie pie is plenty. Also, apply gentle, even pressure when sandwiching them together. If your filling is too soft, refrigerate it for 15 minutes to firm it up before assembling.
Can I make just the cakes without the filling?
Sure! They’re delicious on their own as soft pumpkin cookies. You could even sandwich them with vanilla ice cream instead of frosting for a fun twist.
What if I don’t have molasses?
You can substitute honey or maple syrup, but the flavor will be slightly different. Molasses adds that deep, complex sweetness that really makes these special. If you make these often, it’s worth keeping a jar in your pantry.
Are these actually related to pies?
Nope! Despite the name, whoopie pies are definitely cookies (or cake-like cookies). The name origin is debated, but one popular story says Amish children would shout “Whoopie!” when they found these treats in their lunch boxes. Adorable, right?
Can I add chocolate chips?
You absolutely can! Fold in ½ cup of mini chocolate chips to the batter. They add nice little pockets of melty chocolate that complement the pumpkin spices perfectly.
Final Thoughts
If you’re looking for a Thanksgiving dessert that’s a little different but still captures all those cozy autumn flavors, these whoopie pies are your answer. They’ve earned a permanent spot on my holiday menu, right alongside the classics.
What I love most is watching people’s faces when they take that first bite. There’s always this moment of surprise—like they weren’t expecting something this good. The soft, spiced cakes paired with that tangy-sweet cream cheese filling just works in a way that makes you reach for another one before you’ve finished the first.
Give these a try this Thanksgiving. I’d love to hear how they turn out for you! Do you add any special variations? Serve them in a unique way? Drop a comment below and let me know. And if you make them, snap a photo and tag me—I love seeing these beauties on everyone’s tables.
Happy baking, and happy Thanksgiving!