The Best Thanksgiving Iced Sugar Cookies Soft & Buttery
Picture this: it’s three days before Thanksgiving, my kitchen counter is covered in flour, and I’m piping orange icing onto turkey-shaped cookies while my seven-year-old “helps” by eating the sprinkles. Again. This has become our tradition over the past four years, and honestly? These Thanksgiving iced sugar cookies are now just as essential to our holiday as the turkey itself.
The first time I made these cookies, I was desperately searching for an activity to keep the kids busy during Thanksgiving prep. What I didn’t expect was how much my entire family would fall in love with them.
My mother-in-law now requests them every year (she even called in August to make sure I wasn’t planning to skip them). And here’s the thing – they’re actually easier than you think, taste absolutely incredible, and they hold their shape perfectly when you’re cutting out those intricate fall leaf designs.
I’ve made this recipe at least fifteen times now, tweaking and testing until I got it exactly right. The secret? It’s all about the butter-to-sugar ratio and not over-mixing the dough. Trust me on this one.
What Makes These Thanksgiving Sugar Cookies So Special
Let me be real with you – I’ve tried probably a dozen different sugar cookie recipes over the years. Some spread into shapeless blobs. Others turned out so hard they could break a tooth. But these? These are perfection.
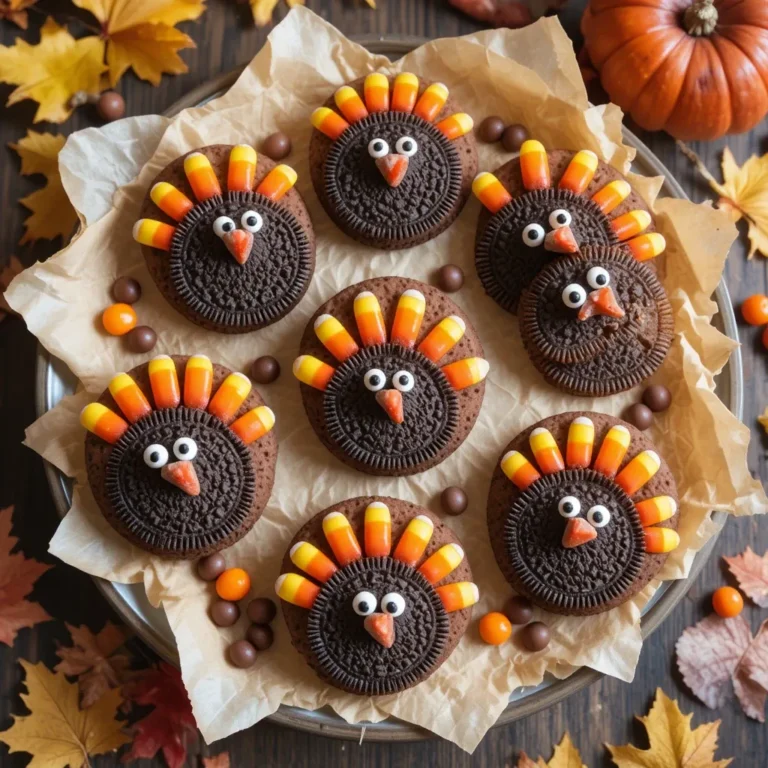
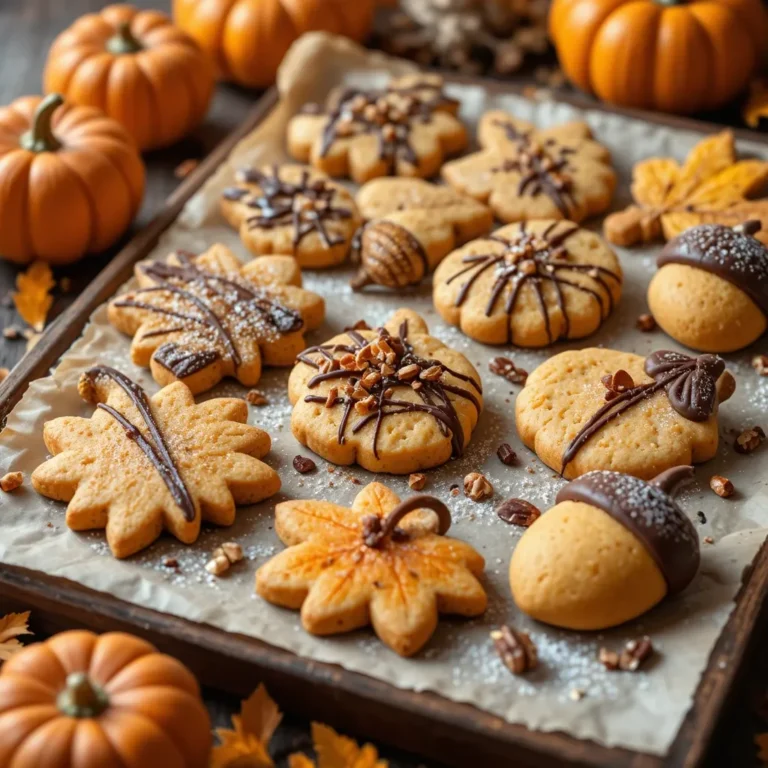
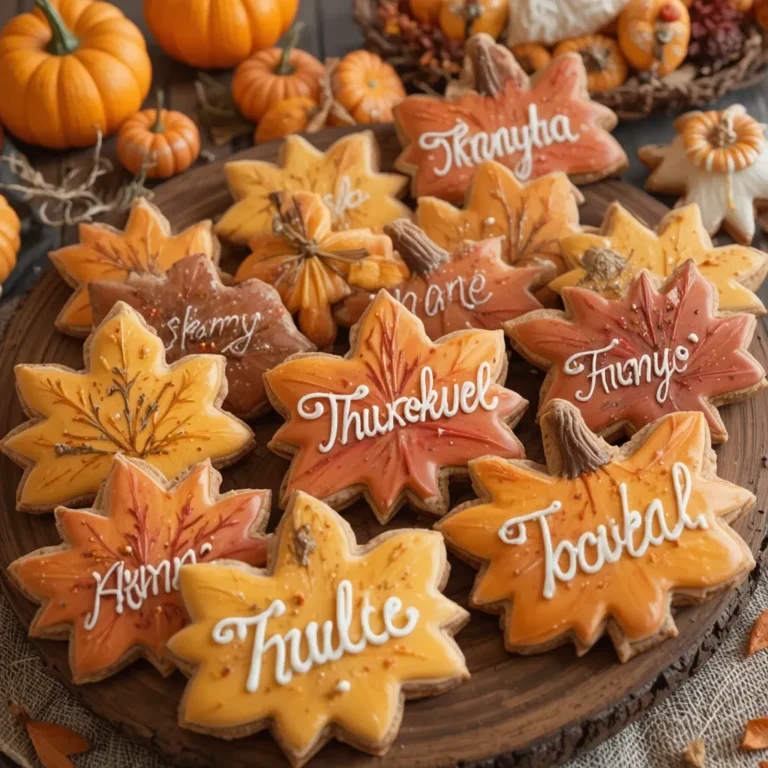
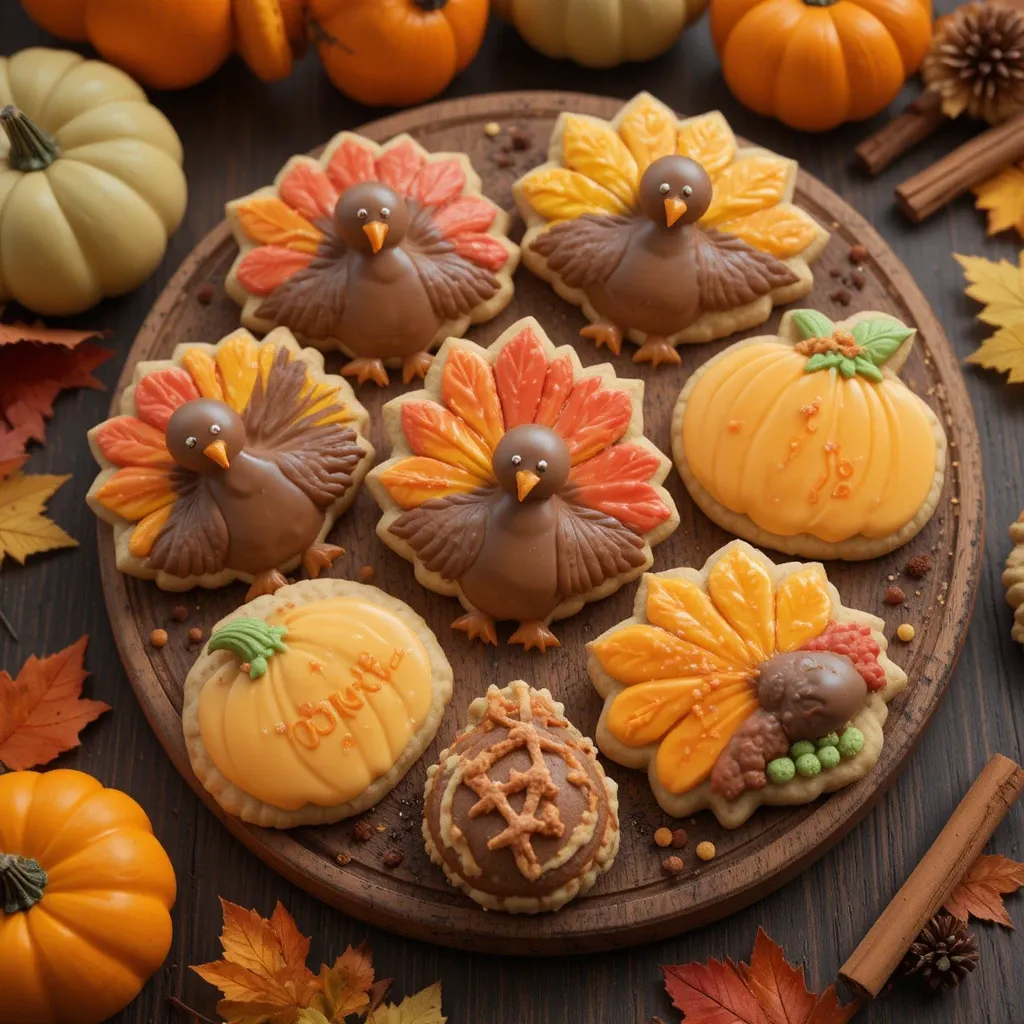
Thanksgiving iced sugar cookies are basically the dressed-up cousins of regular sugar cookies. They’re soft and buttery with just the right amount of sweetness, and they’re specifically designed to hold their shape when you cut them into festive shapes like turkeys, pumpkins, cornucopias, and fall leaves. Then comes the fun part – decorating them with colorful royal icing in all those gorgeous autumn colors.
What I love most is how they strike that perfect balance between being a serious baking project and something fun enough to do with kids. They’re fancy enough to bring to a Thanksgiving potluck and impress everyone, but forgiving enough that your five-year-old can help roll out the dough without disaster striking.
Why This Recipe Works Every Time
After years of making these cookies (and trust me, there were some learning curves), I can confidently say this recipe is foolproof. Here’s why it’s become my go-to:
It Actually Tastes Amazing
I know that sounds basic, but you’d be surprised how many decorated sugar cookies look gorgeous but taste like cardboard. Not these. The combination of butter, vanilla, and almond extract creates this incredible flavor that makes people ask, “Wait, what’s in these?” My neighbor Karen legitimately didn’t believe me when I told her it was “just” a sugar cookie recipe.
The Dough Handles Like a Dream
Here’s something I learned the hard way after a disastrous batch in 2021: chilling the dough is NOT optional. But when you do it right? This dough rolls out smoothly, doesn’t stick to your counter, and holds perfect crisp edges on whatever shapes you cut. I’ve used cookie cutters ranging from tiny acorn shapes to elaborate turkey designs, and they all turn out beautifully defined.
They Stay Soft for Days
In my opinion, there’s nothing worse than spending hours decorating cookies only to have them turn into hockey pucks by day two. These cookies stay soft and delicious for almost a week when stored properly. I’ve tested this extensively because, well, I’ve had to make them ahead for several Thanksgiving gatherings.
Perfect Canvas for Icing
The slightly firm surface of these cookies makes them ideal for royal icing decoration. The icing doesn’t soak in or make them soggy, and it dries to that beautiful, professional-looking finish. Even if your piping skills are questionable (like mine were when I started), these cookies are forgiving.
Kid-Friendly Baking Project
My kids fight over who gets to help with these cookies. The dough is easy enough for small hands to work with, and decorating is where they really shine. Plus, it keeps them occupied for at least an hour, which during pre-Thanksgiving chaos is basically priceless.
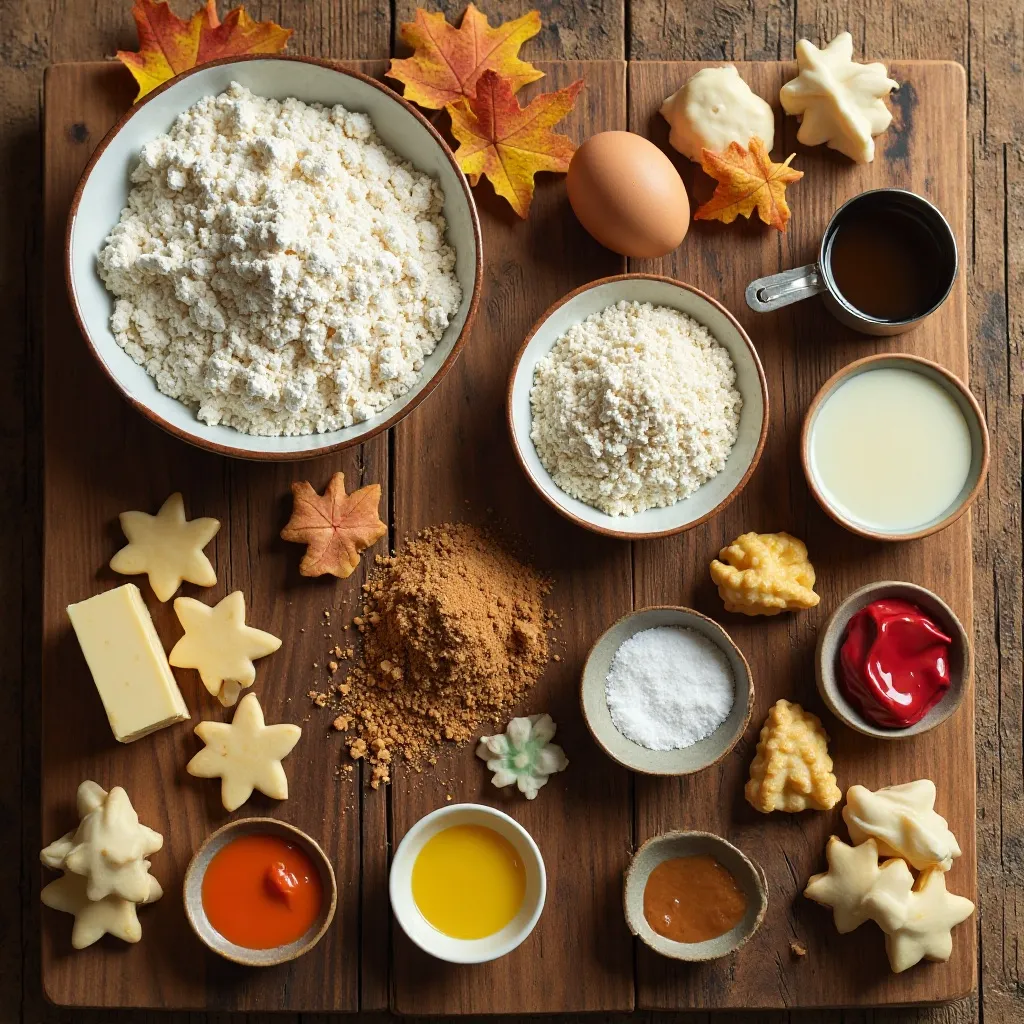
Thanksgiving Iced Sugar Cookies Ingredients
Let me walk you through what you’ll need for these beauties. I always do a pantry check the week before Thanksgiving because nothing’s worse than realizing you’re out of vanilla extract when you’re elbow-deep in cookie dough.
The magic of this recipe is that it uses simple ingredients you probably already have. No weird specialty items or hard-to-find extracts. Just good quality basics that combine to create something special.
For the Cookies:
- 3 cups all-purpose flour (I use King Arthur, but any brand works)
- 1½ teaspoons baking powder
- ½ teaspoon salt
- 1 cup (2 sticks) unsalted butter, softened to room temperature
- 1 cup granulated sugar
- 1 large egg
- 2 teaspoons vanilla extract
- ½ teaspoon almond extract (don’t skip this – it’s the secret ingredient!)
For the Royal Icing:
- 4 cups powdered sugar
- 3 tablespoons meringue powder
- 6 tablespoons warm water (plus more for consistency)
- Gel food coloring in orange, brown, yellow, red, and green
Pro tip from my kitchen: The almond extract is what takes these from “good” to “where did you get this recipe?!” levels of delicious. I once forgot to add it and the cookies were fine, but they were missing that special something. Now I always keep a backup bottle in my pantry.
Recipe Card
| Recipe Details | |
|---|---|
| Prep Time | 25 minutes (plus 2 hours chilling) |
| Cook Time | 10 minutes per batch |
| Total Time | 3 hours 30 minutes |
| Servings | 36 cookies (depending on cutter size) |
| Difficulty | Easy |
| Calories | 145 per cookie |
| Protein | 2g |
| Carbs | 22g |
| Fat | 6g |
How to Make Thanksgiving Iced Sugar Cookies
Alright, let’s get into the actual process. I’m going to walk you through this exactly how I make them, including the little tricks I’ve picked up along the way.
Quick Overview
Here’s the quick version before we dive into details: you’ll cream butter and sugar, add your wet ingredients, incorporate the dry ingredients, chill the dough (seriously, don’t skip this), roll it out, cut your shapes, bake until just barely golden on the edges, cool completely, then decorate with royal icing. The whole process takes about three and a half hours including chilling time, but your active hands-on time is maybe 45 minutes. Totally doable, even on a busy Thanksgiving week.
Step-by-Step Instructions
Step 1: Prep Your Dry Ingredients
In a medium bowl, whisk together the flour, baking powder, and salt. Set this aside. I know it seems unnecessary to do this separately, but it really does make a difference in getting the baking powder evenly distributed. I learned this after making a batch where some cookies rose weirdly while others stayed flat – not cute when you’re trying to make matching turkeys.
Step 2: Cream the Butter and Sugar
In your stand mixer (or with a hand mixer if you’re getting an arm workout), beat the softened butter and sugar together for about 3-4 minutes. You want it light and fluffy, almost like frosting. This usually takes me closer to 4 minutes, and you’ll see the color lighten from yellow to almost white. The mixture should look airy and feel smooth when you rub it between your fingers.
Step 3: Add Egg and Extracts
Add the egg, vanilla extract, and almond extract to the butter mixture. Beat on medium speed until completely combined, about 1 minute. Make sure to scrape down the sides of the bowl because there’s always some butter mixture hiding up there. Your kitchen should be smelling amazing right about now.
Step 4: Incorporate Dry Ingredients
With your mixer on low speed (this is important – I once splattered flour all over my black sweater on high speed), gradually add the flour mixture. Mix just until the dough comes together and you don’t see any more flour streaks. Here’s where a lot of people mess up: do NOT overmix. The moment it’s combined, stop. Overmixing develops too much gluten and makes your cookies tough instead of tender.
Step 5: Chill the Dough
Divide the dough in half and shape each half into a flat disc about 1 inch thick. Wrap each disc tightly in plastic wrap and refrigerate for at least 2 hours. I usually make mine the night before and let it chill overnight, which actually makes it even easier to work with. Cold dough = shapes that hold their form perfectly.
Step 6: Roll and Cut
Preheat your oven to 350°F. Line your baking sheets with parchment paper (don’t skip the parchment – it prevents sticking and makes cleanup so much easier). Take one disc of dough out of the fridge and let it sit for about 5 minutes to soften slightly. On a lightly floured surface, roll it out to ¼-inch thickness. Use your Thanksgiving cookie cutters to cut out shapes, placing them about 1 inch apart on your prepared baking sheets.
Pro tip: I re-roll the scraps once, but after that, the dough gets overworked. I usually just bake those last weird-shaped cookies and call them “chef’s treats.”

Step 7: Bake to Perfection
Bake for 8-10 minutes. Here’s the key – you want them JUST barely starting to turn golden on the edges. The centers should still look slightly underdone. They’ll continue cooking on the hot pan after you remove them from the oven. My first batch ever, I baked them until they were golden all over and they turned out hard and crunchy. Now I pull them at exactly 9 minutes and 30 seconds, and they’re perfect every time.
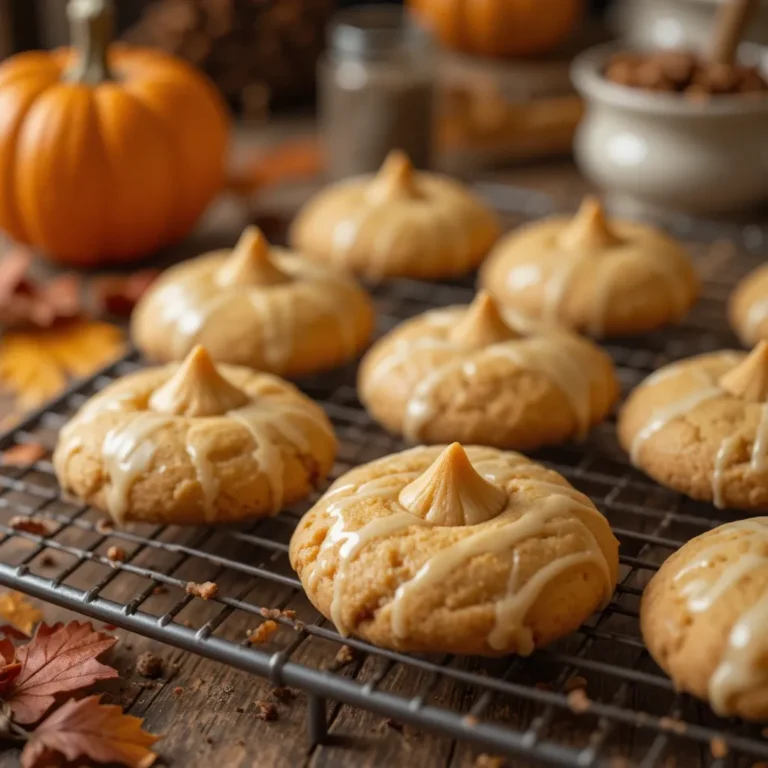
Step 8: Cool Completely
Let cookies cool on the baking sheet for 5 minutes, then transfer to a wire cooling rack. This is crucial – they need to be completely cool before you ice them, or the icing will melt and slide right off. I usually bake all my cookies in the morning and decorate in the afternoon. It took me 22 minutes to bake my first batch of these, but now I’ve got it down to about 18 minutes per batch.
Step 9: Make the Royal Icing
While your cookies cool, make your royal icing. In a large bowl, combine the powdered sugar and meringue powder. Add the warm water and beat with an electric mixer on low speed until combined, then increase to high speed and beat for 5-7 minutes until the icing forms stiff, glossy peaks. You’ll know it’s ready when you lift the beaters and the peaks hold their shape.
Divide the icing into separate bowls and add gel food coloring to create your Thanksgiving palette. I usually make orange, brown, yellow, deep red, and forest green. Add water one teaspoon at a time to thin the icing to your desired consistency – I use a thicker consistency for outlining and a thinner, almost honey-like consistency for flooding.
Step 10: Decorate!
Here’s where the magic happens. I use piping bags fitted with small round tips for outlining, then switch to squeeze bottles for flooding larger areas. Start by outlining the shape with your thicker icing, then fill in the center with the thinner icing. Use a toothpick to spread it evenly and pop any air bubbles. Let each color dry for at least 30 minutes before adding details on top.
My Favorite Ways to Serve These
These Thanksgiving iced sugar cookies are incredibly versatile. Here’s how I’ve served them over the years:
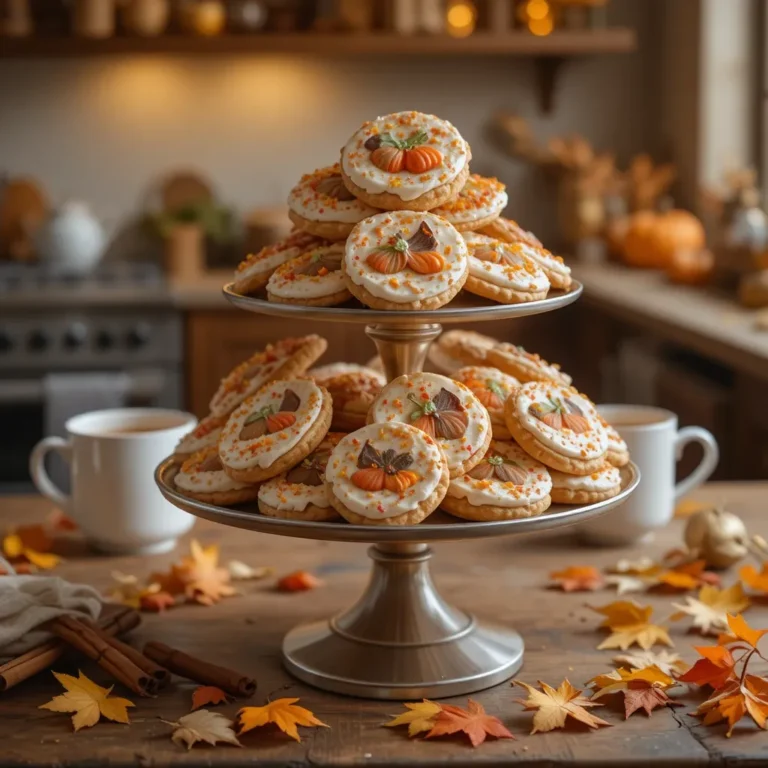
For our family Thanksgiving, I arrange them on a tiered serving stand in the middle of the dessert table. They look gorgeous mixed with pumpkin pie and apple crisp. The colors are so vibrant and festive, they become a centerpiece all on their own.
I also love packaging them in clear cellophane bags tied with raffia ribbon as take-home favors for guests. It’s become such a hit that people now ask if I’m “making those cookies again this year.” (The answer is always yes.)
For a Friendsgiving potluck, I brought them on a large wooden board arranged by color – all the orange pumpkins together, brown turkeys, yellow corn, etc. It looked like an edible autumn rainbow and was a huge hit. Pair them with hot apple cider or coffee and you’ve got the perfect fall dessert spread.
They also work beautifully for a kids’ table at Thanksgiving. Set out some plain sugar cookies with small bowls of icing and let the kids decorate their own. It keeps them entertained during that awkward pre-dinner time when adults are finishing cooking and everyone’s getting hungry.
Pro Tips from My Kitchen
After making these cookies more times than I can count, I’ve learned a few tricks that make all the difference:
Always Use Room Temperature Butter
I cannot stress this enough. Cold butter won’t cream properly with the sugar, and melted butter will completely change the texture of your cookies. Room temperature means you should be able to leave a fingerprint in it but it shouldn’t be greasy or melting. I usually leave mine on the counter for about 45 minutes before starting.
Invest in Quality Cookie Cutters
Those cheap plastic cutters from the dollar store? They work in a pinch, but metal cookie cutters with a sharp edge cut much cleaner shapes. I invested in a good set of Thanksgiving cutters three years ago and they’ve been worth every penny. The difference in how crisp your turkey’s feathers look is dramatic.
Don’t Skip the Almond Extract
I know I mentioned this before, but seriously. I’ve tested this recipe both ways multiple times, and the version without almond extract is just… flat. The almond extract adds depth and that “what IS that delicious flavor?” quality that makes people ask for the recipe.
Freeze the Cut Shapes Before Baking
Want to know my absolute foolproof trick for cookies that never lose their shape? After cutting out your shapes, put the entire baking sheet in the freezer for 10 minutes before baking. This ensures they hold every little detail of your cookie cutter. I wish someone had told me this before I baked my first batch of turkeys that looked more like chickens.
Make Extra Royal Icing
You’ll always use more than you think, especially if you’re doing detailed designs. I’ve run out of icing mid-decorating session more times than I’d like to admit, and there’s nothing more frustrating than having to whip up another batch when you’re in the zone. Make 1.5x the recipe and you’ll thank me later.
The Toothpick Is Your Best Friend
When flooding cookies with royal icing, a toothpick is essential for spreading icing into corners, popping air bubbles, and creating smooth surfaces. I go through probably 20 toothpicks per batch. Keep a cup of them nearby when you’re decorating.
Storing Your Thanksgiving Sugar Cookies
Let’s talk storage, because these cookies need to stay fresh through Thanksgiving and possibly beyond (if they last that long).
Before Decorating
If you want to bake the cookies ahead but haven’t decorated yet, let them cool completely and store them in an airtight container at room temperature. They’ll stay fresh for up to 5 days. You can also freeze undecorated cookies for up to 2 months – just let them thaw completely before icing.
After Decorating
Once decorated and the icing is completely dry (give it at least 8 hours or overnight), layer the cookies between sheets of parchment paper in an airtight container. Don’t skip the parchment layers or your beautiful designs will stick together. They’ll stay perfect at room temperature for up to one week.
I’ve noticed that the icing softens slightly in humid weather, so if you live somewhere humid, consider storing them in the refrigerator. Just bring them to room temperature before serving for the best flavor.
Freezing Decorated Cookies
Yes, you can freeze decorated cookies! I do this all the time when I’m getting ahead on holiday baking. Freeze them in a single layer on a baking sheet until solid, then transfer to a freezer-safe container with parchment between layers. They’ll keep for up to 2 months. Thaw at room temperature and they taste just-baked.
Common Questions About These Cookies
Can I use salted butter instead of unsalted?
You can, but reduce the added salt to ¼ teaspoon. I prefer using unsalted butter because it gives me better control over the salt level. Salted butter varies by brand, and I’ve found it can make the cookies taste slightly too salty.
Why did my cookies spread during baking?
This usually means your dough wasn’t cold enough or your butter was too soft when you mixed the dough. Make sure you chill the dough for the full 2 hours, and if your kitchen is really warm, you can even chill the cut shapes for 10 minutes before baking.
Can I make the dough ahead of time?
Absolutely! The dough keeps in the refrigerator for up to 3 days, or you can freeze it for up to 2 months. Just wrap it really well in plastic wrap and then in aluminum foil. Thaw frozen dough in the refrigerator overnight before rolling.
My royal icing is too thick/thin. How do I fix it?
Too thick? Add water one teaspoon at a time, mixing well between additions. Too thin? Add powdered sugar a tablespoon at a time. The right consistency for flooding should be like thick honey – it should smooth out after about 10 seconds.
Can I use regular food coloring instead of gel?
You can, but gel food coloring gives much more vibrant colors without thinning your icing. Liquid food coloring adds extra moisture, which can mess with the consistency of royal icing. I buy gel colors once and they last for years.
Why These Cookies Have Become Our Tradition
Here’s the thing about these Thanksgiving iced sugar cookies – they’ve become so much more than just a recipe in our house. They’re the reason my daughter voluntarily helps in the kitchen. They’re what makes my mother-in-law text me in August. They’re the dessert that guests actually remember and talk about.
Last year, my son’s preschool teacher asked if I could share the recipe because he wouldn’t stop talking about “mommy’s turkey cookies.” And you know what? That made all the flour on my floor and icing under my fingernails completely worth it.
These cookies are forgiving enough for beginners but impressive enough to make you look like a baking superstar. They taste absolutely incredible, they look gorgeous, and they fill your house with the most amazing buttery, vanilla-scented aroma while they bake.
So this Thanksgiving, I’m hoping you’ll give these a try. Maybe start a new tradition in your own kitchen. Let the kids help (and eat the sprinkles). Make a mess. Take photos. And definitely save one turkey cookie for yourself before putting out the platter