30 Minute Halloween Sugar Cookies Recipe
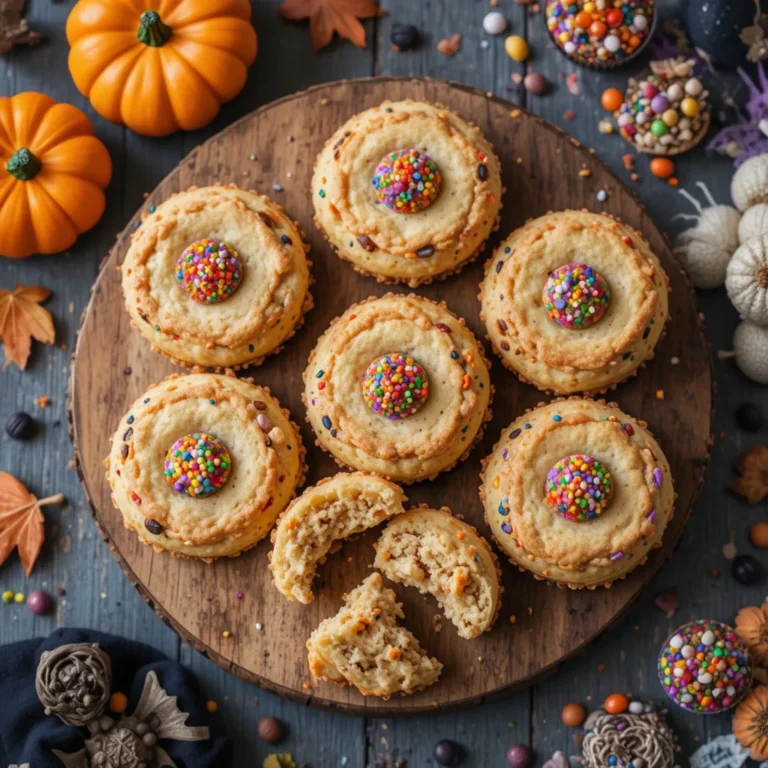
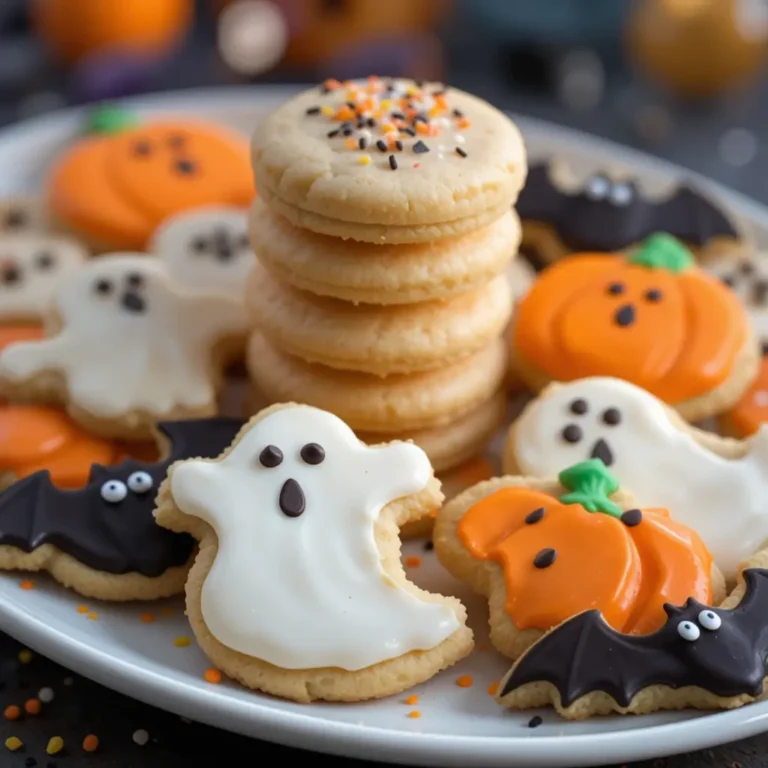
Nothing says Halloween like perfectly decorated sugar cookies shaped like pumpkins, ghosts, and witches! These Halloween sugar cookies are buttery, sweet, and wonderfully crisp – making them the perfect canvas for your spookiest decorating dreams.
Did you know that sugar cookies date back to the 1700s in Pennsylvania? These festive treats are incredibly simple to make, taking just 30 minutes of prep time, and they’re absolutely perfect for getting the whole family involved in Halloween fun.
Just like our popular Christmas sugar cookies that readers can’t get enough of, these Halloween versions will become your go-to recipe for creating magical memories and delicious treats that’ll have everyone coming back for more!
What Are Halloween Sugar Cookies?
Ever wonder why we call them “sugar cookies” when they’re packed with so much more than just sugar? These delightful treats get their name from their sweet, tender crumb and the sparkling sugar that traditionally tops them. But Halloween sugar cookies?
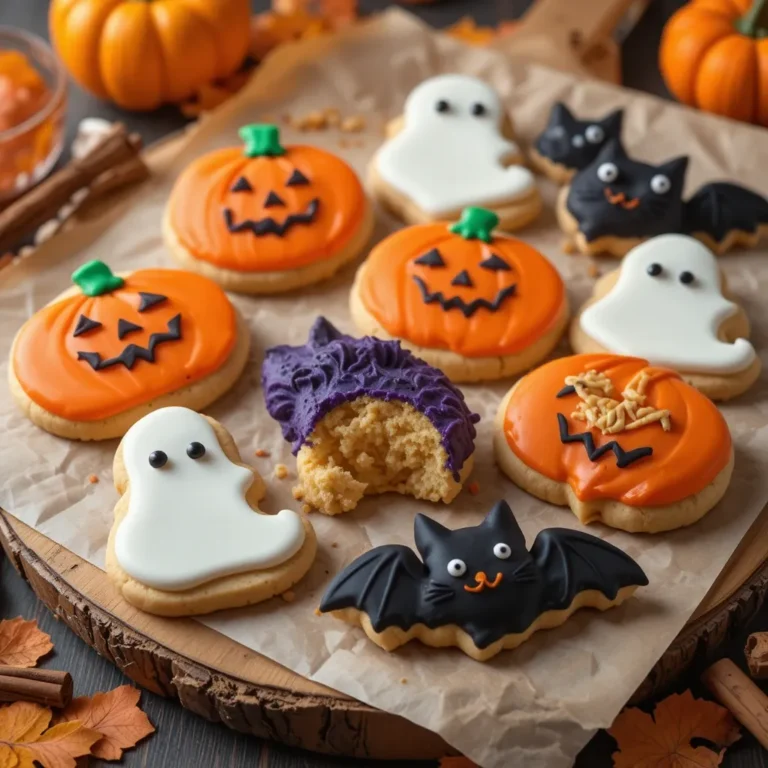
They’re sugar cookies with a spooky twist! Picture this: your grandmother’s classic sugar cookie recipe meets Halloween magic, complete with orange and black frosting, spiderweb designs, and cookie cutters shaped like bats and jack-o’-lanterns.
After all, they say the way to anyone’s heart is through their stomach – and nothing captures hearts quite like homemade Halloween cookies! Ready to create some kitchen magic?
Why You’ll Love This Halloween Sugar Cookies Recipe
Perfect Texture Every Time
These Halloween sugar cookies deliver that ideal balance between tender and crisp that makes them absolutely irresistible. The buttery richness melts in your mouth while maintaining just enough structure to hold intricate Halloween decorations. The secret lies in the perfect ratio of butter to flour, creating cookies that won’t spread too much during baking and will keep their spooky shapes intact.
Budget-Friendly Halloween Fun
Making Halloween sugar cookies at home costs a fraction of what you’d spend at a bakery, and you’ll get triple the quantity! With basic pantry staples like flour, butter, sugar, and eggs, you can create dozens of festive cookies for less than $10. Plus, you control the quality of ingredients, ensuring no artificial preservatives or unknown additives make their way into your family’s treats.
Endless Decorating Possibilities
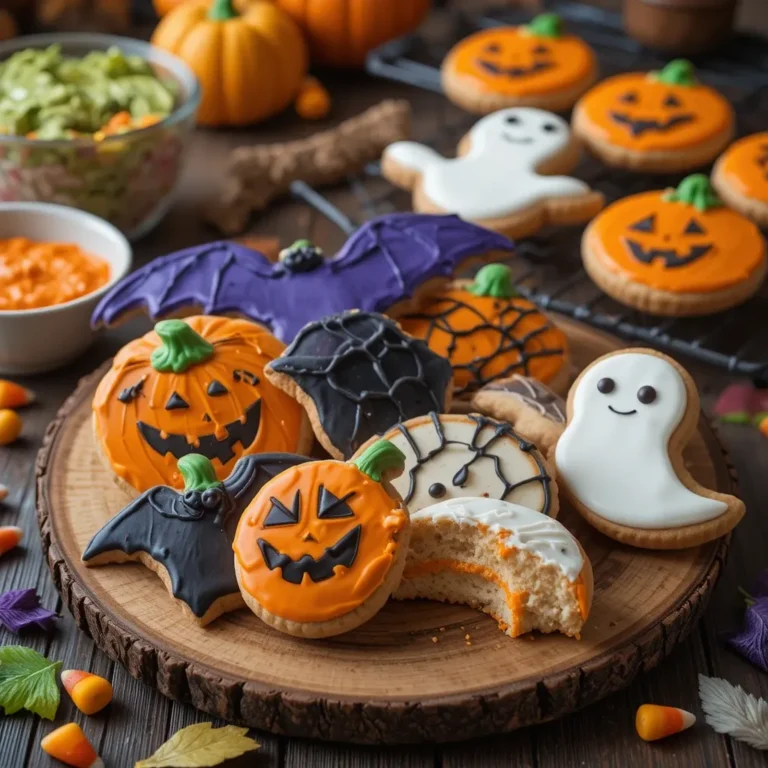
The real magic happens with the decorating! From classic royal icing in Halloween colors to creative toppings like colored sugars, candy eyes, and chocolate chips, these cookies become your edible canvas. Unlike our popular vanilla cupcakes that require precise frosting techniques, sugar cookies are forgiving and fun for decorators of all skill levels. Whether you’re creating elegant spider webs or silly monster faces, every cookie becomes a unique masterpiece that’s almost too cute to eat!

How to Make Halloween Sugar Cookies
Quick Overview
These Halloween sugar cookies are surprisingly easy to master, delivering bakery-quality results with minimal effort. The rich, buttery base provides the perfect foundation for festive decorating, while the tender-crisp texture ensures they’ll hold up beautifully during storage and transport.
Preparation Details:
- Prep Time: 30 minutes
- Chill Time: 2 hours
- Baking Time: 8-10 minutes per batch
- Decorating Time: 45 minutes
- Total Time: 3 hours 30 minutes
- Yield: 24-36 cookies (depending on size)
- Difficulty Level: Easy
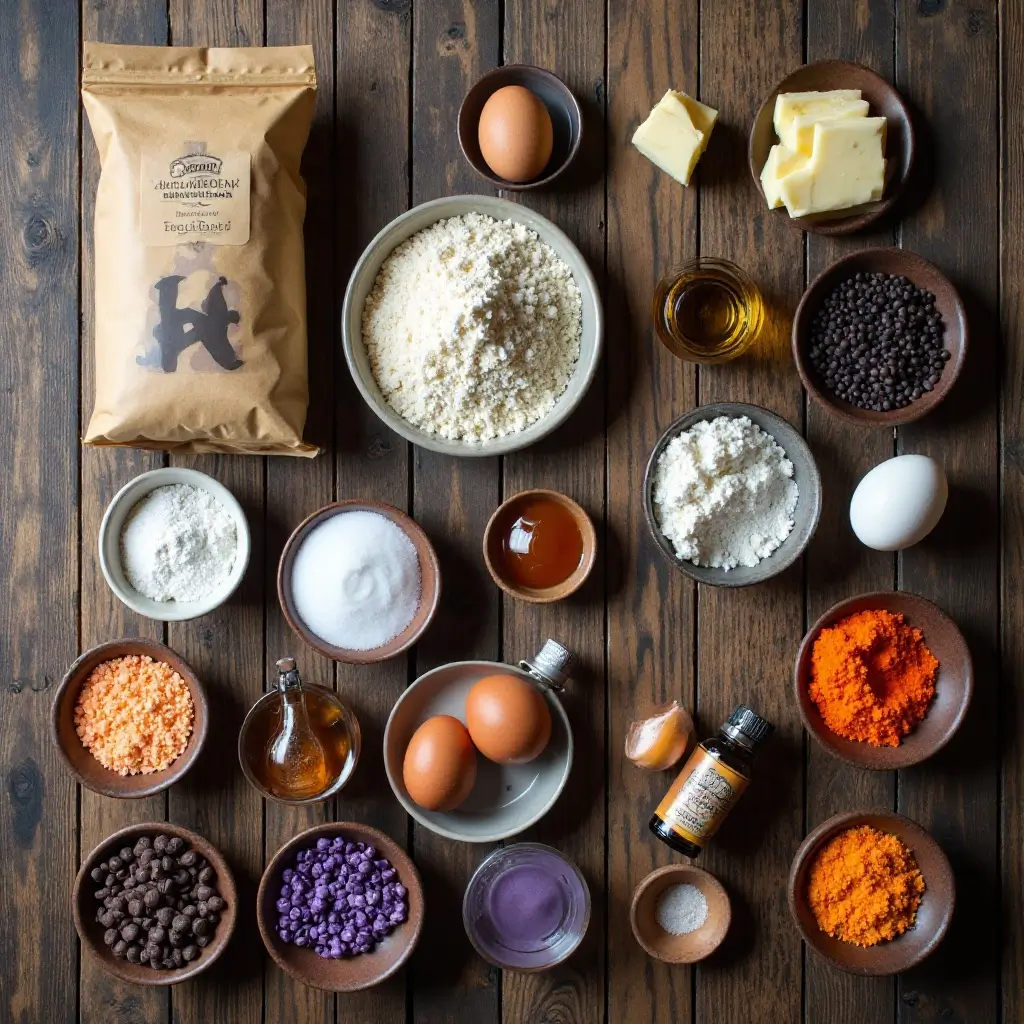
Key Ingredients for Halloween Sugar Cookies
For the Cookie Dough:
- 2¾ cups all-purpose flour
- 1 teaspoon baking soda
- 1 teaspoon salt
- 1 cup (2 sticks) unsalted butter, softened
- 1½ cups granulated sugar
- 1 large egg
- 1 teaspoon vanilla extract
- ½ teaspoon almond extract (optional, for extra flavor)
For Royal Icing:
- 3 cups powdered sugar
- 3 large egg whites (or 3 tablespoons meringue powder + 3 tablespoons water)
- 1 teaspoon vanilla extract
- Orange and black food coloring
- Purple food coloring (optional)
For Decorating:
- Colored sugars (orange, black, purple)
- Mini chocolate chips
- Candy eyes
- Small candies for details
Step-by-Step Instructions
Step 1: Prepare the Cookie Dough In a medium bowl, whisk together flour, baking soda, and salt. Set aside. In a large bowl, cream the softened butter and granulated sugar using an electric mixer for 3-4 minutes until light and fluffy. Beat in the egg, vanilla extract, and almond extract until well combined.
Step 2: Combine Wet and Dry Ingredients Gradually add the flour mixture to the butter mixture, mixing on low speed until just combined. Don’t overmix, as this can make the cookies tough. The dough should come together and not be sticky.
Step 3: Chill the Dough Divide the dough in half and shape each portion into a disk. Wrap tightly in plastic wrap and refrigerate for at least 2 hours or overnight. This chilling step is crucial for preventing the cookies from spreading during baking.
Step 4: Roll and Cut the Cookies Preheat your oven to 375°F (190°C). On a lightly floured surface, roll out one disk of dough to ¼-inch thickness. Use Halloween-themed cookie cutters to cut out shapes. Place cookies on ungreased baking sheets, spacing them about 2 inches apart.
Step 5: Bake to Perfection Bake for 8-10 minutes, or until the edges are set but not browned. The centers should still look slightly soft. Remove from oven and let cool on baking sheets for 5 minutes before transferring to wire racks.
Step 6: Prepare Royal Icing In a clean bowl, whisk together powdered sugar, egg whites (or meringue powder mixture), and vanilla extract until smooth and glossy. The icing should hold its shape when lifted with a spoon. Divide into separate bowls and tint with food coloring as desired.
Step 7: Decorate Your Cookies Once cookies are completely cool, use royal icing to create your Halloween designs. Start with outline details, then flood larger areas. Add sprinkles, candies, or colored sugars while the icing is still wet. Allow decorated cookies to dry completely, about 2-4 hours.
What to Serve Halloween Sugar Cookies With
These festive treats pair wonderfully with warm apple cider or hot chocolate for the ultimate Halloween experience. Serve them alongside caramel apples at your Halloween party, or create a spooky dessert table with Halloween brownies and pumpkin cupcakes. For a fun family activity, set up a cookie decorating station with various icings, sprinkles, and candies – it’s perfect for Halloween parties or cozy autumn afternoons. Don’t forget to have plenty of milk on hand, as these buttery cookies practically beg to be dunked!
Top Tips for Perfecting Halloween Sugar Cookies
Achieve Perfect Cookie Shapes
The key to crisp, well-defined cookie shapes lies in proper dough chilling and rolling technique. Always chill your dough for at least 2 hours – this prevents spreading and helps maintain those intricate Halloween shapes. When rolling, work quickly and re-chill the dough if it becomes too soft. Use a light dusting of flour, but don’t overdo it, as too much flour can make cookies tough.
Icing Consistency Secrets
Royal icing consistency can make or break your decorating efforts. For outlining details, you want a thicker consistency that holds its shape. For flooding larger areas, thin the icing slightly with water until it flows smoothly but isn’t runny. Test on parchment paper first – the icing should settle into a smooth surface within 10-15 seconds.
Storage and Make-Ahead Tips
These cookies actually improve in flavor after a day or two! Store undecorated cookies in an airtight container for up to one week, or freeze the dough for up to three months. If making decorated cookies in advance, allow icing to dry completely before storing between layers of parchment paper. This prevents smudging and keeps your Halloween designs looking perfect.

Storing and Reheating Tips
Store your finished Halloween sugar cookies in an airtight container at room temperature for up to one week. Layer them between sheets of parchment paper to prevent the decorations from sticking together. If you live in a humid climate, add a small packet of silica gel to keep cookies crisp.
For longer storage, freeze decorated cookies in a single layer on a baking sheet until solid, then transfer to freezer bags for up to three months. Thaw at room temperature for about 30 minutes before serving – they’ll taste just as fresh as the day you made them!
The cookie dough itself freezes beautifully for up to three months. Wrap tightly in plastic wrap and aluminum foil, then thaw overnight in the refrigerator before rolling and cutting. This makes it easy to have fresh Halloween cookies whenever a craving strikes!
Nutritional Information
| Nutrient | Per Cookie (1 of 30) |
|---|---|
| Calories | 145 |
| Total Fat | 6g |
| Saturated Fat | 4g |
| Cholesterol | 25mg |
| Sodium | 95mg |
| Total Carbs | 23g |
| Sugars | 15g |
| Protein | 2g |
| Fiber | 0.5g |
Nutritional values are approximate and may vary based on specific ingredients and decorating choices.
Frequently Asked Questions
Can I make the dough ahead of time?
Absolutely! Cookie dough can be made up to 3 days in advance and stored in the refrigerator, or frozen for up to 3 months. Just remember to let frozen dough thaw overnight in the fridge before rolling.
Why did my cookies spread during baking?
Cookie spreading usually happens when the dough is too warm or hasn’t been chilled long enough. Make sure to chill your dough for at least 2 hours and avoid overworking it when rolling out.
How do I prevent my royal icing from cracking?
Icing cracks when it dries too quickly or is applied too thickly. Work in thin layers and allow each layer to dry completely before adding details. Avoid placing decorated cookies near heat sources or in direct sunlight.
Can I use regular frosting instead of royal icing?
While you can use buttercream frosting, royal icing is preferred for decorated cookies because it dries hard and creates a smooth, professional finish that won’t smudge. Regular frosting may remain soft and sticky.
What’s the best way to get clean, sharp cookie edges?
Use sharp cookie cutters and press straight down without twisting. Clean cutters between uses to prevent dough buildup, and make sure your dough is properly chilled before cutting.
How far in advance can I decorate the cookies?
Decorated cookies can be made up to 5 days in advance if stored properly in an airtight container. The flavors actually meld beautifully, and the cookies soften slightly for an even better texture.
Creative Decorating Ideas for Halloween Sugar Cookies
Take your Halloween sugar cookies to the next level with these creative decorating techniques:
Marble Effect: Drop different colored icings onto wet base icing and swirl with a toothpick for a stunning marbled look on pumpkin cookies.
Ombre Spiders: Create gradient spider webs by mixing different concentrations of black food coloring and piping from dark to light.
Textured Pumpkins: Use a fork to create realistic pumpkin ridges in orange icing before it dries.
Glow-in-the-Dark Fun: Mix edible glow-in-the-dark powder into white icing for ghost cookies that literally light up the night!
These Halloween sugar cookies are more than just a treat – they’re an opportunity to create lasting memories with family and friends. Whether you’re hosting a Halloween party, looking for a fun weekend activity with kids, or simply wanting to embrace the spooky season, this recipe delivers on all fronts. The combination of a foolproof cookie base and endless decorating possibilities makes these cookies a guaranteed hit that’ll have everyone asking for the recipe!
Remember, the best part about homemade cookies isn’t just the delicious taste – it’s the love and creativity you put into every single one. So grab your cookie cutters, mix up that royal icing, and let your imagination run wild. Happy Halloween baking!