Easy Banana Oatmeal Bars Recipe – Ready in 30 Minutes
There’s something magical about the aroma of bananas and oats baking together in your kitchen. These banana oatmeal bars are your new breakfast best friend—soft, naturally sweet, and wonderfully filling. I discovered this recipe on a rushed Tuesday morning when my kids needed something quick but nutritious.
The text and images in this recipe were produced with AI assistance. Several readers report success with recipes they’ve tried elsewhere on our site.
Here’s a fun fact: oats have been cultivated for over 3,000 years, making them one of humanity’s oldest breakfast companions! This recipe is ridiculously simple, takes just 10 minutes to prep, and delivers that homemade goodness your family craves.
If you loved my [peanut butter energy balls], you’ll absolutely adore these bars. Get ready to fall in love with your new go-to snack!
This recipe was written by artificial intelligence and has not been made at home by our team. We always aim to support home cooks, and feedback from our community about other site recipes has been encouraging.
What Are Banana Oatmeal Bars?
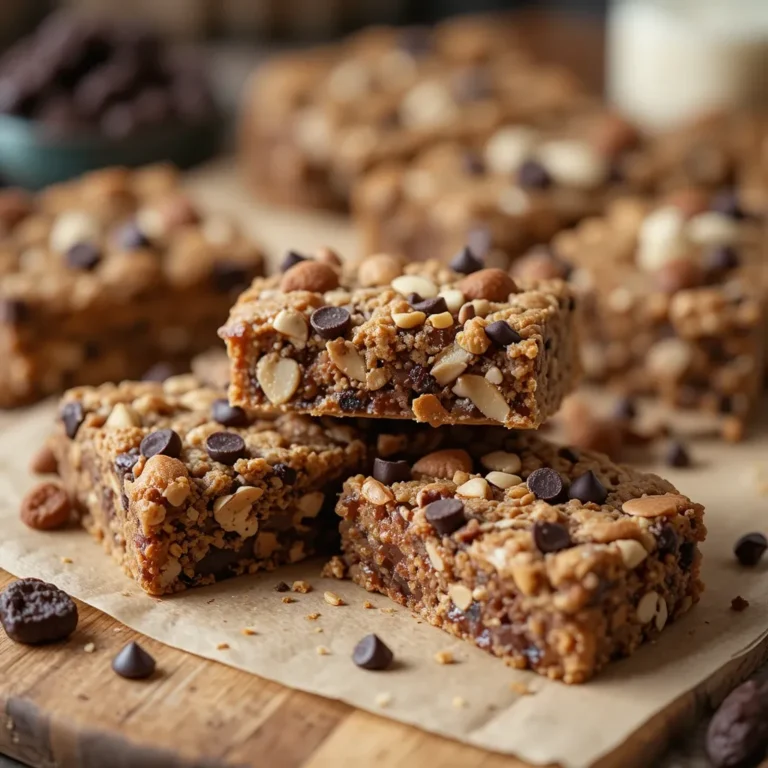
Ever wondered why such a simple combination sounds so fancy? Banana oatmeal bars are essentially your favorite morning oatmeal transformed into a portable, grab-and-go treat. Think of them as oatmeal’s cooler, more convenient cousin who shows up to every breakfast party.
You know what they say—the way to a man’s heart is through his stomach, and these bars have won over even my pickiest eater! They’re chewy, naturally sweetened bars that combine ripe bananas with hearty oats for a satisfying bite. Don’t just take my word for it—grab those overripe bananas sitting on your counter and let’s bake something amazing together!
Why You’ll Love This Banana Oatmeal Bar Recipe
Budget-Friendly and Wholesome
Let me tell you why these bars have become my kitchen staple. First, they’re ridiculously affordable. While fancy breakfast bars at the store can cost you $5 for a small box, making these at home costs less than $3 for a whole batch. You’re looking at about 50 cents per serving!
The main star here is the banana-oat combination that creates a naturally sweet base without refined sugars. Those spotty bananas you were about to toss? They’re pure gold in this recipe.
Customizable to Your Taste
What I absolutely love is how versatile these bars are. Add chocolate chips for the kids, toss in some walnuts for crunch, or swirl in peanut butter for extra protein. Each batch can be completely different based on your mood or pantry staples.
The texture is perfectly chewy on the inside with slightly crispy edges—it’s that ideal balance that keeps you reaching for “just one more piece.”
Quick and Convenient
Busy mornings? No problem. These bars are the ultimate meal prep champion. Bake them on Sunday, and you’ve got breakfast sorted for the entire week. They’re similar to my [oatmeal breakfast cookies] but even easier since you just press everything into one pan.
No fancy equipment needed—just a bowl, a pan, and your hands. If you can mash a banana and stir, you can make these bars. Trust me, if I can whip these up with two kids running around my kitchen, you definitely can too!
Ready to transform those bananas into something extraordinary? Let’s get baking!
How to Make Banana Oatmeal Bars
Quick Overview
These banana oatmeal bars are beautifully simple to make and incredibly forgiving. The natural sweetness from ripe bananas means you can skip the sugar bowl entirely (or add just a touch of honey if you prefer). What makes these bars special is their tender, cake-like texture that holds together perfectly for on-the-go eating.
Prep Time: 10 minutes
Cook Time: 25-30 minutes
Total Time: 40 minutes
Servings: 12 bars
The recipe comes together in one bowl with no mixer required. The bananas do double duty—they add sweetness and act as a natural binder, holding everything together beautifully.
Key Ingredients for Banana Oatmeal Bars
Dry Ingredients:
- 2 cups old-fashioned rolled oats (not instant)
- 1 teaspoon baking powder
- 1 teaspoon ground cinnamon
- ¼ teaspoon salt
- Optional: ½ cup mix-ins (chocolate chips, chopped nuts, or dried fruit)
Wet Ingredients:
- 3 large ripe bananas (the spottier, the better!)
- ¼ cup honey or maple syrup
- 1 large egg
- 2 tablespoons melted coconut oil (nut butter)
- 1 teaspoon vanilla extract
- 3 tablespoons milk (any kind works)
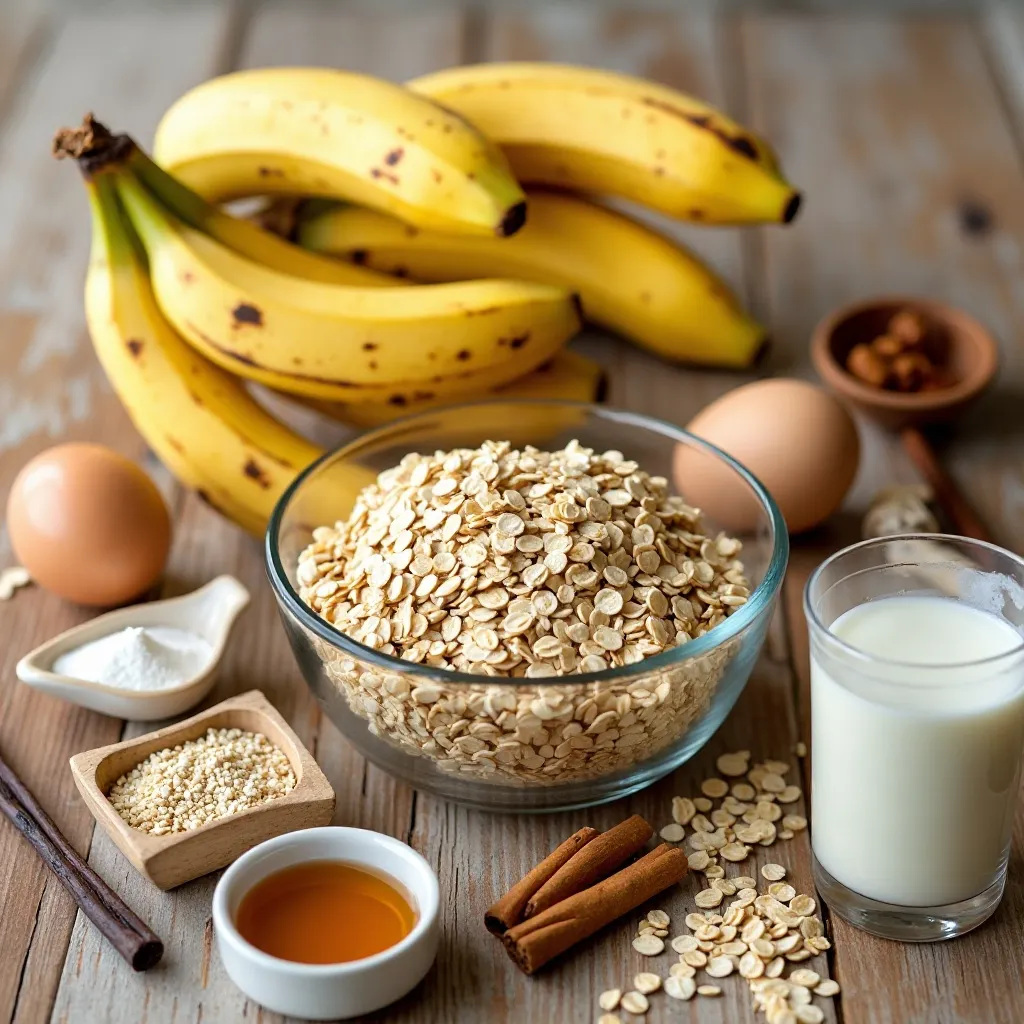
Pro ingredient tip: Those brown-spotted bananas on your counter aren’t past their prime—they’re perfect for baking! The riper the banana, the sweeter and more flavorful your bars will be.
Step-by-Step Instructions
Step 1: Prepare Your Pan and Oven
Preheat your oven to 350°F (175°C). Line an 8×8-inch baking pan with parchment paper, leaving some overhang on the sides—this makes lifting the bars out so much easier later. You can also lightly grease the pan with coconut oil if you prefer. This step is crucial because nobody wants their beautiful bars stuck to the pan!
Step 2: Mash the Bananas
In a large mixing bowl, mash your ripe bananas using a fork until they’re mostly smooth. A few small lumps are perfectly fine—they’ll add little pockets of banana flavor throughout your bars. This should take about 2 minutes of mashing. The more ripe your bananas, the easier this step becomes.
Step 3: Mix the Wet Ingredients
Add the egg, honey (or maple syrup), melted coconut oil, vanilla extract, and milk to the mashed bananas. Whisk everything together until well combined. The mixture should look smooth and slightly frothy. This creates the liquid base that will bind all your oats together.
Step 4: Combine Dry Ingredients
Add the rolled oats, baking powder, cinnamon, and salt directly to the wet mixture. Using a wooden spoon or spatula, stir everything together until all the oats are completely coated with the banana mixture. Make sure there are no dry pockets of oats hiding at the bottom of the bowl. The batter will be thick and hearty—this is exactly what you want!
Step 5: Add Your Mix-Ins
Now’s the fun part! Fold in any optional add-ins like chocolate chips, chopped walnuts, or dried cranberries. I usually add about ½ cup total, but you can adjust based on your preferences. My kids love when I add mini chocolate chips, while I prefer chopped pecans for that extra crunch.
Step 6: Press Into Pan
Pour the mixture into your prepared baking pan. Use a spatula or the back of a spoon (I sometimes use my hands!) to press the mixture evenly into the pan. Make sure to press firmly and get into all the corners. The more compact you press it, the better your bars will hold together after baking. Aim for an even layer about 1 inch thick.
Step 7: Bake to Perfection
Bake for 25-30 minutes, or until the edges are golden brown and the center is set. The bars should feel firm to the touch and spring back slightly when you press gently on the center. A toothpick inserted in the middle should come out mostly clean with just a few moist crumbs—not wet batter.
Step 8: Cool Completely
This is the hardest step—waiting! Let the bars cool in the pan for at least 15 minutes, then use the parchment paper overhang to lift the entire block out onto a cutting board. Allow it to cool completely (another 15-20 minutes) before slicing. I know it’s tempting to cut into them right away, but patience pays off here. Warm bars tend to crumble, while completely cooled bars slice beautifully into neat squares.
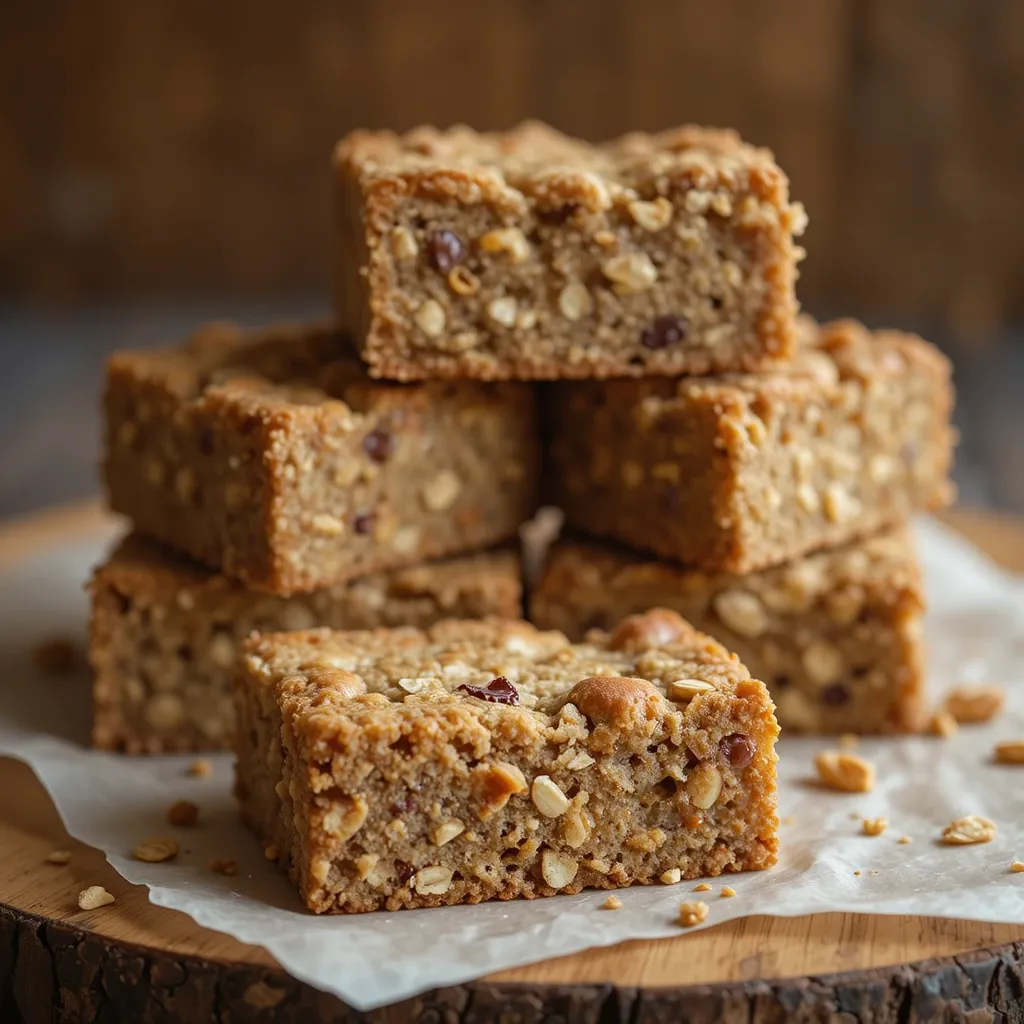
Step 9: Slice and Enjoy
Using a sharp knife, cut into 12 bars (or 16 smaller snack-sized pieces). Wipe your knife clean between cuts for the neatest edges. Store any bars you’re not eating immediately in an airtight container.
What to Serve Banana Oatmeal Bars With
These versatile bars work beautifully for breakfast, snacks, or even a healthier dessert option. Here are my favorite pairings:
For Breakfast:
- A hot cup of coffee or chai tea
- Fresh berry smoothie
- Greek yogurt with a drizzle of honey
- Sliced fresh fruit like strawberries or apple slices
For Snacks:
- Cold glass of milk (dairy or plant-based)
- Almond butter for spreading on top
- Handful of fresh grapes or orange segments
- String cheese for added protein
For Dessert:
- Warm the bar slightly and top with a small scoop of vanilla ice cream
- Drizzle with melted dark chocolate
- Serve alongside herbal tea
I love packing these in my kids’ lunchboxes alongside baby carrots and hummus. They’re also perfect for after-school snacks when everyone’s starving and you need something nutritious fast.
Top Tips for Perfecting Banana Oatmeal Bars
Use Very Ripe Bananas
This is the golden rule! Bananas with lots of brown spots are ideal because they’re sweeter and easier to mash. If your bananas aren’t quite ripe enough, place them in a paper bag overnight or bake them (unpeeled) at 300°F for 15 minutes to speed up the ripening process.
Don’t Skip the Parchment Paper
Parchment paper is your best friend here. It prevents sticking and makes removing the bars effortless. If you don’t have parchment, use aluminum foil greased generously with coconut oil.
Press Firmly Into the Pan
Really pack that mixture down! The firmer you press, the better your bars will hold together. Use the bottom of a measuring cup to press evenly if your hands get tired.
Let Them Cool Completely
I can’t stress this enough—patience is key! Hot or warm bars will fall apart when you try to cut them. Completely cooled bars slice like a dream. If you’re in a rush, pop the whole pan in the refrigerator for 30 minutes.
Customize the Sweetness
Some people prefer sweeter bars, others like them barely sweet. Start with the ¼ cup honey in the recipe, then adjust to taste in future batches. Remember, riper bananas mean less added sweetener needed.
Storage Affects Texture
These bars will be chewier on day one and will firm up slightly in the fridge. I actually prefer them after a day in the refrigerator—the flavors meld together beautifully and they’re easier to grab and go.
Storing and Reheating Tips
Room Temperature Storage: Store the bars in an airtight container at room temperature for up to 3 days. Layer them with parchment paper if you’re stacking them to prevent sticking. They’ll stay moist and chewy this way.
Refrigerator Storage: For longer storage, keep the bars in an airtight container in the refrigerator for up to 1 week. They’ll firm up slightly when cold, which I actually love—they’re easier to handle and less crumbly. Just let them sit at room temperature for 10 minutes before eating if you prefer a softer texture.
Freezer Storage: These bars freeze beautifully! Wrap individual bars in plastic wrap, then place them all in a freezer-safe bag or container. They’ll keep for up to 3 months. This is my favorite meal prep trick—I always have a stash in the freezer for busy mornings.
Reheating Instructions: To reheat from the refrigerator, microwave for 15-20 seconds. From frozen, microwave for 30-40 seconds or let thaw at room temperature for 1-2 hours. You can also warm them in a 300°F oven for 5-7 minutes for that fresh-from-the-oven taste. Honestly though, I usually eat them straight from the fridge—they’re delicious cold!
Tips for Avoiding Common Baking Mistakes
Mistake #1: Using Instant Oats
Instant oats turn mushy and create a paste-like texture. Always use old-fashioned rolled oats for the best structure and chewiness. Steel-cut oats won’t work either—they’re too hard and won’t soften enough during baking.
Mistake #2: Overmixing the Batter
Once you add the oats to the wet ingredients, mix just until combined. Overmixing can make the bars tough and dense. A few gentle stirs with a spatula is all you need.
Mistake #3: Not Measuring the Bananas Properly
Three large bananas equals about 1½ cups mashed. Too much banana makes soggy bars; too little creates dry, crumbly ones. If you’re unsure, measure after mashing to ensure you have the right amount.
Mistake #4: Cutting While Hot
I’ve said it before but it bears repeating—hot bars = crumbly disaster. Always cool completely before cutting. If you’re impatient like me, transfer the whole pan to the fridge to speed things up.
Mistake #5: Uneven Baking
If the edges are burning while the center is undercooked, your oven temperature might be off. Invest in an oven thermometer to ensure accuracy. Also, rotate the pan halfway through baking for even cooking.
Mistake #6: Skipping the Baking Powder
Baking powder gives these bars a slight lift and lighter texture. Without it, they’ll be dense and heavy. Make sure your baking powder is fresh—test it by mixing a little with hot water. It should fizz actively.
Mistake #7: Opening the Oven Too Early
Resist the urge to check on your bars constantly! Opening the oven door releases heat and can cause uneven baking. Check only once at the 20-minute mark, then every 3-5 minutes after that if needed.
Frequently Asked Questions
Can I make banana oatmeal bars without eggs?
Absolutely! Replace the egg with a “flax egg” (1 tablespoon ground flaxseed mixed with 3 tablespoons water, let sit for 5 minutes). You can also use ¼ cup unsweetened applesauce or mashed avocado as an egg substitute. The texture will be slightly different but still delicious.
Why are my banana oatmeal bars falling apart?
The most common reasons are cutting them while still warm, not pressing the mixture firmly enough into the pan, or using underripe bananas that don’t provide enough binding moisture. Make sure you cool them completely and press firmly!
Can I use quick oats instead of rolled oats?
You can, but the texture won’t be as hearty and chewy. Quick oats are more processed and create softer, more cake-like bars. If you use them, reduce the milk by 1 tablespoon since they absorb more liquid.
How do I make my banana oatmeal bars sweeter?
Increase the honey or maple syrup to ⅓ cup, add a handful of chocolate chips, or drizzle the cooled bars with a simple glaze made from powdered sugar and milk. You can also try adding a few chopped dates to the mixture for natural sweetness.
Can I add protein powder to these bars?
Yes! Replace ¼ cup of the oats with your favorite protein powder. Vanilla or chocolate protein powder works best. You might need to add an extra tablespoon or two of milk since protein powder absorbs moisture.
Are banana oatmeal bars healthy?
These bars are made with whole grain oats, naturally sweetened with banana, and contain no refined flour or excessive sugar. They provide fiber, potassium, and sustained energy. While they’re certainly a healthier option than many store-bought bars, portion control still matters!
Can I make these bars nut-free?
Definitely! Simply omit any nuts from the mix-ins and ensure your chocolate chips (if using) are processed in a nut-free facility. You can add sunflower seeds or pumpkin seeds for crunch instead.
What’s the best way to pack these for school lunches?
Wrap individual bars in plastic wrap or place in small reusable containers. They travel well and don’t require refrigeration if they’ll be eaten within 4-5 hours. Just add an ice pack if it’s a hot day.
Nutrition Information
| Nutrient | Per Bar (1/12 recipe) |
|---|---|
| Calories | 135 |
| Total Fat | 4g |
| Saturated Fat | 2g |
| Cholesterol | 15mg |
| Sodium | 75mg |
| Total Carbohydrates | 23g |
| Dietary Fiber | 3g |
| Sugars | 9g |
| Protein | 3g |
| Potassium | 180mg |
Note: Nutrition information is approximate and will vary based on specific ingredients and add-ins used.
These banana oatmeal bars have truly transformed my morning routine. There’s something deeply satisfying about pulling a homemade bar from your fridge, knowing exactly what went into it, and feeling good about feeding it to your family. The best part? You probably have everything you need in your kitchen right now.
I’d love to hear how your bars turn out! Did you add chocolate chips? Maybe some cinnamon swirl? Drop a comment below and let me know what variations you tried. And if you loved this recipe, please share it with a friend who’s always looking for healthy breakfast ideas.
Happy baking!