Buttercream Decorated Cookies Thanksgiving – Step-by-Step
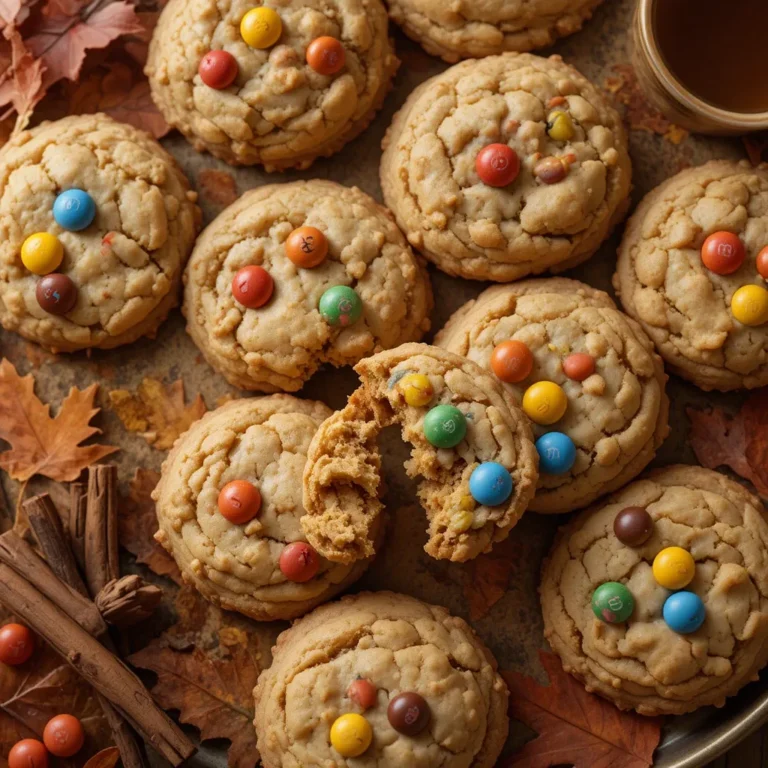
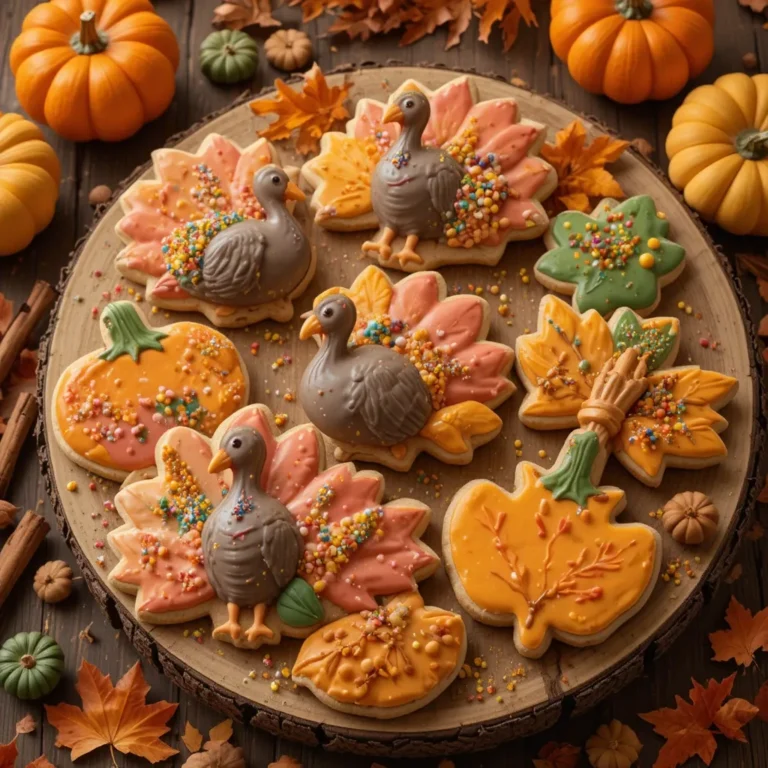
There’s something magical about buttercream decorated cookies thanksgiving that brings everyone together during the holiday season. These stunning, bakery-quality cookies combine buttery sugar cookies with silky smooth buttercream frosting in festive fall designs. Whether you’re hosting Thanksgiving dinner or bringing treats to a potluck, these cookies steal the show every single time.
Fun fact: decorated cookies date back to 16th century Europe, where they were considered luxury items reserved for special celebrations! What makes this recipe truly special is how simple it is to create professional-looking results at home, even if you’ve never decorated cookies before.
The cookies take just 20 minutes of active prep time, making them perfect for busy families juggling holiday preparations. If you loved our classic chocolate chip cookies, you’ll adore these festive beauties that turn your kitchen into a holiday bakery. Get ready to impress your guests and create delicious memories with every bite of these gorgeous Thanksgiving treats!
What Are Buttercream Decorated Cookies Thanksgiving?
Ever wonder why we call them buttercream decorated cookies thanksgiving instead of just “fancy fall cookies”? Well, it’s all in the name! These aren’t your average cookies with simple icing—they feature rich, creamy buttercream frosting that pipes beautifully and tastes absolutely divine.
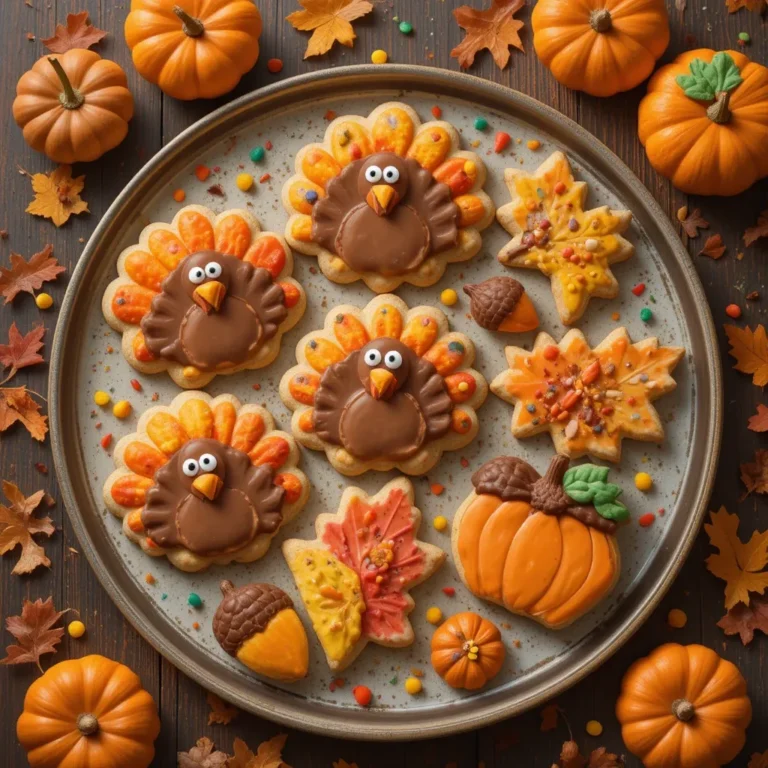
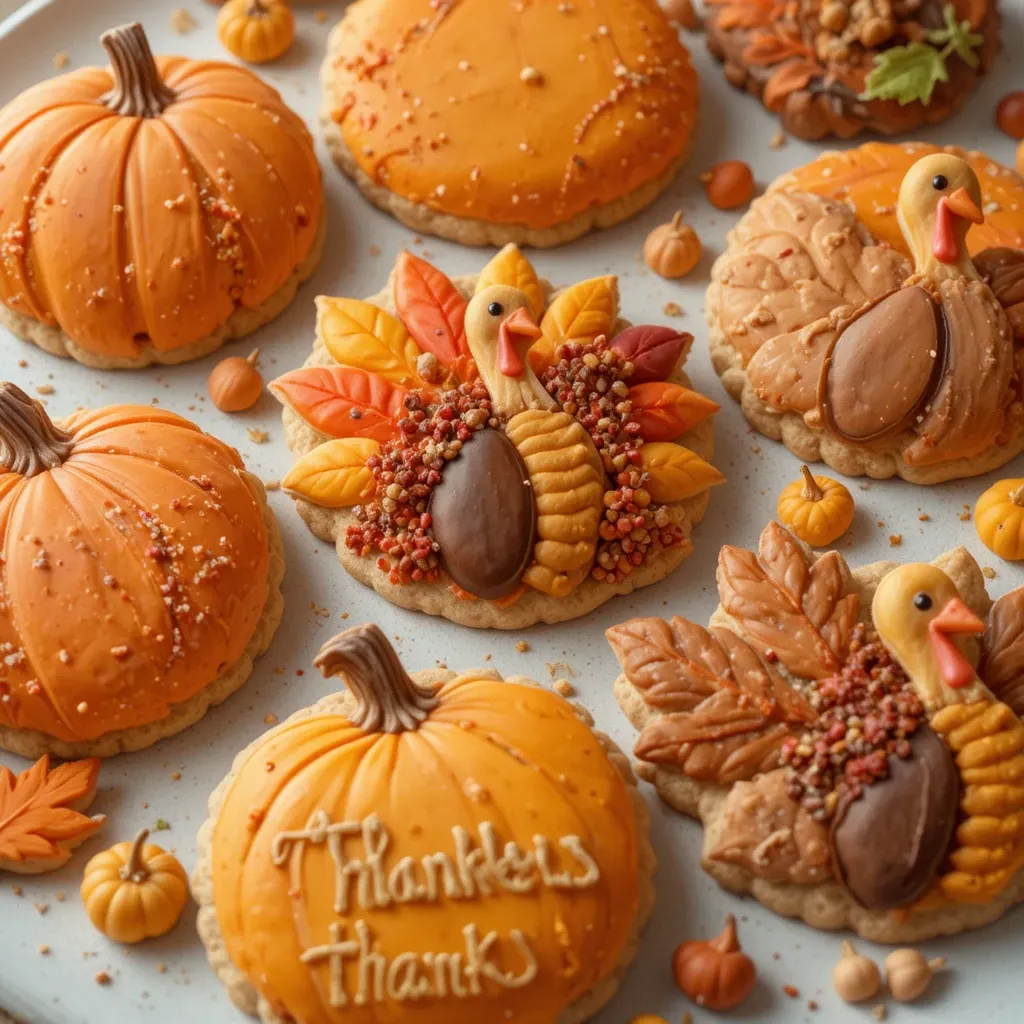
The “thanksgiving” part comes from the festive designs: think adorable turkeys, autumn leaves, pumpkins, and “thankful” messages that capture the heart of the holiday. Some say creating beautiful cookies is the way to everyone’s heart, and honestly, they’re not wrong!
These cookies combine the best of both worlds: tender, buttery cookies that melt in your mouth and smooth buttercream that tastes like heaven. Ready to become the star baker of your Thanksgiving gathering? Let’s dive in and create some edible masterpieces together!
Why You’ll Love This Buttercream Decorated Cookies Thanksgiving Recipe
The Ultimate Crowd-Pleaser
These buttercream decorated cookies thanksgiving are absolutely stunning and taste even better than they look. The cookies have a perfect tender-crisp texture that melts in your mouth, while the buttercream frosting adds a luxurious, creamy sweetness that isn’t overwhelming. Each bite delivers that delightful combination of buttery cookie and velvety frosting that keeps everyone reaching for seconds.
Budget-Friendly Holiday Baking
Making these beauties at home saves you serious money compared to ordering from expensive bakeries. A dozen decorated cookies from a bakery can cost $30-40, but you can make 2-3 dozen gorgeous cookies at home for under $10. You probably already have most ingredients in your pantry: flour, butter, sugar, and vanilla. The only special purchase might be food coloring for those gorgeous fall hues like burnt orange, golden yellow, and deep red.
Endless Customization Options
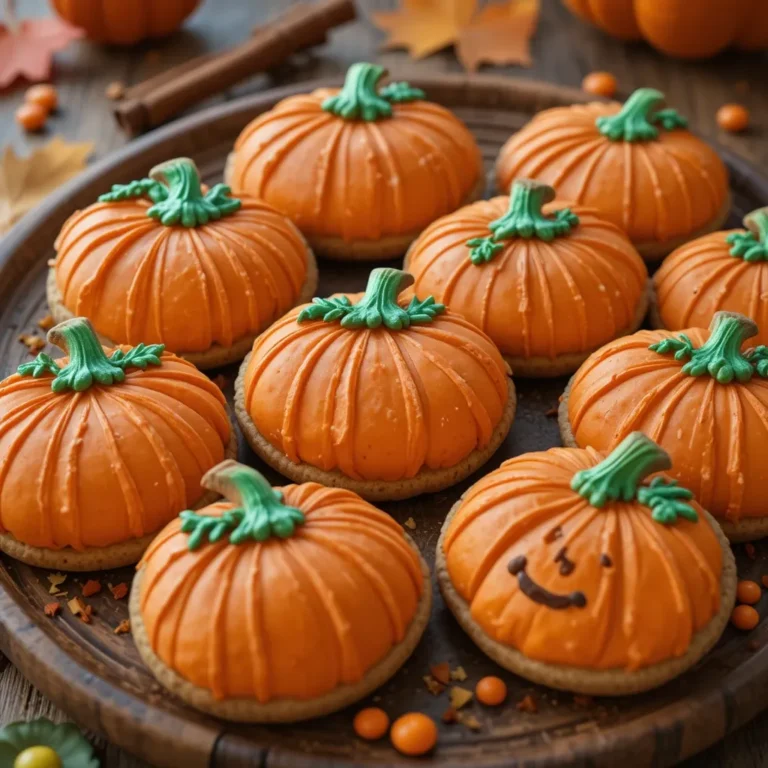
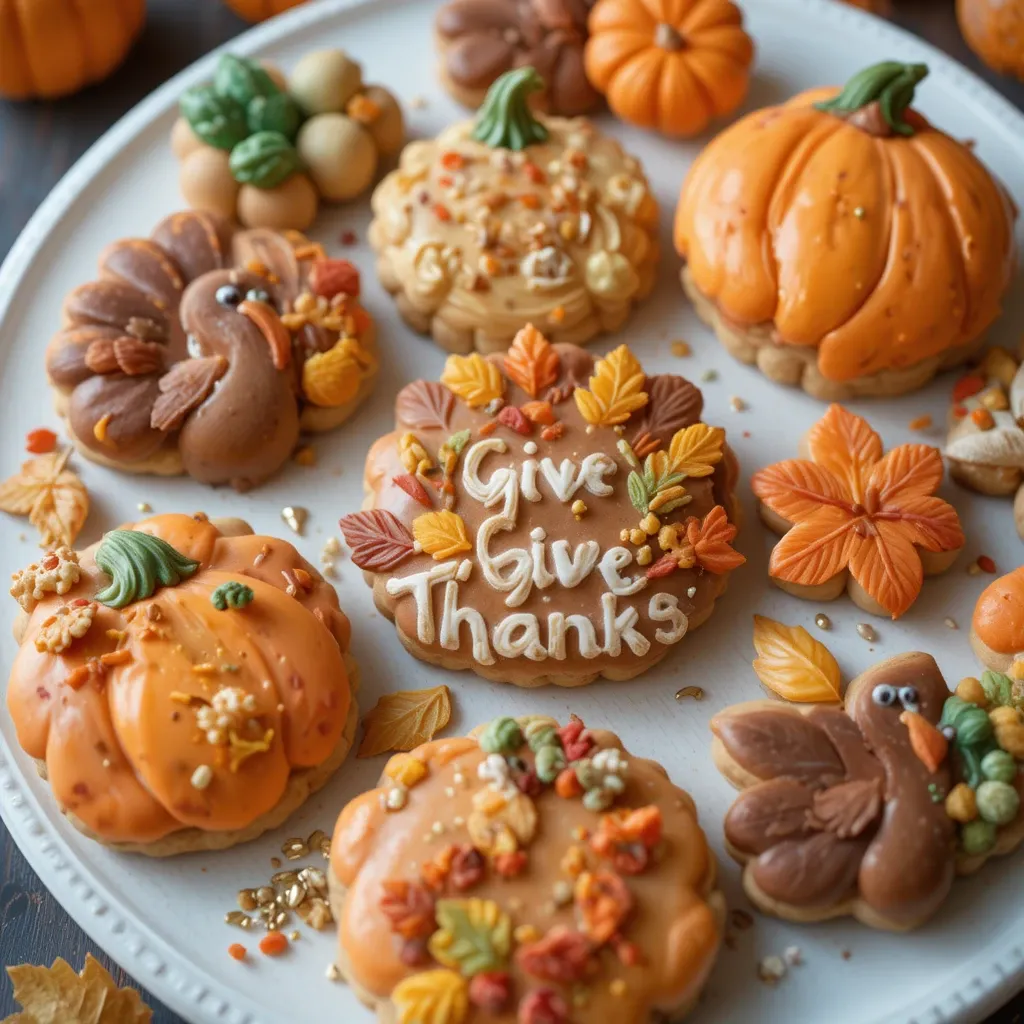
The best part about buttercream decorated cookies thanksgiving is how versatile they are. You can pipe elegant autumn leaves, cute little turkeys with colorful feathers, classic pumpkins, or even write “Give Thanks” messages.
Add edible gold dust for extra glamour, or use different piping tips to create various textures and designs. If you enjoyed decorating our sugar cookie cutouts, you’ll love taking your skills to the next level with these Thanksgiving showstoppers. The creative possibilities are truly endless, making each batch unique and personal.
Make-Ahead Friendly for Stress-Free Holidays
These cookies are perfect for busy holiday schedules. Bake the cookies up to a week ahead and store them unfrosted, then decorate them 2-3 days before your event. This make-ahead flexibility means you’re not stuck in the kitchen when guests arrive. Whether you’re preparing for a large family gathering or a cozy friendsgiving celebration, these cookies help you stay organized and stress-free while still delivering impressive homemade treats.
How to Make Buttercream Decorated Cookies Thanksgiving
Quick Overview
These buttercream decorated cookies thanksgiving are surprisingly easy to create, even for beginners. The recipe starts with a classic cut-out sugar cookie that holds its shape perfectly during baking—no spreading or puffing! The cookies have a tender, buttery flavor that pairs beautifully with the rich buttercream frosting.
What makes this recipe stand out is the American buttercream technique, which creates a smooth, pipeable frosting that’s stable enough for detailed designs yet soft enough to taste heavenly.
Time Breakdown:
- Prep Time: 30 minutes
- Chilling Time: 1 hour
- Baking Time: 10-12 minutes per batch
- Decorating Time: 45-60 minutes
- Total Time: Approximately 2.5-3 hours
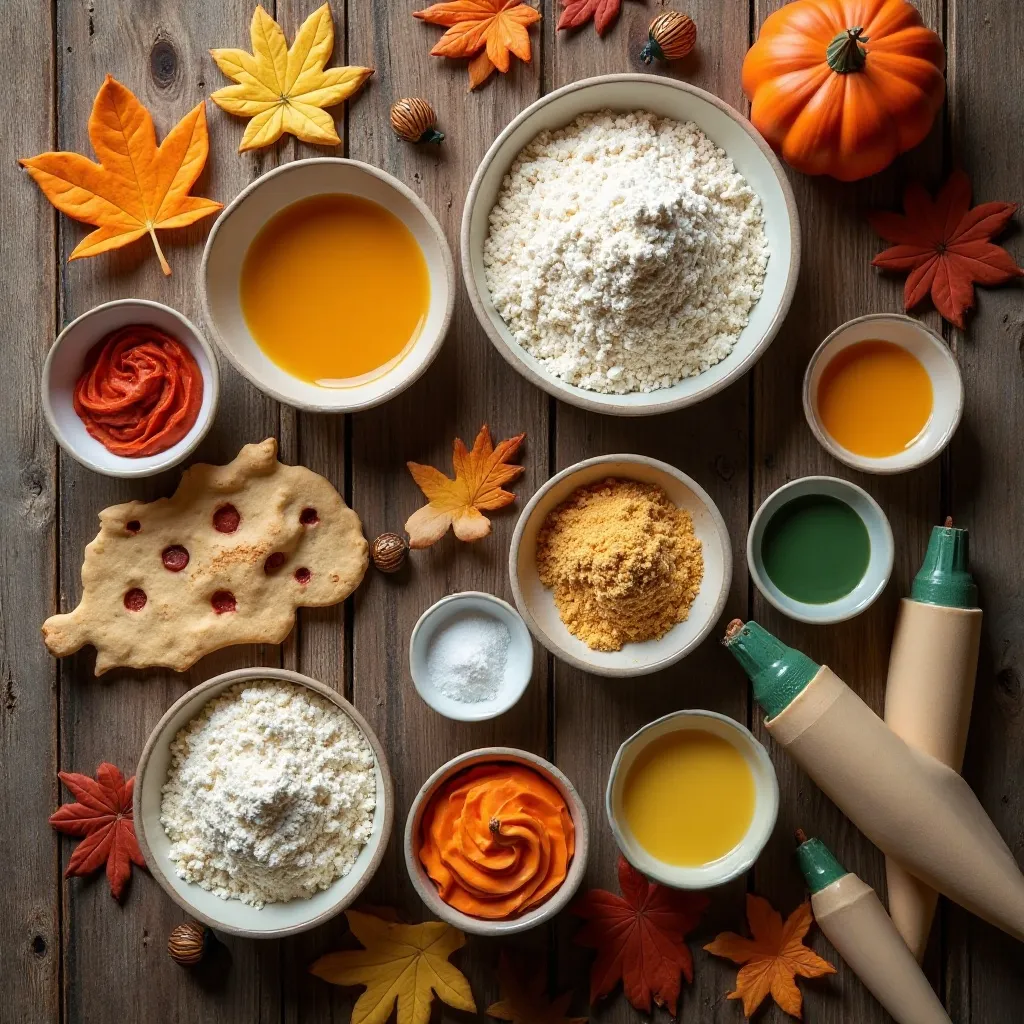
Key Ingredients for Buttercream Decorated Cookies Thanksgiving
For the Sugar Cookies:
- 3 cups all-purpose flour, spooned and leveled
- 1 teaspoon baking powder
- 1/2 teaspoon salt
- 1 cup unsalted butter, softened to room temperature
- 1 cup granulated sugar
- 1 large egg, room temperature
- 2 teaspoons pure vanilla extract
- 1/2 teaspoon almond extract (optional, but adds wonderful flavor)
For the Buttercream Frosting:
- 1 cup unsalted butter, softened to room temperature
- 4 cups powdered sugar, sifted
- 3-4 tablespoons heavy cream or whole milk
- 2 teaspoons pure vanilla extract
- Pinch of salt
- Gel food coloring in orange, red, yellow, brown, and green
For Decoration:
- Piping bags
- Various piping tips (round tips #2, #3, star tips, leaf tips)
- Edible gold dust or sprinkles (optional)
- Small offset spatula
Step-by-Step Instructions
Prepare the Cookie Dough
Start by whisking together the flour, baking powder, and salt in a medium bowl. Set this aside. In your stand mixer or a large bowl with a hand mixer, beat the softened butter and sugar together on medium-high speed for 3-4 minutes until light and fluffy. This step is crucial—don’t rush it!
The mixture should look pale and have increased in volume. Scrape down the sides of the bowl, then add the egg, vanilla extract, and almond extract. Beat for another minute until fully combined. With the mixer on low speed, gradually add the flour mixture in three additions, mixing just until no white streaks remain. Don’t overmix or your cookies will be tough.
Chill the Dough
Divide the dough in half and shape each portion into a flat disk. Wrap each disk tightly in plastic wrap and refrigerate for at least 1 hour or up to 3 days. Chilling is non-negotiable here—it prevents the cookies from spreading during baking and makes the dough much easier to roll out. If you’re in a hurry, you can freeze the dough for 20-30 minutes instead.
Roll and Cut the Cookies
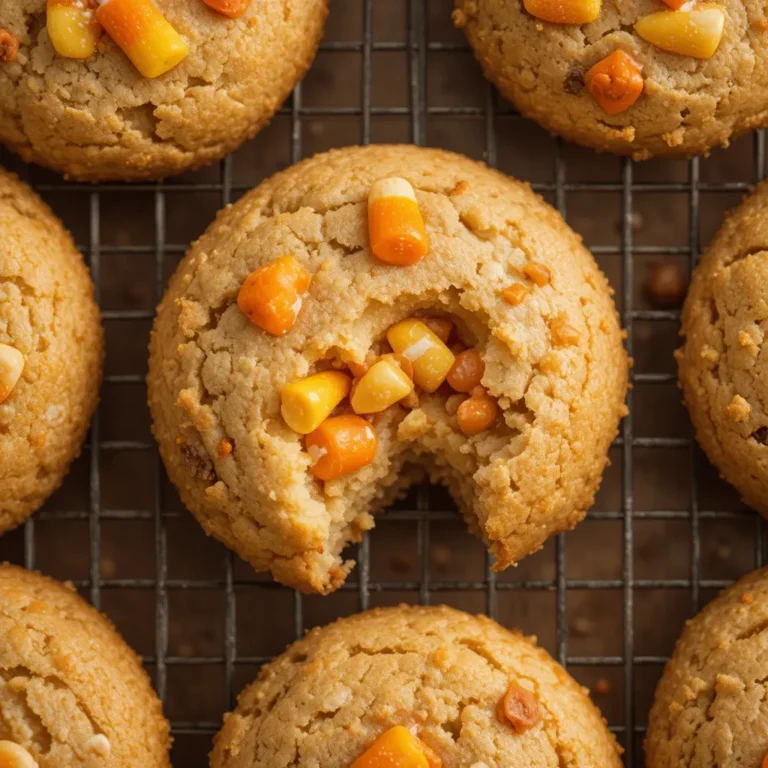
Preheat your oven to 350°F and line two baking sheets with parchment paper or silicone mats. Remove one disk of dough from the refrigerator and let it sit at room temperature for 5 minutes to soften slightly. On a lightly floured surface, roll the dough to about 1/4-inch thickness. Use Thanksgiving-themed cookie cutters like leaves, turkeys, pumpkins, or acorns to cut out shapes. Place the cookies on the prepared baking sheets, spacing them about 2 inches apart. Gather the scraps, re-roll once, and cut more cookies. Don’t re-roll more than twice or the dough becomes tough.
Bake to Golden Perfection
Bake the cookies for 10-12 minutes, rotating the pan halfway through. The cookies are done when the edges are just beginning to turn golden and the centers look set but not browned. They’ll seem slightly soft when you remove them, but they firm up as they cool. Let the cookies cool on the baking sheet for 5 minutes, then transfer them to a wire rack to cool completely. This step is important—decorating warm cookies will melt your buttercream!
Make the Buttercream Frosting
While the cookies cool, prepare your buttercream. In a large bowl, beat the softened butter on medium speed for 2-3 minutes until creamy and smooth. Reduce the speed to low and gradually add the powdered sugar, one cup at a time. Once all the sugar is incorporated, add the vanilla extract, salt, and 3 tablespoons of cream. Increase the speed to medium-high and beat for 4-5 minutes until the frosting is light, fluffy, and silky smooth. If the frosting seems too thick for piping, add the remaining tablespoon of cream. The consistency should be thick enough to hold its shape but soft enough to pipe smoothly.
Color Your Buttercream
Divide the buttercream into separate bowls depending on how many colors you want. For Thanksgiving, I recommend at least 4-5 colors: orange, red-brown, golden yellow, forest green, and leaving some white. Use gel food coloring instead of liquid—it won’t thin out your frosting. Add just a tiny amount of gel color with a toothpick, then mix thoroughly. You can always add more color, but you can’t take it away! Remember that buttercream colors deepen slightly as they sit.
Decorate Your Cookies
Now comes the fun part! Fill piping bags fitted with your chosen tips with the colored buttercream. For leaves, use a leaf tip and pipe from the base of the cookie toward the tip in one smooth motion. For turkeys, use a round tip to create a body, then add colorful feathers using different colors.
Pumpkins can be piped with a star tip in vertical lines, with a green stem on top. For “thankful” messages, use a small round tip (#2 or #3) to write carefully. Take your time and don’t worry about perfection—handmade charm is part of what makes these cookies special! If you make a mistake, gently scrape off the frosting with a toothpick and try again before it sets.
Let Them Set
Once decorated, let the cookies sit at room temperature for at least 2 hours to allow the buttercream to set. The frosting will form a slight crust on the outside while remaining soft inside. If you’re in a humid environment, you might want to place them in the refrigerator for 30 minutes to help the frosting firm up faster.
What to Serve Buttercream Decorated Cookies Thanksgiving With
These beautiful cookies are incredibly versatile for your Thanksgiving celebrations. Serve them as an elegant dessert alongside your pumpkin pie and pecan tart for guests who prefer lighter sweets. They’re perfect with hot spiced apple cider, creamy hot chocolate, or freshly brewed coffee after your Thanksgiving meal.
Create a stunning dessert board by arranging these cookies with other fall treats like caramel apples, candied pecans, and chocolate-covered pretzels. The vibrant colors make for an Instagram-worthy presentation that guests will love.
For a children’s table, serve these cookies with cold milk or warm vanilla milk. Kids absolutely adore the colorful designs and sweet buttercream flavor. You can even set up a simple cookie decorating station where kids can add their own sprinkles to pre-frosted cookies.
Top Tips for Perfecting Buttercream Decorated Cookies Thanksgiving
Use Room Temperature Ingredients
This cannot be stressed enough! Room temperature butter creates a smoother, creamier frosting and cookie dough. Cold butter won’t cream properly with sugar, resulting in dense cookies and lumpy frosting. Take your butter out of the refrigerator 1-2 hours before baking, or cut it into small cubes to speed up the softening process.
Don’t Skip the Chilling Step
Chilled cookie dough is essential for maintaining those beautiful sharp edges on your cookie cutters. Unchilled dough spreads during baking, turning your cute turkey into a blob. If your kitchen is warm and the dough becomes too soft while you’re working, pop it back in the fridge for 10-15 minutes.
Invest in Gel Food Coloring
Liquid food coloring can make your buttercream too thin and the colors aren’t as vibrant. Gel colors are concentrated, so you need just a tiny amount, and they won’t affect your frosting’s consistency. They’re available at most craft stores and online.
Practice Your Piping Technique
Before decorating your cookies, practice your designs on a piece of parchment paper. This helps you get a feel for the pressure needed and how the frosting flows. You can scrape up the practice frosting and put it back in your piping bag!
Make Extra Buttercream
Always make more frosting than you think you’ll need. Running out mid-decoration is frustrating, and it’s difficult to match colors if you have to make another batch. Extra frosting can be stored in an airtight container in the fridge for up to 2 weeks.
Keep Your Piping Bags Clean
Wipe the outside of your piping bag tips frequently with a damp paper towel. This keeps your designs neat and prevents dried frosting from falling onto your cookies. It’s a small detail that makes a big difference in the final appearance.
Storing and Reheating Tips
Room Temperature Storage
Once the buttercream has fully set, store your buttercream decorated cookies thanksgiving in an airtight container at room temperature for up to 5 days. Place parchment paper between layers to prevent the decorations from smudging. Keep the container in a cool, dry place away from direct sunlight. The cookies will maintain their texture and the buttercream will stay soft and delicious.
Refrigerator Storage
In hot or humid climates, refrigerate your cookies in an airtight container for up to 1 week. Let them come to room temperature for about 30 minutes before serving for the best flavor and texture. The buttercream may sweat slightly when transitioning from cold to room temperature, so pat them gently with a paper towel if needed.
Freezing Instructions
These cookies freeze beautifully! Flash-freeze decorated cookies on a baking sheet for 1 hour until the frosting is completely firm. Then, stack them carefully in a freezer-safe container with parchment paper between layers. Freeze for up to 3 months. Thaw overnight in the refrigerator, then bring to room temperature before serving. The cookies and frosting will taste just as fresh as the day you made them!
Freezing Undecorated Cookies
For maximum make-ahead convenience, bake and freeze the cookies without frosting for up to 3 months. Wrap them tightly in plastic wrap, then place in a freezer bag. Thaw at room temperature, then decorate as desired. This method is perfect for spreading out your holiday prep work.
Tips for Avoiding Common Baking Mistakes
Mistake #1: Cookies Spreading Too Much
If your cookies spread and lose their shape, your butter was likely too warm or you didn’t chill the dough long enough. Always chill cut-out cookies for 15 minutes on the baking sheet before placing them in the oven. This extra step ensures crisp edges and perfect shapes.
Mistake #2: Tough, Hard Cookies
Overmixing the dough after adding flour develops too much gluten, creating tough cookies. Mix just until the flour disappears, then stop. Also, avoid re-rolling scraps more than twice, as this also toughens the dough from extra handling and flour.
Mistake #3: Grainy Buttercream
Grainy frosting happens when the powdered sugar isn’t fully incorporated or if the butter is too cold. Beat your buttercream for a full 4-5 minutes on medium-high speed. This breaks down any sugar crystals and creates that silky-smooth texture. If it’s still grainy, add a teaspoon of corn syrup and beat for another minute.
Mistake #4: Buttercream Too Soft for Piping
If your frosting won’t hold its shape, it’s too warm. Refrigerate the frosting for 10-15 minutes, then beat it briefly to restore the fluffy texture. In warm kitchens, you might need to chill your piping bags periodically during decorating.
Mistake #5: Colors Bleeding Together
Allow each color to set for 10-15 minutes before piping an adjacent color. This prevents the colors from bleeding into each other. If you’re in a hurry, place the cookies in the refrigerator for 5 minutes between colors.
Mistake #6: Burnt Cookie Bottoms
Dark baking sheets absorb more heat and can burn cookie bottoms. Use light-colored aluminum baking sheets, or double-pan (place one sheet inside another) to insulate the cookies. Also, make sure your oven temperature is accurate—use an oven thermometer to check.
Frequently Asked Questions
Can I make buttercream decorated cookies thanksgiving ahead of time?
Absolutely! These cookies are perfect for make-ahead baking. Bake the cookies up to one week in advance and store them unfrosted in an airtight container. Decorate them 2-3 days before your event. Once decorated, they stay fresh at room temperature for up to 5 days or can be frozen for up to 3 months.
What’s the best buttercream consistency for decorating cookies?
The ideal consistency depends on your decoration style. For piping details and borders, you want a stiffer consistency that holds its shape—your buttercream should form stiff peaks. For flooding or spreading, thin it slightly with additional cream until it’s smooth and spreadable but not runny. You should be able to pipe a line that holds its shape but smooths out slightly.
Can I use royal icing instead of buttercream?
Yes, royal icing is another excellent option for decorated cookies and creates harder, more defined edges. However, buttercream tastes richer and creamier, and it’s much more forgiving for beginners. Royal icing dries rock-hard, which some people prefer for shipping cookies, while buttercream stays slightly soft and tastes more indulgent.
Why did my cookies spread during baking?
Cookie spreading happens for several reasons: butter that’s too soft, dough that wasn’t chilled long enough, or using melted butter instead of softened. Always chill your dough for at least 1 hour and chill cut-out cookies on the baking sheet for 15 minutes before baking. Also, make sure your baking powder is fresh—old leavening agents can cause spreading.
How do I get vibrant fall colors in my buttercream?
Use gel food coloring instead of liquid—it’s much more concentrated and won’t thin your frosting. For burnt orange, mix orange with a tiny bit of brown. For deep red, use a generous amount of red gel with a hint of burgundy. Colors deepen slightly as they sit, so start with less than you think you need. You can always add more!
Can I make this recipe with gluten-free flour?
Yes! Use a 1:1 gluten-free baking flour blend that includes xanthan gum. The texture will be slightly more delicate, so handle the dough gently and chill it well. Some bakers find that adding an extra tablespoon of flour helps the dough hold together better.
What piping tips are best for Thanksgiving designs?
For versatile Thanksgiving decorating, you’ll want round tips (#2, #3 for details), a leaf tip (#352 for leaves), a small star tip (#16 for texture), and a petal tip (#104 for ruffles). These four tips can create almost any Thanksgiving design you can imagine.
My buttercream is too sweet—what can I do?
American buttercream is naturally sweet due to the powdered sugar. To reduce sweetness, try Swiss or Italian meringue buttercream, which uses less sugar. You can also add a pinch of salt and an extra teaspoon of vanilla to balance the sweetness. Some bakers add a tablespoon of sour cream for tanginess.
How long should cookies cool before decorating?
Cookies must be completely cool to the touch before decorating—ideally cooled for at least 1-2 hours. Decorating warm cookies will melt your buttercream, causing it to slide off or become soupy. When in doubt, wait longer! Some bakers even refrigerate cookies for 15 minutes before decorating to ensure they’re perfectly cool.
Can I color my cookie dough instead of just the frosting?
Absolutely! Divide your dough and knead in gel food colors to create colored cookie dough. This creates a beautiful base for your decorations. Autumn colors like orange, yellow, and brown work wonderfully. Chill colored dough slightly longer as the moisture from food coloring can make it softer.
Nutrition Information
| Nutrient | Per Cookie (1 decorated cookie) |
|---|---|
| Calories | 245 |
| Total Fat | 12g |
| Saturated Fat | 7g |
| Cholesterol | 35mg |
| Sodium | 85mg |
| Total Carbohydrates | 33g |
| Dietary Fiber | 0g |
| Sugars | 23g |
| Protein | 2g |
Nutrition information is approximate and will vary based on cookie size and amount of frosting used.
Final Thoughts
These buttercream decorated cookies thanksgiving are more than just a dessert—they’re edible art that brings joy to your holiday table. The combination of tender, buttery cookies and silky buttercream frosting creates an irresistible treat that guests of all ages will love.
What makes this recipe truly special is how it transforms simple ingredients into something extraordinary. With a little practice and patience, you can create bakery-quality cookies right in your own kitchen. The make-ahead nature of these cookies means you can enjoy the creative process without the holiday stress.
Whether you’re a seasoned baker or trying cookie decorating for the first time, this recipe sets you up for success. Start with simple designs and work your way up to more intricate patterns. Each batch will be better than the last!
Don’t forget to share photos of your beautiful creations with friends and family. These cookies make wonderful gifts, impressive desserts, and create lasting holiday memories. Happy baking, and may your Thanksgiving be filled with gratitude, love, and plenty of delicious cookies!
Pin this recipe for later and share it with fellow baking enthusiasts who love creating beautiful holiday treats!