12 Creative Cheerio Bars Flavor Ideas
These chewy, golden Cheerio bars are the ultimate no-bake treat that brings back childhood memories with every bite. I stumbled upon this recipe during a rainy afternoon when my kids were restless and craving something sweet. Here’s a fun fact: Cheerios were originally called “CheeriOats” when they launched in 1941!
What makes these bars so special is their incredible versatility—you can whip them up in just 10 minutes with pantry staples. If you loved my Rice Krispie Treats recipe, you’ll absolutely adore these healthier alternatives. Get ready to fall in love with the perfect balance of honey sweetness and that satisfying crunch!
This recipe was produced fully by AI and was not cooked in our kitchen. We believe in honesty and care, and members of our website family report good results from other recipes they’ve tried.
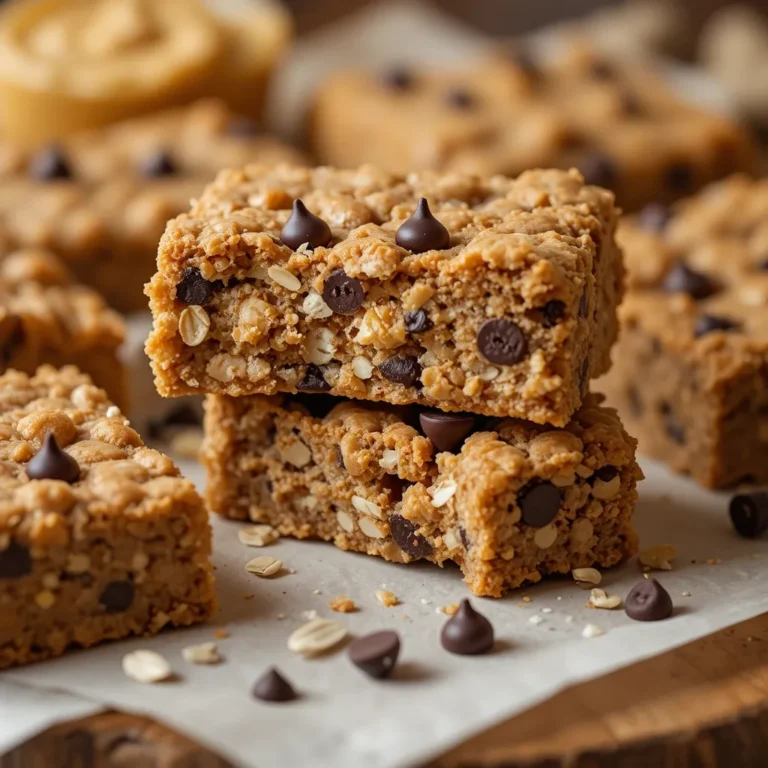
What Are Cheerio Bars?
Ever wonder why something so simple tastes so incredibly good? Cheerio bars are chewy, sweet squares made by binding together everyone’s favorite breakfast cereal with honey or syrup and peanut butter.
My grandmother used to say, “the way to a man’s heart is through his stomach,” and these bars prove her right every single time! They’re basically Rice Krispie treats’ healthier cousin who still knows how to have fun. Ready to create some magic in your kitchen? Let’s dive in!
Why You’ll Love This Cheerio Bars Recipe
The Ultimate Crowd-Pleaser
These bars hit that sweet spot between nutritious and indulgent. The whole grain oats from Cheerios give you a wholesome base, while the honey adds natural sweetness that doesn’t send your blood sugar on a rollercoaster ride. Each bite delivers that satisfying crunch followed by a chewy, sticky goodness that keeps you reaching for more.
Budget-Friendly Goodness
Making these at home costs a fraction of store-bought granola bars. A single box of Cheerios and basic pantry ingredients create enough bars to feed a crowd or stock your snack drawer for the week. You’re looking at roughly $0.50 per bar versus $2-3 for fancy packaged alternatives.
Endless Flavor Possibilities
From chocolate chips to dried cranberries, from coconut flakes to mini marshmallows—these bars are your blank canvas. The neutral taste of Cheerios lets you get wildly creative with mix-ins and toppings. If you enjoyed experimenting with my No-Bake Cookies recipe, you’ll have a blast customizing these bars to match your family’s taste preferences.
Ready to transform your kitchen into a no-bake bakery? Let’s get started!
How to Make Classic Cheerio Bars
Quick Overview
These bars are foolproof—seriously, if you can stir, you can make these! The creamy peanut butter and honey mixture coats every single Cheerio perfectly, creating bars that hold together beautifully without being rock-hard. You’re looking at just 5 minutes of active cooking time plus 30 minutes for the bars to set. No oven required, which means your kitchen stays cool and your energy bill stays low.
Time Breakdown:
- Prep Time: 5 minutes
- Cook Time: 5 minutes
- Setting Time: 30 minutes
- Total Time: 40 minutes
- Yield: 16 bars
Key Ingredients for Cheerio Bars
Base Recipe:
- 6 cups Cheerios (original or honey nut)
- 1 cup honey (or maple syrup for vegan option)
- 1 cup creamy peanut butter (or any nut/seed butter)
- 1 teaspoon vanilla extract
- ¼ teaspoon salt
- Optional: ½ cup mini chocolate chips or dried fruit
Pro tip: Use fresh cereal! Stale Cheerios won’t give you that perfect crunch.
Step-by-Step Instructions
How do I prepare the pan?
Line a 9×13 inch baking pan with parchment paper, letting it hang over the edges. This creates easy handles for lifting out the bars later. Lightly spray with cooking spray for extra insurance against sticking.
How do I make the binding mixture?
In a large saucepan over medium heat, combine honey and peanut butter. Stir constantly for 3-4 minutes until the mixture becomes smooth and starts to bubble gently around the edges. Don’t let it boil vigorously—you want a gentle simmer. Remove from heat immediately and stir in vanilla extract and salt. The mixture should be pourable but thick.
How do I combine everything?
Pour the Cheerios into a large mixing bowl. Pour the warm honey-peanut butter mixture over the cereal. Using a spatula coated with cooking spray (this prevents sticking), fold everything together gently but thoroughly. Work quickly because the mixture starts to set as it cools. Every Cheerio should be coated, but don’t overmix or you’ll crush the cereal.
How do I press the mixture into the pan?
Transfer the mixture to your prepared pan. Here’s the secret: use damp hands or a piece of parchment paper sprayed with cooking spray to press the mixture firmly and evenly into the pan. Apply steady, even pressure—too gentle and your bars will crumble, too hard and they’ll be dense. Aim for about ¾-inch thickness.
How long do the bars need to set?
Let the bars cool at room temperature for 30 minutes until completely set. For faster setting, pop them in the refrigerator for 15 minutes. Once firm, lift the parchment paper to remove the entire block, then cut into 16 squares using a sharp knife. Wipe the knife between cuts for clean edges.
12 Creative Cheerio Bars Flavor Ideas
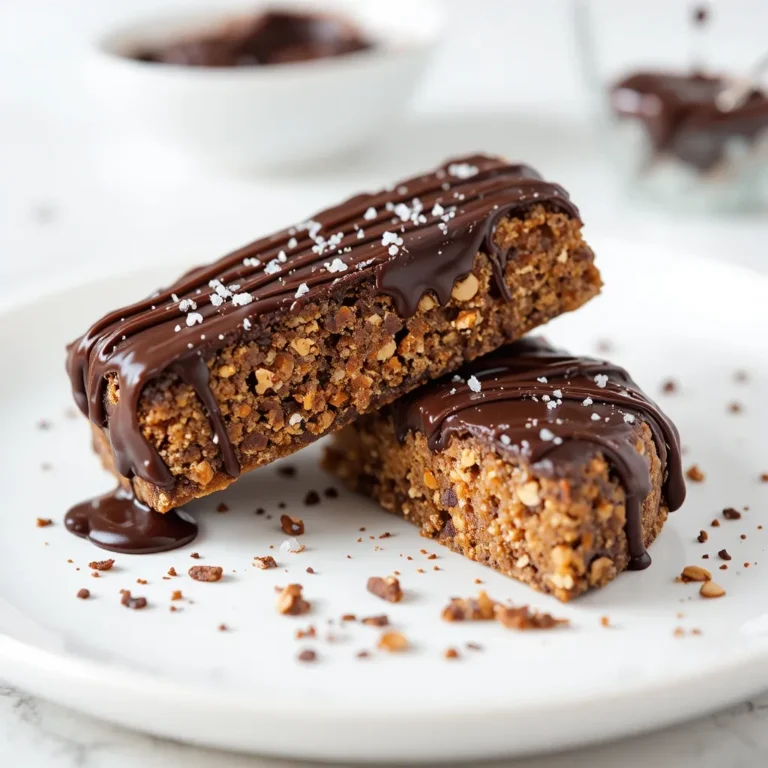
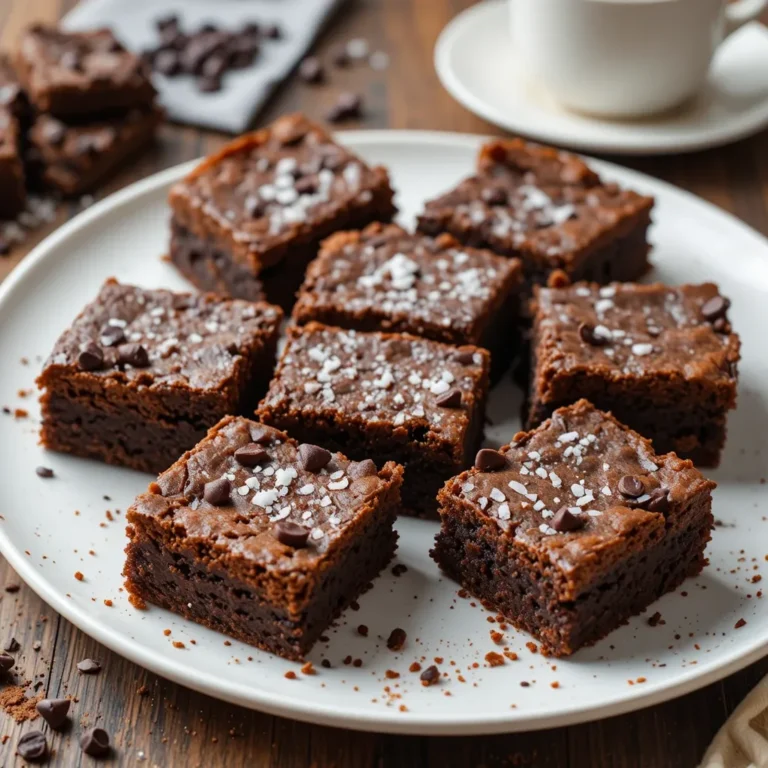
1. Chocolate Peanut Butter Cheerio Bars
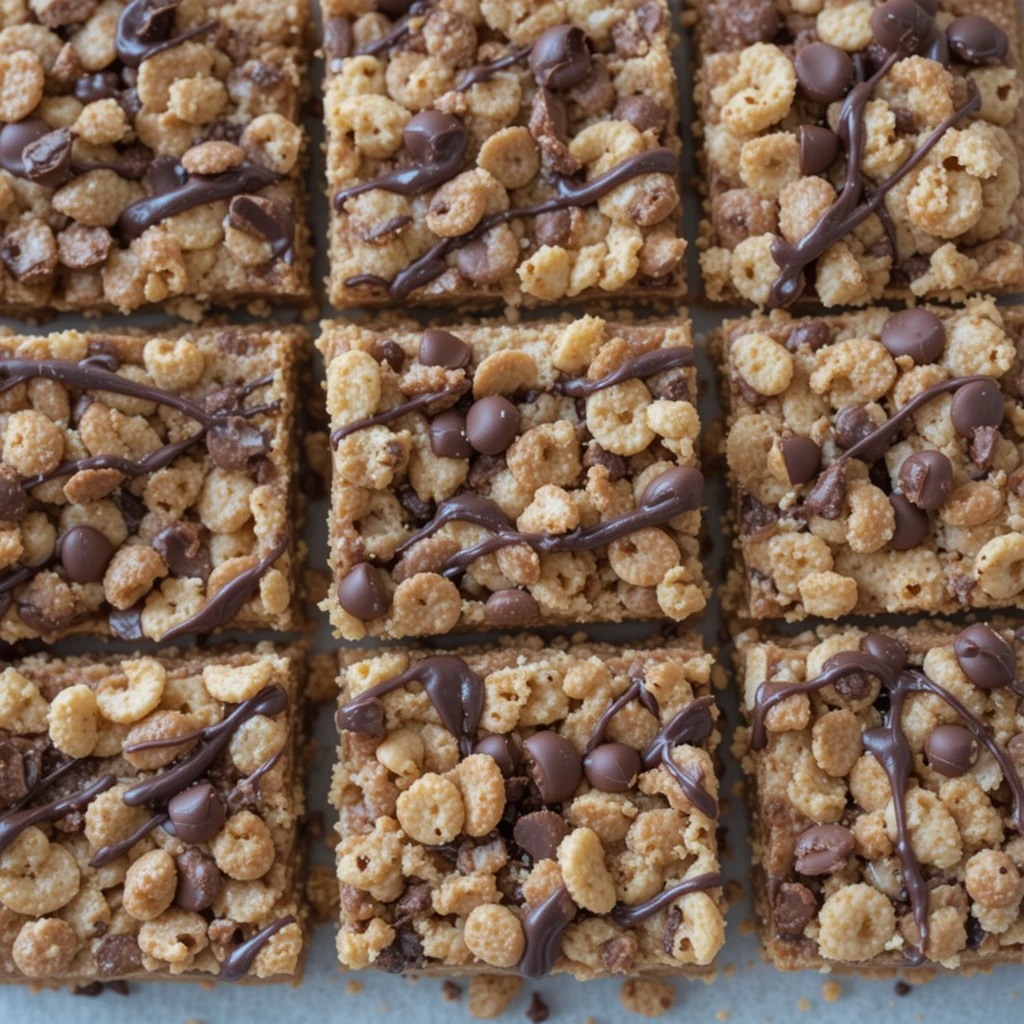
Transform the classic recipe by adding ½ cup mini chocolate chips while the mixture is still warm. The chips will slightly melt, creating chocolate swirls throughout. Drizzle melted dark chocolate over the top before cutting for an extra decadent touch. My kids call these “candy bars in disguise”!
2. Coconut Almond Joy Cheerio Bars
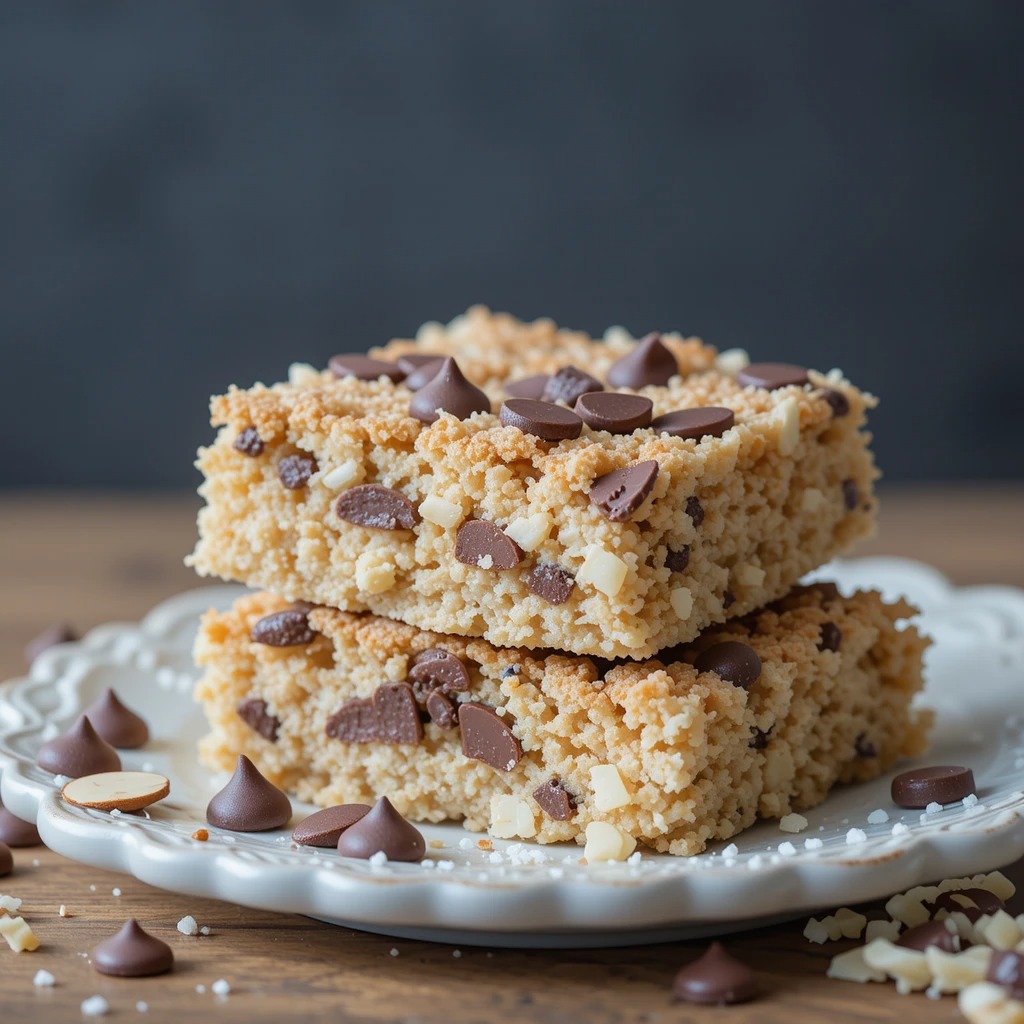
Replace peanut butter with almond butter and add 1 cup sweetened shredded coconut to the mixture. Press ½ cup chocolate chips on top before the bars set. Once cooled, these taste remarkably like your favorite candy bar but with way more nutrition.
3. Apple Cinnamon Cheerio Bars
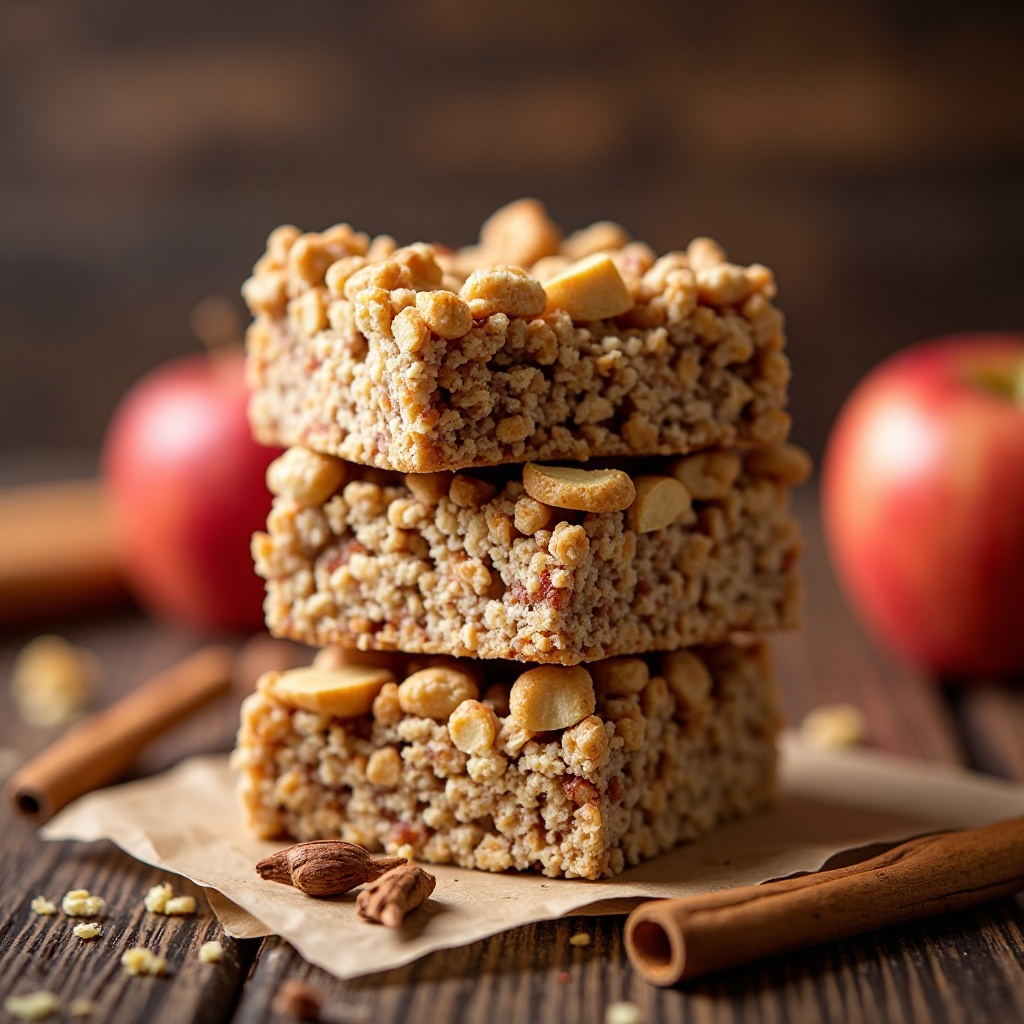
Add 1 teaspoon ground cinnamon and ½ teaspoon nutmeg to the honey mixture. Fold in 1 cup finely chopped dried apples. These smell like autumn in a pan and make incredible breakfast bars. The warm spices pair beautifully with morning coffee.
4. Berry Blast Cheerio Bars
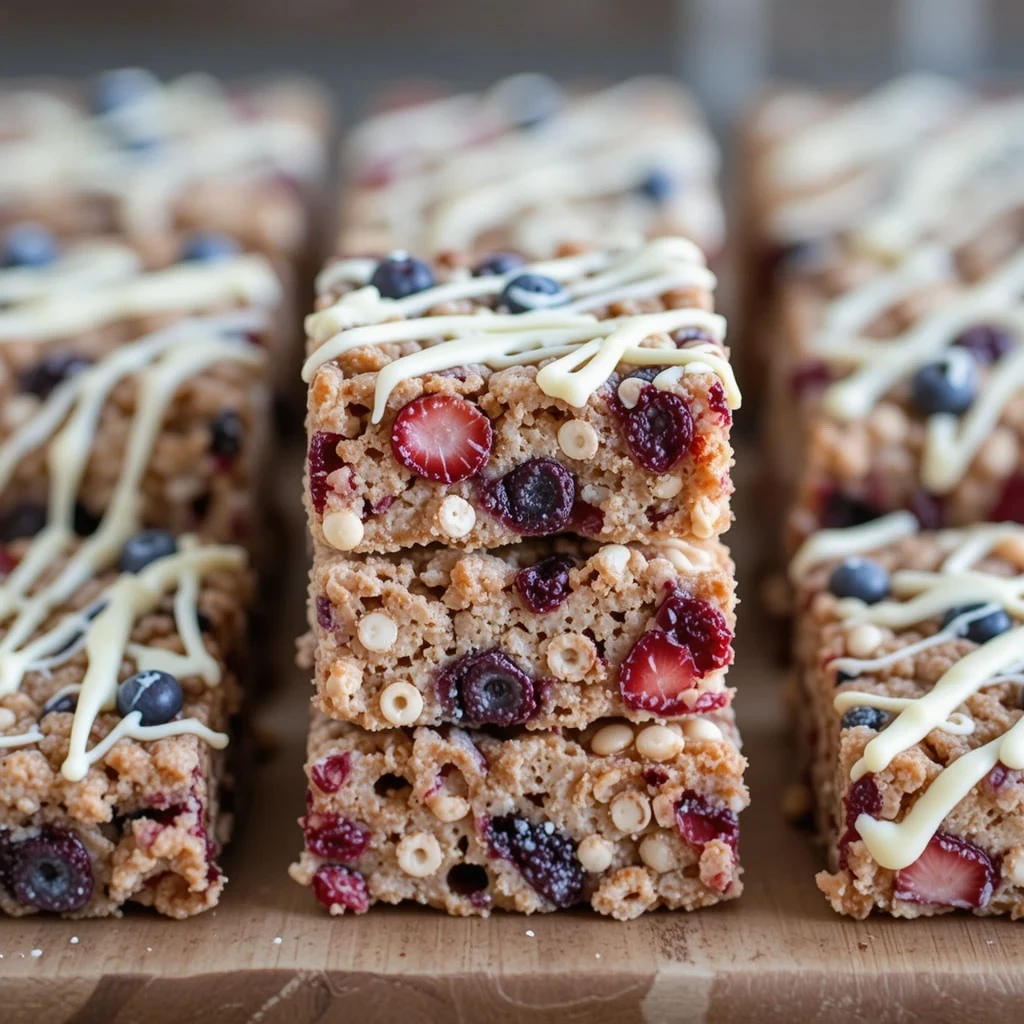
Mix in 1 cup of freeze-dried strawberries and blueberries (crushed slightly) before pressing into the pan. The freeze-dried berries add intense fruity flavor without making the bars soggy. Top with a drizzle of white chocolate for extra elegance.
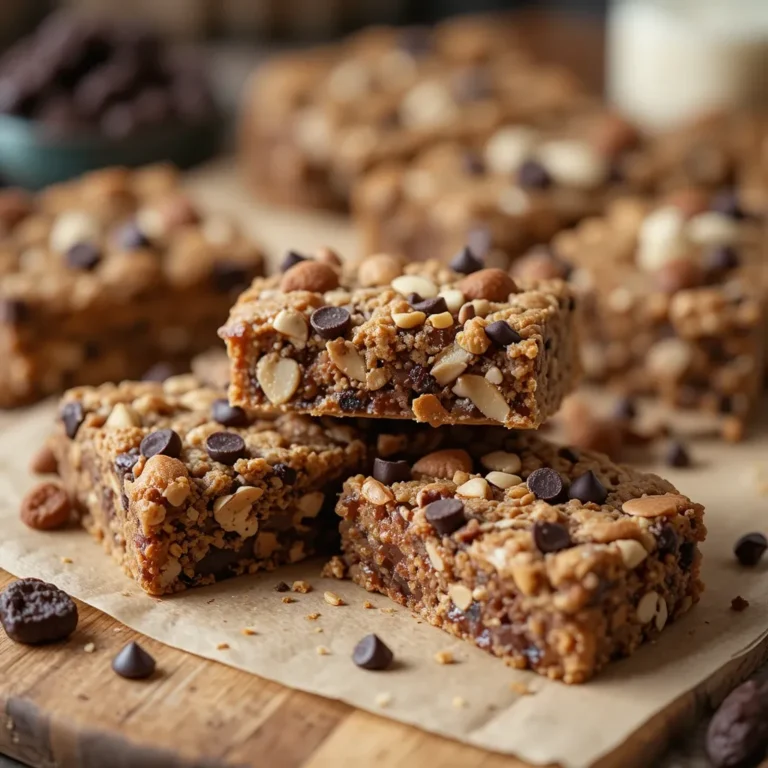
5. Trail Mix Cheerio Bars
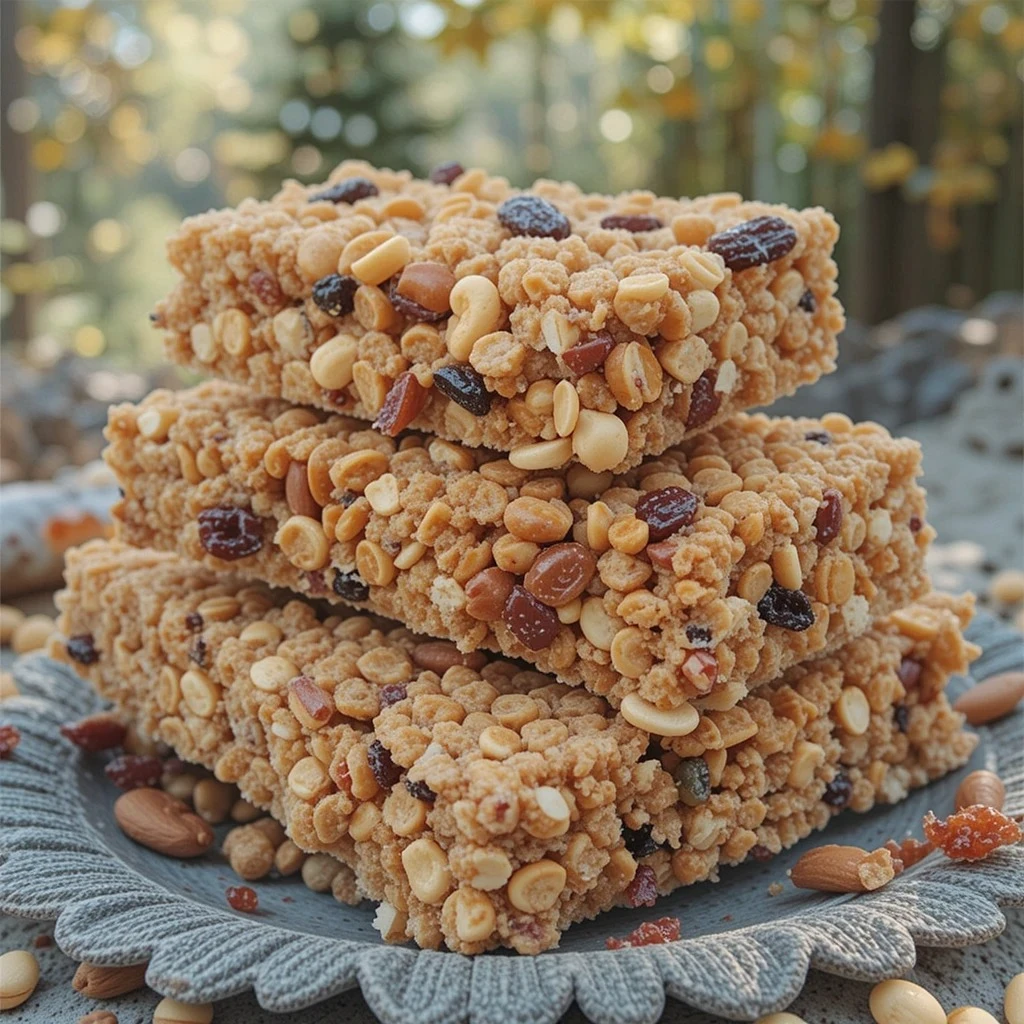
This is my hiking buddy’s favorite! Add ½ cup chopped mixed nuts (almonds, cashews, walnuts), ¼ cup dried cranberries, and ¼ cup raisins. These pack serious energy and taste phenomenal on outdoor adventures.
6. S’mores Cheerio Bars
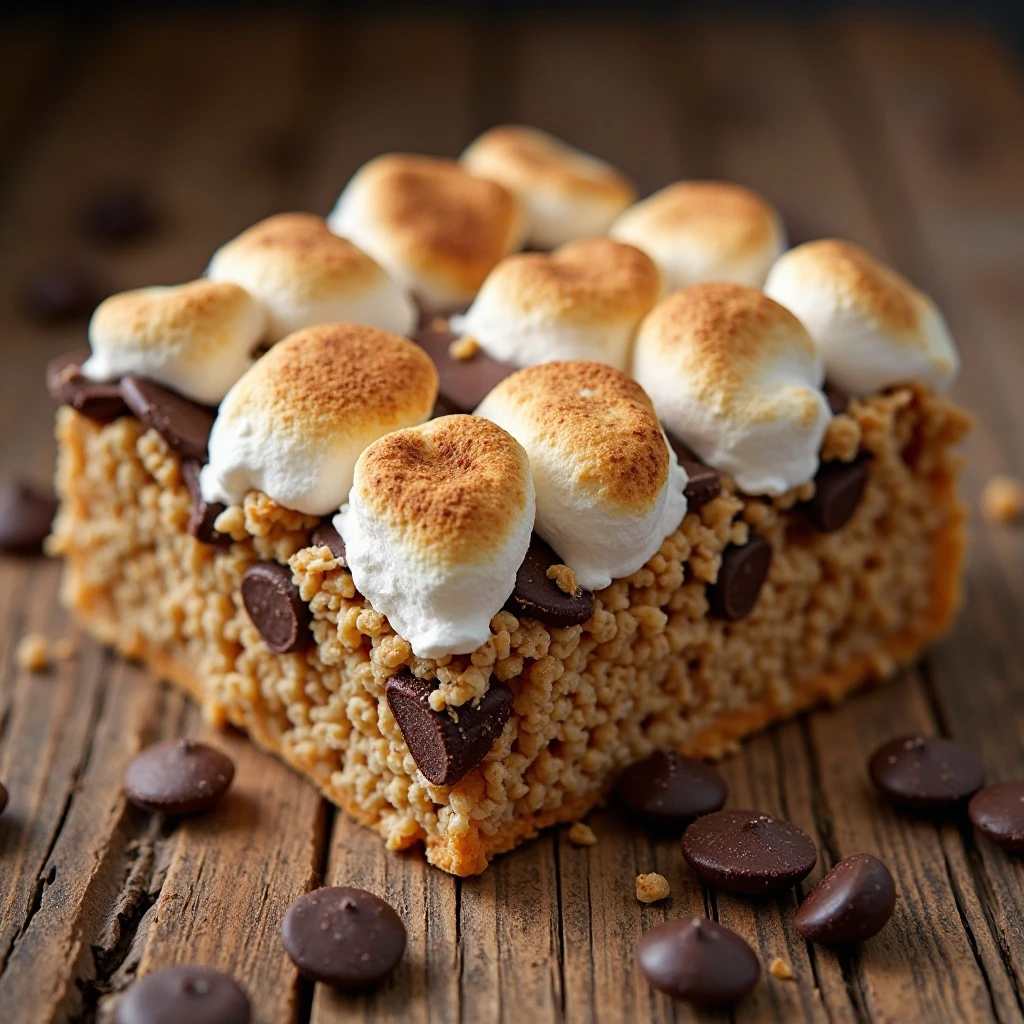
Use honey graham Cheerios as your base, add 1 cup mini marshmallows, and ½ cup chocolate chips. Press into the pan, then top with extra marshmallows. Use a kitchen torch to lightly toast the top marshmallows for authentic s’mores flavor. Pure campfire magic!
7. Tropical Paradise Cheerio Bars
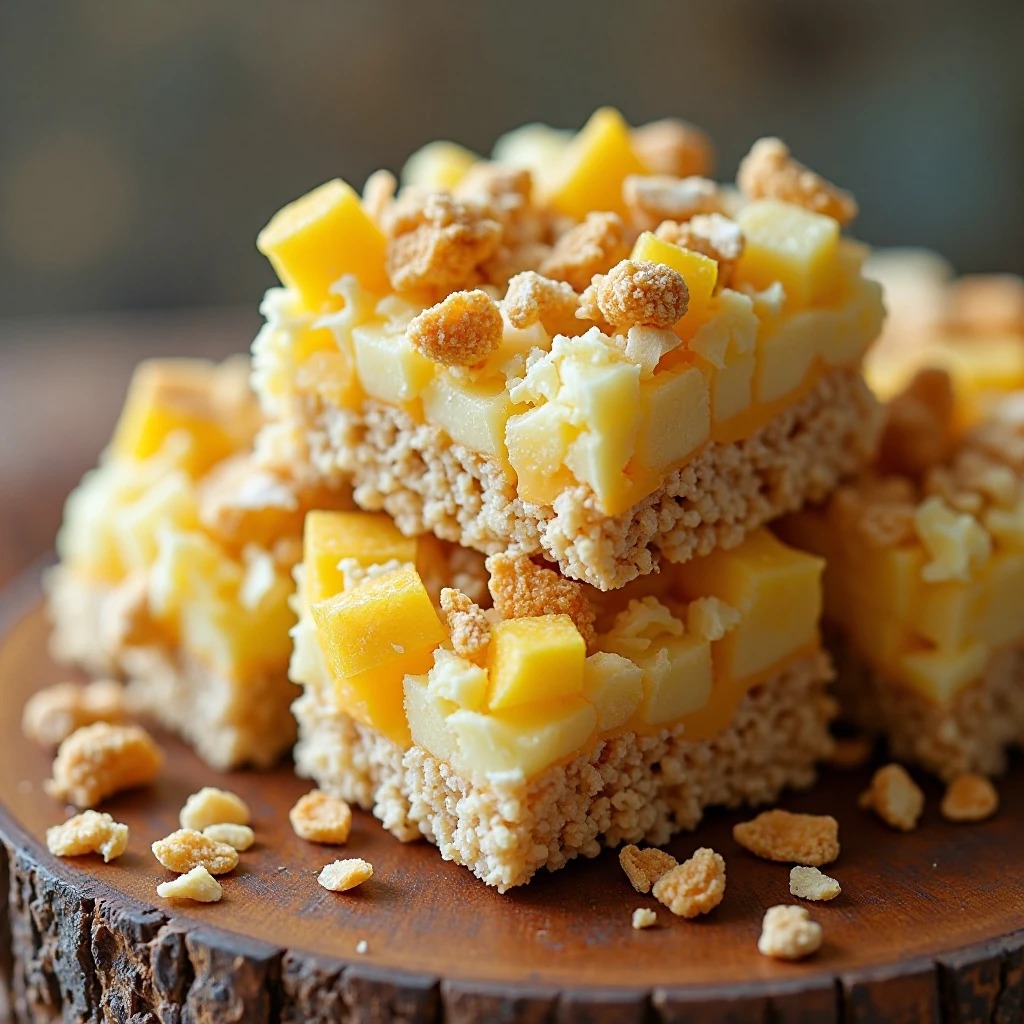
Replace vanilla with coconut extract. Fold in ½ cup dried pineapple chunks, ¼ cup dried mango, and ½ cup toasted coconut flakes. These transport you to a beach vacation with every bite. Perfect for summer parties!
8. Pumpkin Spice Cheerio Bars
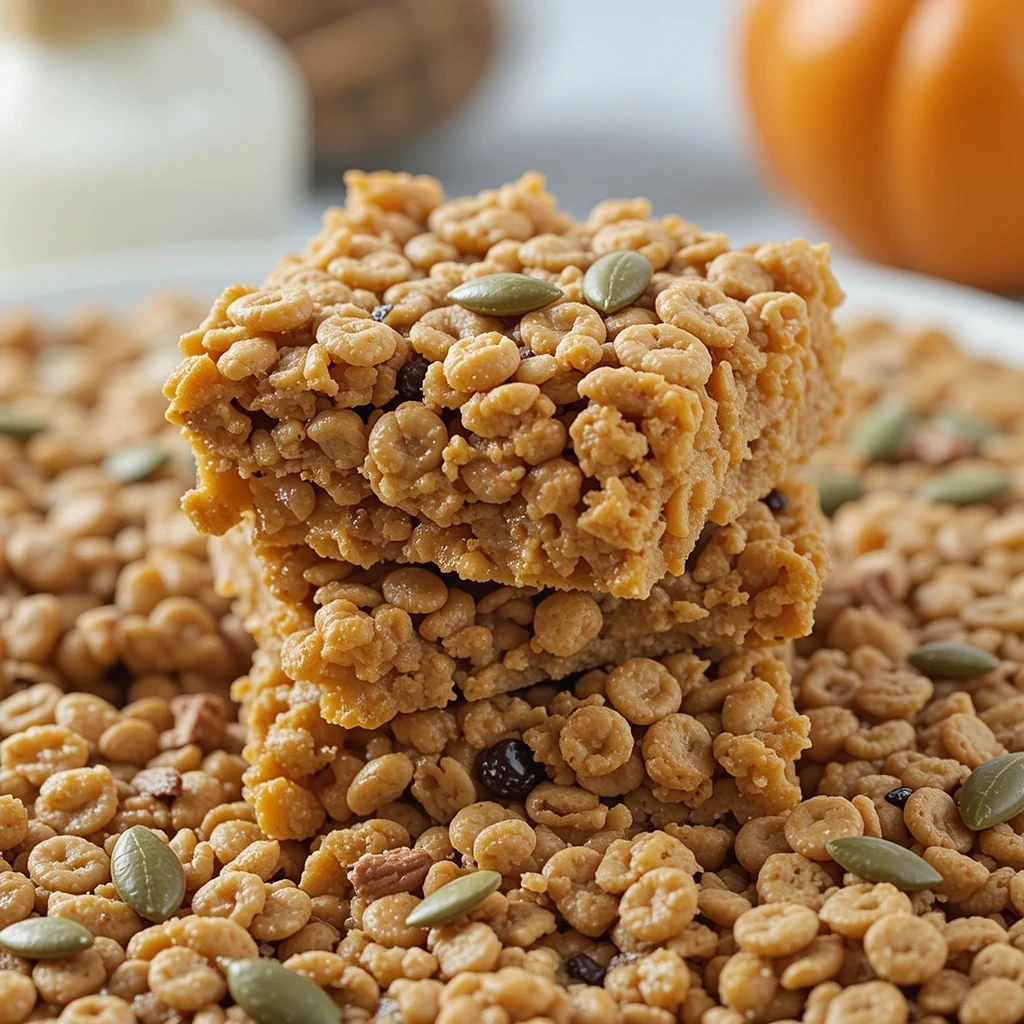
Add 3 tablespoons pumpkin puree, 1 teaspoon pumpkin pie spice, and use ¾ cup honey instead of 1 cup. The pumpkin adds moisture and that beloved fall flavor. Top with pepitas (pumpkin seeds) for crunch and visual appeal.
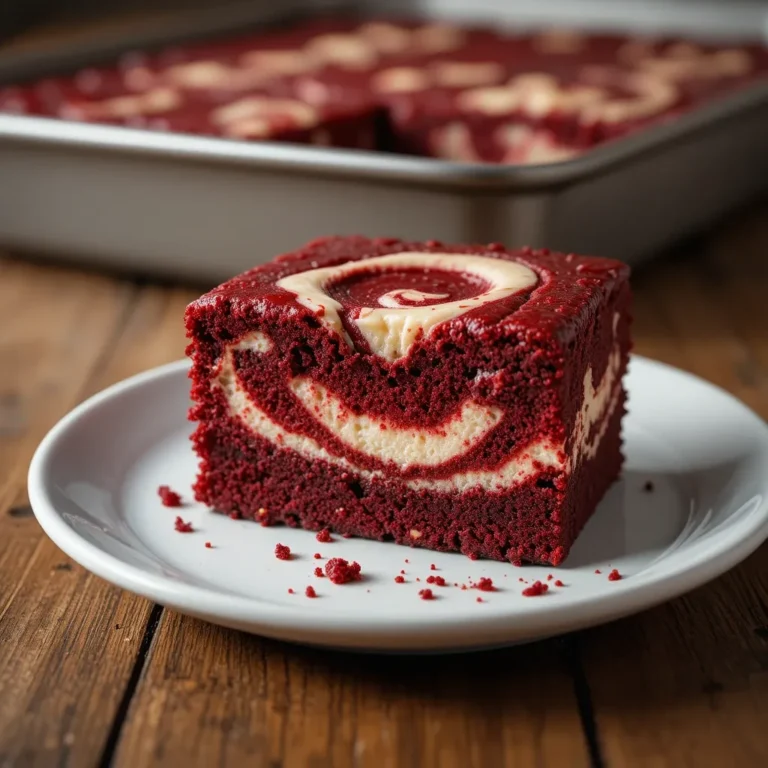
9. Birthday Cake Cheerio Bars

Use Fruity Cheerios for a colorful base. Add ½ teaspoon almond extract and 3 tablespoons rainbow sprinkles to the mixture. Drizzle with vanilla glaze (powdered sugar and milk) and top with more sprinkles. These are party-ready!
10. Maple Pecan Cheerio Bars

Swap honey for pure maple syrup and peanut butter for pecan butter (or add 1 cup chopped pecans). Add a pinch of maple flavoring if you want extra intensity. These taste like sophisticated granola bars and make impressive gifts.
11. Lemon Blueberry Cheerio Bars
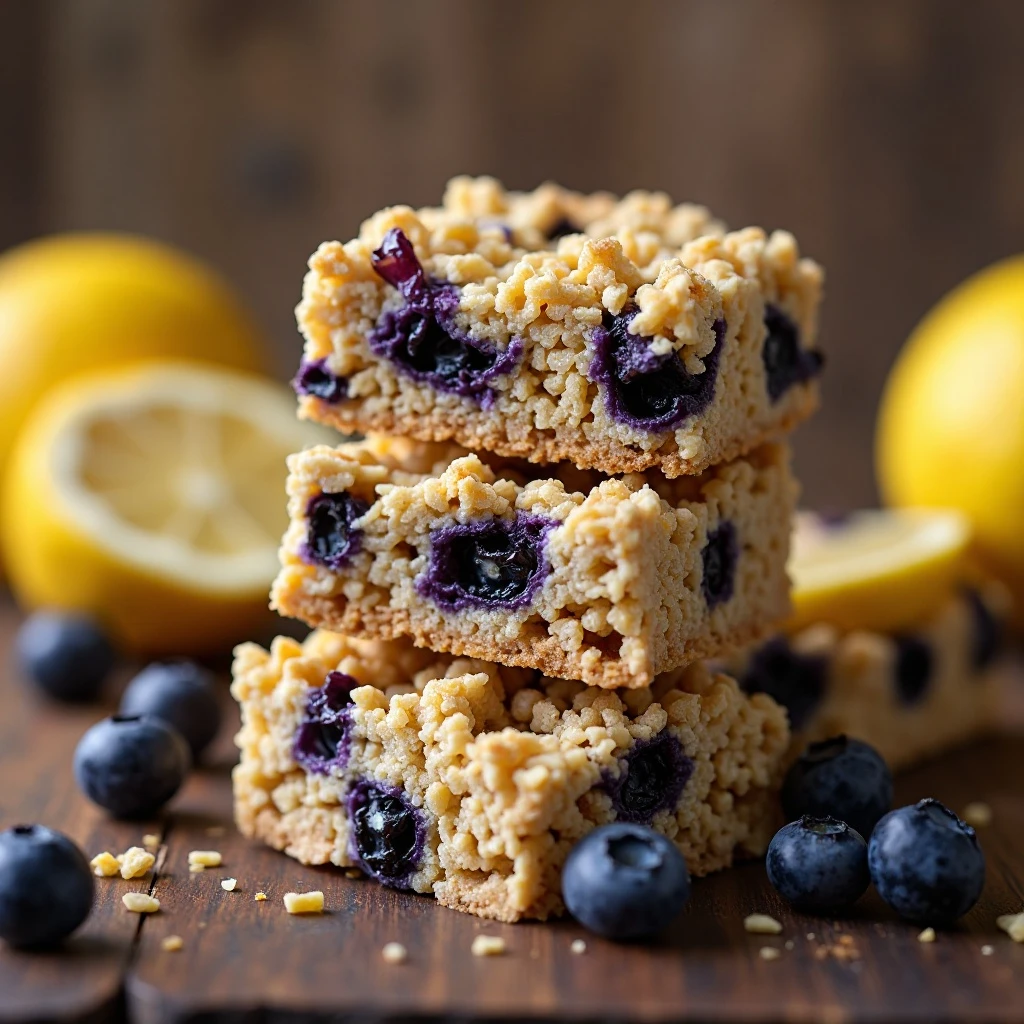
Add 2 tablespoons lemon zest and 1 tablespoon lemon juice to the honey mixture. Fold in ¾ cup dried blueberries. The citrus brightness cuts through the sweetness perfectly. These are refreshingly different from typical sweet bars.
12. Chai Spice Cheerio Bars

Create a spice blend with ½ teaspoon each of cinnamon, ginger, cardamom, and a pinch of black pepper. Add to the honey mixture along with ½ cup chopped dates. Steep 2 chai tea bags in 2 tablespoons hot water, then add the liquid to your mixture. These have incredible depth of flavor!
What to Serve Cheerio Bars With
These bars shine as standalone snacks, but they play well with others too! Pack them alongside fresh apple slices and cheese cubes for a balanced lunch box. They’re phenomenal with a cold glass of milk—classic for a reason. For breakfast, serve them with Greek yogurt and fresh berries for a complete meal. At parties, create a dessert board with these bars, fresh fruit, and a chocolate dipping sauce. They also make excellent crumbled toppings for ice cream or yogurt parfaits.
Top Tips for Perfecting Cheerio Bars
What if I don’t have peanut butter?
Any nut or seed butter works beautifully! Try almond butter for a milder flavor, cashew butter for extra creaminess, or sunflower seed butter for a nut-free option. Each brings its own unique taste while maintaining the same binding power.
How can I make them less sweet?
Reduce honey to ¾ cup and add 2 tablespoons of unsweetened applesauce to maintain moisture. You can also use unsweetened peanut butter and reduce the honey by up to half if you’re adding sweet mix-ins like chocolate chips or dried fruit.
Why are my bars crumbly?
You didn’t use enough binding mixture or didn’t press firmly enough. The solution: warm the bars slightly to soften, then re-press firmly. For future batches, make sure every piece of cereal is well-coated and really compress that mixture into the pan.
Can I make these ahead?
Absolutely! These actually improve after a day as the flavors meld. Make them up to 5 days ahead and store at room temperature, or freeze for up to 3 months.
What’s the secret to cutting perfect squares?
Use a large, sharp knife and wipe it clean between each cut. Slightly warming the knife under hot water (then drying it) helps it glide through sticky bars. A pizza cutter also works surprisingly well!
How do I prevent sticky hands while pressing?
Use a piece of parchment paper or plastic wrap sprayed with cooking spray to press down. Alternatively, dampen your hands slightly—wet hands don’t stick to sticky mixtures.
Storing and Reheating Tips
Store Cheerio bars in an airtight container at room temperature for up to one week. Layer them between parchment paper to prevent sticking. They’ll stay fresh and chewy without refrigeration, though you can refrigerate them if you prefer a firmer texture.
For longer storage, wrap individual bars in plastic wrap, then place them in a freezer-safe bag. They’ll keep frozen for up to 3 months. Thaw at room temperature for 30 minutes before eating—no reheating necessary! Frozen bars actually make a great ice-cream-like summer treat.
If your bars become hard, microwave individual bars for 5-10 seconds to restore softness. Don’t overdo it or the honey will get too hot and make them soggy.
Common Baking Mistakes to Avoid
Overheating the honey mixture: Once honey boils hard, it becomes brittle when cooled. Keep your heat at medium and remove from heat as soon as it’s combined and barely bubbling. Think gentle simmer, not rolling boil.
Using old or stale cereal: Cheerios lose their crunch over time. Always use fresh cereal from a newly opened box. Stale cereal makes disappointingly soft bars.
Not pressing firmly enough: This is the number one mistake! Timid pressing leads to bars that crumble. Use real pressure—you should feel resistance. The mixture should be compact and dense.
Cutting too soon: Patience pays off! Cutting before the bars are fully set creates a sticky mess. Wait the full 30 minutes or refrigerate for 15.
Adding cold mix-ins: Cold chocolate chips or frozen fruit can cause the honey mixture to seize up and not coat evenly. Let mix-ins come to room temperature first.
Overcrowding with add-ins: More isn’t always better. Keep mix-ins to no more than 1 cup total or your bars won’t hold together. The Cheerios need enough binding mixture to stay cohesive.
Forgetting the salt: That pinch of salt balances sweetness and enhances all other flavors. Never skip it!
Frequently Asked Questions
Can I make Cheerio bars without honey?
Yes! Use maple syrup, agave nectar, or brown rice syrup as a 1:1 substitute. Corn syrup works too but isn’t as nutritious. Each sweetener brings slightly different flavor and texture—maple gives earthiness, agave is neutral, and brown rice syrup makes chewier bars.
Are Cheerio bars healthy?
They’re healthier than most store-bought treats! Cheerios provide whole grains and fiber, honey offers natural sugars, and nut butter adds protein and healthy fats. That said, they’re still a treat with significant sugar content. Enjoy them as an occasional snack or dessert rather than an everyday food.
How do I make Cheerio bars nut-free for school?
Replace peanut butter with sunflower seed butter or soy nut butter. Both bind just as well and are typically school-safe. Always check your specific school’s allergy policies.
Can I use Multi Grain Cheerios?
Any Cheerios variety works! Multi Grain, Honey Nut, Apple Cinnamon, and even Fruity Cheerios all make delicious bars. Honey Nut Cheerios create sweeter bars, so reduce the added honey slightly.
Why are my bars too hard?
You likely overcooked the honey mixture or used too much honey. Hard bars can be softened by wrapping in a damp paper towel and microwaving for 10 seconds. For your next batch, cook the honey mixture less and consider reducing honey by 2-3 tablespoons.
Can I double this recipe?
Absolutely! Use a larger pan (like a half-sheet pan) or make two separate batches in standard 9×13 pans. The mixture sets quickly, so working with manageable amounts ensures even coating.
What’s the best pan size?
A 9×13 inch pan gives you perfect bar thickness. Smaller pans make thicker bars (which can be too dense), while larger pans create thin bars that might be fragile.
Do Cheerio bars need to be refrigerated?
No! They’re shelf-stable for a week at room temperature. Refrigeration makes them firmer—great if you like that texture, but unnecessary for food safety.
Nutrition Information (Per Bar – Classic Recipe)
| Nutrient | Amount |
|---|---|
| Calories | 185 |
| Total Fat | 7g |
| Saturated Fat | 1g |
| Cholesterol | 0mg |
| Sodium | 110mg |
| Total Carbohydrates | 28g |
| Dietary Fiber | 2g |
| Sugars | 17g |
| Protein | 4g |
| Vitamin D | 0% |
| Calcium | 2% |
| Iron | 15% |
| Potassium | 3% |
Note: Nutrition values are approximate and vary based on specific ingredients and add-ins used.
These Cheerio bars have become my go-to recipe when I need something quick, customizable, and guaranteed to make everyone happy. The best part? Even my pickiest eater devours them! Whether you stick with the classic version or venture into creative flavor territory, you’re creating wholesome treats that taste like indulgence. Start with the basic recipe to get your technique down, then unleash your creativity with different mix-ins and toppings.
What flavor combination will you try first? I’d love to hear about your Cheerio bars adventures in the comments below. And if you’re feeling generous, snap a photo and tag me on social media—I genuinely get excited seeing your kitchen creations!
Happy (no-)baking!