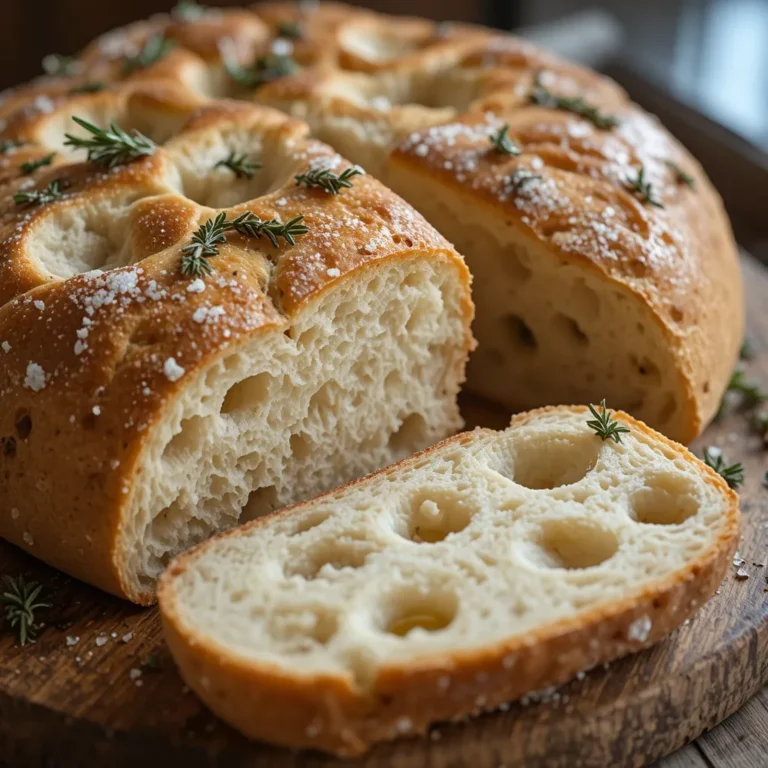
BEST Cinnamon Raisin Bread Recipe You’ll Ever Make
There’s something magical about pulling a golden loaf of cinnamon raisin bread from your oven, its sweet aroma filling every corner of your kitchen. This cinnamon raisin bread recipe transforms simple pantry staples into bakery-quality perfection that’ll have your family asking for seconds.
fact: Americans consume over 285 million pounds of raisins annually, and this beloved bread is a major reason why! Whether you’re a baking novice or a seasoned pro, this recipe delivers tender, swirled goodness that’s surprisingly simple to master.
Much like my popular honey wheat bread, this loaf proves homemade always beats store-bought. Let’s create some kitchen magic together!
This recipe was generated using artificial intelligence and has not been personally cooked by us. Our community of readers is important to us, and many say other recipes on the site turned out well.
What is Cinnamon Raisin Bread?
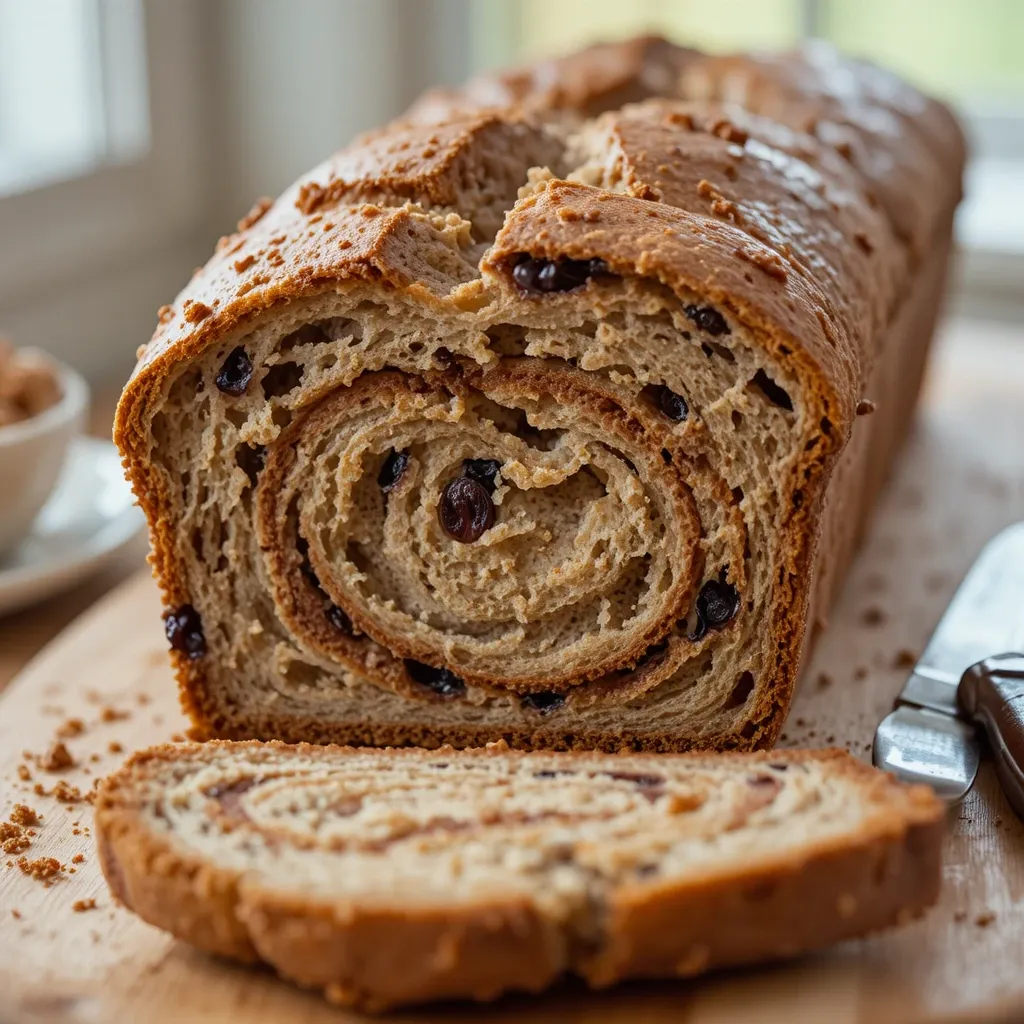
Ever wondered why this bread has stolen hearts worldwide? It’s basically a soft, pillowy yeast bread studded with plump raisins and swirled with cinnamon sugar that creates those beautiful spirals when sliced. Why do we call it cinnamon raisin bread? Well, sometimes the best names are the most obvious ones!
My grandmother used to say, “the way to a man’s heart is through his stomach,” and she proved it every Sunday with this exact bread. The combination of sweet raisins and warm cinnamon creates pure breakfast bliss. Ready to bake your new favorite loaf?
Why You’ll Love This Cinnamon Raisin Bread
The Perfect Sweet Bread
This cinnamon raisin bread recipe strikes that ideal balance between bread and dessert. Each slice reveals gorgeous cinnamon swirls running through tender crumb, punctuated by juicy raisins that burst with natural sweetness. The aroma alone is worth making this—imagine cinnamon, yeast, and caramelizing sugar mingling as your bread bakes. It’s pure comfort food that works beautifully for breakfast toast, afternoon snacks, or even French toast on lazy weekends.
Budget-Friendly Baking
Making cinnamon raisin bread at home saves you serious money compared to artisan bakery prices. Store-bought versions often cost $5-7 per loaf, while this homemade version costs roughly $2-3 to make. You control the quality of ingredients, adjust sweetness to your preference, and avoid preservatives and additives found in commercial breads. Plus, you’ll have skills to impress everyone at your next brunch gathering.
Customizable and Delicious
The beauty of this recipe lies in its versatility. Add more cinnamon if you’re a spice lover, toss in chopped walnuts for crunch, or substitute dried cranberries for a tart twist. Similar to my popular banana bread recipe, this base recipe welcomes experimentation. The cinnamon sugar filling can be adjusted to your sweetness preference, and the raisins can be soaked in warm water or juice for extra plumpness. Don’t wait for special occasions—this bread deserves to become your weekly baking ritual!
How to Make Cinnamon Raisin Bread
Quick Overview
This cinnamon raisin bread combines a soft yeast dough with a sweet cinnamon-sugar filling and plump raisins for irresistible flavor. The recipe requires patience for rising time but rewards you with bakery-quality results. You’ll love how the cinnamon creates beautiful swirls throughout each slice while the raisins add bursts of natural sweetness.
Time Requirements:
- Prep Time: 25 minutes
- First Rise: 1 hour 30 minutes
- Shaping and Second Rise: 45 minutes
- Baking Time: 35-40 minutes
- Total Time: Approximately 3 hours 20 minutes
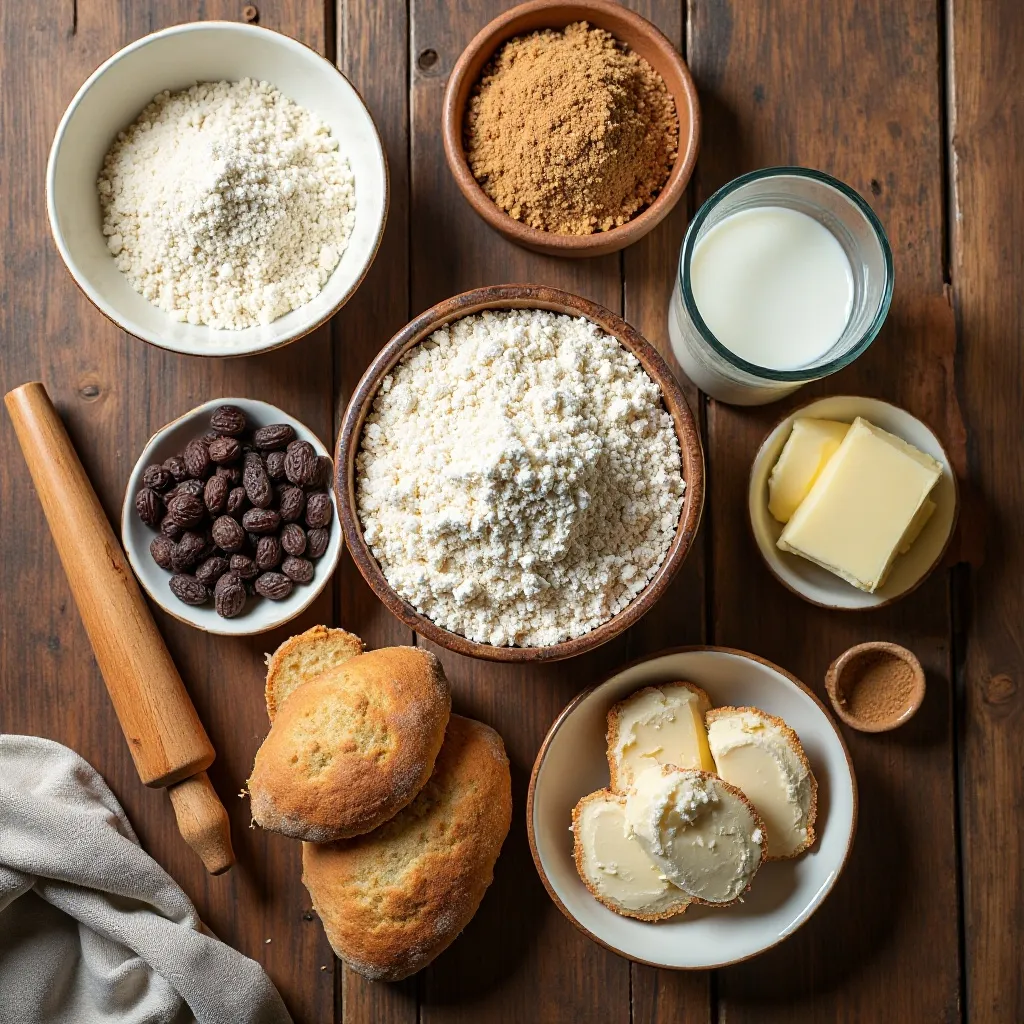
Key Ingredients for Cinnamon Raisin Bread
For the Dough:
- 4 cups all-purpose flour (plus extra for kneading)
- 2¼ teaspoons active dry yeast (one packet)
- ⅓ cup granulated sugar
- 1 teaspoon salt
- 1 cup whole milk (warm, about 110°F)
- ¼ cup unsalted butter (melted)
- 2 large eggs (room temperature)
- 1½ cups raisins (preferably golden or dark raisins)
For the Cinnamon Filling:
- ¼ cup unsalted butter (softened)
- ⅔ cup brown sugar (packed)
- 2 tablespoons ground cinnamon
- 1 tablespoon all-purpose flour
For the Egg Wash:
- 1 egg beaten with 1 tablespoon water
Step-by-Step Instructions
Prepare the Raisins
Start by placing your raisins in a small bowl and covering them with warm water. Let them soak for 10-15 minutes to plump up, then drain thoroughly and pat dry with paper towels. This step ensures your raisins stay moist and don’t draw moisture from your bread dough during baking.
Make the Dough
In a large mixing bowl, combine the warm milk and sugar, stirring until the sugar dissolves. Sprinkle the yeast over the top and let it sit for 5-10 minutes until foamy. This proves your yeast is active and ready to work its magic.
Add the melted butter, eggs, and salt to the yeast mixture, whisking everything together until well combined. Begin adding flour one cup at a time, stirring with a wooden spoon after each addition. Once the dough becomes too stiff to stir, turn it out onto a lightly floured surface.
Knead the Dough
Knead the dough for 8-10 minutes, adding small amounts of flour as needed to prevent sticking. The dough should feel smooth, elastic, and slightly tacky but not sticky. A well-kneaded dough springs back when poked and feels alive in your hands. Gently fold in the drained raisins during the last minute of kneading, distributing them evenly throughout the dough.
First Rise
Place the dough in a large greased bowl, turning it once to coat all sides with oil. Cover with a clean kitchen towel or plastic wrap and let it rise in a warm, draft-free spot for 1 to 1½ hours, or until doubled in size. The dough should look puffy and hold an indentation when gently pressed.
Prepare the Filling
While the dough rises, mix together the softened butter, brown sugar, cinnamon, and flour in a small bowl until it forms a spreadable paste. This flour helps prevent the filling from becoming too runny during baking. Set aside at room temperature.
Shape the Loaf
Once risen, punch down the dough to release air bubbles and turn it out onto a lightly floured surface. Roll the dough into a large rectangle, approximately 20 inches by 12 inches. The dough should be about ¼ inch thick.
Spread the cinnamon filling evenly over the entire surface of the dough, leaving a 1-inch border along one long edge. This border helps seal the loaf. Starting from the opposite long edge, tightly roll the dough into a log, keeping the roll as even and tight as possible. Pinch the seam and ends to seal.
Second Rise
Grease a 9×5-inch loaf pan thoroughly with butter or cooking spray. Place the rolled dough seam-side down in the prepared pan. Cover loosely with a towel and let rise for 45 minutes to 1 hour, until the dough rises about 1 inch above the rim of the pan.
Bake the Bread
Preheat your oven to 350°F during the last 15 minutes of the second rise. Brush the top of the loaf gently with the egg wash for a beautiful golden finish. Bake for 35-40 minutes, until the top is deep golden brown and the internal temperature reaches 190°F when checked with an instant-read thermometer.
If the top browns too quickly, tent loosely with aluminum foil after 25 minutes of baking. The bread should sound hollow when tapped on the bottom.
Cool the Bread
Remove the pan from the oven and let the bread cool in the pan for 10 minutes. This resting period allows the structure to set. Run a knife around the edges and carefully turn the loaf out onto a wire rack. Let it cool completely before slicing, about 1-2 hours. I know waiting is torture, but slicing warm bread can cause it to compress and become gummy.
What to Serve Cinnamon Raisin Bread With
This versatile bread pairs beautifully with numerous options. Toast slices and slather with softened butter, cream cheese, or almond butter for a simple breakfast. Serve alongside scrambled eggs and fresh fruit for a complete morning meal.
For an indulgent treat, make French toast using thick slices of this bread—the cinnamon flavor intensifies wonderfully. Pair with pure maple syrup and fresh berries.
Create a cheese board featuring mild cheeses like brie or mascarpone that complement the sweet cinnamon notes. Add some apple slices and honey for an elegant afternoon snack.
This bread also makes exceptional bread pudding. Cube day-old slices, soak in a custard mixture, and bake until golden for a spectacular dessert.
For beverages, serve with hot coffee, chai tea, or cold milk. The warm spices pair especially well with spiced drinks.
Top Tips for Perfecting Cinnamon Raisin Bread
Temperature Matters
Always ensure your milk is between 105-115°F when activating yeast. Too hot kills the yeast; too cold leaves it inactive. Use a thermometer for accuracy until you develop a feel for the right temperature.
Don’t Rush the Rise
Yeast needs time to develop flavor and texture. If your kitchen is cold, place the dough in your oven with just the light on, or near a warm (not hot) stove. Patience creates better bread.
Roll Tightly
When shaping your loaf, roll the dough as tightly as possible without tearing it. Loose rolls create large air gaps and uneven texture. Apply gentle, even pressure as you roll.
Prevent Filling Leakage
That tablespoon of flour in the cinnamon filling isn’t optional—it absorbs excess moisture and prevents the filling from oozing out during baking. Make sure to seal the seam well.
Check Doneness Properly
Visual cues can be deceiving with sweet breads that brown quickly. Invest in an instant-read thermometer and check for an internal temperature of 190-195°F for perfectly baked bread.
Ingredient Substitutions
Can’t find raisins? Try dried cranberries, chopped dates, or dried cherries. For a richer dough, substitute buttermilk for regular milk. Bread flour creates a chewier texture if you prefer it over all-purpose flour.
Egg Wash Alternatives
No eggs for the wash? Brush with melted butter or whole milk instead. The loaf won’t be quite as shiny but will still develop nice color.
Storing and Reheating Tips
Room Temperature Storage
Once completely cooled, wrap your cinnamon raisin bread tightly in plastic wrap or aluminum foil. Store at room temperature for up to 3 days. Keep it away from direct sunlight and heat sources to maintain freshness.
Refrigeration
For longer storage, refrigerate the wrapped loaf for up to 1 week. Be aware that refrigeration can dry out bread slightly, so toast slices before serving for best results.
Freezing Instructions
This bread freezes beautifully for up to 3 months. Slice the loaf completely, then wrap tightly in plastic wrap followed by aluminum foil or place in a freezer-safe bag. You can remove individual slices as needed and toast them directly from frozen.
Alternatively, freeze the whole loaf wrapped well. Thaw overnight on the counter before slicing.
Reheating Methods
For individual slices, toast in a toaster or toaster oven until warmed through and slightly crispy on the edges. To refresh a whole loaf, wrap loosely in foil and warm in a 300°F oven for 10-15 minutes.
Frozen slices can go straight into the toaster—just add an extra minute or two to your normal toasting time.
Common Baking Mistakes to Avoid
Using Expired Yeast
Always check your yeast’s expiration date. Test it by proofing in warm water with sugar—if it doesn’t foam after 10 minutes, discard it and buy fresh yeast. Dead yeast means flat, dense bread.
Overmixing or Undermixing
Knead just until the dough is smooth and elastic. Overkneading develops too much gluten, creating tough bread. Underkneading results in dense texture that doesn’t rise properly. The dough should pass the “windowpane test”—stretch a small piece thin enough to see light through without tearing.
Incorrect Rising Temperatures
Dough rises best between 75-80°F. Too hot kills yeast; too cold slows activity dramatically. Find the warmest draft-free spot in your kitchen or create a proofing box using your oven with just the light on.
Skipping the Raisin Soaking
Dry raisins absorb moisture from your dough, creating dry pockets in your finished bread. Always soak and drain your raisins properly. This five-minute step makes a significant difference.
Cutting into Hot Bread
I know the temptation is real, but slicing bread before it completely cools releases steam, making the interior gummy and compressed. Patience pays off with perfect texture.
Uneven Cinnamon Distribution
Spread your filling all the way to the edges (except that seam border) for consistent flavor throughout. Skimp on corners and you’ll have bland end slices.
Not Sealing the Seam
A poorly sealed seam can unravel during the second rise or baking, creating an oddly shaped loaf. Press firmly to seal, and always place seam-side down in the pan.
Frequently Asked Questions
Can I make cinnamon raisin bread without a stand mixer?
Absolutely! This recipe works perfectly by hand. Mix ingredients in a bowl with a wooden spoon, then knead on a floured surface for 8-10 minutes. Hand-kneading actually gives you better feel for the dough’s texture and development.
Why did my bread turn out dense?
Dense bread usually results from insufficient rising time, dead yeast, or too much flour. Make sure your yeast is fresh and properly activated, let the dough rise until truly doubled, and measure flour correctly by spooning it into measuring cups rather than scooping.
Can I use instant yeast instead of active dry yeast?
Yes! Use the same amount of instant yeast, but you can skip the proofing step and mix it directly with the dry ingredients. The rising times remain the same.
How do I prevent the cinnamon filling from leaking out?
Include that tablespoon of flour in your filling mixture, seal the seam tightly, and place the loaf seam-side down in the pan. Also, avoid overfilling—more isn’t always better.
Can I add nuts to this recipe?
Definitely! Add ¾ cup chopped walnuts or pecans along with the raisins. Toast the nuts first for enhanced flavor and crunch.
What’s the best way to slice cinnamon raisin bread?
Use a sharp serrated knife and a gentle sawing motion. Let the bread cool completely first. For neat slices, wipe your knife between cuts to prevent dragging sticky filling.
Can I make this recipe dairy-free?
Replace the milk with almond, oat, or soy milk, and use vegan butter or coconut oil instead of regular butter. The texture will be slightly different but still delicious.
Why does my bread have large holes?
Large irregular holes indicate either inadequate kneading, improper shaping, or air pockets trapped when rolling the dough. Roll tightly and evenly, pressing out visible air bubbles as you go.
Nutrition Information
| Nutrient | Per Slice (1/12 of loaf) |
|---|---|
| Calories | 285 |
| Total Fat | 7g |
| Saturated Fat | 4g |
| Cholesterol | 45mg |
| Sodium | 220mg |
| Total Carbohydrates | 51g |
| Dietary Fiber | 2g |
| Sugars | 22g |
| Protein | 6g |
Note: Nutrition information is approximate and may vary based on specific ingredients used.
This cinnamon raisin bread recipe has become a cherished tradition in my kitchen, and I hope it becomes one in yours too. There’s something deeply satisfying about creating bakery-quality bread in your own home, filling your space with warmth and incredible aromas. Each slice tells a story of patience, care, and the simple joy of homemade goodness.
Whether you’re enjoying it toasted with butter on a quiet morning, sharing it with friends over coffee, or transforming it into decadent French toast for Sunday brunch, this bread brings people together. Don’t be surprised when family members start requesting it regularly—mine certainly do!
So gather your ingredients, clear some counter space, and embrace the meditative process of bread-making. Your kitchen—and everyone lucky enough to taste this bread—will thank you. Happy baking!