Cute Thanksgiving Decorated Cookies Step-by-Step Tutorial
Nothing says autumn celebration quite like cute thanksgiving decorated cookies fresh from your oven! These buttery, sweet treats bring festive charm to any holiday table with their adorable turkey, pumpkin, and leaf designs. Did you know decorated cookies date back to 16th century Europe, making them one of our oldest beloved desserts?
This recipe transforms simple sugar cookie dough into stunning edible art that tastes as amazing as it looks. Even better, these cookies require just basic ingredients and simple decorating techniques that anyone can master.
Similar to our popular Christmas sugar cookies, these Thanksgiving treats are perfect for family baking sessions and impressive enough for your holiday dessert spread. Get ready to create memories while making the most delightful cookies your guests have ever seen!
What Are Cute Thanksgiving Decorated Cookies?
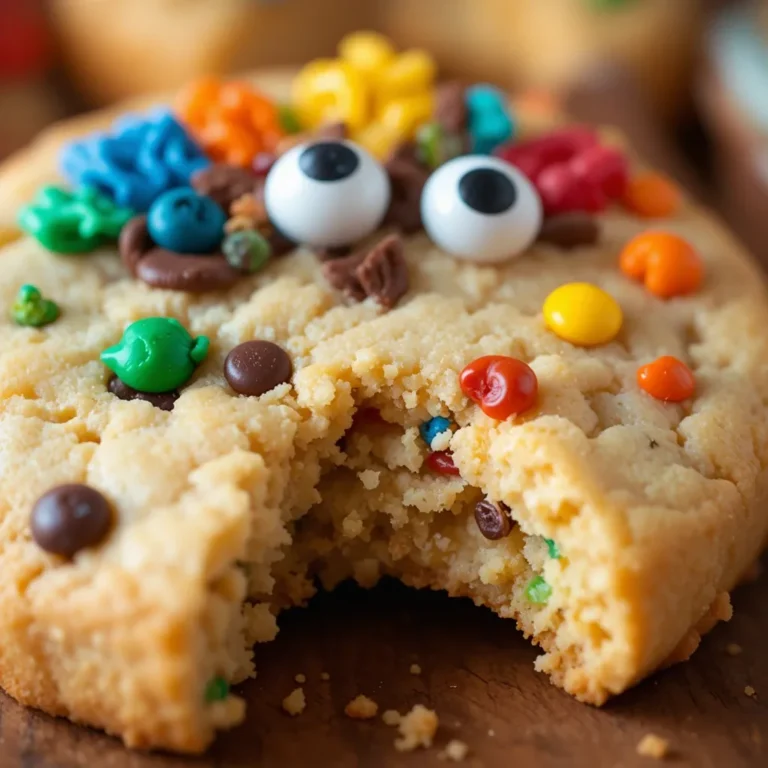
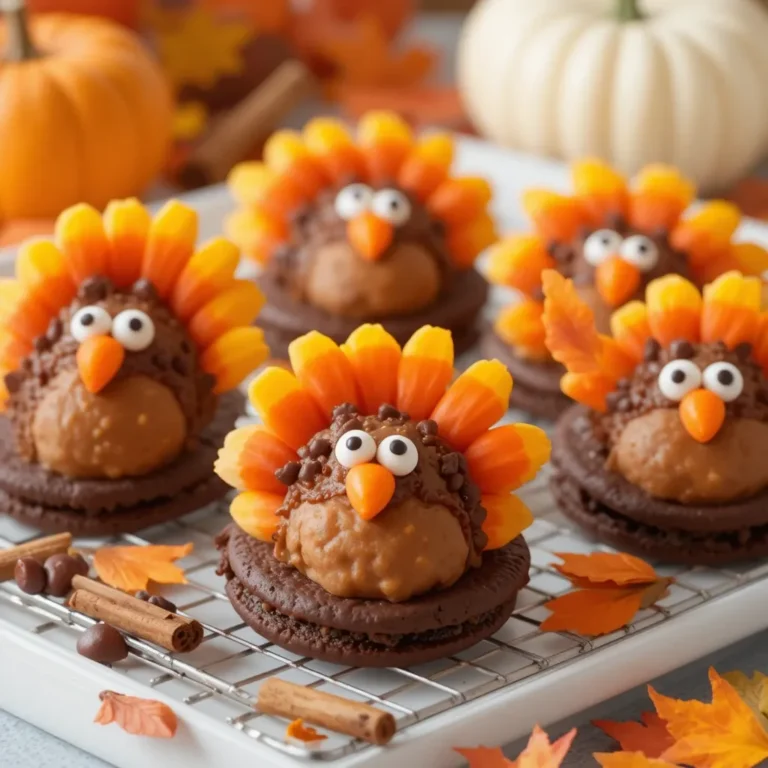
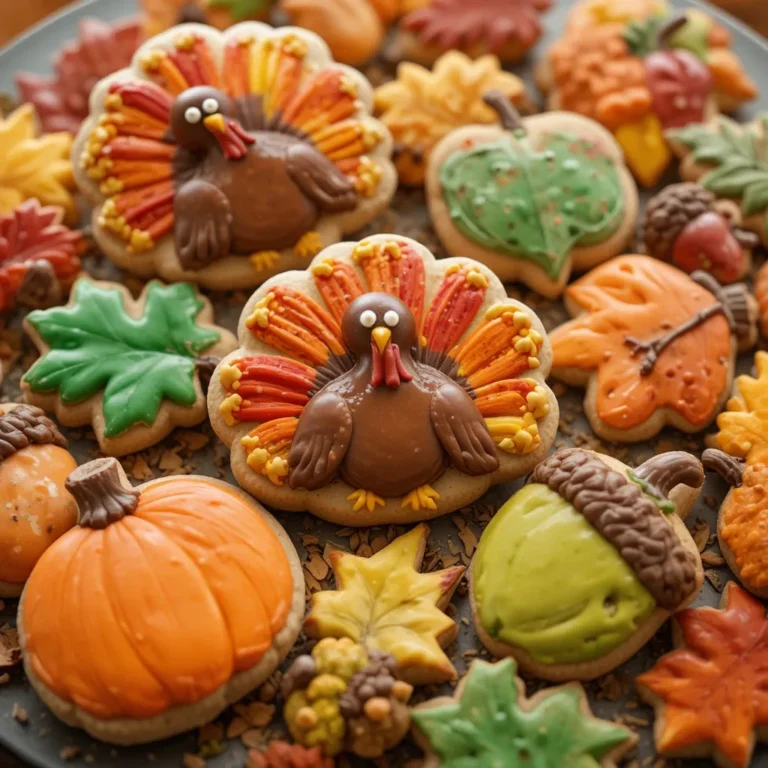
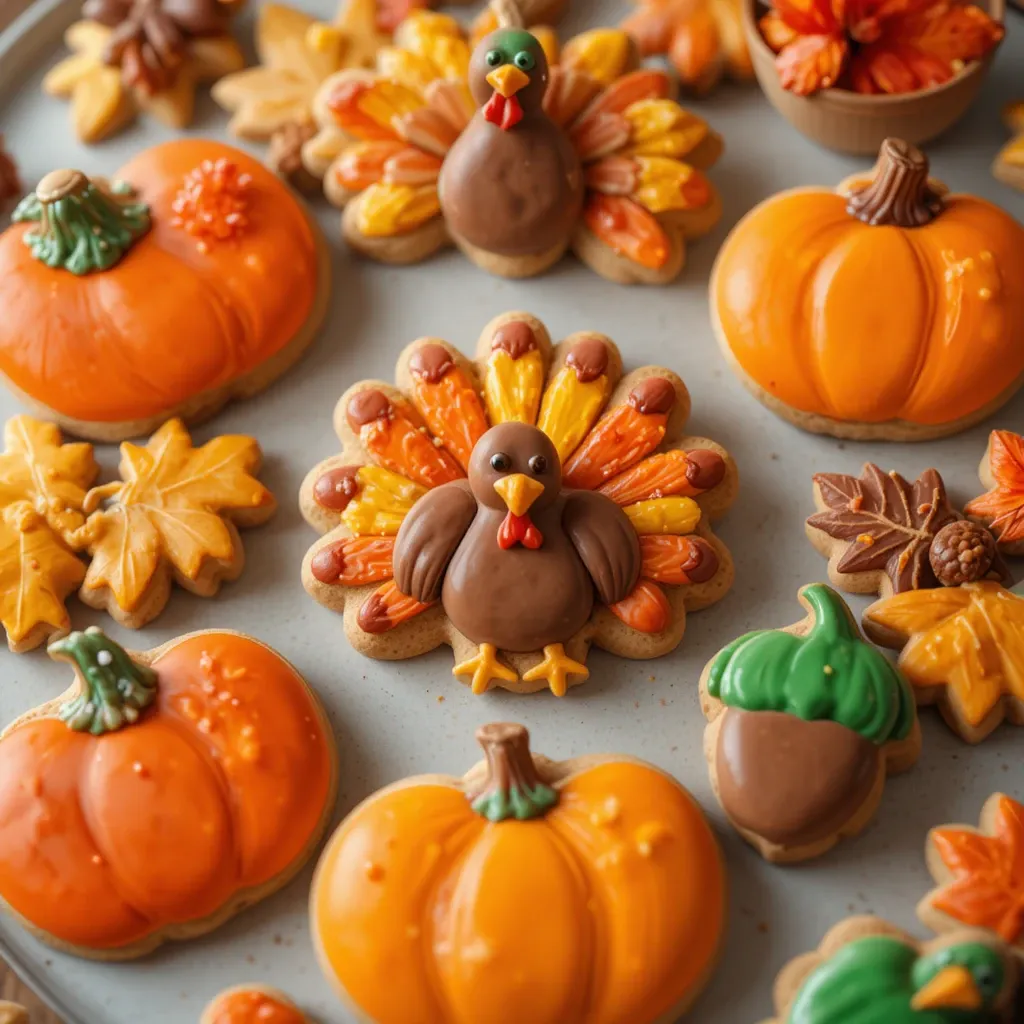
Ever wondered why we call them “decorated” when they’re basically edible masterpieces? These cute thanksgiving decorated cookies are sugar cookies transformed into autumn works of art with royal icing and festive designs. They’re the showstoppers of Thanksgiving desserts, featuring turkeys with colorful feathers, golden pumpkins, orange leaves, and cornucopias overflowing with harvest charm.
As the saying goes, the way to everyone’s heart is through their stomach, and these cookies pave a deliciously beautiful path! Whether you’re hosting Thanksgiving dinner or attending a potluck, these cookies prove you don’t need professional baker skills to create something truly special. Ready to impress your family and friends? Let’s start baking!
Why You’ll Love This Cute Thanksgiving Decorated Cookies Recipe
Perfect Canvas for Creativity
These cute thanksgiving decorated cookies offer endless possibilities for artistic expression. The buttery sugar cookie base holds its shape beautifully, creating the perfect canvas for your decorating dreams. Each cookie becomes a miniature edible artwork where you can experiment with colors, patterns, and designs.
The smooth royal icing glides effortlessly across the surface, drying to a gorgeous glossy finish that looks professionally made. Whether you’re piping intricate details on turkey feathers or creating simple autumn leaves, these cookies respond beautifully to every decorating technique.
Budget-Friendly Holiday Baking
Making cute thanksgiving decorated cookies at home saves considerable money compared to ordering from bakeries. Store-bought decorated cookies can cost $3-5 per cookie, while homemade versions cost mere cents each.
You’ll use pantry staples like flour, butter, sugar, and eggs for the cookie base, with food coloring and powdered sugar for decoration. This recipe yields 24-36 cookies depending on size, feeding a crowd without breaking your holiday budget. Plus, you control the quality of ingredients, ensuring everything is fresh and delicious.
Flavor Combinations That Wow
The beauty of these cookies extends beyond their appearance. The cookie itself features a perfect vanilla butter flavor with subtle hints of almond extract that complement the sweet royal icing. The texture offers that ideal cookie experience – slightly crisp edges with tender, melt-in-your-mouth centers. You can customize flavors by adding cinnamon, nutmeg, or pumpkin spice to the dough for an extra autumn twist. The royal icing provides just the right amount of sweetness without overwhelming the buttery cookie beneath.
Much like our beloved gingerbread cookies, these Thanksgiving beauties become conversation starters at any gathering. They’re perfect for kids who love decorating, adults who enjoy edible crafting, and everyone who appreciates homemade treats. Why settle for plain store-bought cookies when you can create stunning, personalized masterpieces in your own kitchen?
How to Make Cute Thanksgiving Decorated Cookies
Quick Overview
Making cute thanksgiving decorated cookies is easier than you might think! These cookies combine a foolproof sugar cookie recipe with simple royal icing decoration techniques that anyone can learn. The process involves mixing dough, cutting festive shapes, baking until golden, and decorating with colorful icing designs.
The cookies feature buttery richness with perfectly crisp edges and soft centers that hold up beautifully under royal icing. What makes this recipe special is the no-chill dough option and the forgiving nature of royal icing that smooths out easily even for beginners.
Time Breakdown:
- Prep Time: 30 minutes
- Chill Time: 1 hour (optional but recommended)
- Baking Time: 10-12 minutes per batch
- Cooling Time: 30 minutes
- Decorating Time: 1-2 hours
- Total Time: 3-4 hours
Key Ingredients for Cute Thanksgiving Decorated Cookies
For the Cookie Dough:
- 3 cups all-purpose flour
- 1 teaspoon baking powder
- ½ teaspoon salt
- 1 cup unsalted butter, softened
- 1 cup granulated sugar
- 1 large egg
- 2 teaspoons vanilla extract
- ½ teaspoon almond extract (optional)
For Royal Icing:
- 4 cups powdered sugar
- 3 tablespoons meringue powder
- 5-6 tablespoons warm water
- Gel food coloring (orange, brown, red, yellow, green)
For Decoration:
- Thanksgiving cookie cutters (turkeys, pumpkins, leaves, acorns)
- Piping bags or squeeze bottles
- Toothpicks for detail work
- Edible pearls, sprinkles, or sanding sugar (optional)

Step-by-Step Instructions
Preparing the Cookie Dough
Start by gathering all your ingredients and setting them on the counter to reach room temperature. In a medium mixing bowl, whisk together 3 cups of flour, 1 teaspoon baking powder, and ½ teaspoon salt until evenly combined. Set this dry mixture aside while you work on the wet ingredients.
In a large bowl or stand mixer, cream together 1 cup of softened butter and 1 cup of sugar. Beat on medium-high speed for 3-4 minutes until the mixture becomes light, fluffy, and pale in color. This creaming process is crucial for creating tender cookies with the right texture.
Add 1 egg, 2 teaspoons vanilla extract, and ½ teaspoon almond extract to the butter mixture. Beat on medium speed until everything is fully incorporated and the mixture looks smooth and creamy, about 1-2 minutes.
Gradually add the flour mixture to the wet ingredients in three additions. Mix on low speed or use a wooden spoon to prevent flour from flying everywhere. Stop mixing as soon as you no longer see dry flour streaks. Overmixing can create tough cookies, so mix just until combined.
Chilling and Rolling the Dough
Divide your dough into two equal portions and shape each into a flat disc about 1 inch thick. Wrap each disc tightly in plastic wrap and refrigerate for at least 1 hour or up to 3 days. Chilled dough is much easier to roll out and holds its shape better during baking.
When ready to bake, preheat your oven to 350°F (175°C). Line two baking sheets with parchment paper or silicone baking mats to prevent sticking and ensure even baking.
Remove one dough disc from the refrigerator and let it sit at room temperature for 5 minutes to soften slightly. On a lightly floured surface, roll the dough to ¼ inch thickness using a rolling pin. For perfectly even cookies, use rolling pin rings or guides.
Cutting and Baking
Using your Thanksgiving cookie cutters, cut out shapes as close together as possible to minimize scraps. Turkeys, pumpkins, autumn leaves, acorns, and cornucopias all make adorable options. Carefully transfer cut cookies to your prepared baking sheets using a thin spatula, spacing them about 1 inch apart.
Gather dough scraps, press them together gently, re-roll, and cut more cookies. Try not to re-roll the dough more than twice, as this can make cookies tough.
Bake cookies for 10-12 minutes, depending on size. They’re done when edges are just barely starting to turn golden. The centers will look slightly underbaked but will firm up as they cool. Small cookies need closer to 8-9 minutes, while larger cookies may need 13-14 minutes.
Remove baking sheets from the oven and let cookies cool on the pan for 5 minutes before transferring them to a wire cooling rack. Allow cookies to cool completely before decorating, about 30 minutes.
Making Royal Icing
While cookies cool, prepare your royal icing. In a large bowl, combine 4 cups powdered sugar and 3 tablespoons meringue powder. Add 5 tablespoons of warm water and beat on low speed to combine, then increase to medium-high speed and beat for 5-7 minutes until the icing forms stiff, glossy peaks.
Test the consistency by lifting your beater. The icing should form a peak that holds its shape without drooping. This is “stiff” consistency, perfect for piping outlines and details.
Divide the icing into separate bowls for different colors. Keep one portion white and tint others with gel food coloring. For Thanksgiving, prepare orange, brown, red, yellow, and green icing. Add color gradually with toothpicks, mixing thoroughly until you achieve desired shades.
Creating Flood Icing
For filling in your cookie designs, you’ll need “flood” consistency icing. Take a portion of each colored icing and thin it with water, adding just a few drops at a time. The perfect flood consistency looks like thick glue and should settle smooth within 10-15 seconds when you drag a knife through it.
Transfer stiff consistency icing to piping bags fitted with small round tips (size 2 or 3) for outlines. Put flood consistency icing in squeeze bottles or piping bags with slightly larger tips for filling.
Decorating Your Cookies
Start by outlining each cookie with stiff consistency icing. Pipe a line around the entire perimeter of each cookie shape, staying just inside the edge. Let outlines dry for 15-20 minutes until they form a slight crust.
Fill the outlined area with flood consistency icing, using a toothpick to spread it evenly and pop any air bubbles. The outline acts as a dam, keeping the flood icing contained. Allow the base layer to dry completely, about 2 hours or overnight.
Once the base is dry, add details using stiff consistency icing. For turkeys, pipe colorful feathers, add eyes, beaks, and wattles. For pumpkins, add stems and vines. For leaves, pipe veins and add dimension with different shades of orange, red, and yellow.
Get creative with your designs! Use toothpicks to create marbled effects, add edible pearls while icing is wet, or sprinkle sanding sugar for sparkle. Let decorated cookies dry completely for at least 4-6 hours before stacking or packaging.

What to Serve Cute Thanksgiving Decorated Cookies With
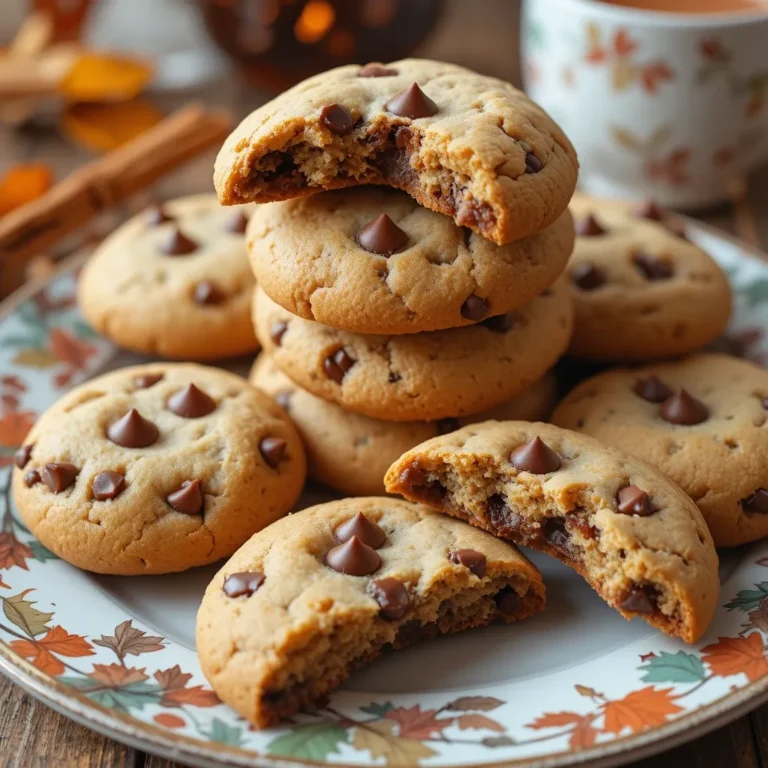
These delightful cookies pair beautifully with hot beverages. Serve them alongside steaming cups of apple cider, pumpkin spice lattes, or traditional coffee for the perfect autumn treat combination. The sweet cookie flavors complement the warm spices in these seasonal drinks.
For a dessert table arrangement, display these cute thanksgiving decorated cookies with other autumn treats like pumpkin pie, apple crisp, and pecan tarts. The cookies add visual interest and provide a lighter option for guests who want something sweet but not too heavy after a big meal.
Create a cookie and cocoa bar for kids by setting out decorated cookies with hot chocolate, marshmallows, and whipped cream. Children love the interactive element and the adorable cookie designs make the experience even more magical.
Consider serving these cookies with a cheese board featuring aged cheddar, brie, and gouda alongside fresh fruits and nuts. The sweet cookies provide a delightful contrast to savory cheese flavors, creating a sophisticated dessert spread.
For Thanksgiving dinner, place a decorated cookie at each place setting as an edible place card. Write guests’ names with royal icing for a personalized touch that doubles as dessert and party favor.
Top Tips for Perfecting Cute Thanksgiving Decorated Cookies
Achieve the Perfect Cookie Texture
Room temperature butter is crucial for proper creaming. Butter should be soft enough to leave an indent when pressed but not greasy or melted. This typically takes about 30-60 minutes on the counter. Cold butter won’t cream properly, while melted butter creates flat, greasy cookies.
Don’t skip the chilling step even though it’s tempting. Chilled dough spreads less during baking, resulting in cookies that maintain their shape beautifully. If you’re short on time, chill dough for at least 30 minutes rather than skipping entirely.
Roll dough to an even ¼ inch thickness for consistent baking. Thicker cookies remain soft and cake-like, while thinner cookies become crispy. Use rolling pin rings or stack rulers on either side of your dough as guides for perfectly even thickness.
Master Royal Icing Consistency
Icing consistency makes or breaks decorated cookies. Too thick and it won’t spread smoothly; too thin and it runs off the cookie edges. Stiff consistency should hold peaks firmly for 10+ seconds. Flood consistency should settle smooth within 10-15 seconds.
Make more icing than you think you need. Running out mid-decorating is frustrating, and it’s nearly impossible to match colors and consistency exactly when making a new batch. Leftover icing keeps in the refrigerator for up to a week.
Cover icing bowls with damp towels while working to prevent crusting. Royal icing dries quickly when exposed to air, forming a skin that creates lumps in your piping. Even a few minutes of air exposure can affect icing quality.
Decorating Techniques That Work
Practice piping on parchment paper before decorating actual cookies. This helps you get comfortable with pressure control and allows you to test if your icing consistency is correct. Scrape practice icing back into bowls and reuse it.
Work in small batches when decorating. Flood 4-6 cookies at a time so you can pop air bubbles and smooth icing before it starts setting. Trying to flood too many cookies at once results in some drying before you can perfect them.
Use toothpicks for detail work and fixing mistakes. Drag toothpicks through wet icing to create patterns, pop air bubbles, or spread icing into tight corners. Keep a damp paper towel nearby to wipe toothpicks between uses.
Ingredient Substitutions
Replace almond extract with additional vanilla extract if you have nut allergies or simply prefer vanilla flavor. The cookies will still taste delicious, just slightly less complex in flavor profile.
Meringue powder can be substituted with pasteurized egg whites if you can’t find it. Use 3 tablespoons pasteurized egg whites in place of meringue powder and water. Note that egg white icing doesn’t keep as long as meringue powder icing.
For dairy-free cookies, substitute butter with equal amounts of dairy-free butter alternative. Choose brands specifically designed for baking, as some spreads contain too much water and affect texture.
Timing Your Cookie Project
Break this recipe into manageable steps over multiple days. Make dough up to 3 days ahead and keep it refrigerated, or freeze it for up to 3 months. Bake cookies 1-2 days before decorating and store them in airtight containers at room temperature.
Make royal icing the night before decorating. Store it in airtight containers at room temperature, then re-whip briefly before using. This approach spreads out the work and prevents feeling overwhelmed.
Allow adequate drying time between decorating layers. While it’s tempting to add details immediately, wet-on-wet icing colors will bleed together. Plan for at least 2 hours drying time between layers, or decorate in the evening and add details the next morning.
Storing and Reheating Tips
Proper Storage Methods
Store unfrosted cookies in airtight containers at room temperature for up to 1 week. Place parchment paper between layers to prevent cookies from sticking together. Keep containers away from heat and humidity, which can affect cookie texture.
Once decorated with royal icing, wait until the icing is completely dry (24 hours is ideal) before storing. Stack decorated cookies carefully with parchment or wax paper between each layer to protect designs. Store in airtight containers at room temperature for up to 2 weeks.
Avoid refrigerating decorated cookies as moisture from the refrigerator can make cookies soft and cause icing colors to bleed. Royal icing preserves cookies naturally, so room temperature storage is perfectly safe and maintains the best texture.
Freezing for Future Use
Freeze unfrosted cookies for up to 3 months. Arrange cookies in single layers on baking sheets and freeze until solid, about 1 hour. Transfer frozen cookies to freezer bags, removing as much air as possible. Label bags with the date.
Cookie dough freezes beautifully for up to 3 months. Wrap dough discs tightly in plastic wrap, then place in freezer bags. Thaw dough overnight in the refrigerator before rolling and cutting.
Decorated cookies can be frozen, though this should be a last resort as freezing sometimes affects icing appearance. Freeze decorated cookies using the same flash-freezing method as unfrosted cookies. Thaw at room temperature in containers to prevent condensation from damaging icing.
Reheating and Refreshing
These cookies taste best at room temperature and don’t require reheating. If cookies become slightly soft from humidity, place them on a baking sheet in a 200°F oven for 5 minutes to crisp them up. Cool completely before returning to storage containers.
Royal icing never needs reheating and should never be microwaved. If icing develops condensation from temperature changes, simply let cookies sit uncovered at room temperature until moisture evaporates.
Refresh stale cookies by placing them in an airtight container with a slice of fresh bread overnight. The bread’s moisture transfers to cookies, softening them slightly. Remove bread before cookies become too soft.
Tips for Avoiding Common Baking Mistakes
Dough Too Sticky or Too Dry
If your dough feels sticky and impossible to roll, you likely didn’t add enough flour or the butter was too warm. Add flour 1 tablespoon at a time, mixing between additions until dough is workable. Alternatively, chill the dough for an extra 30 minutes.
Dry, crumbly dough that won’t hold together needs more moisture. Add water 1 teaspoon at a time, mixing thoroughly between additions. Sometimes humidity levels affect dough consistency, so minor adjustments are normal and expected.
Always measure flour correctly by spooning it into measuring cups and leveling off, never scooping directly from the bag. Scooped flour packs too tightly, resulting in too much flour and dry dough.
Cookies Spreading or Losing Shape
Cookies that spread during baking usually stem from warm dough or insufficient chilling. Always chill cut cookies on the baking sheet for 10-15 minutes before baking if you notice spreading issues. This firms up the butter and helps cookies maintain their shape.
Using melted or very soft butter instead of properly softened butter causes excessive spreading. Butter should be pliable but still hold its shape. If your kitchen is very warm, chill dough extra time.
Overcrowding cookies on baking sheets can cause uneven heat distribution and spreading. Leave at least 1 inch between cookies to allow proper air circulation and even baking.
Burnt or Undercooked Cookies
Oven temperature variations are the primary culprit for burnt or undercooked cookies. Use an oven thermometer to verify your actual oven temperature matches the setting. Many ovens run 25°F hotter or cooler than indicated.
Dark colored baking sheets absorb more heat and can burn cookie bottoms. Use light-colored aluminum baking sheets for best results, or reduce oven temperature by 25°F when using dark pans.
Check cookies at the minimum baking time. Remember that cookies continue cooking on hot baking sheets after removal from the oven. Slightly underbaked cookies at removal time become perfectly baked after resting.
Royal Icing Problems
Icing that’s too runny won’t hold designs and runs off cookie edges. Add powdered sugar 1 tablespoon at a time until you reach proper consistency. Sift powdered sugar before adding to eliminate lumps.
Icing that’s too stiff won’t spread smoothly and is difficult to pipe. Add water drop by drop, mixing thoroughly between additions. Just 1-2 drops can make a significant difference in consistency.
Lumpy icing results from under-mixing or lumpy powdered sugar. Always sift powdered sugar before making icing, and beat icing for the full 5-7 minutes to ensure completely smooth consistency.
Color Bleeding Issues
Colors bleeding together happen when you add details before the base layer dries completely. Always wait at least 2 hours between decorating layers, or overnight for best results.
Gel food coloring works better than liquid food coloring for royal icing. Liquid coloring can thin icing too much and requires more icing adjustment. Gel coloring provides intense color with minimal liquid addition.
If colors start bleeding, use a clean, dry paintbrush to gently absorb excess moisture at the bleeding area. Work quickly before colors mix completely. Prevention through proper drying time is easier than fixing bleeding.
Frequently Asked Questions
How far in advance can I make these cute thanksgiving decorated cookies?
You can bake unfrosted cookies up to 1 week ahead and store them in airtight containers at room temperature. For fully decorated cookies, complete decorating up to 2 weeks before your event. Once royal icing dries completely, the cookies stay fresh and beautiful when stored properly in airtight containers at room temperature with parchment paper between layers.
Can I use store-bought cookie dough instead of making it from scratch?
Yes, refrigerated sugar cookie dough from the store works in a pinch, though homemade dough tastes better and holds shapes more precisely. If using store-bought, chill it thoroughly before rolling and choose the plain sugar cookie variety rather than slice-and-bake rounds. You may need to add a bit of flour to reduce stickiness.
What’s the best way to get vibrant icing colors?
Use gel food coloring rather than liquid food coloring for the most vibrant results. Gel provides intense color without thinning your icing. Add color gradually with toothpicks, as a little goes a long way. For deeper colors like red and black, make icing a day ahead so colors have time to develop and deepen overnight.
My royal icing dried too quickly while decorating. What should I do?
Cover icing bowls with damp paper towels or cloths between uses to prevent surface crusting. If icing does start to dry, add a few drops of water and stir gently. For piping bags, keep the tip wrapped in a damp paper towel when not actively piping. Work in small batches to avoid rushing.
Can kids help decorate these cookies?
Absolutely! Kids love decorating cookies. Give children stiff consistency icing in squeeze bottles or plastic bags with corners snipped off for easier control. Let them add sprinkles, edible pearls, and simple designs while you handle more intricate piping work. Have plenty of cookies available for practice and experimentation.
Do I need special equipment for decorating?
Basic piping bags, tips, and squeeze bottles are helpful but not essential. You can make your own piping bags from plastic sandwich bags by snipping a tiny corner. Toothpicks work great for spreading icing and creating details. The most important element is proper icing consistency, which works regardless of application tools.
Why did my cookies turn out hard instead of soft?
Overbaking is the most common cause of hard cookies. Remove cookies when edges are just barely golden and centers look slightly underbaked. They firm up during cooling. Also check that you measured flour correctly and didn’t add too much, which creates dry, hard cookies.
Can I make these cookies gluten-free?
Yes, substitute all-purpose flour with a 1:1 gluten-free baking flour blend that contains xanthan gum. Bob’s Red Mill and King Arthur both make excellent blends. The texture will be slightly different but still delicious. Chill dough extra time as gluten-free dough can be more fragile.
Nutrition Information
| Nutrient | Per Cookie (without decoration) | Per Cookie (with decoration) |
|---|---|---|
| Calories | 95 | 145 |
| Total Fat | 4g | 4g |
| Saturated Fat | 2.5g | 2.5g |
| Cholesterol | 18mg | 18mg |
| Sodium | 45mg | 50mg |
| Total Carbohydrates | 13g | 24g |
| Dietary Fiber | 0g | 0g |
| Sugars | 6g | 18g |
| Protein | 1g | 1g |
Nutritional values are approximate and based on 30 cookies per batch. Decorated cookie values include average amount of royal icing decoration.
Final Thoughts
Creating cute thanksgiving decorated cookies is one of the most rewarding holiday baking projects you can undertake. These cookies combine the satisfaction of baking from scratch with the creativity of edible art, resulting in treats that taste incredible and look absolutely stunning.
Whether you’re an experienced baker or trying cookie decorating for the first time, this recipe sets you up for success. The foolproof sugar cookie base provides the perfect canvas, while the detailed instructions guide you through every step of the decorating process.
Remember that practice makes perfect with royal icing techniques. Your first batch might not look Instagram-perfect, and that’s completely okay! Each cookie you decorate teaches you something new about icing consistency, color mixing, and design techniques. By your second or third batch, you’ll be amazed at how much your skills have improved.
These cookies also make wonderful gifts. Package them in clear cellophane bags tied with autumn-colored ribbons, or arrange them in decorative boxes for hostess gifts. Friends and family will be impressed by your homemade creations, and the personal touch makes these gifts far more meaningful than anything store-bought.
Don’t forget to have fun with the process! Put on some music, gather family members or friends, and turn cookie decorating into a memorable event. The laughter, creativity, and time spent together matter just as much as the beautiful finished cookies.
This Thanksgiving season, skip the bakery and create your own cute thanksgiving decorated cookies. You’ll save money, control the quality of ingredients, and create something truly special that brings joy to everyone who sees and tastes them. Happy baking, and may your Thanksgiving be filled with delicious homemade treats and wonderful memories!