Easy Halloween Cookies With Sprinkles – Ready In 20 Minutes
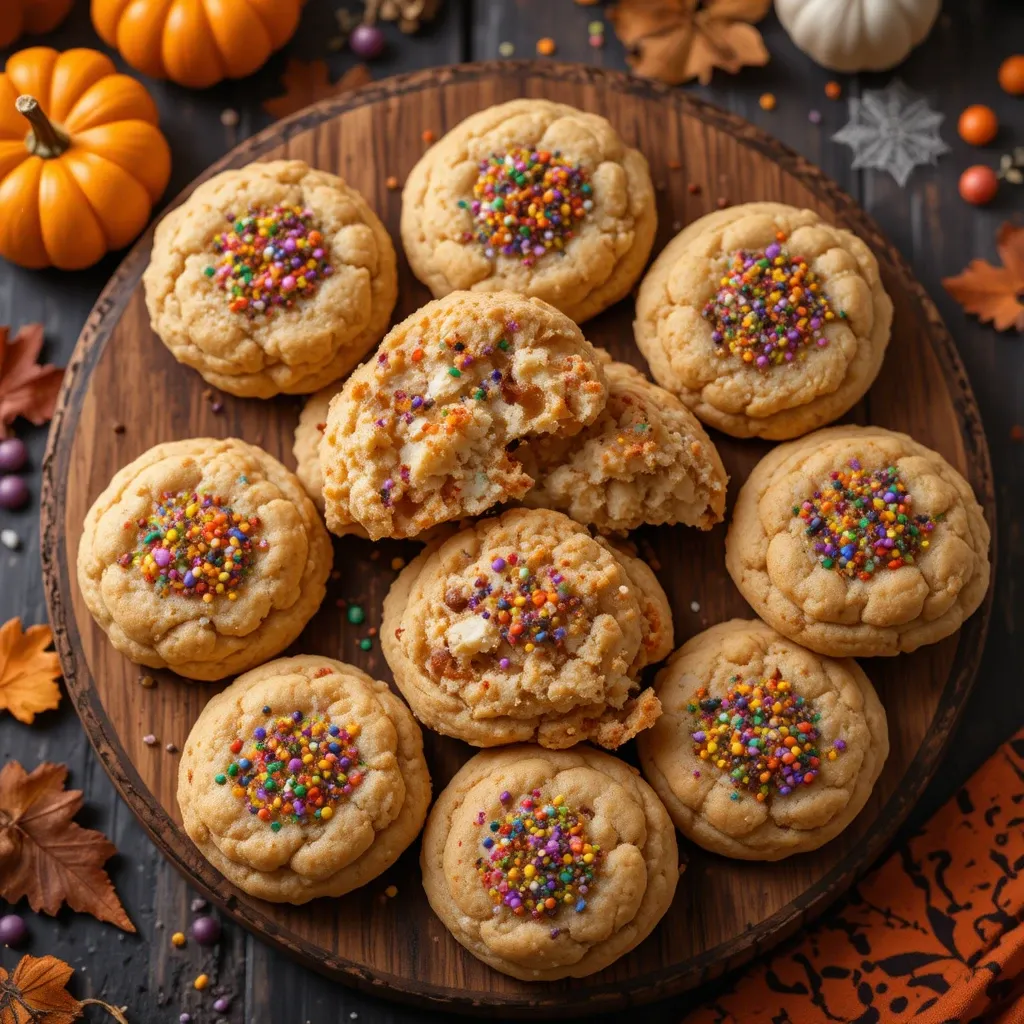
These Halloween cookies with sprinkles are soft, buttery, and absolutely irresistible! Picture this: perfectly golden cookies studded with vibrant orange and black sprinkles that practically scream “trick-or-treat!” Here’s a fun fact: sprinkle cookies became popular in the 1930s when colored sugar was first mass-produced.
This recipe is incredibly special because it takes just 20 minutes from start to finish, making it perfect for busy parents and last-minute party planners.
Unlike my classic chocolate chip cookies, these festive treats bring that spooky season magic to your kitchen. Your little ghouls and goblins will absolutely love decorating and devouring these!
What Are Halloween Cookies With Sprinkles?
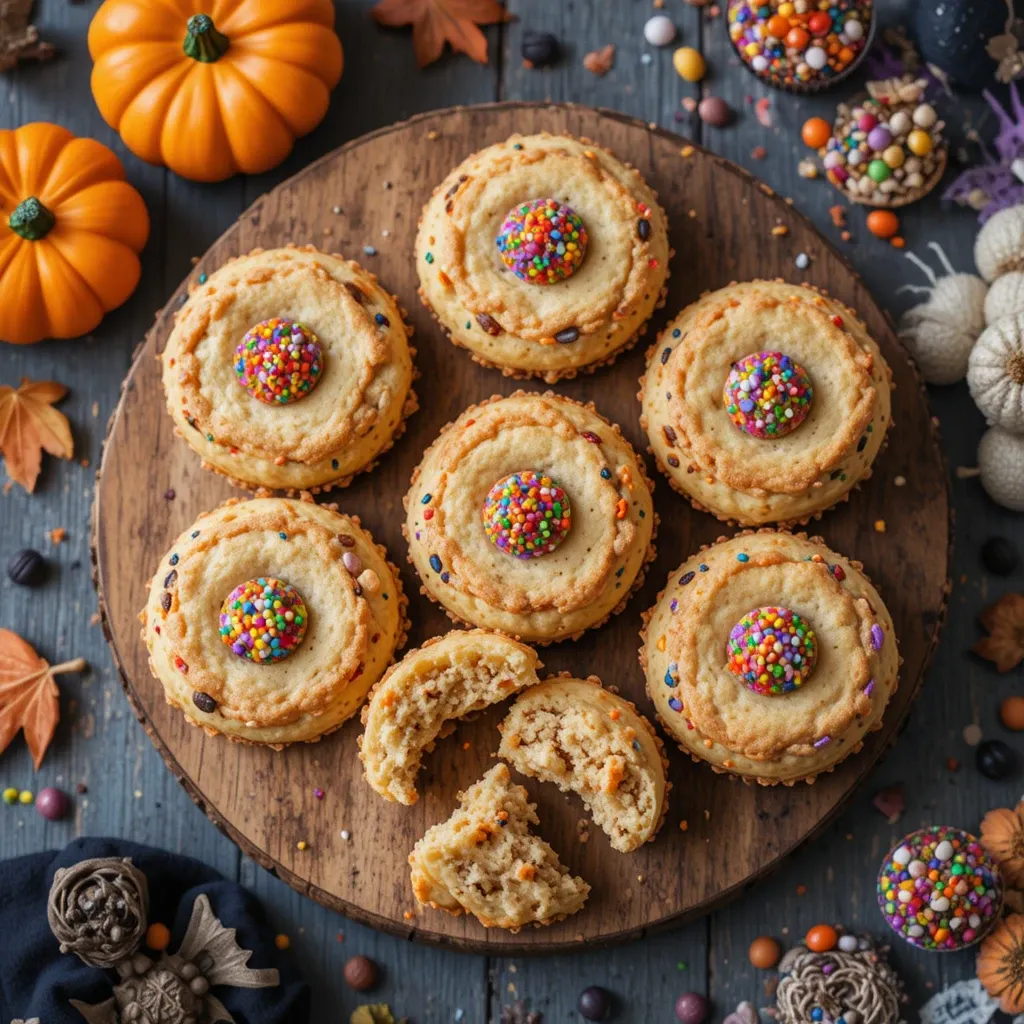
Ever wondered why we call them Halloween cookies with sprinkles? Well, it’s pretty straightforward, but the magic is in the details! These aren’t just ordinary cookies wearing a costume. They’re buttery sugar cookies transformed with festive Halloween-colored sprinkles that bring the spooky spirit to life.
As the classic saying goes, “the way to a man’s heart is through his stomach,” and these cookies work like a charm every single time! The combination of soft, melt-in-your-mouth texture with colorful pops of sweetness creates pure Halloween happiness. Ready to whip up some spooky magic?
Why You’ll Love This Halloween Cookies With Sprinkles Recipe
Irresistibly Soft and Buttery Texture
The star of this recipe is the incredibly soft, pillowy texture that makes these cookies absolutely addictive. Each bite melts in your mouth with rich, buttery flavor enhanced by pure vanilla extract. The sprinkles aren’t just decoration—they add delightful little bursts of sweetness and a satisfying crunch that creates the perfect texture contrast.
Budget-Friendly Homemade Treats
Making Halloween cookies with sprinkles at home costs a fraction of what you’d pay at a bakery. Store-bought Halloween cookies can run $3-5 per cookie, but this recipe makes 24 cookies for under $8! You’ll save money while creating something far fresher and more delicious. Plus, you control the quality of ingredients, avoiding unnecessary preservatives and artificial flavors.
Endless Decoration Possibilities
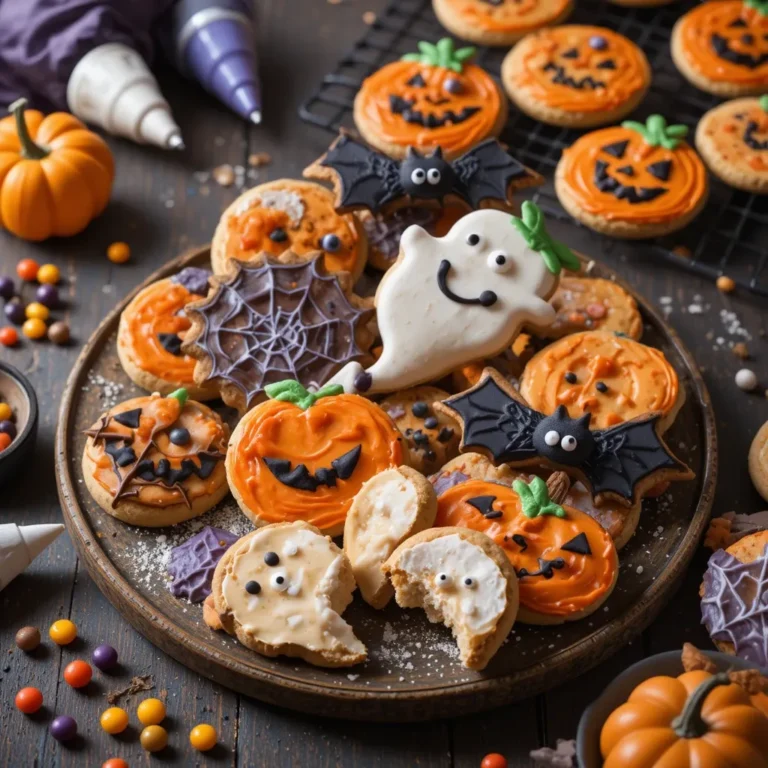
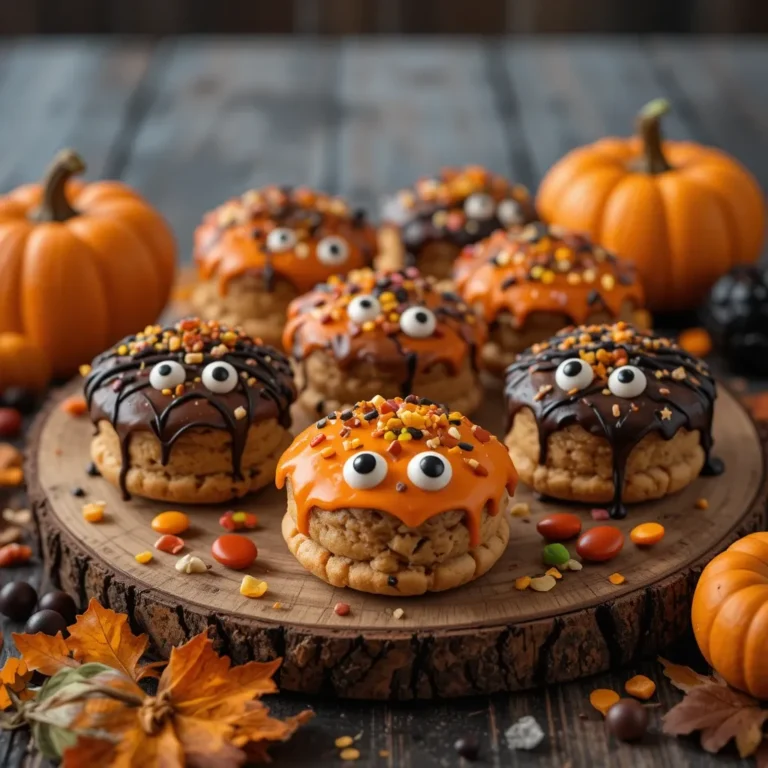
The beauty of this recipe lies in its versatility. While orange and black sprinkles are classic, you can customize with purple, green, or even glow-in-the-dark sprinkles! Add candy eyes, use Halloween-themed cookie cutters, or drizzle with melted chocolate for extra flair. If you love creative baking projects, you’ll also want to check out my pumpkin spice cupcakes for another festive treat. These cookies make perfect party favors, classroom treats, or additions to your Halloween dessert table. So grab your mixing bowl and let’s create some spooktacular cookies!
How to Make Halloween Cookies With Sprinkles
Quick Overview
These Halloween cookies with sprinkles are incredibly easy to make, even for beginner bakers! The dough comes together in one bowl with simple ingredients you probably already have. The soft, buttery cookies feature a delicate vanilla flavor that perfectly complements the festive sprinkles. What makes these special is their perfect texture—crispy edges with soft, chewy centers.
Time Breakdown:
- Prep Time: 10 minutes
- Bake Time: 10-12 minutes per batch
- Cooling Time: 5 minutes
- Total Time: 25-30 minutes
- Yield: 24 cookies
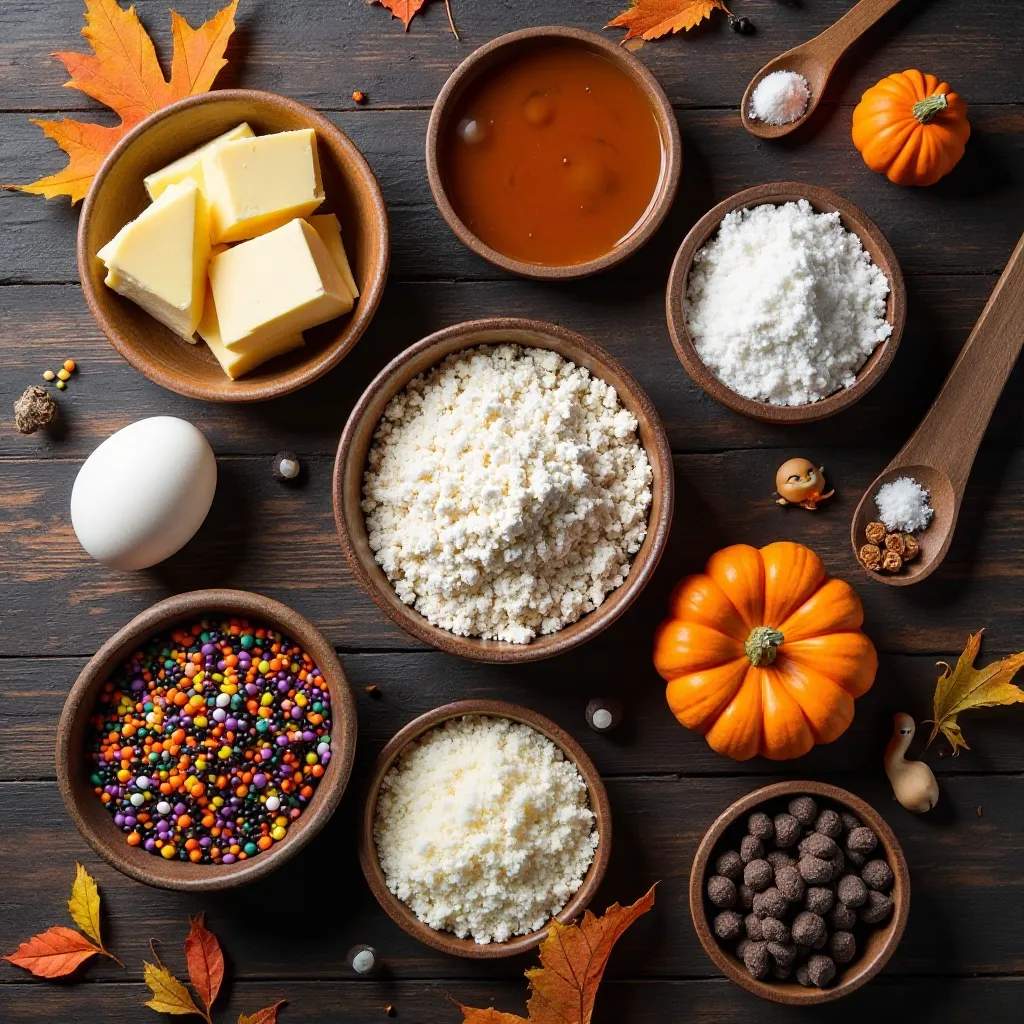
Key Ingredients for Halloween Cookies With Sprinkles
Dry Ingredients:
- 2¾ cups all-purpose flour
- 1 teaspoon baking soda
- ½ teaspoon baking powder
- ½ teaspoon salt
Wet Ingredients:
- 1 cup (2 sticks) unsalted butter, softened to room temperature
- 1½ cups granulated sugar
- 1 large egg
- 2 teaspoons pure vanilla extract
For Decoration:
- ½ cup Halloween sprinkles (orange, black, purple mix)
- Additional sugar for rolling (optional)
Pro Ingredient Tips:
- Use real butter, not margarine, for the best flavor
- Room temperature ingredients mix more easily
- Vanilla extract should be pure, not imitation
- Choose high-quality sprinkles that won’t bleed color
Step-by-Step Instructions
Step 1: Prepare Your Baking Station
Preheat your oven to 375°F (190°C). Line two large baking sheets with parchment paper or silicone baking mats. This prevents sticking and ensures even browning. Position your oven rack in the middle position for optimal heat distribution.
Step 2: Mix the Dry Ingredients
In a medium bowl, whisk together the flour, baking soda, baking powder, and salt. Whisking aerates the flour and ensures the leavening agents are evenly distributed. This step is crucial for uniform texture. Set this bowl aside while you prepare the wet ingredients.
Step 3: Cream the Butter and Sugar
In a large mixing bowl, use an electric mixer to beat the softened butter and sugar together on medium-high speed for 3-4 minutes. The mixture should become light, fluffy, and pale in color. This creaming process incorporates air, which creates that perfect soft texture. Scrape down the sides of the bowl halfway through to ensure everything mixes evenly.
Step 4: Add Egg and Vanilla
Beat in the egg and vanilla extract until fully incorporated, about 1 minute. The mixture should look smooth and slightly glossy. The egg adds richness and helps bind everything together, while vanilla provides that classic cookie flavor we all love.
Step 5: Combine Wet and Dry Ingredients
Gradually add the dry ingredient mixture to the wet ingredients in three additions. Mix on low speed just until combined after each addition. Don’t overmix—stop as soon as you no longer see flour streaks. Overmixing develops gluten, which makes cookies tough instead of tender.
Step 6: Add the Halloween Sprinkles
Gently fold in ⅓ cup of Halloween sprinkles using a rubber spatula or wooden spoon. Reserve the remaining sprinkles for topping. The gentle folding technique keeps the sprinkles intact and prevents color bleeding into the dough.
Step 7: Shape the Cookie Dough
Using a cookie scoop or tablespoon, portion out dough balls about 1½ tablespoons each. Roll each portion between your palms to create smooth balls. Place them on your prepared baking sheets, spacing them 2 inches apart. They’ll spread during baking, so proper spacing prevents them from merging together.
Step 8: Add Finishing Touches
Press the remaining sprinkles gently onto the top of each cookie dough ball. You can also lightly flatten each ball to about ½ inch thick for more even baking. This creates those beautiful crispy edges everyone loves.
Step 9: Bake to Perfection
Bake for 10-12 minutes, until the edges are lightly golden but the centers still look slightly underdone. They’ll appear puffy and soft—that’s exactly what you want! The cookies will continue cooking on the hot pan after removal.
Step 10: Cool and Serve
Let cookies cool on the baking sheet for 5 minutes. This resting period allows them to set up without breaking. Then transfer to a wire cooling rack to cool completely. They’ll firm up as they cool but maintain that soft center. Resist the urge to sample them immediately—I know it’s hard!
What to Serve Halloween Cookies With Sprinkles With
These festive treats pair wonderfully with various beverages and party items:
Beverages:
- Cold milk (classic for a reason!)
- Hot apple cider with cinnamon sticks
- Pumpkin spice lattes
- Hot chocolate with marshmallows
- Orange-flavored sparkling water
Party Pairing Ideas:
- Serve alongside Halloween cupcakes for a dessert table
- Include in Halloween gift baskets with candy corn
- Pack in clear bags tied with orange ribbon for party favors
- Create a cookie decorating station at your party
- Pair with vanilla ice cream for cookie sandwiches
Complementary Treats:
- Caramel apples
- Pumpkin bread
- Halloween-themed Rice Krispie treats
- Chocolate-covered pretzels
- Candy corn bark
Top Tips for Perfecting Halloween Cookies With Sprinkles
Temperature Matters
Always use room temperature butter and eggs. Cold butter won’t cream properly, resulting in dense cookies. Leave butter out for 30-45 minutes before baking. You should be able to press a finger into it easily, but it shouldn’t be melted or greasy.
Don’t Overbake
The number one mistake people make is overbaking. Remove cookies when they look slightly underdone in the center. They’ll continue baking on the hot pan. Overbaked cookies become hard and crunchy instead of soft and chewy.
Chill the Dough If Needed
If your kitchen is warm or the dough feels too soft, refrigerate it for 15-20 minutes. This prevents excessive spreading and helps cookies maintain their shape. It also intensifies the flavors!
Use Quality Sprinkles
Invest in high-quality sprinkles that won’t bleed. Cheap sprinkles can make your dough look muddy. Jimmies (rod-shaped sprinkles) hold their color better than nonpareils (tiny round ones) during baking.
Measure Flour Correctly
Spoon flour into your measuring cup and level it off with a knife. Don’t scoop directly from the bag, which packs in too much flour and creates dry, crumbly cookies. This is the most important measuring technique in baking!
Rotate Your Baking Sheets
Halfway through baking, rotate your sheet 180 degrees. This ensures even browning since most ovens have hot spots. If baking two sheets at once, also swap their rack positions.
Experiment with Flavors
Try adding ½ teaspoon almond extract along with the vanilla for a subtle nutty flavor. You can also add orange zest for a citrusy twist that’s perfect for Halloween!
Storing and Reheating Tips
Room Temperature Storage:
Store cooled cookies in an airtight container at room temperature for up to 5 days. Place parchment paper between layers to prevent sticking. Add a slice of bread to the container—it releases moisture that keeps cookies soft. Replace the bread slice every two days.
Refrigerator Storage:
These cookies don’t require refrigeration, but if you prefer them chilled (they’re delicious cold!), store them in an airtight container in the fridge for up to 2 weeks. Bring to room temperature before serving for the best texture and flavor.
Freezing Baked Cookies:
Freeze baked cookies for up to 3 months. Place them in a single layer on a baking sheet and freeze for 1 hour. Then transfer to freezer-safe bags or containers, separating layers with parchment paper. This prevents them from sticking together. Thaw at room temperature for 20-30 minutes before serving.
Freezing Cookie Dough:
You can freeze the unbaked dough balls for up to 3 months! Shape the dough, place on a parchment-lined baking sheet, and freeze until solid. Transfer to a freezer bag. Bake directly from frozen, adding 1-2 extra minutes to the baking time. This is perfect for having fresh cookies whenever you want!
Reheating Instructions:
To refresh day-old cookies, microwave for 8-10 seconds. This softens them and makes them taste freshly baked. Alternatively, warm them in a 300°F oven for 3-4 minutes. Don’t overheat or they’ll become too soft and lose their structure.
Frequently Asked Questions
Can I make Halloween cookies with sprinkles without eggs?
Yes! Substitute the egg with one of these options: 3 tablespoons of applesauce, one “flax egg” (1 tablespoon ground flaxseed mixed with 3 tablespoons water, let sit 5 minutes), or ¼ cup mashed banana. The texture will be slightly different but still delicious.
Why did my cookies spread too much?
Excessive spreading usually happens because the butter was too warm, the dough was too warm, or there wasn’t enough flour. Make sure your butter is softened but not melted. If your dough feels greasy, refrigerate it for 20 minutes before baking. Also, check that you measured flour correctly using the spoon-and-level method.
Can I use salted butter instead of unsalted?
Yes, but reduce or omit the added salt in the recipe. Salted butter contains about ¼ teaspoon salt per stick, so adjust accordingly. Unsalted butter gives you better control over the final flavor.
How do I make my cookies thicker?
For thicker cookies, chill the dough for 30 minutes before baking. You can also slightly increase the flour by 2-3 tablespoons or reduce the baking temperature to 350°F and bake a bit longer. Don’t flatten the dough balls before baking.
What’s the best way to get even-sized cookies?
Use a cookie scoop! A 1½ tablespoon cookie scoop (medium size) creates perfectly uniform cookies that bake evenly. It’s a worthwhile investment if you bake often.
Can I add chocolate chips to this recipe?
Absolutely! Add ½ to 1 cup of mini chocolate chips along with the sprinkles. Halloween-colored M&Ms also work wonderfully. Just fold them in gently at the end.
My sprinkles are bleeding into the dough. How do I prevent this?
Use high-quality jimmies instead of nonpareils. Also, don’t overmix once you add the sprinkles. If using darker sprinkles, add them just before baking by pressing them into the tops rather than mixing into the dough.
Can I make these cookies gluten-free?
Yes! Use a 1:1 gluten-free baking flour blend that contains xanthan gum. The texture will be slightly different but still tasty. Let the dough rest for 10 minutes before baking to allow the flour to hydrate.
How do I know when the cookies are done?
Look for lightly golden edges with centers that still appear slightly soft and puffy. They should look slightly underdone when you remove them. They’ll firm up as they cool on the baking sheet.
Can I make these cookies dairy-free?
Replace the butter with vegan butter sticks (not spreads) in equal amounts. Make sure it’s at room temperature. Brands like Earth Balance or Miyoko’s work well in baking.
Nutrition Information
| Nutrient | Per Cookie (1 of 24) |
|---|---|
| Calories | 145 |
| Total Fat | 7g |
| Saturated Fat | 4g |
| Cholesterol | 25mg |
| Sodium | 95mg |
| Total Carbohydrates | 20g |
| Dietary Fiber | 0g |
| Sugars | 11g |
| Protein | 2g |
Note: Nutrition information is approximate and will vary based on specific ingredients and portion sizes used.
Extra Tips for Halloween Cookie Success
Make Them Extra Special:
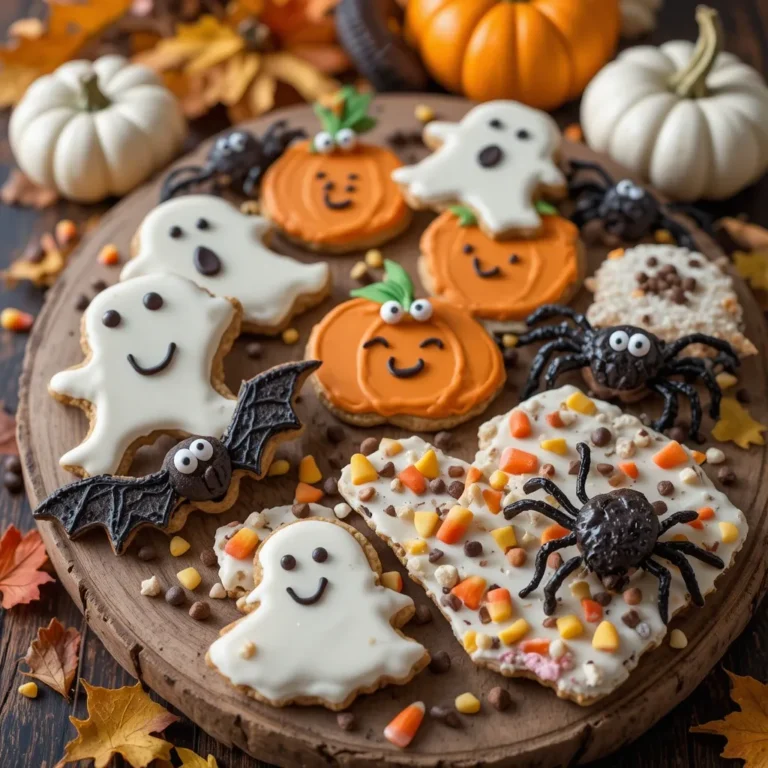
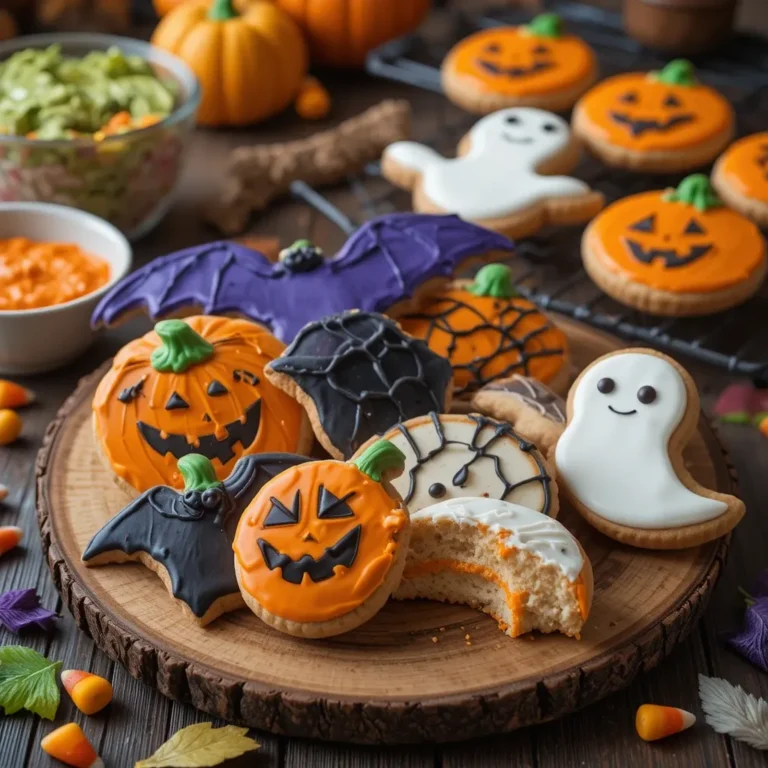
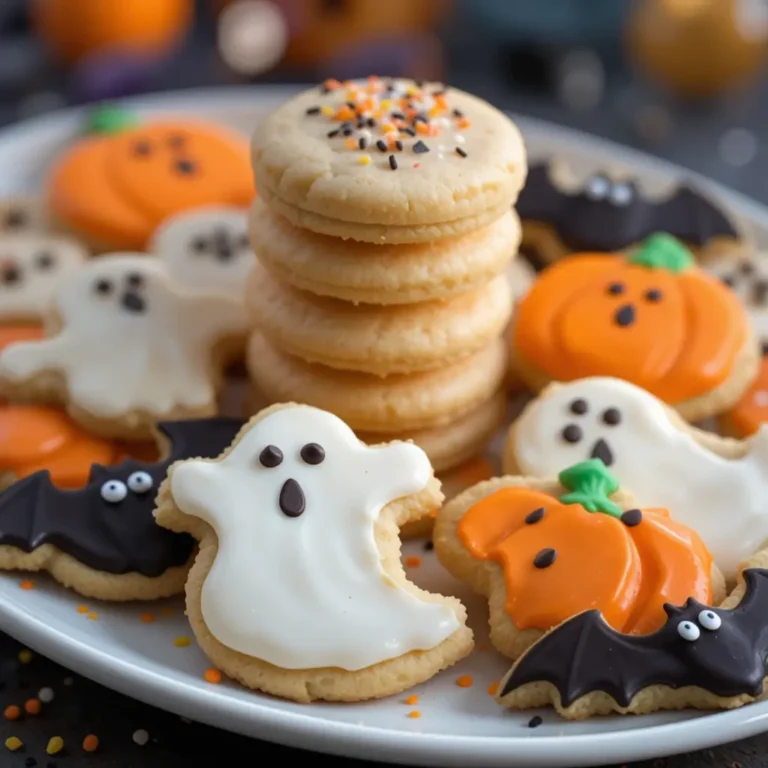
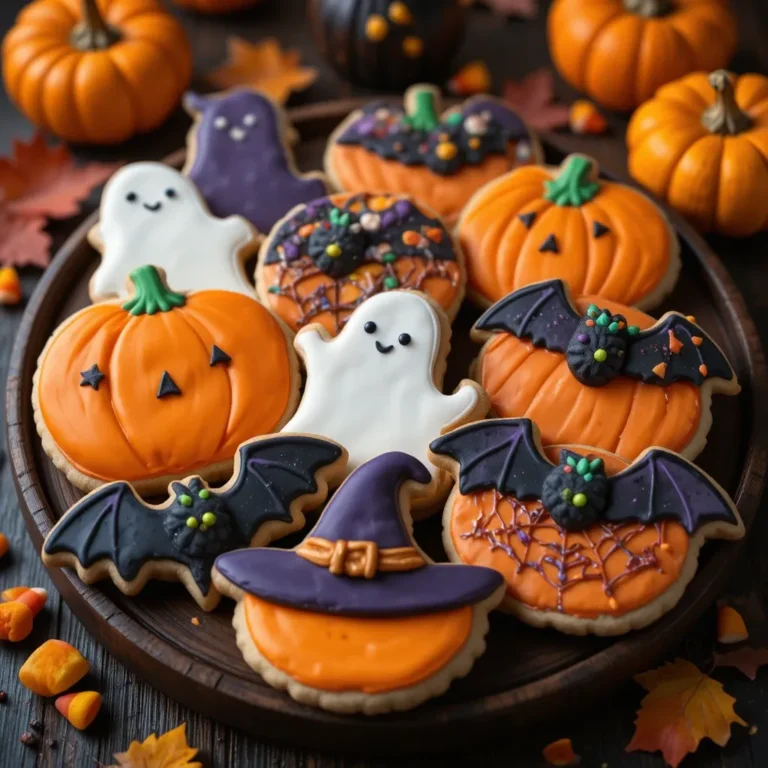
- Use Halloween cookie cutters for fun shapes like ghosts, pumpkins, and bats
- Create an icing drizzle with 1 cup powdered sugar mixed with 2 tablespoons milk
- Add candy eyes before baking for spooky character cookies
- Mix different colored doughs for a marbled effect
Party Planning Made Easy:
- Make the dough up to 2 days ahead and refrigerate
- Set up a cookie decorating station with various sprinkles and icings
- Package cookies in clear cellophane bags with Halloween tags
- Create a cookie exchange with neighbors or friends
Troubleshooting Common Issues:
- Cookies too crispy: You’ve overbaked them or used too much flour
- Cookies too flat: Butter was too warm or dough needed chilling
- Sprinkles melting: Oven temperature is too high, reduce to 350°F
- Dough too sticky: Refrigerate for 15-20 minutes before shaping
These Halloween cookies with sprinkles are guaranteed to be a hit at any Halloween celebration. They’re simple enough for kids to help make, delicious enough for adults to devour, and festive enough to make your Halloween extra special. Happy baking, and have a spooktacular Halloween!