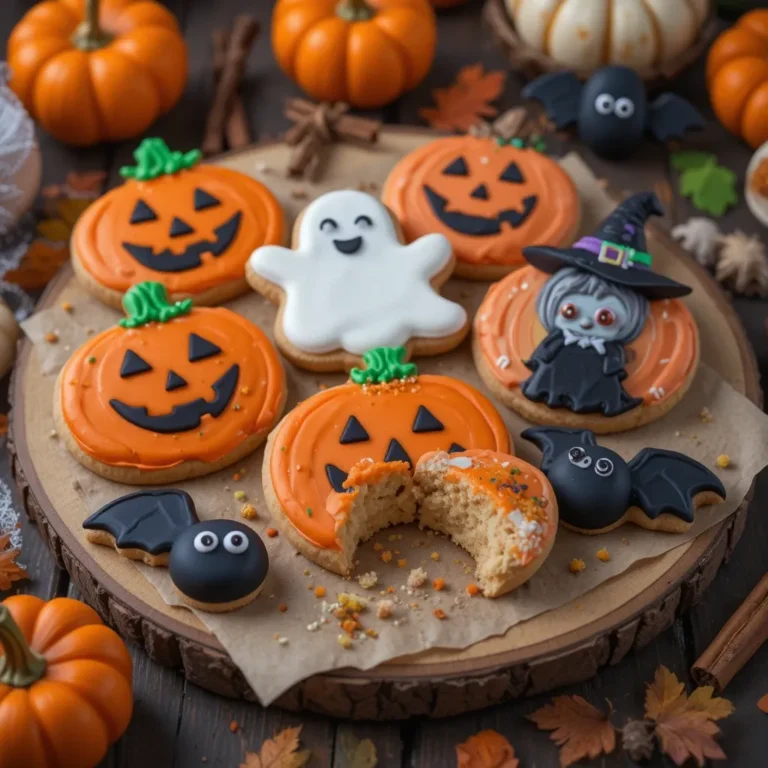
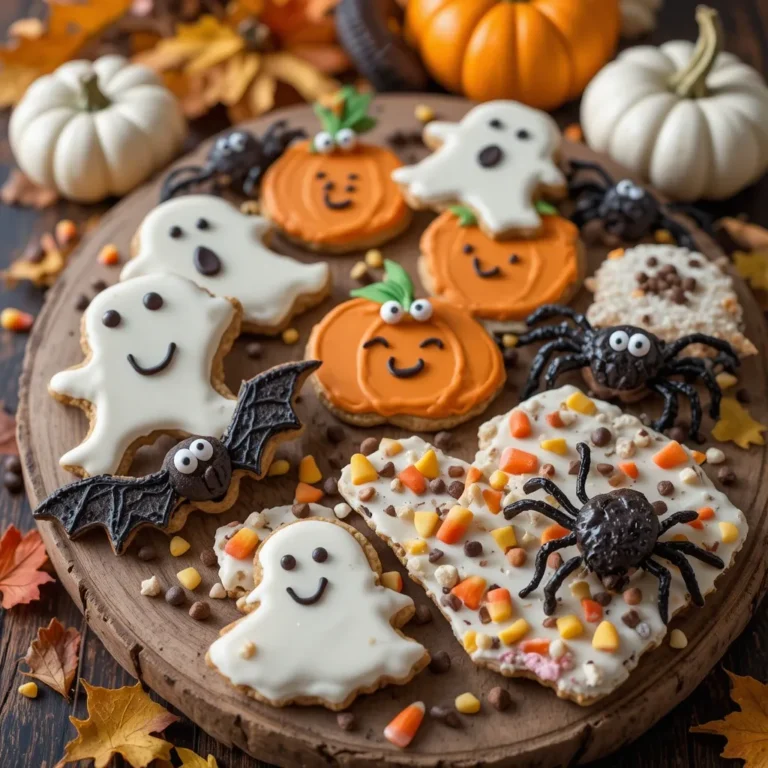
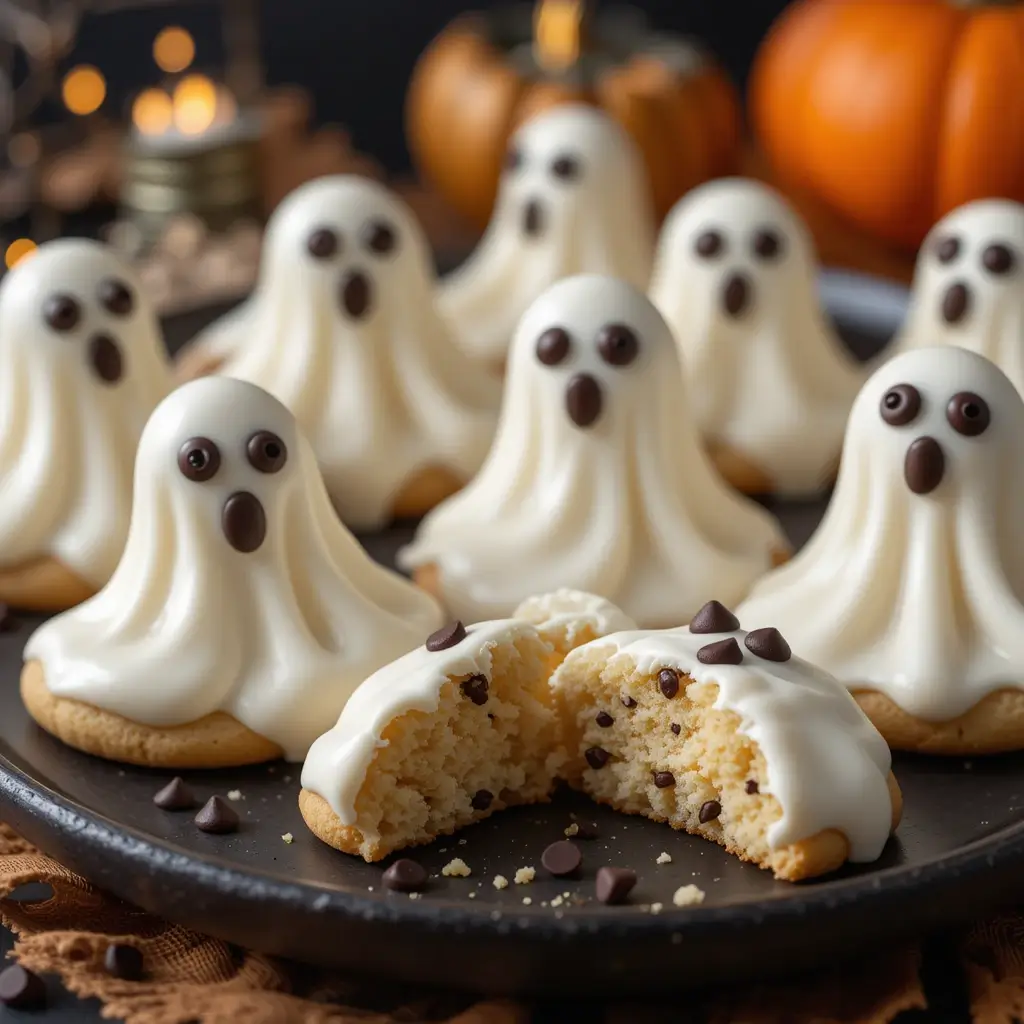
30 Minute Halloween Ghost Cookies
Halloween ghost cookies are the perfect treat to float into your kitchen this spooky season! These adorable, pillowy-soft cookies capture all the magic of Halloween without any scary ingredients or complicated techniques.
Did you know that ghost-shaped treats became popular in American households during the 1950s when Halloween transformed from a harvest celebration to a family-friendly holiday? These delightful cookies are incredibly simple to make, requiring just 30 minutes from start to finish, making them ideal for busy families wanting to create magical memories together.
Much like our popular pumpkin spice cookies that readers absolutely adore, these ghostly treats will become your new Halloween tradition that both kids and adults will beg you to make year after year!
What Are Halloween Ghost Cookies?
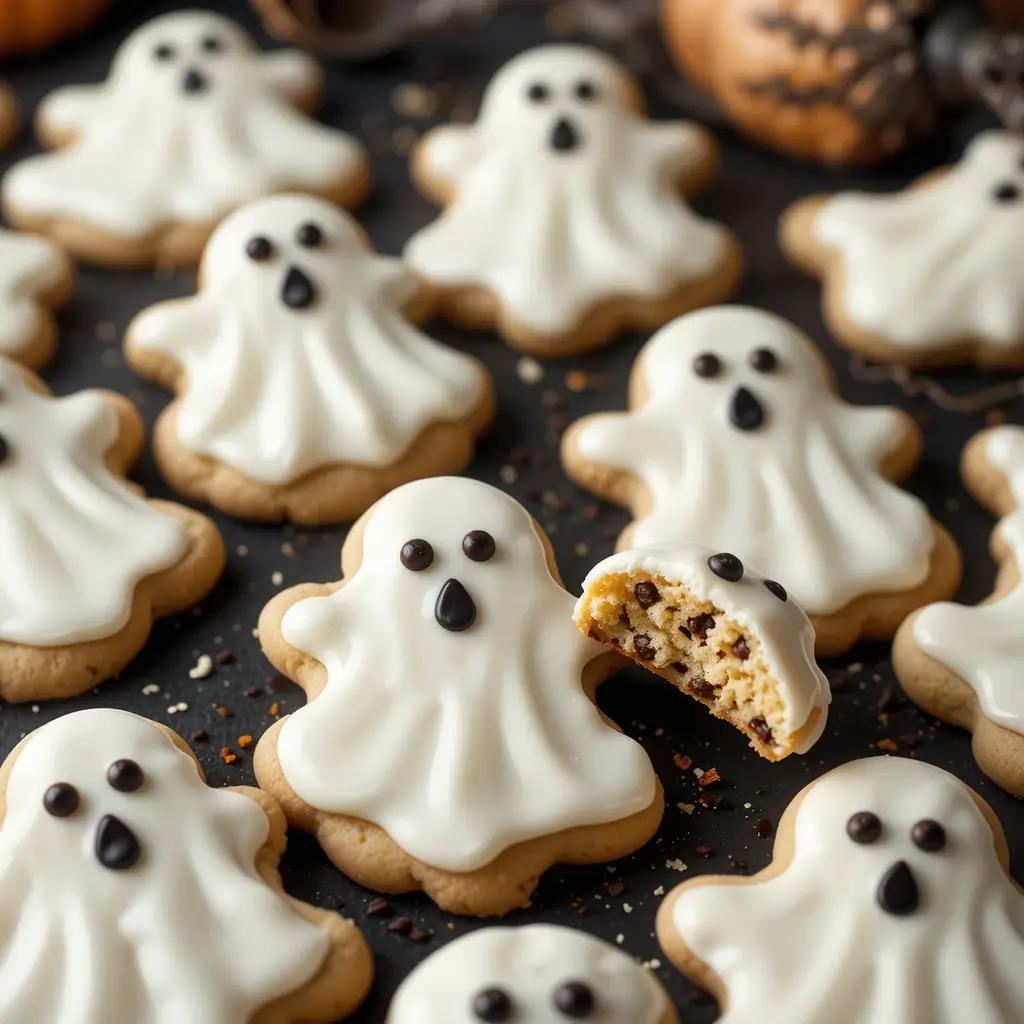
Ever wonder why we call them “ghost” cookies when they’re clearly more adorable than scary? These whimsical treats got their spooky name from their characteristic white appearance and flowing sheet-like shape that resembles friendly neighborhood spirits.
Legend has it that a creative baker in the 1960s accidentally dropped white icing on her sugar cookies, creating the first “ghostly” appearance that delighted her children so much, she made it a Halloween tradition.
As they say, “the way to a man’s heart is through his stomach,” but the way to a child’s heart is definitely through ghost-shaped cookies! Ready to create some kitchen magic that’ll have everyone floating on cloud nine?
Why You’ll Love This Halloween Ghost Cookies Recipe
Irresistibly Soft and Sweet
These Halloween ghost cookies deliver the perfect balance of tender, melt-in-your-mouth texture with just the right amount of sweetness. Each bite reveals a delicate vanilla flavor that’s enhanced by a hint of almond extract, creating a sophisticated taste that appeals to both children and adults. The cookies maintain their soft texture for days, making them perfect for meal prep or party planning.
Budget-Friendly Family Fun
Making Halloween ghost cookies at home costs a fraction of what you’d spend on store-bought decorated cookies. With basic pantry staples like flour, sugar, butter, and eggs, plus simple white icing ingredients, you can create dozens of professional-looking treats for under $10. This makes them perfect for classroom parties, neighborhood gatherings, or simply treating your family without breaking the bank.
Endless Decorating Possibilities
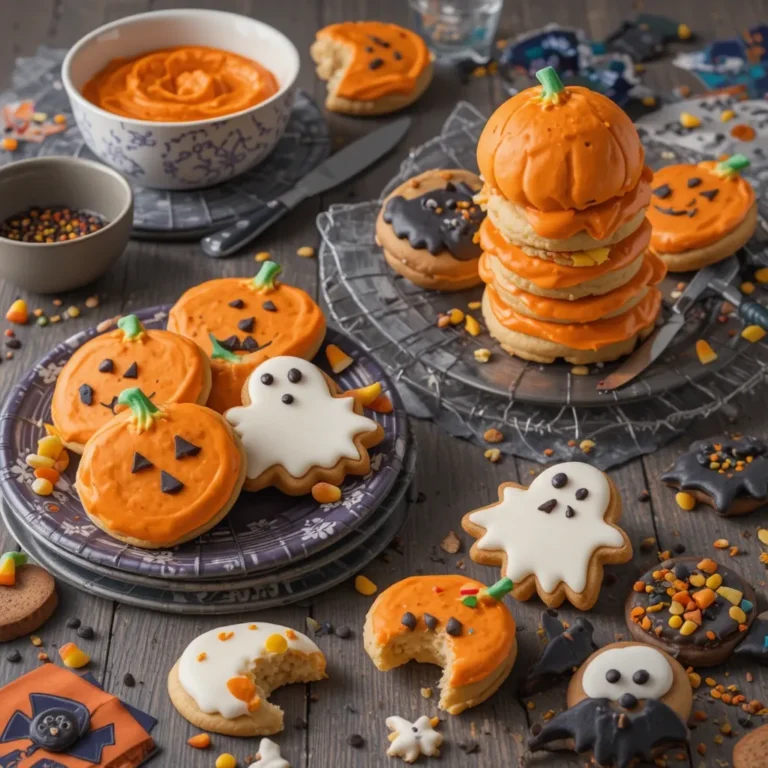
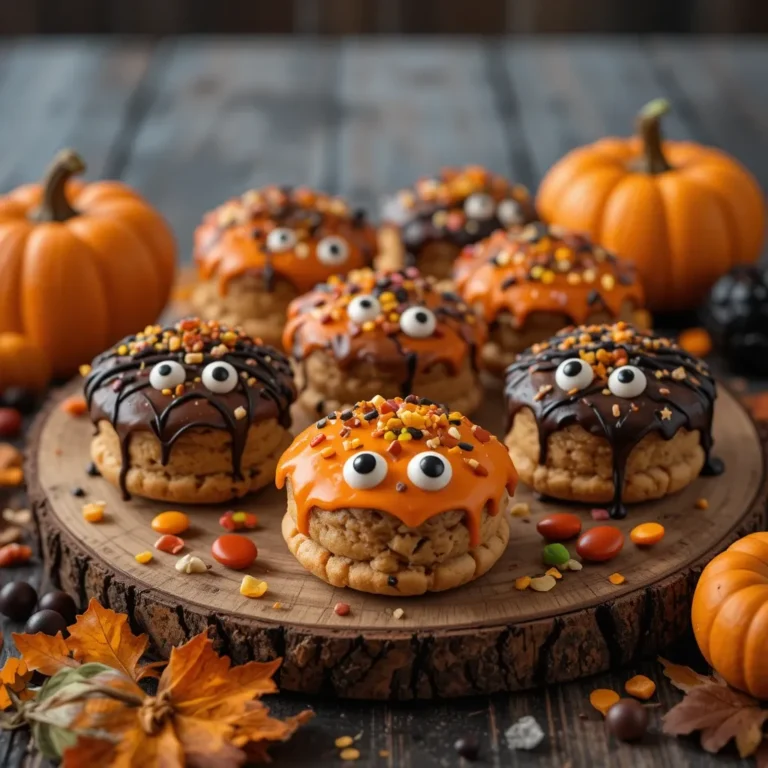
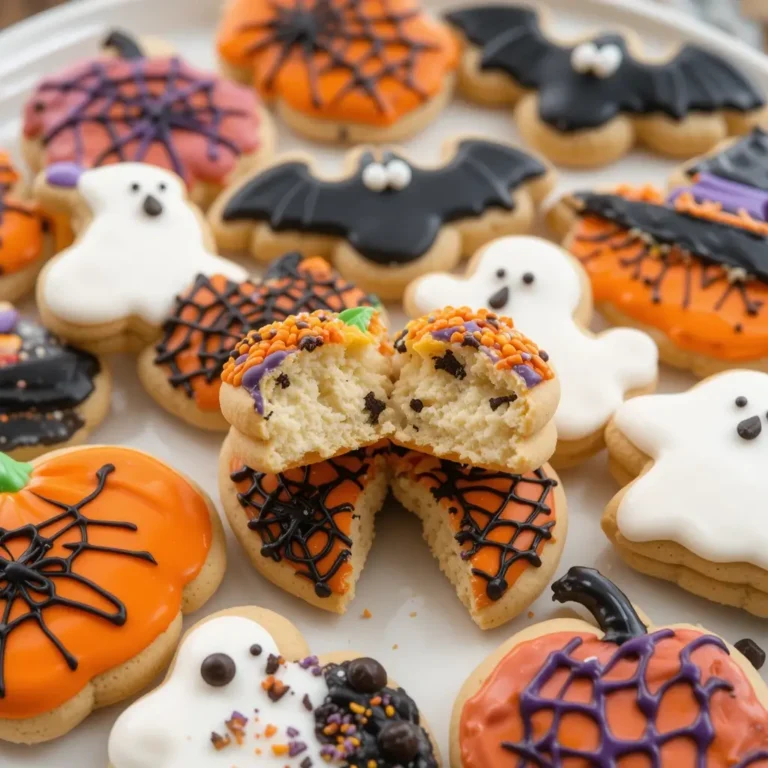
The beauty of these cookies lies in their versatility – while the classic white ghost with chocolate chip eyes never goes out of style, you can customize them with colored icing, sprinkles, or even turn them into other spooky characters.
The smooth white base provides the perfect canvas for creativity, and unlike our elaborate Halloween sugar cookies that require multiple icing colors, these keep things beautifully simple. Ready to turn your kitchen into a haunted bakery that produces treats instead of tricks?
How to Make Halloween Ghost Cookies
Quick Overview
These Halloween ghost cookies are wonderfully simple to create, combining a basic sugar cookie base with flowing white royal icing that creates their signature ghostly appearance. The magic happens when you pipe the icing in a teardrop shape, letting gravity create natural flowing edges that look authentically spooky.
What makes this recipe special is the addition of almond extract, which gives the cookies a subtle depth of flavor that elevates them beyond ordinary sugar cookies.
Prep Time: 20 minutes
Bake Time: 10-12 minutes per batch
Decorating Time: 15 minutes
Total Time: 45 minutes
Yield: 24 medium cookies
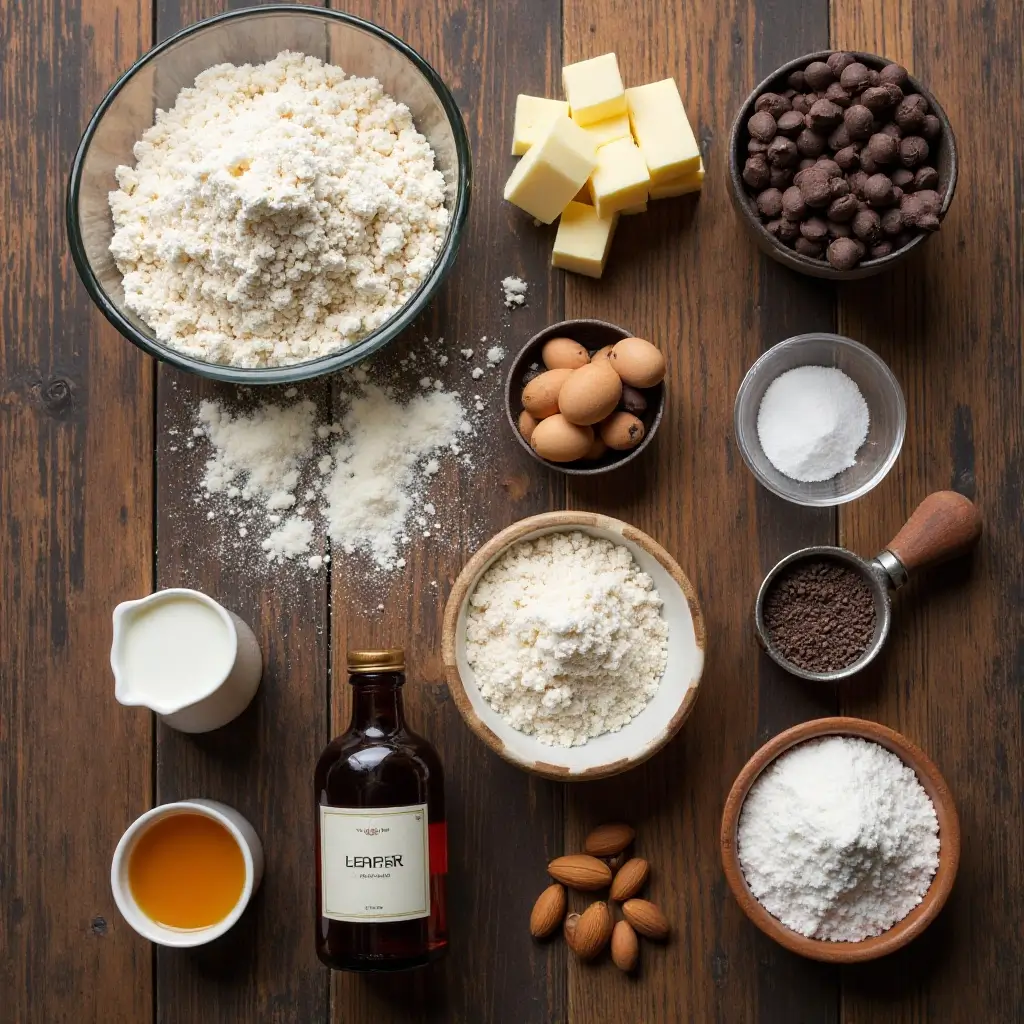
Key Ingredients for Halloween Ghost Cookies
For the Cookie Dough:
- 2¼ cups all-purpose flour
- 1 teaspoon baking powder
- ½ teaspoon salt
- ¾ cup unsalted butter, softened
- 1 cup granulated sugar
- 1 large egg
- 2 teaspoons vanilla extract
- ½ teaspoon almond extract
- 2-3 tablespoons milk
For the Royal Icing:
- 3 cups powdered sugar
- 3 large egg whites (or 3 tablespoons meringue powder + 6 tablespoons water)
- 1 teaspoon vanilla extract
- 2-3 tablespoons milk (as needed)
For Decoration:
- Mini chocolate chips (for eyes)
- Black gel food coloring (optional, for drawn eyes)
Step-by-Step Instructions
Making the Cookie Dough
Step 1: Preheat your oven to 375°F (190°C). Line two large baking sheets with parchment paper and set aside.
Step 2: In a medium bowl, whisk together flour, baking powder, and salt. Set this dry ingredient mixture aside.
Step 3: In a large mixing bowl, cream the softened butter and granulated sugar using an electric mixer on medium speed for 3-4 minutes until light and fluffy.
Step 4: Beat in the egg, vanilla extract, and almond extract until well combined. The mixture should look smooth and creamy.
Step 5: Gradually add the flour mixture to the butter mixture, alternating with milk. Mix on low speed until just combined – don’t overmix.
Step 6: Divide the dough in half and wrap each portion in plastic wrap. Refrigerate for at least 30 minutes to firm up.
Rolling and Cutting the Cookies
Step 7: On a lightly floured surface, roll out one portion of dough to ¼-inch thickness. Keep the second portion refrigerated until ready to use.
Step 8: Using a ghost-shaped cookie cutter (or create your own template), cut out ghost shapes. For a more authentic look, you can also cut oval shapes and slightly stretch the bottom to create a flowing effect.
Step 9: Place cut cookies on prepared baking sheets, spacing them about 2 inches apart.
Step 10: Bake for 10-12 minutes, or until the edges are set but not browned. The centers should still look slightly soft.
Step 11: Cool on baking sheets for 5 minutes, then transfer to wire racks to cool completely before decorating.
Creating the Royal Icing
Step 12: In a large bowl, whisk together powdered sugar, egg whites (or prepared meringue powder mixture), and vanilla extract.
Step 13: Using an electric mixer, beat on high speed for 5-7 minutes until stiff peaks form. The icing should be bright white and hold its shape.
Step 14: Gradually add milk, one tablespoon at a time, until you reach a consistency that flows smoothly but holds its shape when piped.
Decorating Your Ghost Cookies
Step 15: Transfer the royal icing to a piping bag fitted with a round tip, or use a zip-lock bag with a corner snipped off.
Step 16: Starting at the top of each cookie, pipe a smooth layer of icing, allowing it to flow naturally toward the edges for that authentic ghost shape.
Step 17: While the icing is still wet, gently place two mini chocolate chips for eyes, pressing them slightly into the icing.
Step 18: Allow cookies to dry for at least 2 hours before handling or storing.
What to Serve Halloween Ghost Cookies With
These spooky-sweet treats pair beautifully with warm beverages that complement their vanilla-almond flavor profile. Serve them alongside hot apple cider spiked with cinnamon for adults, or creamy hot chocolate topped with marshmallows for the kids. For a complete Halloween spread, arrange them on a platter with orange and black themed snacks like cheese and crackers, or create a dessert table featuring complementary treats like pumpkin cupcakes and caramel apples.
Consider pairing these cookies with seasonal fruit like sliced pears or apples drizzled with honey, as the fresh fruit cuts through the sweetness perfectly. For party planning, they work wonderfully as part of a Halloween cookie decorating station where guests can add their own creative touches with additional sprinkles or colored icing.
Top Tips for Perfecting Halloween Ghost Cookies
Achieving the Perfect Cookie Texture
Ensure your butter is properly softened – it should give slightly when pressed but not be melted. This creates the ideal creamy base for tender cookies. Don’t skip the chilling step for the dough, as this prevents the cookies from spreading too much during baking and helps them hold their ghost shape perfectly.
Royal Icing Success Secrets
The key to smooth, professional-looking icing is achieving the right consistency – it should flow like thick honey when lifted with a spoon. If your icing is too thick, add milk one teaspoon at a time. If it’s too thin, gradually sift in more powdered sugar. Humidity can affect icing consistency, so adjust accordingly on particularly humid days.
Ingredient Substitutions That Work
You can substitute the almond extract with additional vanilla if you prefer, though the almond adds a lovely depth of flavor. For egg-free royal icing, meringue powder works perfectly and actually provides more stability. If you don’t have a ghost cookie cutter, use a large oval cutter and gently stretch the dough to create the flowing ghost shape.
Decoration Pro Tips
For perfectly placed chocolate chip eyes, use tweezers for precision placement while the icing is still wet. If you prefer drawn-on faces, wait until the base icing is completely dry (about 2 hours), then use black gel food coloring thinned with a tiny amount of water for easy application with a fine brush or toothpick.
Storing and Reheating Tips
Store your finished Halloween ghost cookies in an airtight container at room temperature for up to one week. Layer them between sheets of parchment paper to prevent the icing from sticking together. The cookies actually improve in texture after a day or two, as the icing softens slightly and melds with the cookie base.
For longer storage, these cookies freeze beautifully for up to three months. Wrap them individually in plastic wrap, then place in a freezer-safe container. Thaw at room temperature for about 30 minutes before serving – the texture and flavor remain perfect after freezing.
Avoid refrigerating decorated cookies, as condensation can cause the icing to become sticky and lose its smooth appearance. If you need to transport them, keep them in a cool, dry place and handle minimally to preserve their ghostly good looks.
Nutritional Information
| Nutrient | Per Cookie (approximate) |
|---|---|
| Calories | 145 |
| Total Fat | 4g |
| Saturated Fat | 2.5g |
| Cholesterol | 25mg |
| Sodium | 85mg |
| Total Carbohydrates | 26g |
| Dietary Fiber | 0.5g |
| Total Sugars | 18g |
| Protein | 2g |
Nutritional values are estimates based on standard ingredient values and may vary depending on specific brands used.
Frequently Asked Questions
Can I make the cookie dough ahead of time?
Absolutely! The cookie dough can be made up to 3 days in advance and stored in the refrigerator, or frozen for up to 3 months. Just remember to let frozen dough thaw in the refrigerator overnight before rolling and cutting.
What if I don’t have royal icing ingredients?
You can create a simple glaze using 2 cups powdered sugar, 3-4 tablespoons milk, and 1 teaspoon vanilla extract. While it won’t be as smooth as royal icing, it still creates adorable ghost cookies with a slightly more rustic appearance.
How do I prevent the cookies from spreading too much?
Make sure your dough is properly chilled before cutting, and don’t skip the refrigeration step. Also, ensure your oven is fully preheated before baking, and don’t overcrowd the baking sheets.
Can I use different colors for the icing?
While traditional ghost cookies are white, you can absolutely experiment with pale colors like light gray or even pastel shades for a more whimsical approach. Just add gel food coloring drop by drop until you achieve the desired shade.
What’s the best way to get smooth icing coverage?
The key is having the right consistency – the icing should flow smoothly but not be so thin that it runs off the cookie. Work quickly while the icing is wet, and use a toothpick to guide it to edges if needed.
How long does the icing take to set completely?
Royal icing typically sets to the touch within 1-2 hours, but for complete hardening (safe for stacking or packaging), allow 4-6 hours or overnight.
Additional Helpful Tips for Success
Troubleshooting Common Issues: If your cookies are too hard, you likely overbaked them or added too much flour. For future batches, reduce baking time by 1-2 minutes and measure flour by spooning it into the cup rather than scooping.
Make It Extra Special: Create a “ghost family” by making cookies in different sizes – use various sized cutters or simply stretch the dough differently. Kids love having mama ghost, papa ghost, and baby ghost cookies!
Allergy-Friendly Adaptations: For gluten-free versions, substitute with a 1:1 gluten-free flour blend. For dairy-free cookies, use vegan butter substitute in the same quantity.
Gift-Giving Ideas: Package these cookies in clear cellophane bags tied with orange and black ribbons for perfect Halloween party favors or neighbor treats.
These Halloween ghost cookies prove that the most memorable treats don’t require complicated techniques – just a little creativity and a lot of love. Whether you’re baking with kids, preparing for a party, or simply embracing the Halloween spirit, these delightful cookies will create sweet memories that last long after the last crumb disappears!