Easy Halloween Rice Krispies Treats in 15 Minutes Kids Love These
Looking for a treat that’s spooky, sweet, and ridiculously simple to make? These Halloween Rice Krispies Treats are about to become your new favorite fall tradition! Gooey, colorful, and endlessly customizable, these festive squares take just 15 minutes to prepare.
Here’s a fun fact: Rice Krispies Treats were invented by accident in 1939 when a Kellogg’s employee needed a quick fundraiser treat! This Halloween version transforms the classic into something magical with vibrant orange and black colors, spooky shapes, and fun toppings.
Whether you’re hosting a Halloween party, need classroom treats, or want a simple activity with the kids, these treats deliver maximum fun with minimal effort. If you loved our Classic Chocolate Chip Cookies, you’ll adore how quickly these come together! Get ready to create the most Instagram-worthy, kid-approved Halloween snacks that’ll have everyone asking for your secret recipe.
What Are Halloween Rice Krispies Treats?
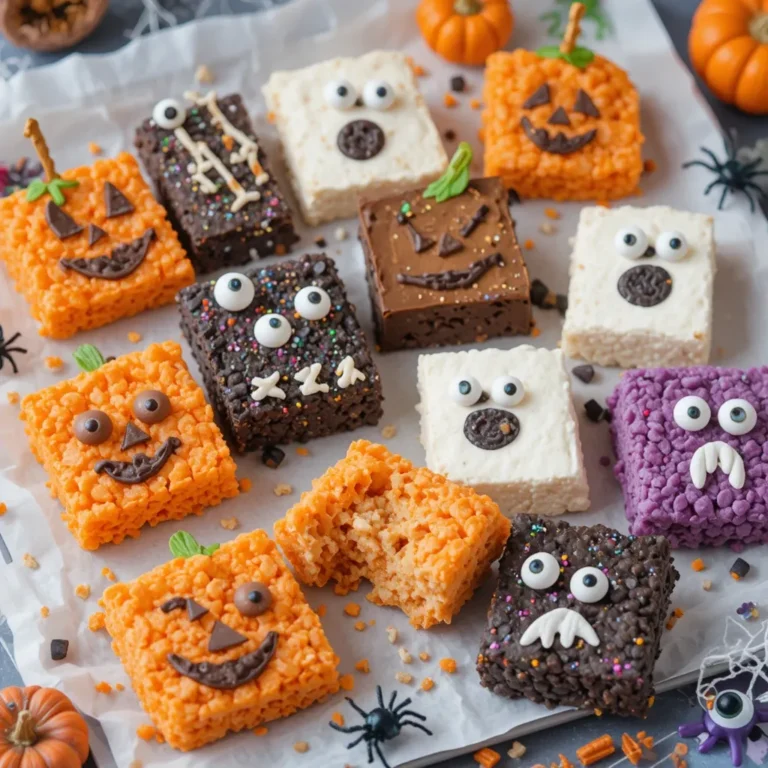
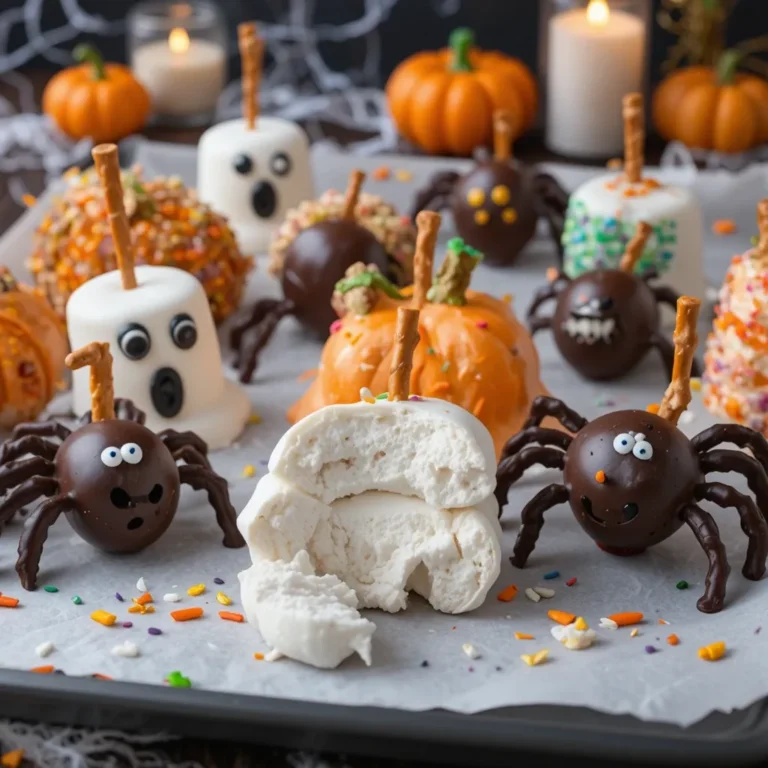
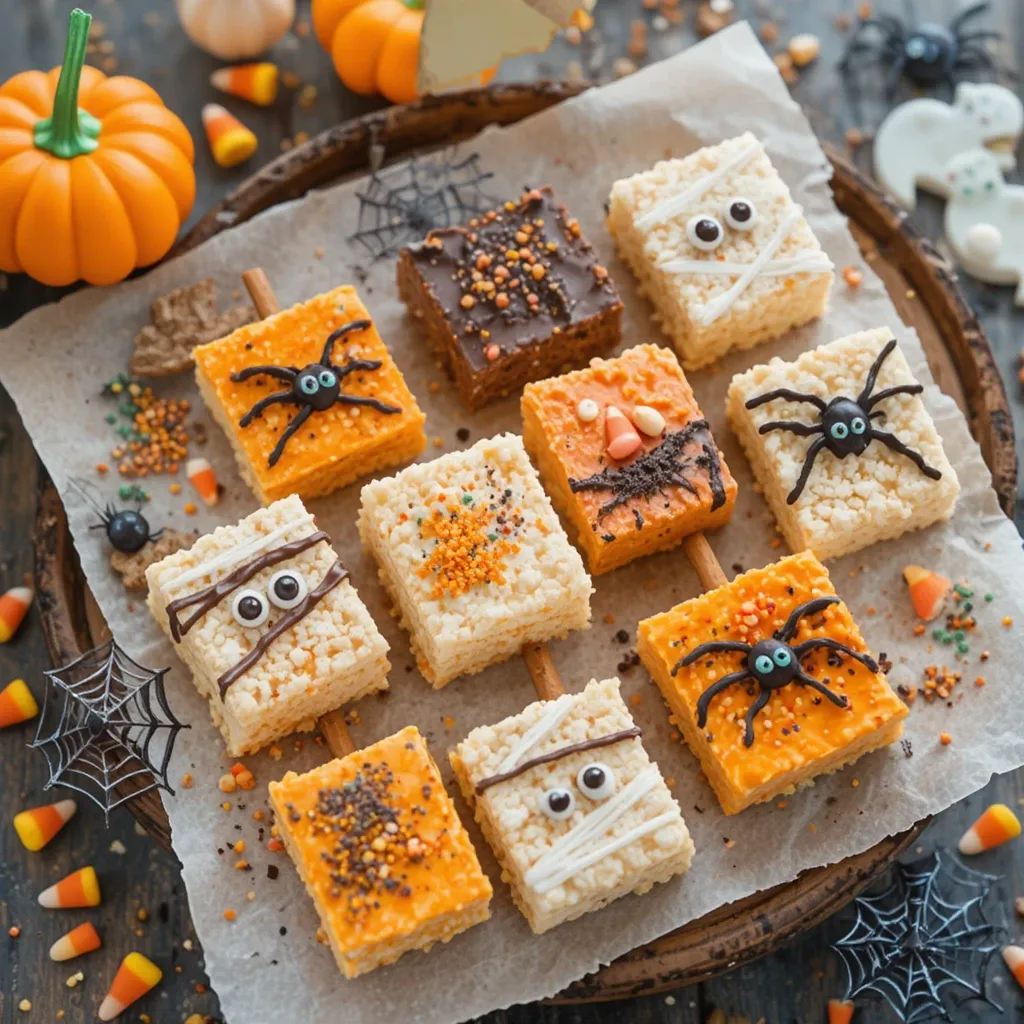
Ever wonder why something so simple tastes so magical? Halloween Rice Krispies Treats are the classic crispy, marshmallow-y squares dressed up in their spooky best! Think vibrant orange and black colors, fun shapes like ghosts and pumpkins, and maybe even some candy eyeballs staring back at you.
The genius is in the simplicity—crispy rice cereal bound together with melted marshmallows and butter, then decorated to match the Halloween spirit. As they say, “the way to a man’s heart is through his stomach,” and these treats work like a charm on kids and adults alike!
Why settle for store-bought when you can create colorful, customized Halloween magic in your own kitchen? Trust me, once you see how easy these are, you’ll be making them for every fall gathering. Ready to become the Halloween hero? Let’s get started!
Why You’ll Love This Halloween Rice Krispies Treats
Incredibly Easy & Kid-Friendly
These treats are so simple that even cooking beginners can nail them perfectly. With just three basic ingredients and no baking required, you’ll have festive treats ready in under 20 minutes. Kids absolutely love helping with these—from stirring the gooey marshmallow mixture to pressing the treats into pans and adding decorations. It’s the perfect family activity that doubles as your party snack!
Budget-Friendly Halloween Magic
Why spend a fortune on store-bought Halloween treats when you can make dozens at home for just a few dollars? A box of cereal, marshmallows, and butter cost significantly less than pre-made decorated treats. Plus, you control the ingredients and can skip artificial dyes if you prefer natural food coloring. Your wallet and your family will thank you!
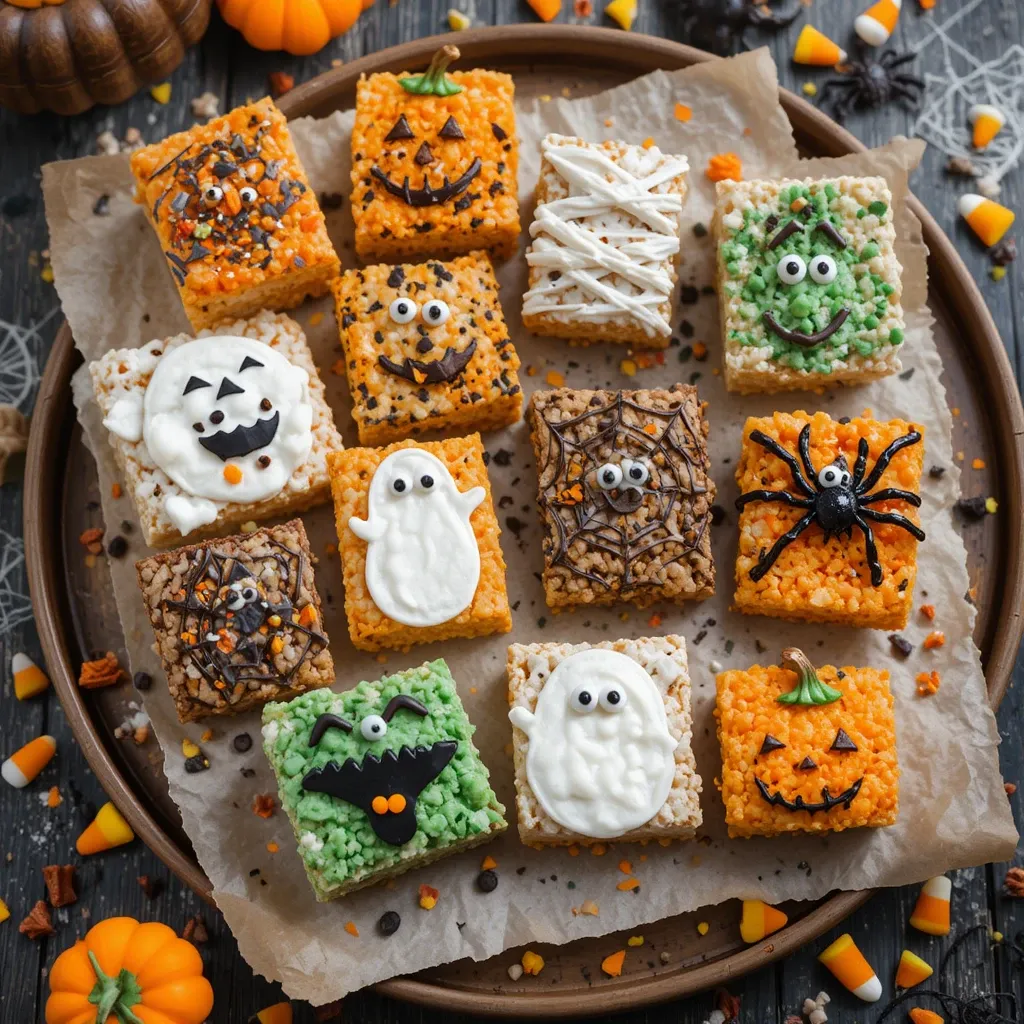
Endless Customization Options
This is where the real fun begins! Transform these treats with orange and purple food coloring, cut them into pumpkin or ghost shapes with cookie cutters, drizzle with dark chocolate for a spider web effect, or press in candy eyes and candy corn. You can make them spooky, cute, or elegant enough for adult Halloween parties. If you enjoyed decorating our Sugar Cookie Cutouts, you’ll love the creative possibilities here. The best part? Every batch can be completely different based on your mood and supplies. Make them your own and watch them disappear faster than ghosts at midnight!
How to Make Halloween Rice Krispies Treats
Quick Overview
These Halloween Rice Krispies Treats are wonderfully straightforward and require no special skills or equipment. The treats feature a perfectly gooey, crispy texture with a sweet marshmallow flavor that everyone adores. The secret to success is working quickly once the marshmallows melt and not overheating the mixture.
Time Breakdown:
- Prep Time: 10 minutes
- Cook Time: 5 minutes
- Decorating Time: 10-15 minutes
- Total Time: 25-30 minutes
- Servings: 16-20 treats (depending on size)
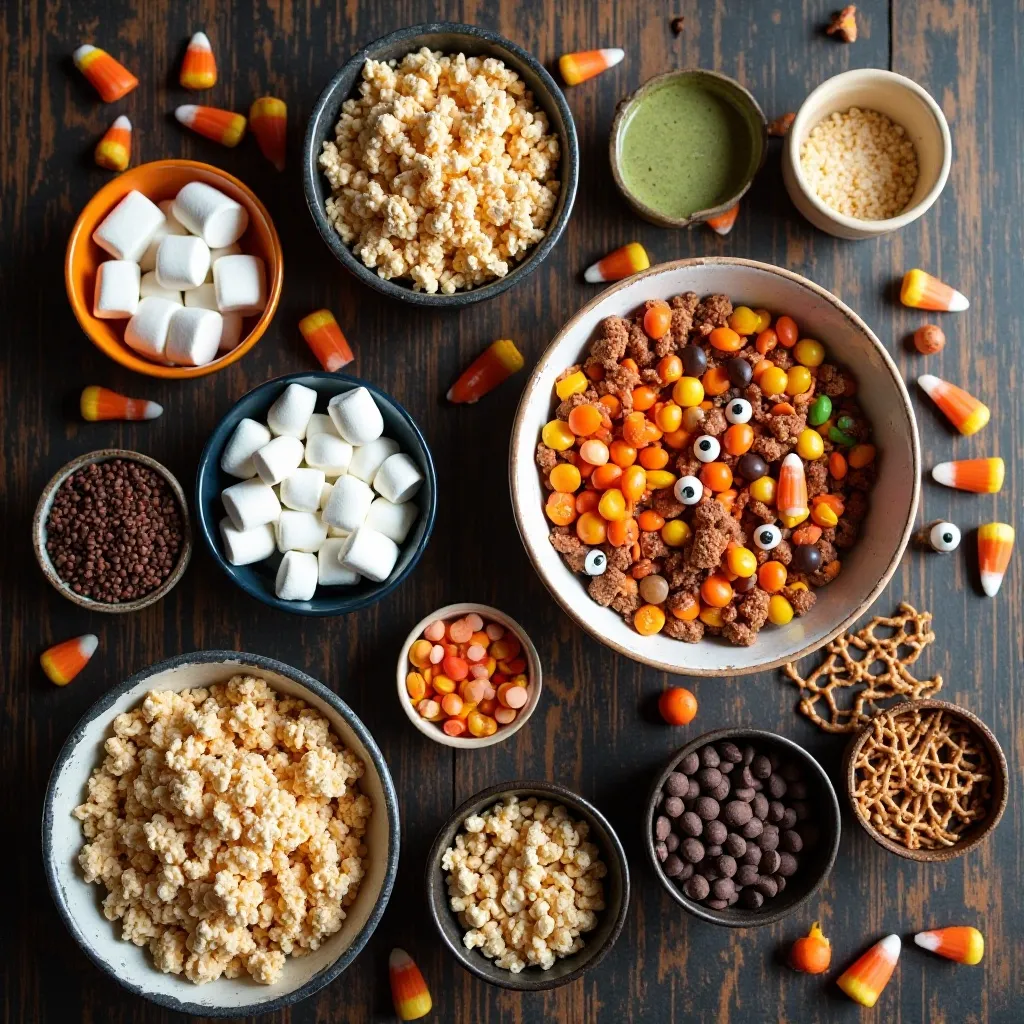
Key Ingredients for Halloween Rice Krispies Treats
Base Recipe:
- 6 cups Rice Krispies cereal (or crispy rice cereal of choice)
- 4 tablespoons (½ stick) unsalted butter
- 1 package (10 oz) regular marshmallows OR 4 cups mini marshmallows
- ¼ teaspoon vanilla extract (optional, but adds great flavor)
- Pinch of salt (enhances sweetness)
Halloween Decorations & Add-ins:
- Orange and black gel food coloring
- Candy eyes (various sizes)
- Candy corn
- Orange and black sprinkles
- Chocolate chips (regular or mini)
- Orange and purple M&Ms
- Black decorating gel or icing
- Pretzel sticks (for pumpkin stems)
- White chocolate or dark chocolate for drizzling
Equipment Needed:
- Large pot or Dutch oven
- 9×13 inch baking pan
- Parchment paper or cooking spray
- Rubber spatula
- Halloween cookie cutters (optional)
Step-by-Step Instructions
How do you prepare the pan?
Line your 9×13 inch baking pan with parchment paper, leaving some overhang on the sides for easy removal. Alternatively, spray the pan generously with non-stick cooking spray. If you plan to use cookie cutters for shapes, parchment paper works best. Set the prepared pan aside within easy reach.
How do you melt the marshmallow mixture?
Place the butter in a large pot over low to medium-low heat. Once the butter melts completely, add all the marshmallows. Stir continuously with a rubber spatula until the marshmallows are completely melted and smooth, about 3-5 minutes. The mixture should be glossy and free of lumps. Remove from heat immediately to prevent the mixture from getting too hard.
When do you add the food coloring?
This is the fun part! If you’re making orange treats, add 8-12 drops of orange gel food coloring (or combine red and yellow) directly into the melted marshmallow mixture. For black treats, use black gel food coloring sparingly as it’s very concentrated. Stir quickly but thoroughly until the color is evenly distributed. If you want multiple colors, divide the mixture into separate bowls before adding different colors. Work fast as the mixture begins to firm up quickly!
How do you mix in the cereal?
Remove the pot from heat and immediately add the vanilla extract and salt, stirring quickly. Pour in all 6 cups of Rice Krispies cereal at once. Using your rubber spatula, fold the cereal into the marshmallow mixture gently but thoroughly. Make sure every piece of cereal is coated with the marshmallow mixture. Be careful not to crush the cereal—you want to maintain that signature crispy texture.
How do you press the mixture into the pan?
Transfer the warm mixture into your prepared pan immediately. Using your spatula or lightly buttered hands (the butter prevents sticking), press the mixture evenly into the pan. Don’t press too hard or the treats will become dense and hard. Aim for a firm but gentle pressure that creates an even layer about 1-inch thick. If the mixture sticks to your hands, lightly butter them again or use a piece of parchment paper to press down.
When can you add decorations?
Work quickly while the treats are still slightly warm! Press candy eyes, candy corn, chocolate chips, or other decorations gently into the surface. The warmth helps them stick naturally. For sprinkles, scatter them over the top immediately and press gently. If you’re drizzling chocolate, wait until the treats have cooled completely, about 30 minutes at room temperature.
How do you cut Halloween shapes?
For traditional squares, let the treats cool completely for about 30 minutes. Use the parchment paper overhang to lift the entire slab out of the pan, then cut into squares with a sharp knife (butter the knife to prevent sticking). For Halloween shapes, let the treats cool for just 15 minutes (slightly warm but firm), then use buttered cookie cutters to press out pumpkins, ghosts, bats, or other shapes. The slight warmth makes cutting easier and creates cleaner edges.
How do you finish decorating?
Once your treats are cut and completely cool, get creative! Use black decorating gel to draw spider webs, ghost faces, or jack-o’-lantern expressions. Drizzle melted chocolate in zigzag patterns for a spooky effect. Add pretzel stick pieces to pumpkin shapes for stems. Pipe white icing for ghost details or mummy bandages. Let all decorations set for 10-15 minutes before serving or storing.
What to Serve Halloween Rice Krispies Treats With
These festive treats are perfect on their own, but they shine even brighter as part of a Halloween spread!
Party Pairings:
- Hot apple cider or warm spiced punch
- Hot chocolate with marshmallow ghosts
- Orange-colored fruit punch or “witch’s brew”
- Vanilla ice cream for a Rice Krispie treat ice cream sandwich
Complementary Halloween Treats:
- Chocolate cupcakes with orange frosting
- Caramel apples or apple slices
- Popcorn balls
- Mini pumpkin muffins
- Sugar cookies decorated with Halloween themes
Savory Balance:
- Cheese and crackers platter
- Veggie sticks with ranch dip (call it “monster bones and slime”)
- Pizza bites or mini sandwiches
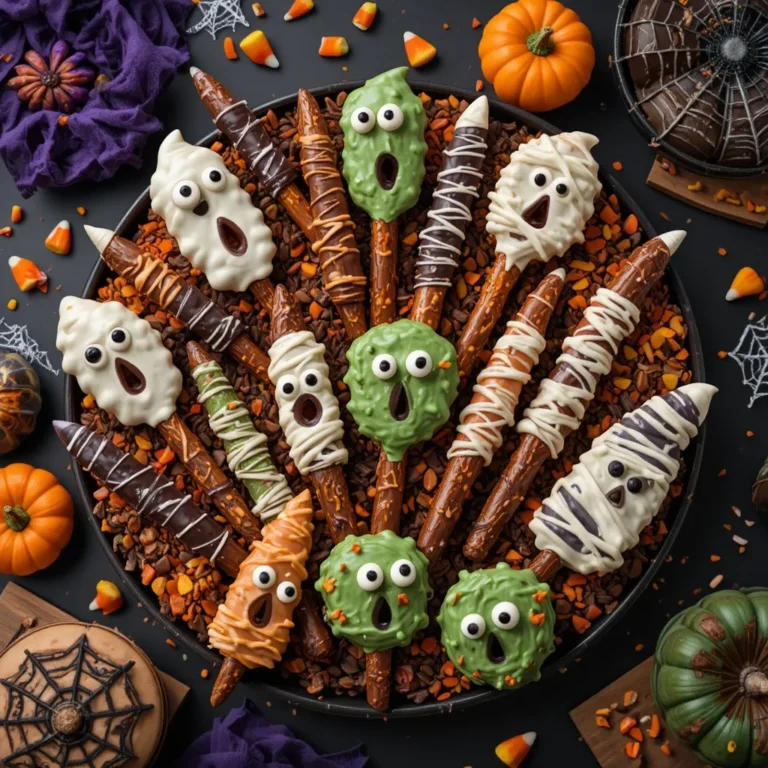
- Pretzel rods (witch’s broomsticks)
These treats work beautifully for Halloween parties, school events, trick-or-treat handouts (in sealed bags), or simply as an afternoon snack while watching spooky movies!
Top Tips for Perfecting Halloween Rice Krispies Treats
Why are my treats too hard?
The most common mistake is cooking the marshmallow mixture too long or at too high heat. Once marshmallows are just melted, remove from heat immediately. Overcooking creates tough, hard treats. Also, don’t press too firmly when shaping—gentle pressure keeps them soft and chewy.
What if my mixture gets too stiff before I finish?
Work quickly! Have everything measured and ready before you start. If the mixture firms up before you’ve pressed it into the pan, return it briefly to very low heat for 30 seconds, stirring constantly. The warmth will make it pliable again.
Can I use different cereals?
Absolutely! Try Cocoa Krispies for chocolate Halloween treats, Fruity Pebbles for colorful confetti treats, or mix different cereals together. Just maintain the 6-cup total measurement.
How do I get vibrant colors?
Use gel food coloring instead of liquid—it’s more concentrated and won’t affect the texture. For bright orange, you may need 10-15 drops. Add color gradually and remember that colors darken slightly as they cool.
What’s the secret to easy cutting?
Butter your knife or spray it with cooking spray between cuts. For cookie cutter shapes, chill the treats for 10 minutes in the refrigerator first—this makes cutting cleaner and prevents sticking.
Can I make these nut-free for allergies?
Yes! The basic recipe is naturally nut-free. Just check that your cereal and decorations don’t contain nuts or aren’t processed in facilities with nuts if allergies are severe.
How do I prevent sticking?
Always butter your hands or use parchment paper when pressing the mixture. Don’t use bare hands as the mixture is sticky and warm. A light coating of butter or cooking spray on all utensils helps tremendously.
Storing and Reheating Tips
Room Temperature Storage: Store Halloween Rice Krispies Treats in an airtight container at room temperature for up to 3 days. Place parchment paper between layers to prevent sticking. They’ll stay fresh and chewy without refrigeration.
Refrigerator Storage: If your kitchen is warm or humid, refrigerate the treats in an airtight container for up to 1 week. Let them come to room temperature for 15-20 minutes before serving for the best texture. Cold treats can be a bit firmer but are still delicious!
Freezer Storage: These treats freeze beautifully! Wrap individual treats in plastic wrap, then place in a freezer-safe container or bag. Freeze for up to 6 weeks. Thaw at room temperature for 30 minutes before serving. For best results, add delicate decorations after thawing.
Best Practices:
- Don’t stack undecorated treats without parchment paper—they’ll stick together
- If treats become too hard, microwave individual pieces for 5-8 seconds to soften
- Chocolate-drizzled treats should be stored in single layers to prevent smearing
- For party prep, make treats 1-2 days ahead and decorate the day of the event
Reheating: These treats are meant to be enjoyed at room temperature, but if you prefer them slightly warm and gooey, microwave for 8-10 seconds. Don’t overheat or the marshmallow will melt completely.
Frequently Asked Questions
Can I make Halloween Rice Krispies Treats without butter?
Yes, you can substitute butter with coconut oil or margarine in equal amounts. The butter adds rich flavor, but these alternatives work well. Coconut oil gives a subtle coconut flavor that many people enjoy.
How do I make vegan Halloween Rice Krispies Treats?
Use vegan butter and vegan marshmallows (brands like Dandies work perfectly). Check that your cereal is vegan—most Rice Krispies contain vitamin D3 from animal sources, so look for certified vegan alternatives.
Why are my Rice Krispies Treats falling apart?
You likely didn’t use enough marshmallow mixture, or the cereal wasn’t thoroughly coated. Make sure every piece of cereal is covered with the marshmallow mixture. Also, letting the treats cool completely before cutting helps them hold together.
Can I double this recipe?
Absolutely! Double all ingredients and use a large roasting pan or two 9×13 inch pans. You may need to work in batches or use a very large pot for melting the marshmallows.
What’s the best way to cut Rice Krispies Treats cleanly?
Use a sharp knife sprayed with cooking spray or buttered generously. Wipe the knife clean between each cut. For squares, score the top first, then cut through in one smooth motion.
Can I add mix-ins to the treats?
Yes! Stir in mini chocolate chips, chopped candy bars, or dried fruit after mixing in the cereal. Just don’t add more than 1 cup of mix-ins or the treats won’t hold together properly.
How far in advance can I make these for a party?
Make them 2-3 days before your event and store in an airtight container. Add delicate decorations like drizzled chocolate or icing the day of the party for the freshest look.
My treats are too sticky—what went wrong?
You may have added too much butter or not cooked the marshmallows long enough. The mixture should be completely smooth and glossy. Also, humid weather can make treats stickier—try reducing butter by 1 tablespoon in humid conditions.
Nutrition Information
| Nutrient | Per Serving (1 treat) |
|---|---|
| Calories | 140 |
| Total Fat | 3g |
| Saturated Fat | 2g |
| Cholesterol | 8mg |
| Sodium | 115mg |
| Total Carbohydrates | 28g |
| Dietary Fiber | 0g |
| Sugars | 14g |
| Protein | 1g |
| Vitamin D | 10% DV |
| Calcium | 2% DV |
| Iron | 25% DV |
Note: Nutrition information is approximate and based on basic recipe without additional decorations. Values will vary based on specific ingredients and decorations used.
Creative Variations to Try
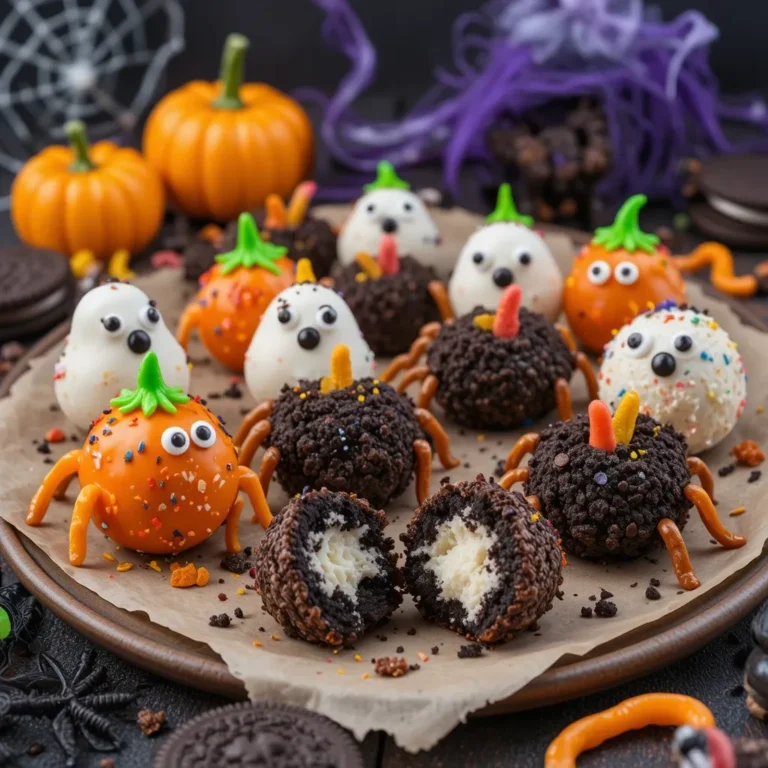
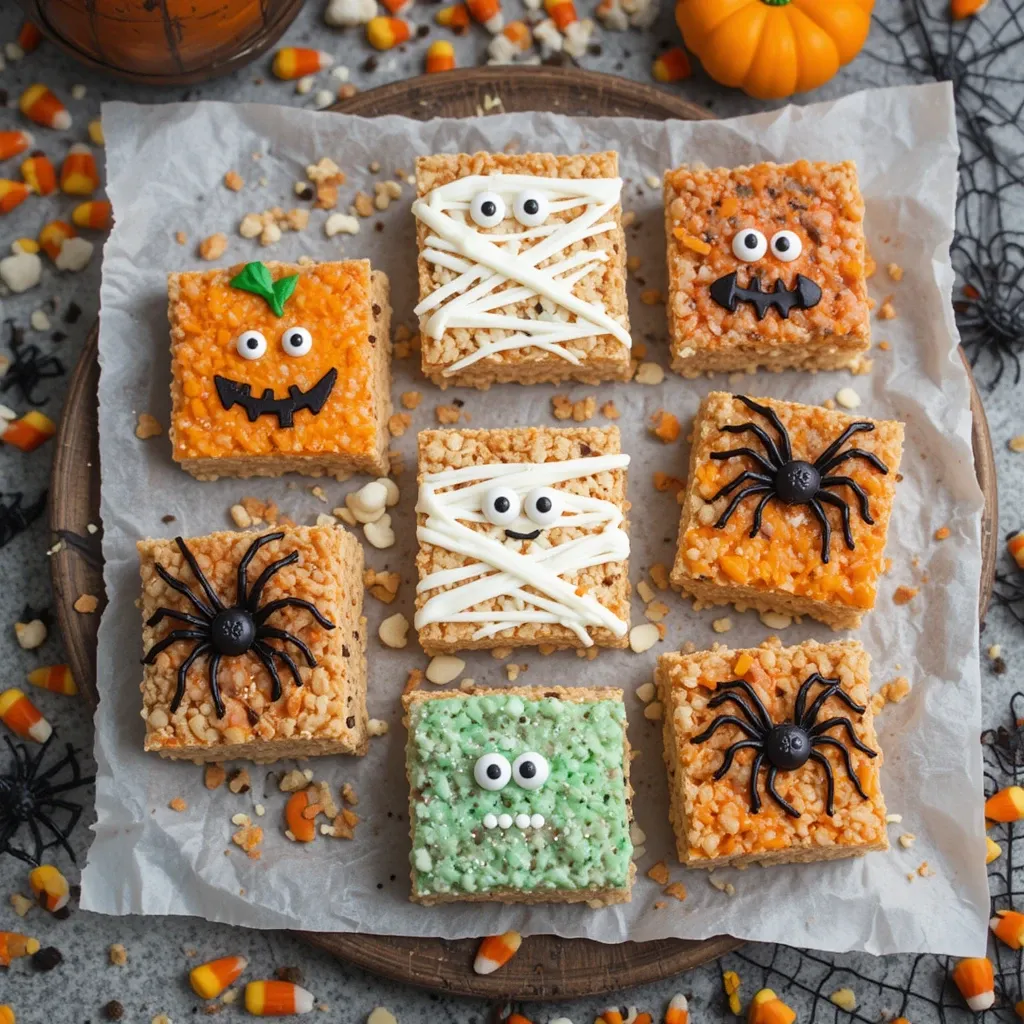
Pumpkin Patch Treats: Color the mixture orange, cut into circles, add a green Tootsie Roll or pretzel for the stem, and use black gel to draw jack-o’-lantern faces.
Ghost Treats: Keep the mixture white, cut into ghost shapes with cookie cutters, and add two chocolate chip eyes and a candy mouth.
Monster Treats: Use green food coloring, add googly candy eyes (2-4 per treat), and pipe colorful hair using icing in wild patterns.
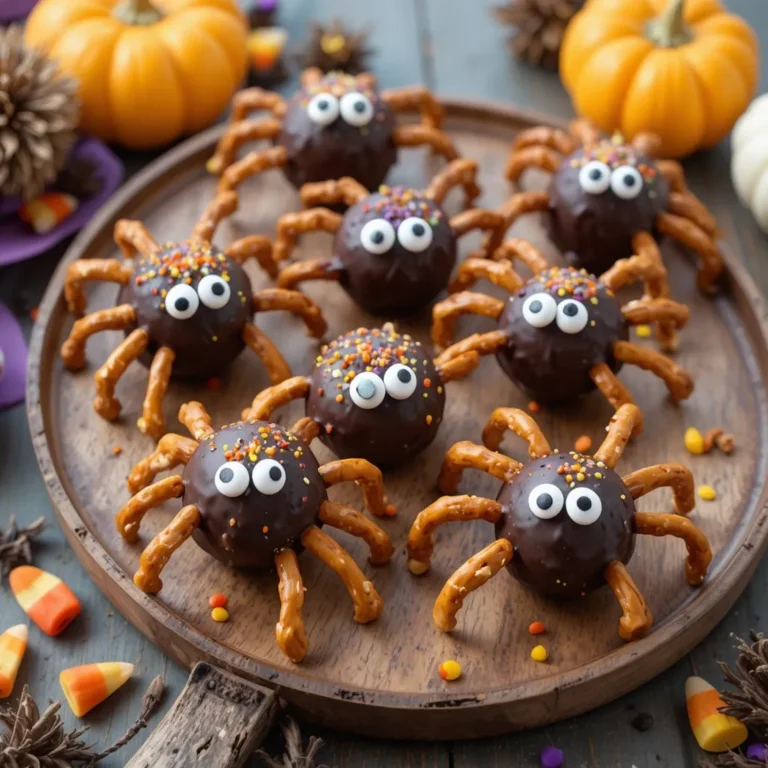
Spider Web Treats: Make traditional squares, then drizzle melted dark chocolate in a spiral pattern. Use a toothpick to drag lines from center to edge, creating a web effect. Add a plastic spider on top!
Mummy Treats: Cut into rectangles, drizzle white chocolate back and forth across each treat to look like bandages, and add two candy eyes peeking through.
Candy Corn Treats: Divide the mixture into three portions. Color one orange, one yellow, and leave one white. Layer them in the pan to create a candy corn effect when cut.
Final Thoughts
These Halloween Rice Krispies Treats prove that the best recipes don’t have to be complicated. With just minutes of prep and endless decoration possibilities, you’ll create treats that look impressive and taste amazing.
Whether you’re a busy parent needing quick classroom treats, a party host wanting festive snacks, or simply someone who loves celebrating Halloween, these treats deliver every time. The joy on kids’ faces when they help decorate and the compliments from guests make this recipe a guaranteed winner.
Remember, there’s no wrong way to decorate these—let your creativity run wild! Each batch is an opportunity to try new colors, shapes, and spooky designs. Start with the basic recipe, master it, then experiment with all the variations your imagination can conjure.
So grab your marshmallows, get your little ghosts and goblins involved, and create some Halloween magic in your kitchen. These treats are more than just a snack—they’re memories in the making. Happy Halloween baking! 🎃👻
Pin this recipe for later, share it with friends, and tag us in your creations—we’d love to see your spooky masterpieces!