31 Spooktacular Halloween Treats for Parties Ready in Under 30 Minutes
Get ready to wow your guests with these frighteningly delicious halloween treats for parties that are both easy to make and absolutely irresistible! Whether you’re hosting a spooky soirée or attending a costume bash, these creative confections will steal the show.
Fun fact: Halloween candy sales exceed $3 billion annually in the U.S., but homemade treats always win hearts! These recipes are perfect for busy party planners who want impressive results without spending hours in the kitchen.
Just like our popular Pumpkin Spice Cupcakes, these treats deliver maximum flavor with minimal effort, making them ideal for both experienced bakers and kitchen newcomers alike.
What Are Halloween Treats for Parties?
Ever wonder why we go all out with spooky snacks every October? Halloween treats for parties are creative, themed goodies that transform ordinary ingredients into ghoulish delights!
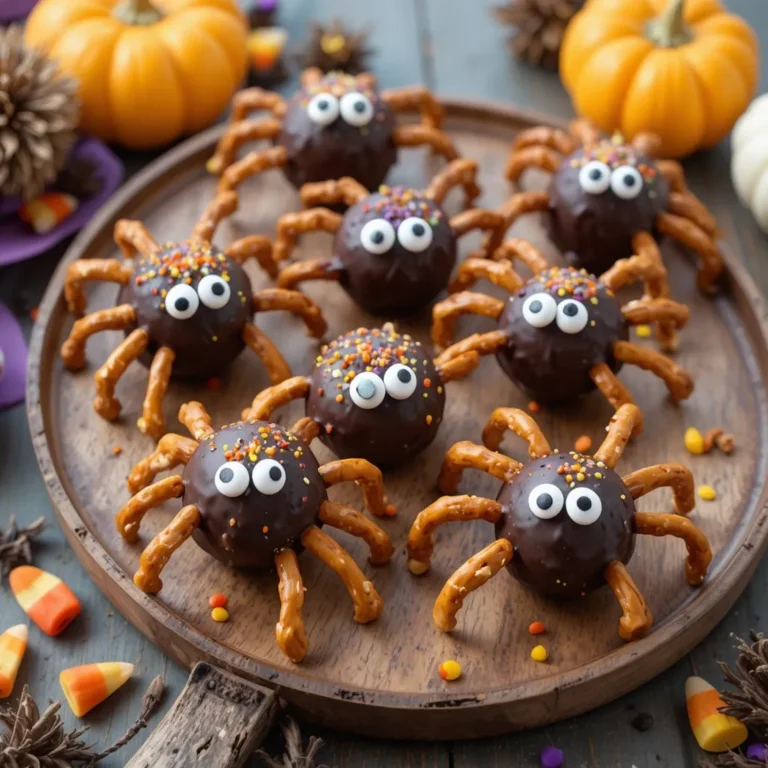
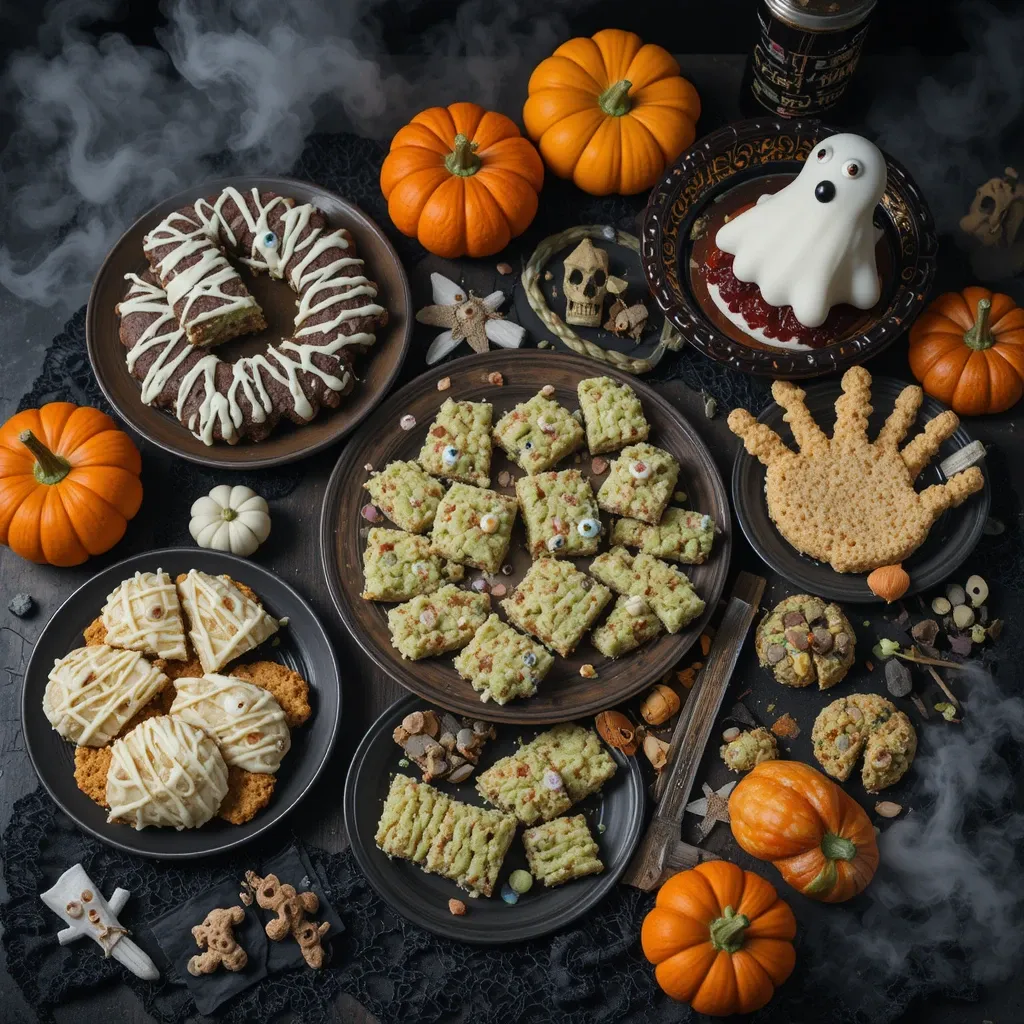
From “monster” cookies with candy eyes to “witches’ fingers” made from almond-topped cookies, these playful creations turn your dessert table into a haunted masterpiece. They say the way to a guest’s heart is through their stomach, and nothing says “you’re invited to something special” quite like homemade Halloween goodies.
These aren’t just desserts—they’re conversation starters, Instagram-worthy centerpieces, and memories in the making. Ready to become the host everyone talks about? Let’s dive into these spine-tingling treats!
Why You’ll Love These Halloween Treats for Parties
They’re Show-Stopping Yet Simple
These halloween treats for parties deliver maximum visual impact with minimum stress. Each recipe uses everyday ingredients transformed with clever decorating tricks that look professionally made. The vibrant colors, spooky shapes, and creative presentations will have guests asking, “Where did you order these?”
Budget-Friendly Boo-tiful Creations
Skip the expensive bakery orders! Making halloween treats for parties at home saves you serious money while letting you customize everything to your taste. Store-bought Halloween cookies can cost $3-5 each, but homemade versions cost pennies while tasting infinitely better. Plus, you control the ingredients, avoiding unwanted preservatives and allergens.
Customizable and Crowd-Pleasing
From gooey chocolate to fruity flavors, these treats cater to every palate. Add food coloring, swap toppings, or adjust sweetness levels to match your party theme. Similar to our Easy Cookie Decorating Guide, these recipes welcome creativity and personal touches.
The best part? Most can be made ahead, stored, and served when needed, giving you more time to enjoy your party. Don’t just serve snacks—create an unforgettable Halloween experience your guests will rave about all year!
How to Make Halloween Treats for Parties
Quick Overview
These halloween treats for parties are designed for maximum fun with minimal fuss. Each recipe features straightforward techniques that even beginner cooks can master confidently.
Time Breakdown:
- Prep Time: 20-30 minutes
- Cooking/Decorating Time: 15-40 minutes (depending on recipe)
- Cooling Time: 30 minutes to 1 hour
- Total Time: 1.5 to 2.5 hours
- Servings: 24-36 treats (varies by recipe)
The recipes below use common pantry staples and focus on clever presentation techniques that transform simple ingredients into Halloween magic.
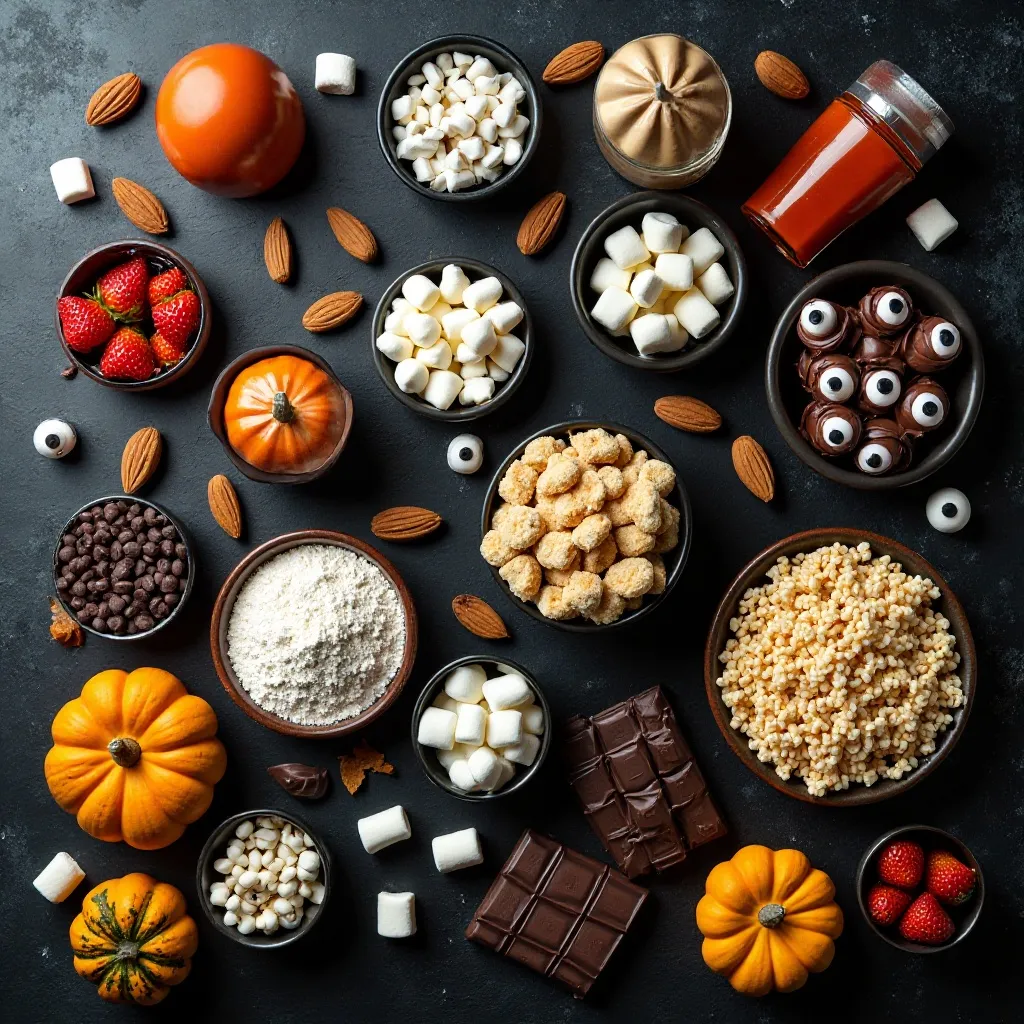
Key Ingredients for Halloween Treats for Parties
![Halloween Party Treats Ingredients Layout]
For Monster Cookie Eyeballs:
- 2 ¼ cups all-purpose flour
- 1 teaspoon baking soda
- 1 teaspoon salt
- 1 cup (2 sticks) softened butter
- ¾ cup granulated sugar
- ¾ cup packed brown sugar
- 2 large eggs
- 2 teaspoons vanilla extract
- 2 cups semi-sweet chocolate chips
- 24 candy eyeballs (available at craft stores)
- Green food coloring (gel works best)
For Mummy Brownies:
- 1 box brownie mix (plus required eggs, oil, water)
- 1 cup white chocolate chips
- 2 tablespoons coconut oil
- 24 small candy eyes
For Witch Finger Cookies:
- 1 cup softened butter
- 1 cup powdered sugar
- 1 large egg
- 1 teaspoon almond extract
- 1 teaspoon vanilla extract
- 2 ⅔ cups all-purpose flour
- 1 teaspoon baking powder
- 1 teaspoon salt
- 36 whole almonds
- Red decorating gel or strawberry jam
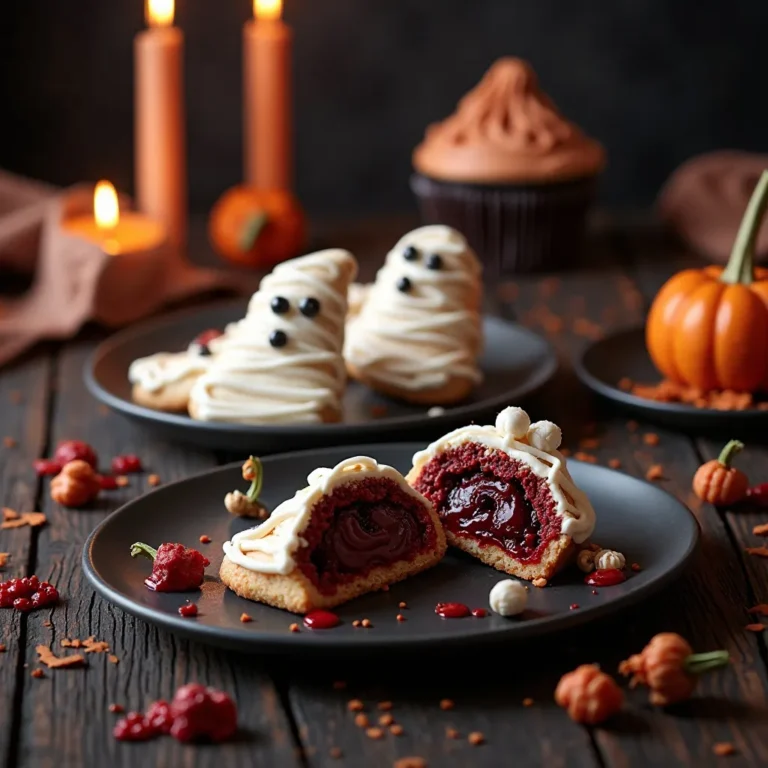
For Ghost Strawberries:
- 24 fresh strawberries
- 12 oz white chocolate chips
- Mini chocolate chips (for eyes and mouths)
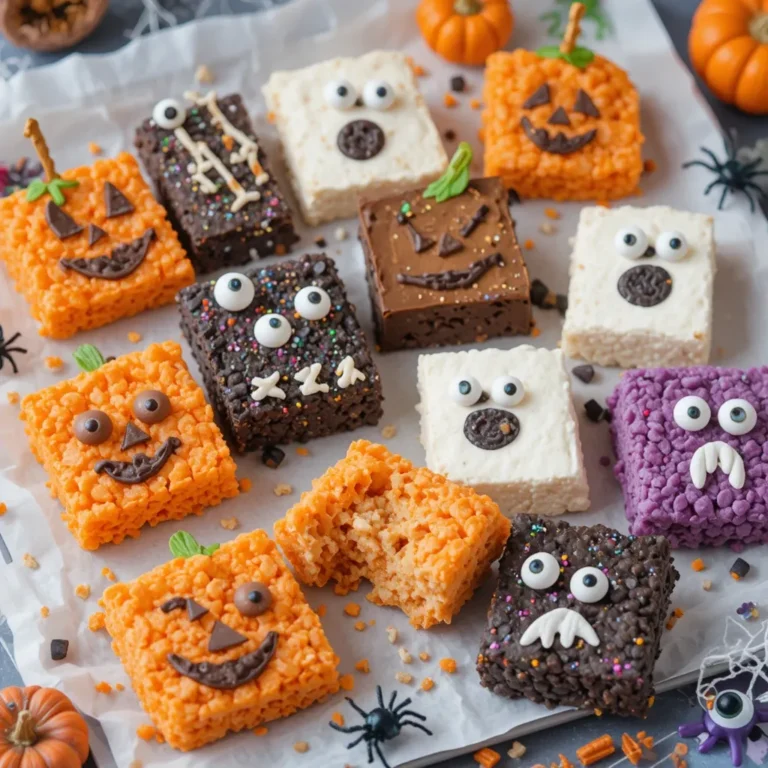
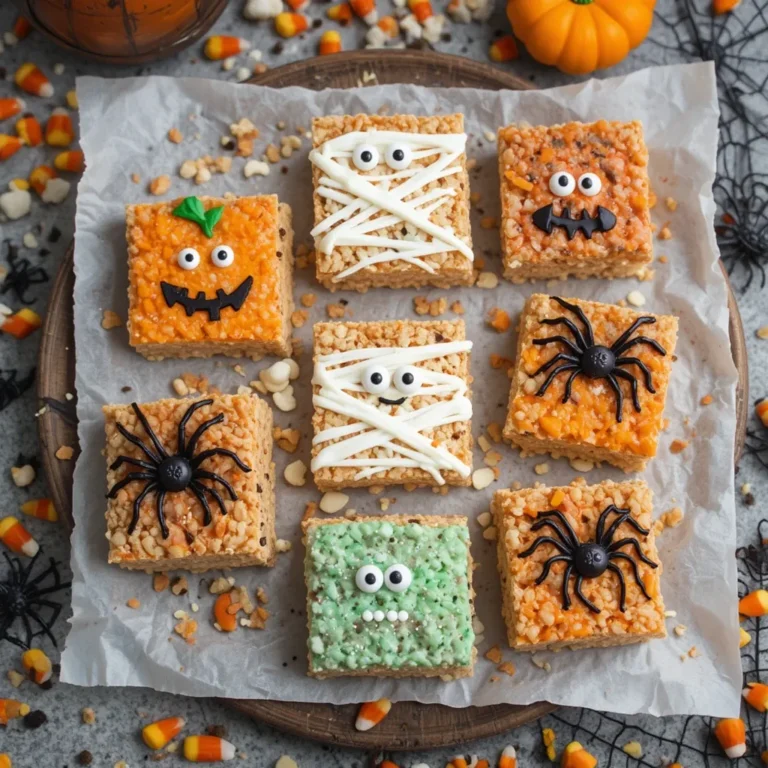
For Pumpkin Rice Krispie Treats:
- 6 cups Rice Krispies cereal
- 1 package (10 oz) marshmallows
- 3 tablespoons butter
- Orange food coloring
- Green Tootsie Rolls or fruit leather (for stems)
Step-by-Step Instructions
How to Make Monster Cookie Eyeballs
Step 1: Prepare Your Dough
Start by preheating your oven to 375°F (190°C). In a medium bowl, whisk together the flour, baking soda, and salt until well combined. Set this aside while you work on the wet ingredients.
Step 2: Cream Butter and Sugars
In a large mixing bowl, use an electric mixer to beat the softened butter, granulated sugar, and brown sugar together for 2-3 minutes until the mixture becomes light and fluffy. This creaming process is crucial for achieving the perfect cookie texture.
Step 3: Add Eggs and Coloring
Beat in the eggs one at a time, making sure each is fully incorporated before adding the next. Mix in the vanilla extract. Add 8-10 drops of green food coloring and mix until you achieve a vibrant monster-green color. Don’t be shy with the coloring—it will lighten slightly during baking.
Step 4: Combine Wet and Dry
Gradually add the flour mixture to the butter mixture, stirring on low speed until just combined. Fold in the chocolate chips with a spatula, making sure they’re evenly distributed throughout the dough.
Step 5: Shape and Bake
Drop rounded tablespoons of dough onto ungreased cookie sheets, spacing them about 2 inches apart. Bake for 9-11 minutes, or until the edges are lightly golden but centers still look slightly underdone. They’ll continue cooking as they cool.
Step 6: Add the Eyes
Remove cookies from the oven and immediately press one or two candy eyeballs into the center of each cookie while they’re still hot. The heat will help the candies stick. Let cookies cool on the baking sheet for 5 minutes before transferring to a wire rack.
How to Make Mummy Brownies
Step 1: Bake the Base
Prepare your favorite brownie mix according to package directions, baking in a 9×13 inch pan. Let cool completely, then cut into 24 rectangular pieces. These will be your mummy bodies.
Step 2: Create White Chocolate Drizzle
Melt white chocolate chips with coconut oil in a microwave-safe bowl, heating in 30-second intervals and stirring between each until smooth. The coconut oil helps thin the chocolate for perfect drizzling.
Step 3: Wrap the Mummies
Transfer melted white chocolate to a piping bag or zip-top bag with a small corner snipped off. Drizzle chocolate back and forth across each brownie in irregular lines to create a “bandage wrap” effect. Leave a small gap in the upper portion for eyes.
Step 4: Add Eyes
While chocolate is still wet, press two small candy eyes into the gap you left. Let chocolate set completely at room temperature or refrigerate for 10 minutes for faster setting.
How to Make Witch Finger Cookies
Step 1: Mix Cookie Dough
Beat butter and powdered sugar together until creamy. Add egg, almond extract, and vanilla, beating until well combined. In a separate bowl, whisk flour, baking powder, and salt. Gradually add to butter mixture until a dough forms. Refrigerate for 30 minutes.
Step 2: Shape the Fingers
Pinch off pieces of dough and roll into finger-length cylinders about 3 inches long and ½ inch thick. Use a knife to make small indentations at knuckle positions. Gently press and shape one end slightly wider (the base) and the other end narrower (the fingertip).
Step 3: Add Almond Nails
Press one whole almond into the narrow end of each cookie to create a fingernail. Press firmly so it stays attached during baking.
Step 4: Bake
Place on parchment-lined baking sheets and bake at 325°F for 20-25 minutes until very lightly browned. Let cool on pan for 5 minutes.
Step 5: Create Bloody Effect
Carefully lift the almond from each cookie. Squeeze a small amount of red gel or jam into the nail bed, then replace the almond. Add a few drops around the base for extra spooky effect.
How to Make Ghost Strawberries
Step 1: Prep Strawberries
Wash and thoroughly dry strawberries. Any moisture will prevent chocolate from adhering properly. Leave stems attached for easy dipping.
Step 2: Melt Chocolate
Melt white chocolate chips in a microwave-safe bowl in 30-second intervals, stirring between each, until completely smooth and fluid.
Step 3: Dip and Decorate
Hold each strawberry by the stem and dip into white chocolate, covering completely except for the green top. Let excess chocolate drip off. Place on parchment paper. While chocolate is still wet, press on two mini chocolate chips for eyes and create a mouth with additional chips or a small dot of dark chocolate.
Step 4: Set
Refrigerate for 15 minutes until chocolate is completely hardened. These are best served the same day.
How to Make Pumpkin Rice Krispie Treats
Step 1: Melt Marshmallows
In a large pot over low heat, melt butter. Add marshmallows and stir constantly until completely melted and smooth. Remove from heat.
Step 2: Add Color
Stir in orange food coloring until you achieve a pumpkin-orange shade. Work quickly as mixture begins to set.
Step 3: Mix with Cereal
Add Rice Krispies cereal and fold until every piece is coated with the marshmallow mixture.
Step 4: Shape Pumpkins
Lightly butter your hands and scoop out portions of mixture. Shape into round balls, slightly flattened, to resemble pumpkins. Use a butter knife handle to make vertical indentations around the sides.
Step 5: Add Stems
While treats are still warm, unwrap green Tootsie Rolls and cut into small stem shapes. Press one into the top of each pumpkin. You can also use green fruit leather cut into stem and vine shapes.
What to Serve Halloween Treats for Parties With
Beverage Pairings
Match these sweet treats with themed drinks like “Witches’ Brew” punch (lime sherbet with ginger ale), hot apple cider, or “vampire blood” cranberry juice. For adults, consider spiked hot chocolate or Halloween-themed cocktails.
Savory Balance
Balance the sweetness with savory party foods like mini pizzas, cheese and crackers, veggie platters with ranch dip, or finger sandwiches cut into Halloween shapes.
Dessert Display Ideas
Create a “Candy Graveyard” dessert table with these treats as the centerpiece. Add dry ice for fog effects, arrange treats on tiered stands at varying heights, and use Halloween-themed platters and serving dishes.
Complementary Treats
Pair with our Caramel Apple Bites or Spiced Pumpkin Cookies for variety. Offer a mix of chocolate and fruity options to please every guest.
Top Tips for Perfecting Halloween Treats for Parties
Use Gel Food Coloring for Vibrant Colors
Liquid food coloring can make doughs too wet and produces pale colors. Gel or paste food coloring gives you brilliant, true-to-tone Halloween hues without altering texture. Start with a small amount and add more gradually.
Make Components Ahead
Save party-day stress by baking cookies and brownies 1-2 days in advance. Store in airtight containers and decorate the day of or morning of your party. This breaks the work into manageable chunks.
Keep Chocolate at Perfect Temperature
When melting chocolate for dipping or drizzling, work quickly but don’t overheat. If chocolate gets too thick while working, reheat briefly. If it’s too thin, let it cool slightly. The ideal dipping temperature is around 90-95°F.
Invest in Candy Eyes
Candy eyeballs are available at craft stores, baking supply stores, and online. Buy extra—they’re inexpensive and having plenty on hand lets you get creative with different treats.
Use Parchment Paper
Always line your baking sheets and work surfaces with parchment paper. It prevents sticking, makes cleanup easy, and ensures treats release perfectly without breaking.
Don’t Overbake Cookies
Halloween cookies should be slightly underdone when you remove them from the oven. They’ll continue cooking on the hot pan. Overbaking leads to hard, dry cookies instead of soft, chewy ones.
Chill Dough When Needed
If dough becomes too soft to handle, refrigerate for 15-30 minutes. This is especially important for shaped cookies like witch fingers.
Work in Batches
Don’t try to decorate everything at once. Focus on one type of treat at a time, ensuring each batch gets proper attention and looks its best.
Storing and Reheating Tips
Storage for Different Treats
Cookies: Store in airtight containers at room temperature for up to 5 days. Place parchment paper between layers to prevent sticking. Avoid refrigerating as it can make them dry.
Brownies: Keep in an airtight container at room temperature for 3-4 days. For longer storage, refrigerate for up to 1 week. Bring to room temperature before serving for best texture.
Chocolate-Dipped Items: Ghost strawberries should be refrigerated and consumed within 24 hours for optimal freshness. Other chocolate-dipped treats can be stored in airtight containers at room temperature for 2-3 days.
Rice Krispie Treats: Store in airtight containers at room temperature for up to 3 days. Don’t refrigerate as it makes them hard.
Freezing Instructions
Most halloween treats for parties freeze beautifully! Freeze unfrosted cookies and brownies for up to 3 months. Wrap individually in plastic wrap, then place in freezer bags. Thaw at room temperature for 1-2 hours before decorating.
Don’t freeze chocolate-dipped treats or items with fresh fruit as texture and appearance will suffer.
Reheating Guide
Most treats are best served at room temperature and don’t require reheating. If brownies have been refrigerated, let them sit out for 30 minutes or microwave individual pieces for 10-15 seconds for that fresh-baked warmth.
Make-Ahead Timeline
- 1 week ahead: Make and freeze unfrosted cookies and brownies
- 2-3 days ahead: Bake cookies and brownies, store airtight
- 1 day ahead: Make Rice Krispie treats, decorate cookies
- Day of party: Make chocolate-dipped strawberries, add final touches
Nutrition Information
| Nutrient | Monster Cookies | Mummy Brownies | Witch Fingers | Ghost Strawberries | Pumpkin Rice Krispies |
|---|---|---|---|---|---|
| Serving Size | 1 cookie | 1 brownie | 2 cookies | 2 strawberries | 1 treat |
| Calories | 180 | 220 | 140 | 90 | 110 |
| Total Fat | 9g | 11g | 7g | 5g | 2g |
| Saturated Fat | 5g | 6g | 4g | 3g | 1g |
| Cholesterol | 25mg | 30mg | 20mg | 0mg | 5mg |
| Sodium | 140mg | 160mg | 95mg | 10mg | 85mg |
| Total Carbohydrates | 24g | 28g | 18g | 13g | 23g |
| Dietary Fiber | 1g | 1g | 0g | 2g | 0g |
| Sugars | 16g | 20g | 9g | 11g | 14g |
| Protein | 2g | 2g | 2g | 1g | 1g |
Note: Nutritional values are approximate and may vary based on specific ingredients used.
Frequently Asked Questions
Can I make these halloween treats for parties ahead of time?
Absolutely! Most treats can be made 1-3 days in advance. Baked items like cookies, brownies, and Rice Krispie treats store well in airtight containers. However, chocolate-dipped strawberries are best made the day of your party for optimal freshness and appearance.
What are the easiest halloween treats for parties for beginners?
Ghost strawberries and mummy brownies are the most beginner-friendly options. They require minimal baking skills and use simple store-bought bases (strawberries and boxed brownie mix) that you transform with easy decorating techniques.
How do I prevent my chocolate from seizing when melting?
Make sure all utensils are completely dry—even a drop of water can cause chocolate to seize. Melt chocolate slowly in short microwave bursts or use a double boiler. Adding a teaspoon of coconut oil or vegetable shortening can help keep chocolate smooth and workable.
Can I make these treats nut-free for school parties?
Yes! For monster cookies, simply omit chocolate chips and use nut-free candy. For witch fingers, skip the almond nails and use candy corn or just shape the fingertips. Always check all ingredient labels for allergen warnings when making treats for school.
How far in advance should I start making treats for a large party?
For a large party, start 3-4 days before. Bake cookies and brownies 2-3 days ahead, then dedicate the day before your party to decorating. Make chocolate-dipped items the morning of your event. This timeline prevents last-minute stress while ensuring everything is fresh.
What’s the best way to transport halloween treats for parties?
Use sturdy, shallow containers with tight-fitting lids. Layer treats carefully with parchment paper between rows. For cookies, transport them lying flat. Keep chocolate-dipped items refrigerated until the last moment and transport in a cooler if it’s warm outside.
How do I get vibrant Halloween colors in my treats?
Use gel or paste food coloring instead of liquid. These concentrated colorings give you bright, true colors without adding excess moisture. Start with small amounts and add more gradually. Remember colors lighten slightly during baking.
Can I use white chocolate chips instead of melting wafers?
Yes, but add 1-2 teaspoons of coconut oil or vegetable shortening per cup of chips. This helps thin the chocolate to dipping consistency. Melting wafers (candy melts) are formulated for easier melting and coating, but chips work in a pinch.
What are some good dairy-free alternatives for these recipes?
Use dairy-free butter substitutes (Earth Balance works well), dairy-free chocolate chips (Enjoy Life brand), and coconut milk. Most cookies and brownies adapt easily to dairy-free versions with simple substitutions maintaining great taste and texture.
How can I make these treats less sweet?
Reduce sugar by 25% in cookie recipes, use dark chocolate instead of milk or semi-sweet, and choose unsweetened dipped items like strawberries. You can also use half the amount of frosting or chocolate drizzle while still achieving great presentation.
Bonus Halloween Party Ideas
Theme Your Entire Dessert Table
Create a cohesive look by choosing a color scheme (classic orange/black, purple/green, or all-black sophisticated) and carrying it through all your treats, serving dishes, and decorations.
Interactive Treat Decorating Station
Set up a DIY decorating station where guests can customize their own treats. Provide plain cookies, various icings, sprinkles, and candy. This doubles as both activity and dessert!
Spooky Labels and Name Cards
Print clever Halloween names for each treat: “Frankenstein Fingers,” “Dracula’s Dentures,” “Werewolf Bites.” Place small tent cards with punny names to add personality to your display.
Lighting Matters
Use orange and purple LED lights, battery-operated candles, or string lights to create ambiance. Proper lighting makes your treats look even more appealing in photos.
Create a Signature Treat
Choose one special halloween treat to be your “signature” that guests associate with your parties. Perfect it over the years and it becomes a tradition friends look forward to annually.
Final Thoughts
These halloween treats for parties prove you don’t need professional pastry skills to create memorable, delicious, and Instagram-worthy desserts. With simple ingredients, clear instructions, and a dash of creativity, you’ll transform your next Halloween gathering into an unforgettable celebration.
The secret to success is choosing 2-3 treats that fit your skill level and time constraints rather than overwhelming yourself with too many recipes. Focus on quality over quantity, and don’t be afraid to add your own creative twists!
Remember, the best halloween treats for parties are the ones made with enthusiasm and shared with friends. Whether your witch fingers look slightly crooked or your ghost strawberries have goofy expressions, handmade treats always carry special meaning.
Now grab your apron, gather your ingredients, and get ready to create some Halloween magic in your kitchen. Your guests are going to be absolutely bewitched by these spooktacular creations!
Happy Halloween baking!