Halloween Treats Pretzels: 15-Minute Spooky Snacks
Get ready for the easiest, most delightfully spooky Halloween treats pretzels that’ll have everyone reaching for seconds! These sweet and salty bites combine crunchy pretzels with melted chocolate and festive toppings for an irresistible party snack.
Fun fact: pretzels date back to 610 AD when Italian monks created them as rewards for children who learned their prayers. Now, we’re giving them a Halloween makeover that’s absolutely bewitching! This recipe is special because it requires zero baking skills, takes just 15 minutes, and kids can help decorate.
If you loved our Halloween Chocolate Bark, you’ll adore these customizable pretzel treats that are perfect for class parties, trick-or-treaters, or movie night munching.
What Are Halloween Treats Pretzels?
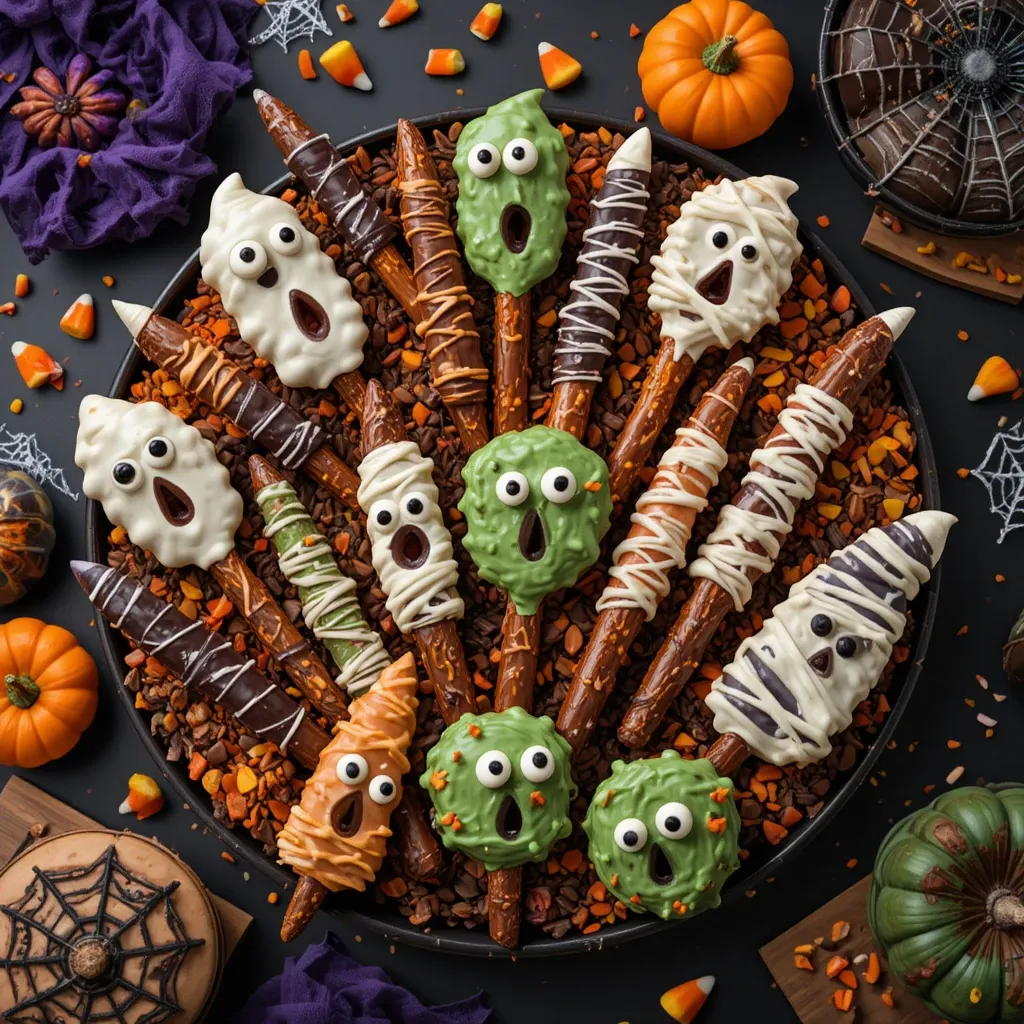
Ever wondered why Halloween and pretzels make such a perfect pair? These Halloween treats pretzels are simply pretzel rods, twists, or squares dipped in melted chocolate and decorated with spooky toppings like candy eyes, orange sprinkles, and candy corn. Why do they work so brilliantly?
The salty pretzel creates the perfect balance against sweet chocolate, making them dangerously addictive. As the saying goes, “the way to a man’s heart is through his stomach,” and these treats certainly prove it! Ready to create some edible magic? Let’s dive in and transform ordinary pretzels into extraordinary Halloween delights!
Why You’ll Love This Halloween Treats Pretzels
The Perfect Party Pleaser
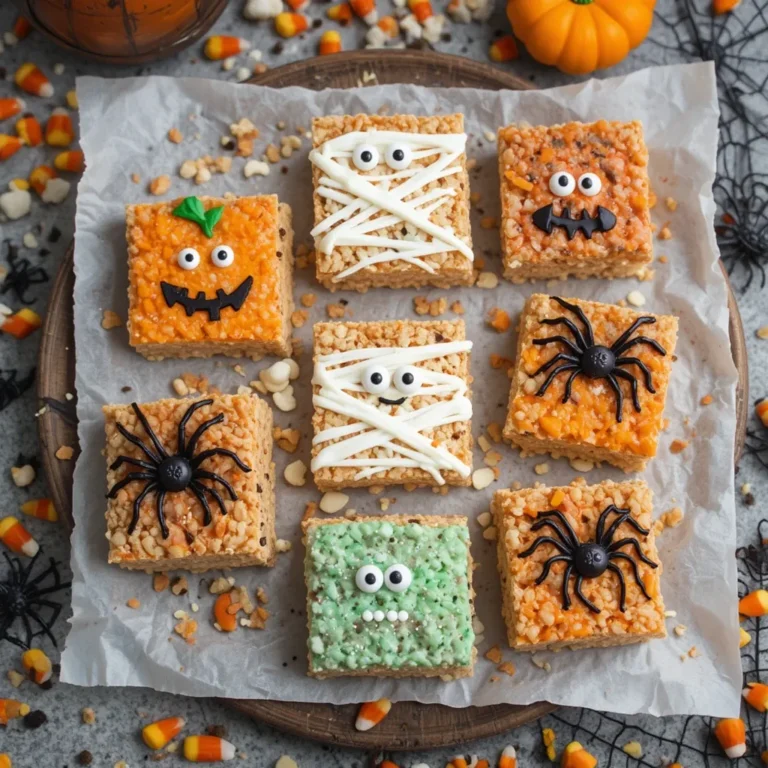
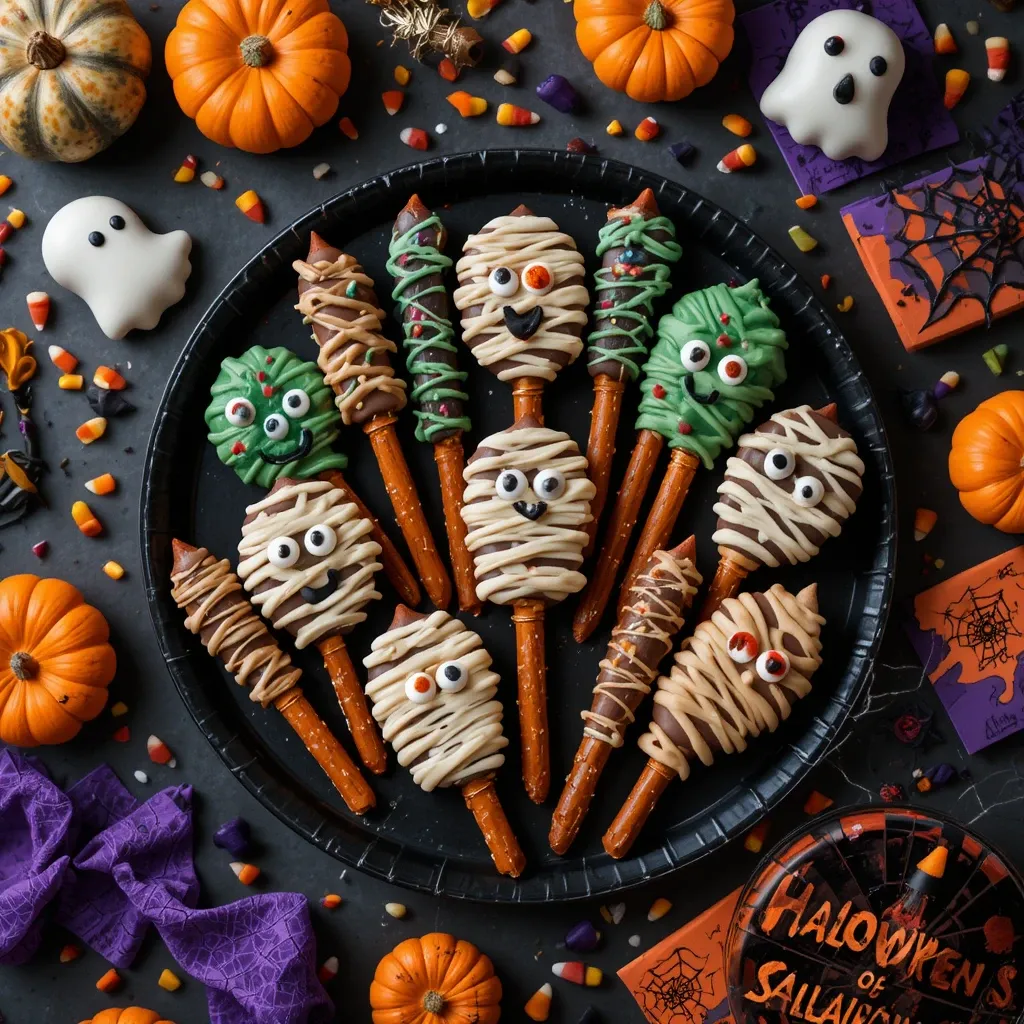
These Halloween treats pretzels are the ultimate crowd-pleaser for any spooky celebration. The combination of crunchy, salty pretzels with smooth, sweet chocolate creates an addictive flavor profile that guests can’t resist. The best part? You can customize each pretzel with different decorations, making them look like mummies, monsters, spiders, or ghosts.
Budget-Friendly Fun
Making Halloween treats pretzels at home saves you serious money compared to buying pre-packaged Halloween snacks. A bag of pretzels costs around $3, chocolate melts are about $4, and decorations run $5-8. For under $15, you can make 40-50 treats, whereas store-bought versions cost $8-12 for just a dozen! Plus, you control the quality of ingredients and can use real chocolate instead of artificial coatings.
Creative Customization
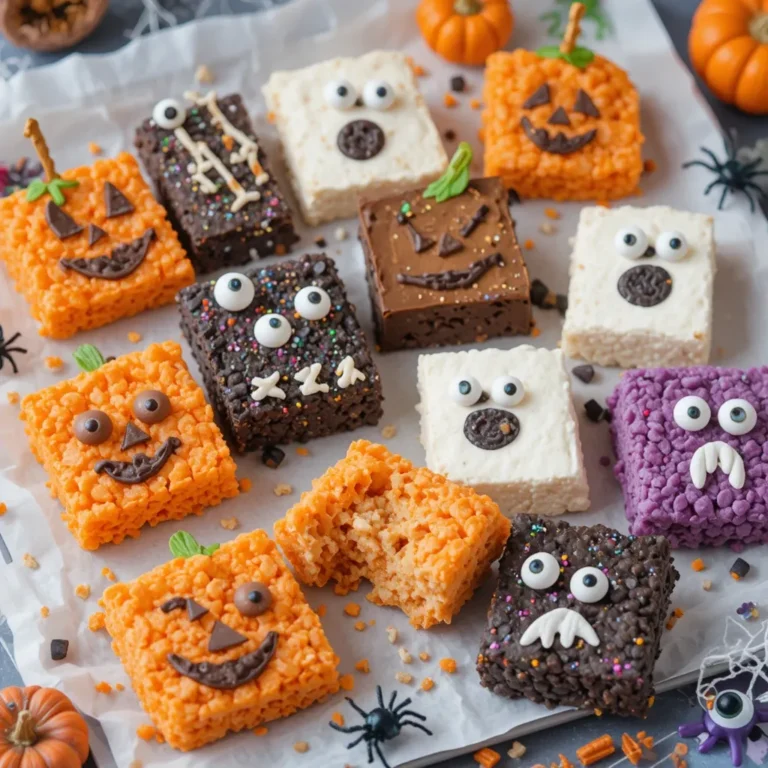
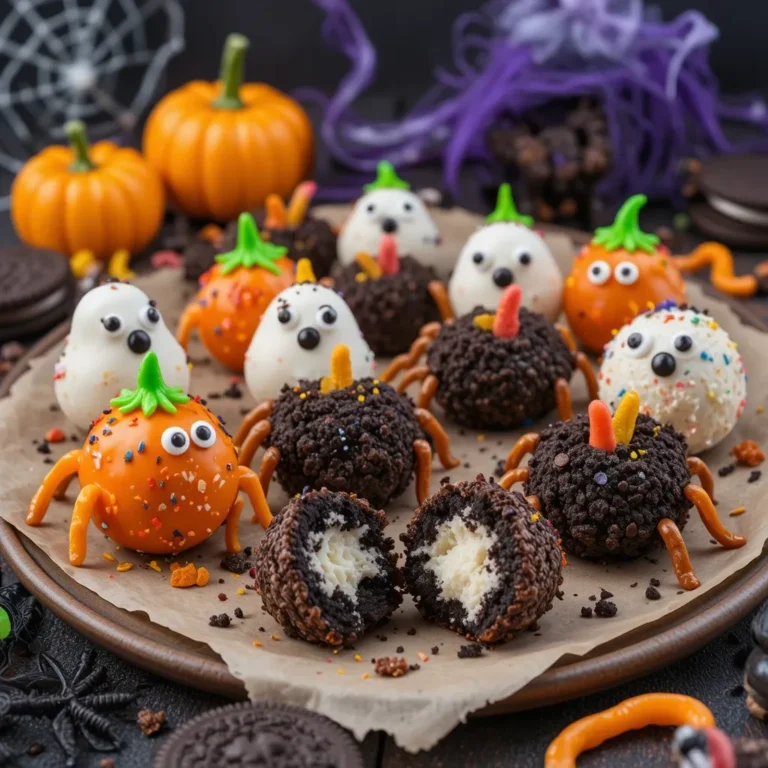
The beauty of this recipe lies in its versatility. Use white chocolate for ghost pretzels, milk chocolate for classic treats, or dark chocolate for adult parties. Top them with crushed Oreos for “dirt,” mini marshmallows for mummy bandages, or red gel icing for “blood” drips. Similar to our Halloween Cookies recipe, these treats let your creativity shine. Get the kids involved in decorating for quality family time that doubles as party prep!
How to Make Halloween Treats Pretzels
Quick Overview
These Halloween treats pretzels are incredibly simple to make and require no baking whatsoever! Just melt chocolate, dip pretzels, add toppings, and let them set. The sweet-salty combination with festive decorations makes them irresistibly delicious. Perfect for beginners and fun for kids to help decorate.
Time Breakdown:
- Prep Time: 10 minutes
- Setting Time: 15-20 minutes
- Total Time: 25-30 minutes
- Servings: 40-50 pretzels
Key Ingredients for Halloween Treats Pretzels
Base Ingredients:
- 1 bag (16 oz) pretzel rods, twists, or squares
- 12 oz chocolate melting wafers (orange, white, or milk chocolate)
- 2 tablespoons coconut oil or shortening (for smooth melting)
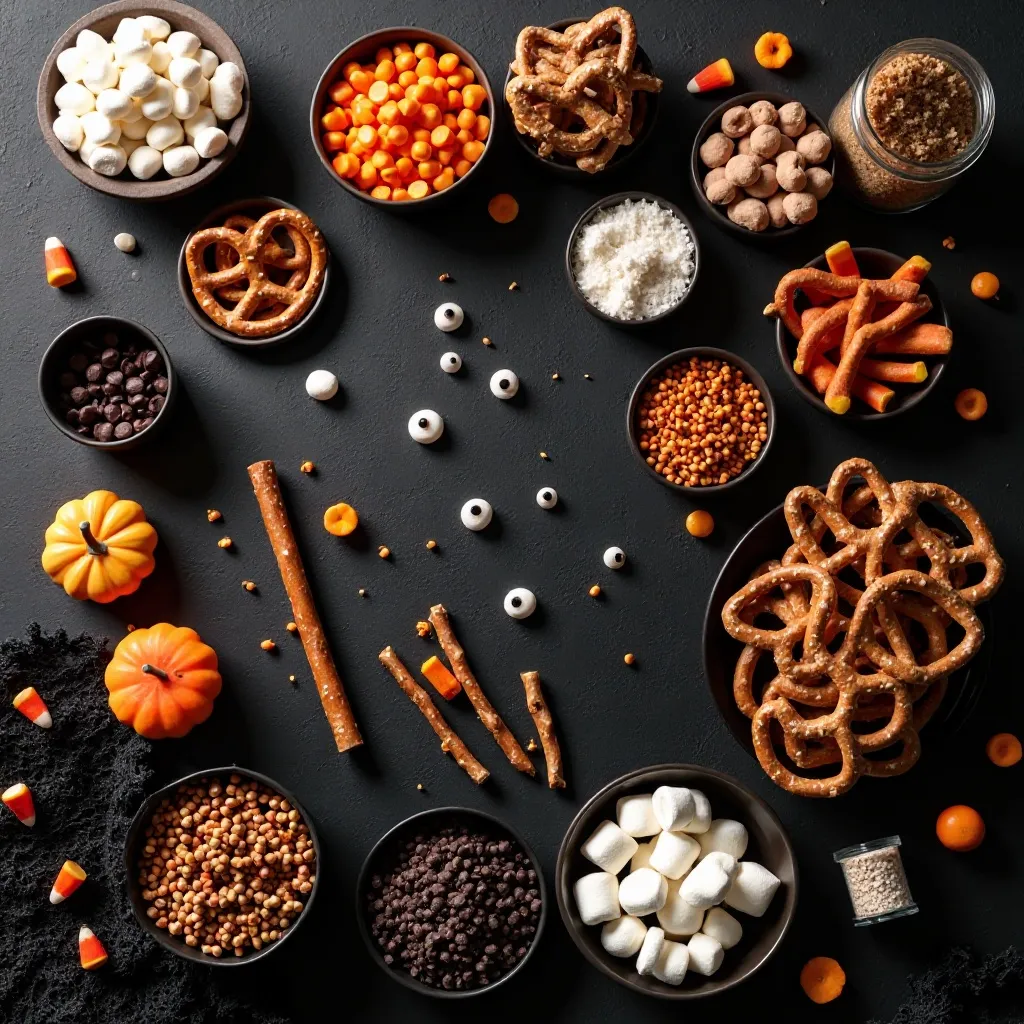
Decoration Options:
- Candy eyes (various sizes)
- Orange, black, and purple sprinkles
- Candy corn
- Mini chocolate chips
- White chocolate drizzle
- Black gel icing (for drawing)
- Crushed Oreos
- Mini marshmallows
- Green candy melts (for monster pretzels)
Optional Extras:
- Edible glitter
- Sanding sugar in Halloween colors
- Mini M&Ms
- Chopped nuts
Step-by-Step Instructions
Prepare Your Workspace
Line 2-3 baking sheets with parchment paper or wax paper. This prevents sticking and makes cleanup a breeze. Arrange all your toppings in small bowls within easy reach. Set up an assembly line if you’re making multiple varieties. This preparation step is crucial because once you dip the pretzels, you’ll need to work quickly before the chocolate sets.
Melt the Chocolate
Place chocolate melting wafers in a microwave-safe bowl. Add 2 tablespoons of coconut oil or shortening to help thin the chocolate for easier dipping. Microwave in 30-second intervals, stirring between each interval, until completely smooth and melted. This usually takes 1.5-2 minutes total. Be careful not to overheat, as chocolate can seize and become grainy. The consistency should be like thick cream.
Dip the Pretzels
Hold a pretzel by one end and dip it into the melted chocolate, covering about two-thirds of the pretzel. For pretzel rods, leave the top third exposed for easier handling. For pretzel twists or squares, you can fully coat them. Gently tap the pretzel against the bowl edge to remove excess chocolate. This prevents thick, uneven coating and ensures professional-looking results.
Add Decorations Immediately
While the chocolate is still wet, add your chosen decorations. Press candy eyes gently into the chocolate. Sprinkle on colored sprinkles, crushed cookies, or sanding sugar. Add candy corn pieces or mini marshmallows. Work quickly because the chocolate sets within 2-3 minutes. If making mummy pretzels, drizzle white chocolate in zigzag patterns and add two candy eyes.
Create Special Designs
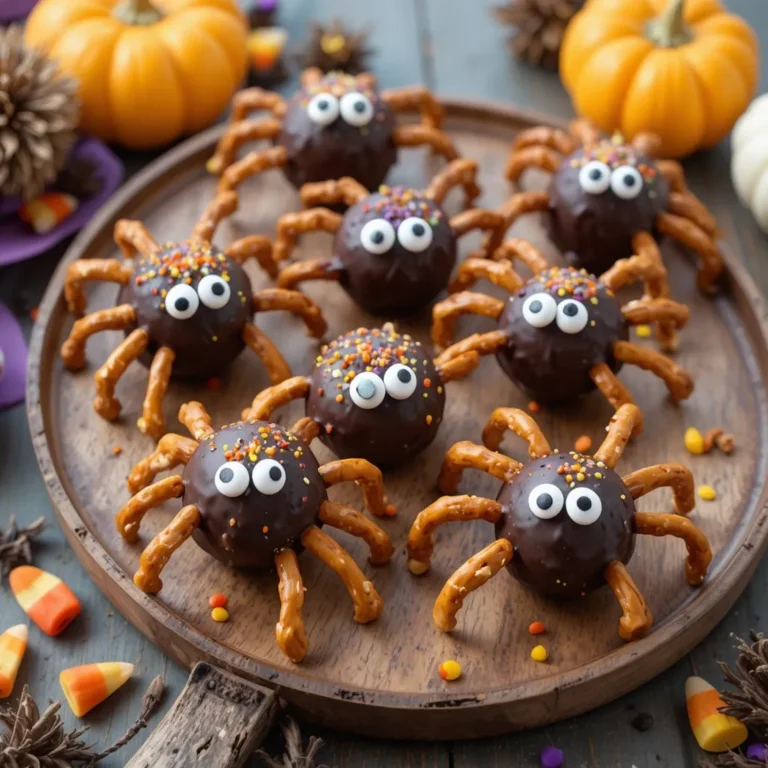
For monster pretzels, use green-tinted white chocolate and add multiple candy eyes with a silly expression. For spider pretzels, use black chocolate and add 8 small pretzel stick pieces as legs before the chocolate sets. For ghost pretzels, dip in white chocolate and use black gel icing to draw spooky faces once set.
Let Them Set
Place decorated pretzels on the prepared baking sheets, leaving space between each one. Allow them to set at room temperature for 15-20 minutes, or refrigerate for 10 minutes for faster setting. The chocolate should be firm to the touch and not shiny when ready. Avoid touching them before they’re fully set to prevent fingerprints and smudges.
Final Touches
Once the base chocolate has hardened, add any final details using gel icing or melted chocolate in a piping bag. Draw spider webs, write “BOO,” or create dripping blood effects. These final touches add professional flair and personality to each treat.
What to Serve Halloween Treats Pretzels With
These Halloween treats pretzels pair wonderfully with various party foods and beverages. Serve them alongside hot apple cider or pumpkin spice lattes for a cozy autumn vibe. They complement Halloween punch perfectly on party tables.
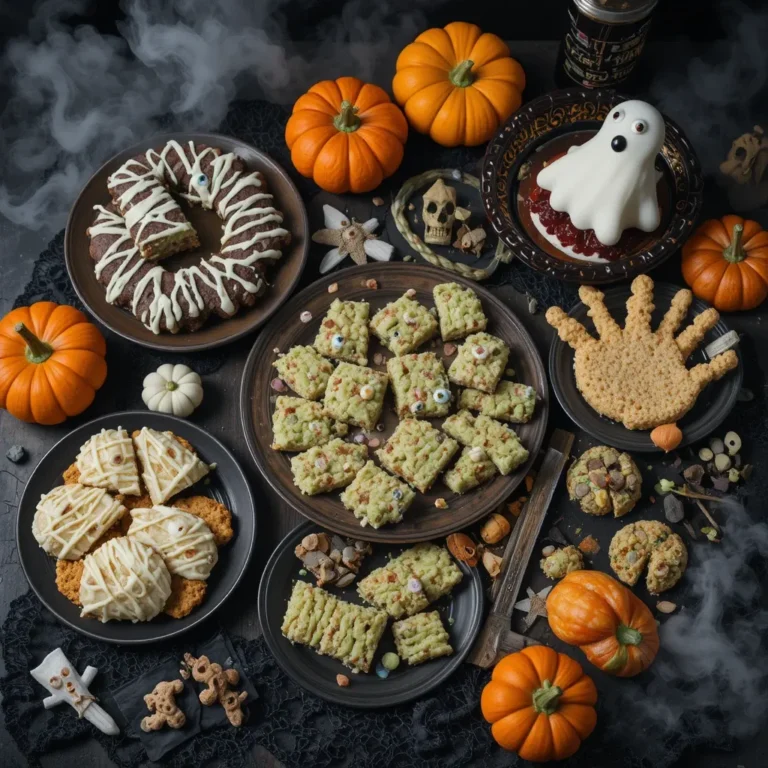
Create a dessert board featuring these pretzels with Halloween cookies, candy corn, and mini cupcakes. The variety of textures and flavors keeps guests interested.
For savory balance, serve with a cheese platter, popcorn balls, or mini sandwiches. The salty-sweet pretzels cleanse the palate between different foods.
Add them to Halloween goodie bags with other treats, or package them individually wrapped for trick-or-treaters as a special handout alternative to regular candy.
They also work beautifully as edible decorations stuck into Halloween cakes or cupcakes as toppers.
Top Tips for Perfecting Halloween Treats Pretzels
Use Quality Chocolate
Chocolate melting wafers work better than regular chocolate chips because they’re formulated to set properly at room temperature. If using chocolate chips, add extra coconut oil (1 tablespoon per cup) to achieve proper consistency. Ghirardelli, Wilton, or Merckens brands give the best results with smooth melting and glossy finish.
Temperature Matters
Work in a cool kitchen if possible. Chocolate sets best between 65-70°F. On hot days, refrigerate the pretzels immediately after decorating. If your kitchen is warm, the chocolate may stay tacky and not set properly, causing decorations to slide off.
Prevent Chocolate Seizing
Never let water come in contact with melting chocolate. Even a single drop can cause it to seize and become grainy. Make sure all bowls and utensils are completely dry. If chocolate does seize, try whisking in 1 teaspoon of coconut oil at a time until smooth again.
Decoration Timing
Apply heavy decorations like candy eyes within 30 seconds of dipping. Lighter decorations like sprinkles can be added within 1-2 minutes. If chocolate starts setting before you finish decorating, gently warm it with a hair dryer on low setting for 10 seconds.
Color Coordination
Stick to classic Halloween colors: orange, black, purple, green, and white. This creates visual cohesion when displayed together. Buy chocolate melts in these colors or tint white chocolate using oil-based food coloring (NOT water-based, which will seize the chocolate).
Storage Strategy
Store in single layers separated by parchment paper in airtight containers. Stacking without separation causes decorations to stick together and colors to transfer. If pretzels get stuck together, gently twist them apart rather than pulling.
Storing and Reheating Tips
Room Temperature Storage: Halloween treats pretzels stay fresh for up to 2 weeks when stored properly at room temperature (65-70°F). Place them in an airtight container with parchment paper between layers. Keep away from direct sunlight and heat sources. This is the preferred storage method as it maintains the perfect texture contrast between crunchy pretzel and smooth chocolate.
Refrigerator Storage: If your kitchen is warm or humid, refrigerate the pretzels in airtight containers for up to 3 weeks. Allow them to come to room temperature before serving for the best flavor and texture. Cold pretzels can develop condensation when brought to room temperature, so remove them 30 minutes before serving.
Freezer Storage: These treats freeze beautifully for up to 3 months. Place them in freezer-safe containers or bags with parchment between layers. Freeze them flat first on a baking sheet for 1 hour, then transfer to containers. This prevents them from sticking together. Thaw overnight in the refrigerator or for 2 hours at room temperature.
Preventing Bloom: Chocolate bloom (white streaks or spots) occurs from temperature fluctuations. It’s harmless but affects appearance. Prevent it by storing at consistent temperatures and avoiding moisture. If bloom occurs, the pretzels are still safe to eat, just less attractive.
Gift Packaging: When gifting, package in cellophane bags tied with Halloween ribbons. These stay fresh for 1 week when properly sealed. Add silica gel packets for extra moisture protection. Store packaged treats in cool, dry places until giving them away.
Frequently Asked Questions
<h4>Can I use regular chocolate instead of melting wafers?</h4>
Yes, but you’ll need to temper it or add coconut oil. Regular chocolate doesn’t set as firmly at room temperature. Use 1 tablespoon of coconut oil per cup of chocolate chips, melting them together. Candy melts are easier for beginners because they require no tempering and set perfectly without additional fats. <h4>Why is my chocolate too thick to dip?</h4>
Add more coconut oil or shortening, one teaspoon at a time, stirring until you reach desired consistency. Overheated chocolate also thickens. If you’ve overheated it, there’s no fix—start with fresh chocolate. The ideal consistency is like warm honey that flows smoothly off a spoon. <h4>How do I prevent decorations from sliding off?</h4>
Apply decorations immediately after dipping while chocolate is still wet and tacky. Press gently to secure them. Heavy items like large candy eyes may need a dab of extra melted chocolate as “glue.” Work quickly and keep your workspace cool. <h4>Can I make these ahead of time for a party?</h4>
Absolutely! Make them up to 2 weeks ahead and store in airtight containers at room temperature. They actually taste better after 24 hours when flavors have melded. This makes them perfect for stress-free party planning. Just keep them away from heat and humidity. <h4>What’s the best way to drizzle contrasting chocolate?</h4>
Transfer melted chocolate to a piping bag or ziplock bag with a tiny corner cut off. Drizzle in quick back-and-forth motions over the set base chocolate. For thin lines, hold the bag higher above the pretzels. For thick lines, hold closer. Practice on parchment paper first. <h4>Are Halloween treats pretzels kid-friendly to make?</h4>
Yes! Kids ages 5+ can help with decorating under supervision. Adults should handle the chocolate melting. Set up a decoration station where kids can add sprinkles and candy eyes. It’s a fantastic activity for Halloween parties or family bonding time. <h4>Can I make these dairy-free or allergy-friendly?</h4>
Use dairy-free chocolate chips or melting wafers from brands like Enjoy Life or Hu Chocolate. Check all decorations for allergens. Many candy eyes and sprinkles are naturally dairy-free, but always read labels. Use gluten-free pretzels if needed for celiac diets. <h4>Why does my chocolate look streaky or dull?</h4>
This usually happens from moisture exposure or overheating. Make sure pretzels are completely dry before dipping. Melt chocolate slowly at low power. If using food coloring, use only oil-based versions. Water-based coloring causes seizing and dull appearance.
Nutrition Information
| Nutrient | Per Pretzel (1 rod) |
|---|---|
| Calories | 95 |
| Total Fat | 4g |
| Saturated Fat | 2.5g |
| Cholesterol | 2mg |
| Sodium | 115mg |
| Total Carbohydrates | 14g |
| Dietary Fiber | 0.5g |
| Total Sugars | 8g |
| Protein | 1g |
Nutritional values are approximate and vary based on specific ingredients and decorations used.
Pro Chef Secrets for Next-Level Halloween Treats Pretzels
Double Dipping Technique: For extra chocolatey pretzels, do a first dip, let it set for 5 minutes, then dip again in a contrasting color. This creates beautiful layers and more intense chocolate flavor. Try orange base with black drizzle for a classic Halloween look.
Flavor Infusions: Add 1/4 teaspoon of extract to melted chocolate for exciting flavors. Peppermint, orange, or almond extract elevate these from simple to gourmet. Don’t exceed 1/4 teaspoon or the chocolate may seize from too much liquid.
Edible Paint: Mix luster dust with clear extract to create edible paint for adding shimmer and details after pretzels set. This professional technique makes your treats look bakery-quality. Paint on spider webs, stars, or spooky faces.
Pretzel Variety: Mix pretzel shapes for visual interest. Use rods for “magic wands,” twists for “spider bodies,” and squares as “bases” for standing pretzel monsters. Different shapes appeal to different preferences and look stunning displayed together.
Texture Contrast: Roll freshly dipped pretzels in crushed graham crackers, chopped nuts, or coconut flakes before chocolate sets. This adds exciting textural dimension and makes each bite more interesting. Just ensure additions complement your flavor profile.
Troubleshooting Common Problems
Chocolate Won’t Melt Smoothly: You may have overheated it or gotten water in it. Start over with fresh chocolate. Use 50% power in microwave and stir every 30 seconds. Patience prevents seizing.
Pretzels Are Soggy: This happens when chocolate is too warm or pretzels are stale. Use fresh pretzels and let chocolate cool slightly before dipping. Properly set chocolate should snap when broken, not bend.
Decorations Won’t Stick: Chocolate has already started setting. Work faster or keep chocolate slightly warmer. You can also use a tiny dab of corn syrup as “glue” for decorations.
Colors Are Bleeding Together: Different color chocolates are touching while still wet. Leave more space between pretzels on baking sheets or use separate sheets for different colors.
Pretzels Taste Waxy: You’re using low-quality candy melts. Upgrade to better brands like Ghirardelli or Guittard. Real chocolate tastes significantly better than cheap alternatives.
Creative Variations to Try
Peanut Butter Halloween Pretzels: Sandwich peanut butter between two pretzel rounds before dipping in chocolate. These Reese’s-inspired treats are always a hit. Use natural peanut butter for best flavor and health benefits.
Caramel Apple Pretzels: Dip pretzels in caramel first, let set, then dip in green chocolate and add apple-shaped sprinkles. These taste like caramel apples in pretzel form!
S’mores Halloween Pretzels: Use graham cracker pretzels, dip in chocolate, and top with mini marshmallows toasted with a kitchen torch. Add ghost faces on marshmallows with edible marker.
Cookies and Cream Pretzels: Mix crushed Oreos into white chocolate before dipping. Top with additional Oreo pieces. The cookies and cream flavor is universally loved.
Pumpkin Spice Pretzels: Add 1/2 teaspoon pumpkin spice to melted white chocolate, dip pretzels, and top with orange sanding sugar. These capture autumn’s favorite flavor perfectly.
Make It Special: Presentation Ideas
Display Halloween treats pretzels in clear apothecary jars labeled “Monster Bones,” “Wizard Wands,” or “Witch Fingers.” This theatrical presentation makes them conversation starters.
Create a pretzel “bouquet” by arranging pretzel rods in a vase with decorative Halloween ribbon. This makes a fantastic hostess gift or party centerpiece that’s edible!
Build a haunted pretzel house using pretzels as building materials instead of gingerbread. Use melted chocolate as mortar and candy decorations for details.
Package individual pretzels in clear cellophane bags tied with orange and black ribbons for party favors. Add a personalized tag with guest names for a special touch.
Arrange on a serving platter in spooky shapes—form a spider web pattern, spell “BOO,” or create a ghost shape. Strategic arrangement makes simple treats look professionally catered.
Conclusion
These Halloween treats pretzels prove that impressive party snacks don’t need to be complicated. With just 15 minutes of active time, you can create dozens of adorable, delicious treats that’ll be the hit of any Halloween celebration. The sweet-salty combination satisfies every craving, while the customizable decorations let your creativity shine.
Whether you’re preparing for a class party, hosting trick-or-treaters, or just want a fun family activity, these pretzels deliver on every level. They’re budget-friendly, endlessly customizable, and absolutely addictive.
So grab your pretzels and chocolate, gather the family, and start creating some spooky magic. Don’t forget to share your creations on social media using #HalloweenTreatsPretzels—we love seeing your creative designs! Happy Halloween, and happy snacking!
Ready for more Halloween fun? Check out our Halloween Sugar Cookies and Pumpkin Spice Brownies for a complete spooky dessert spread!