The Best Healthy Pumpkin Bars You’ll Ever Make
Imagine biting into a soft, spiced pumpkin bar that melts in your mouth while knowing you’re treating your body right. These healthy pumpkin bars are everything you love about fall desserts – warm cinnamon, nutmeg, and pure pumpkin goodness – without the guilt.
Here’s a fun fact: pumpkins are actually berries, not vegetables, and they’re packed with vitamin A to keep your skin glowing all season long. What makes these bars truly special is their incredible moistness achieved without loads of butter or refined sugar. You can whip them up in under 15 minutes of prep time, making them perfect for busy weeknights, weekend gatherings, or meal prep Sunday.
If you loved our healthy banana bread, you’re going to absolutely adore these pumpkin bars. Get ready to fall head over heels for the easiest, healthiest dessert you’ll make all autumn!
What Are Healthy Pumpkin Bars?
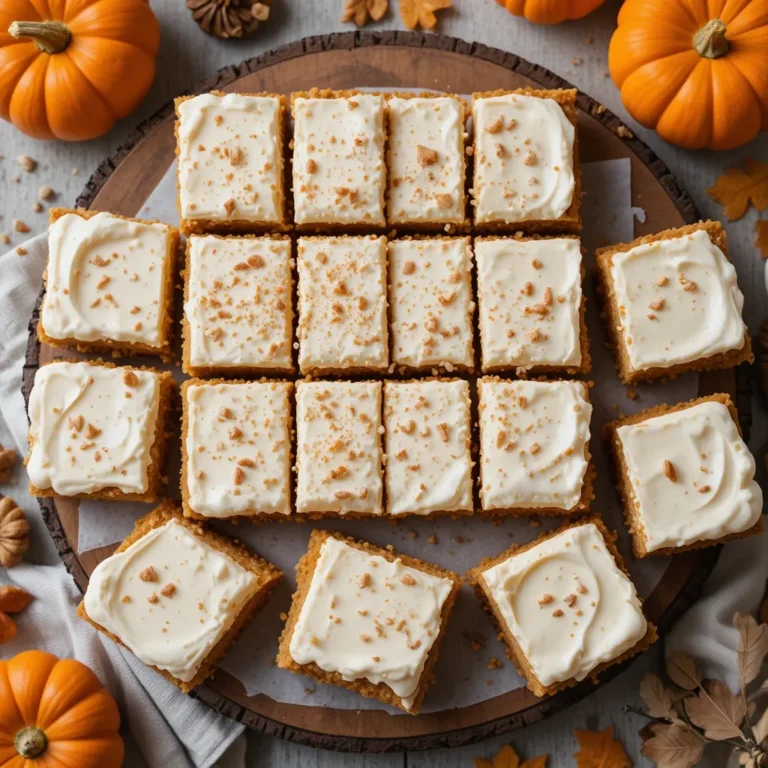
Ever wondered why these delightful treats are called “bars” and not “cake”? Well, it’s all about the shape and texture! These healthy pumpkin bars are the perfect cross between a moist cake and a dense brownie, baked in a pan and cut into portable squares.
They’re called “bars” because they’re sturdy enough to grab and go, making them ideal for lunchboxes, picnics, or late-night snacking. As the old saying goes, “the way to a man’s heart is through his stomach,” and these bars have converted even the pickiest eaters into pumpkin lovers! Ready to create some magic in your kitchen?
Why You’ll Love This Healthy Pumpkin Bars Recipe
Naturally Sweetened and Guilt-Free
These pumpkin bars healthy recipe proves that dessert can be both delicious and nutritious. We’ve replaced refined white sugar with natural sweeteners like maple syrup or honey, cutting the sugar content by nearly 50% compared to traditional recipes. The pumpkin puree adds natural sweetness and moisture, so you don’t need cups of butter or oil.
Budget-Friendly Baking at Its Best
Making healthy pumpkin bars at home costs a fraction of what you’d pay at fancy bakeries or health food stores. A single can of pumpkin puree costs around $2 and makes a full pan of 16 generous bars. Compare that to $4-5 per bar at trendy coffee shops! Plus, you probably have most ingredients in your pantry already.
Customizable and Family-Approved
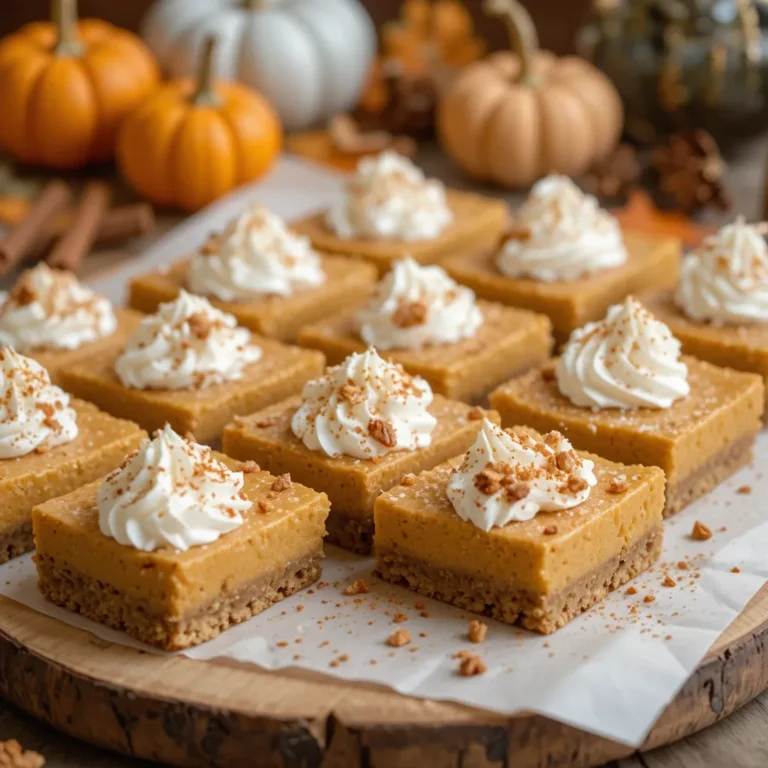
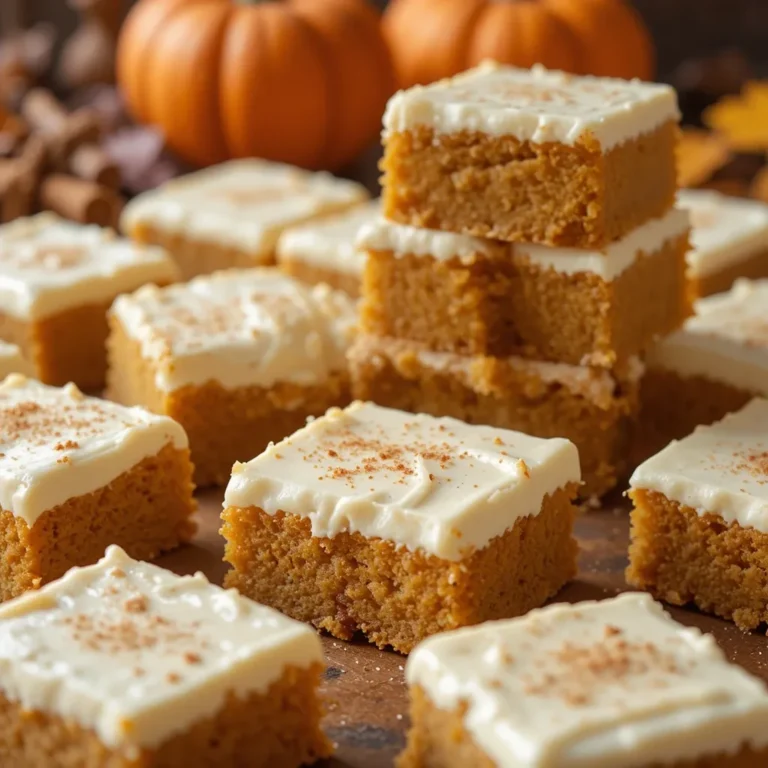
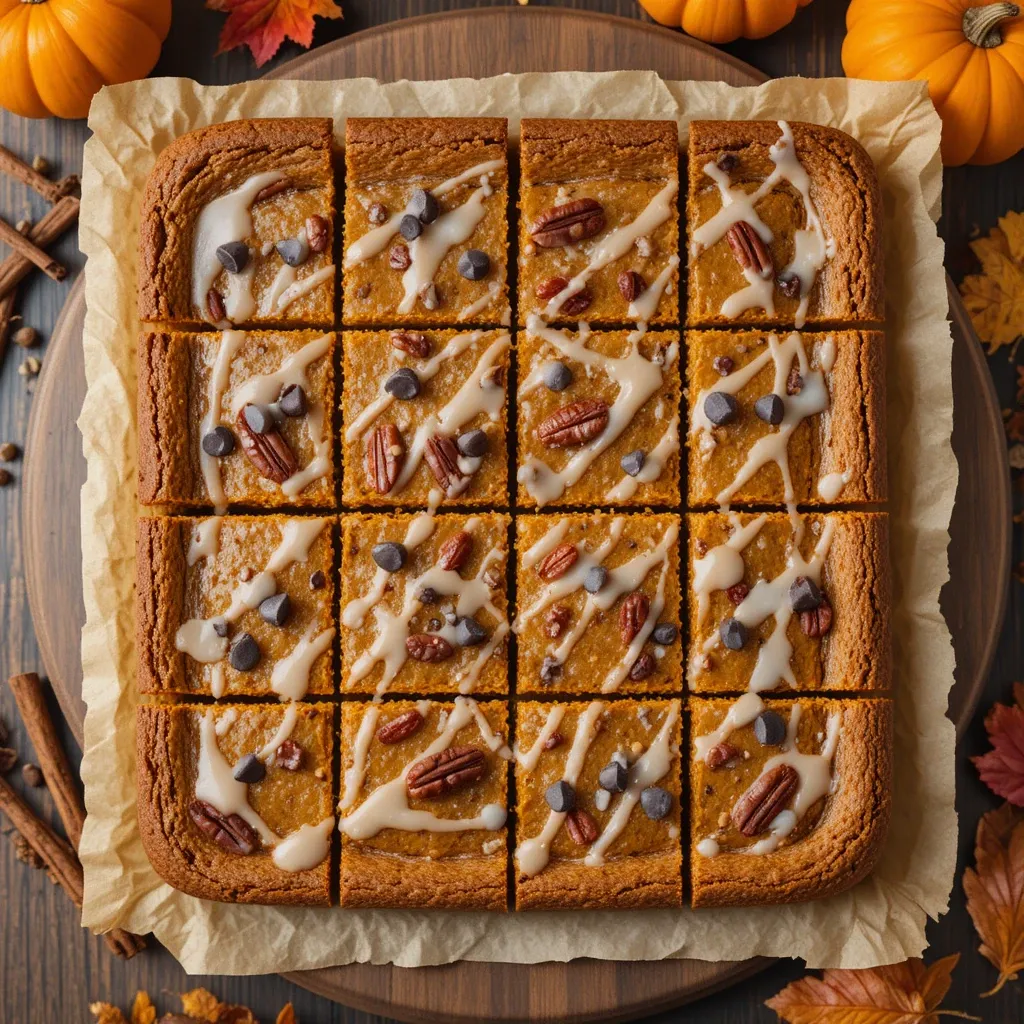
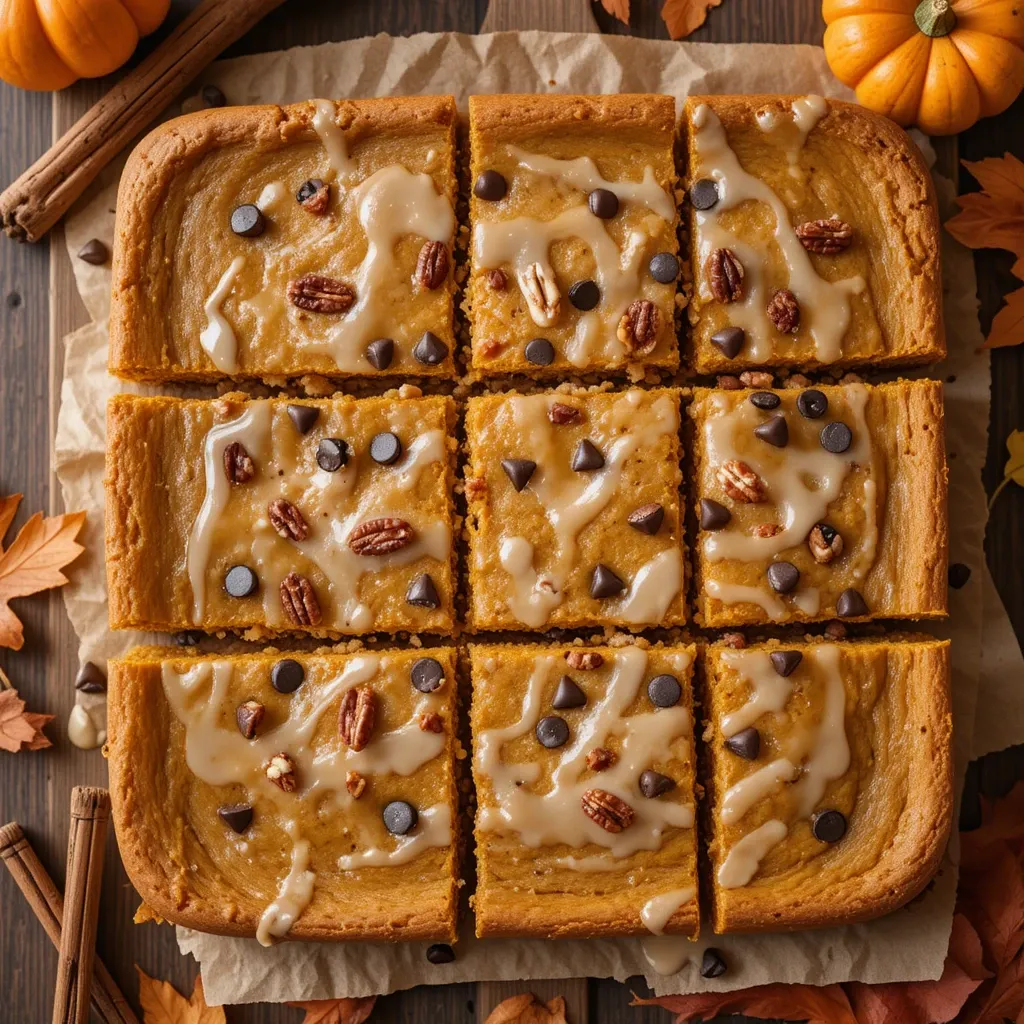
The beauty of this recipe lies in its versatility. Top them with cream cheese frosting made with Greek yogurt for extra protein, sprinkle with chopped pecans for crunch, or drizzle with a simple maple glaze. Kids love the mild spice level, while adults appreciate the complex flavors. If you enjoyed our healthy chocolate chip cookies, you’ll notice these bars have that same crowd-pleasing quality that makes them disappear fast. Make a batch today and watch them become your family’s new fall tradition!
How to Make Healthy Pumpkin Bars
Quick Overview
These healthy pumpkin bars come together effortlessly in one bowl with no mixer required. The combination of whole wheat flour and oats creates a hearty texture, while pumpkin puree keeps everything incredibly moist. The warm spices – cinnamon, nutmeg, and ginger – fill your kitchen with the most amazing aroma as they bake.
Time Breakdown:
- Prep Time: 15 minutes
- Bake Time: 25-30 minutes
- Cooling Time: 20 minutes
- Total Time: 1 hour 10 minutes
- Yield: 16 bars
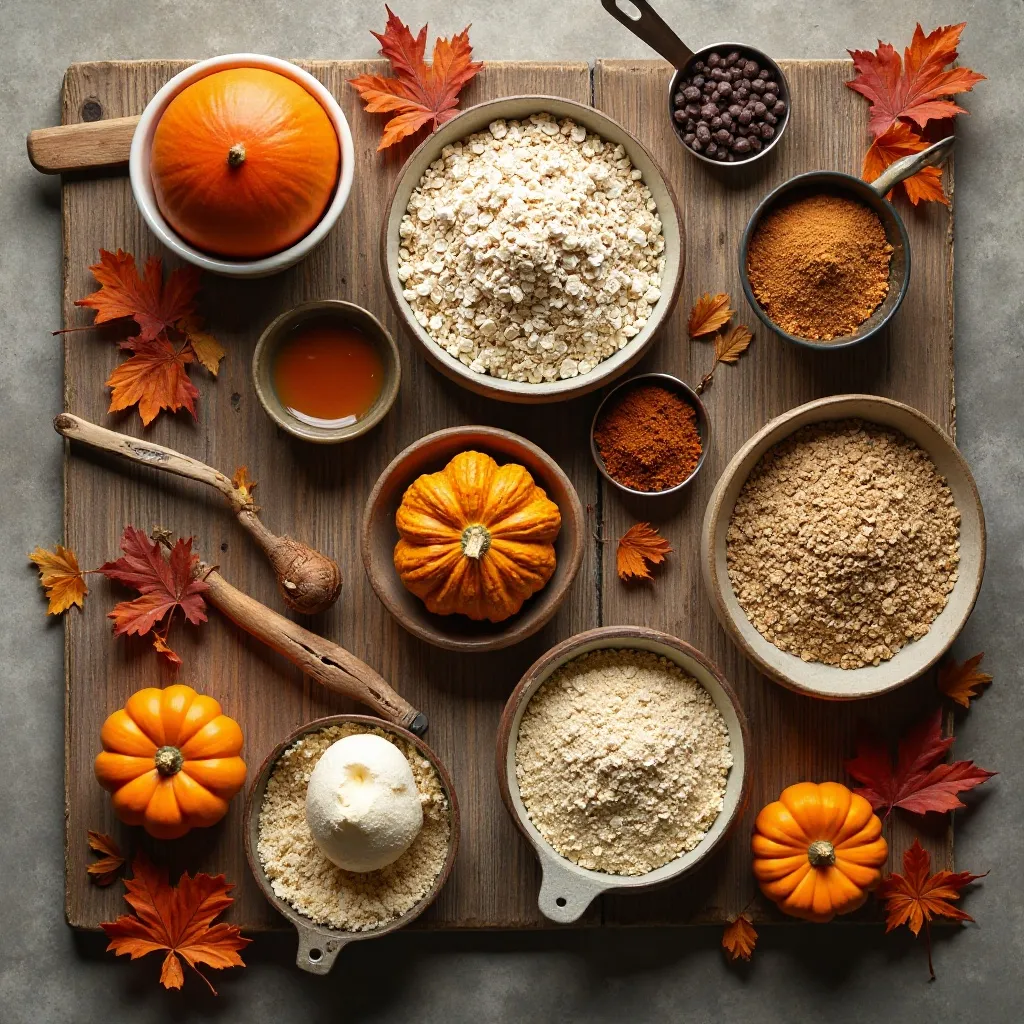
Key Ingredients for Healthy Pumpkin Bars
Dry Ingredients:
- 1½ cups whole wheat flour (or white whole wheat flour for lighter texture)
- ½ cup rolled oats (old-fashioned, not instant)
- 1½ teaspoons baking powder
- 1 teaspoon baking soda
- 2 teaspoons ground cinnamon
- ½ teaspoon ground nutmeg
- ½ teaspoon ground ginger
- ¼ teaspoon ground cloves
- ½ teaspoon sea salt
Wet Ingredients:
- 1 (15 oz) can pure pumpkin puree (not pumpkin pie filling)
- ½ cup pure maple syrup or honey
- ¼ cup melted coconut oil or unsweetened applesauce
- 2 large eggs, room temperature
- ⅓ cup unsweetened almond milk (or any milk)
- 2 teaspoons pure vanilla extract
Optional Add-ins:
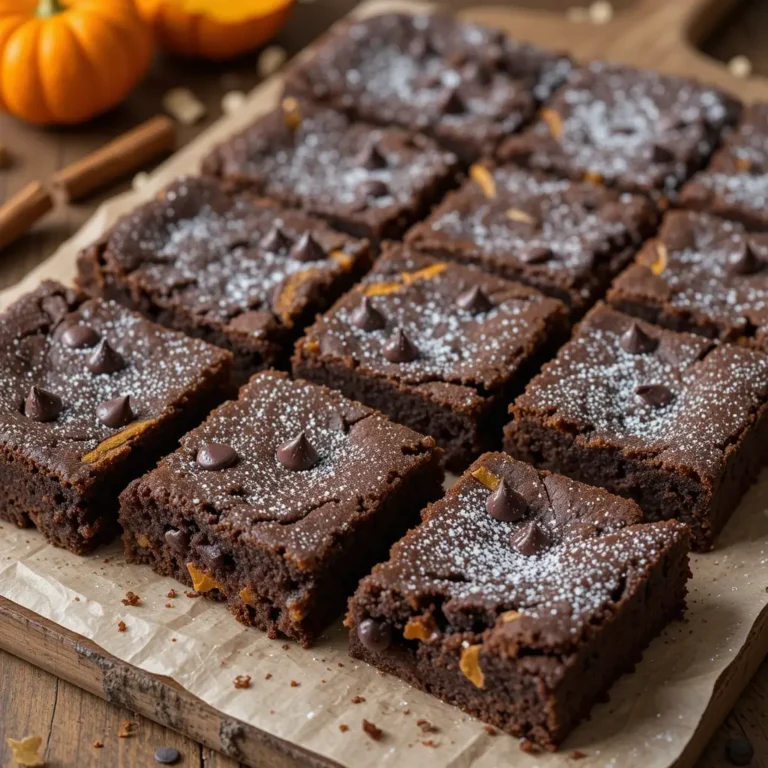
- ½ cup dark chocolate chips
- ½ cup chopped walnuts or pecans
- ¼ cup dried cranberries
Step-by-Step Instructions
How Do I Prepare the Pan and Preheat?
Start by preheating your oven to 350°F (175°C). This ensures even baking from the moment your bars go in. Line a 9×13 inch baking pan with parchment paper, leaving some overhang on the sides – this makes removing the bars super easy later. Alternatively, spray the pan generously with non-stick cooking spray. Getting this right prevents sticking and ensures beautiful, clean-cut bars.
How Do I Mix the Dry Ingredients?
In a large mixing bowl, whisk together the whole wheat flour, rolled oats, baking powder, baking soda, cinnamon, nutmeg, ginger, cloves, and sea salt. Whisk for about 30 seconds to ensure all the spices are evenly distributed and there are no lumps. This step is crucial – properly mixed dry ingredients mean every bite has consistent flavor and texture. Set this bowl aside while you prepare the wet ingredients.
How Do I Combine the Wet Ingredients?
In a separate medium bowl, add the pumpkin puree, maple syrup, melted coconut oil, eggs, almond milk, and vanilla extract. Whisk vigorously for about 1 minute until the mixture is smooth and well-combined. The eggs should be fully incorporated with no streaks remaining. The mixture should look creamy and slightly glossy. Room temperature eggs mix more easily and create a better texture, so don’t skip that detail!
How Do I Bring It All Together?
Pour the wet ingredients into the bowl with the dry ingredients. Using a rubber spatula or wooden spoon, gently fold everything together. Mix just until no flour streaks remain – this should take about 20-25 stirs. Be careful not to overmix, as this can make your bars tough and dense instead of tender. The batter will be thick but pourable, similar to a thick pancake batter. If you’re adding chocolate chips, nuts, or cranberries, fold them in now with just a few gentle strokes.
How Do I Bake the Pumpkin Bars?
Pour the batter into your prepared pan and spread it evenly with a spatula, making sure to reach all corners. The batter should be about ¾ inch thick. Place the pan in the center of your preheated oven and bake for 25-30 minutes. You’ll know they’re done when the edges start to pull away from the sides slightly, the top feels springy when gently pressed, and a toothpick inserted in the center comes out with just a few moist crumbs (not wet batter). The bars will continue to cook slightly as they cool, so don’t overbake!
How Do I Cool and Cut the Bars?
Remove the pan from the oven and place it on a wire cooling rack. Let the bars cool in the pan for at least 20 minutes – this cooling time is essential for them to set properly and prevents crumbling when you cut them. For the cleanest cuts, cool completely (about 1 hour), then use the parchment paper overhang to lift the entire slab out of the pan. Place on a cutting board and use a sharp knife, wiping it clean between cuts, to slice into 16 bars.
What to Serve Healthy Pumpkin Bars With
These versatile pumpkin bars pair beautifully with so many options! For breakfast, serve them alongside your morning coffee or chai latte, with a dollop of Greek yogurt and fresh berries. They make an excellent afternoon snack with a glass of cold milk or warm apple cider.
For a more indulgent dessert experience, top them with a scoop of vanilla ice cream or whipped coconut cream. They’re also fantastic on fall dessert tables alongside apple crisp, pecan pie, or cinnamon rolls.
Pair them with hot beverages like pumpkin spice lattes, herbal tea, or hot chocolate for the ultimate cozy fall experience. For a breakfast twist, crumble them over oatmeal or yogurt parfaits for added texture and flavor.
Top Tips for Perfecting Healthy Pumpkin Bars
Can I Use Different Flours?
Absolutely! While whole wheat flour adds fiber and nutrients, you can substitute with all-purpose flour for a lighter texture. For gluten-free bars, use a 1:1 gluten-free baking flour blend. Oat flour also works wonderfully – just blend rolled oats in a food processor until fine. Each flour creates slightly different textures, so experiment to find your favorite!
What If I Don’t Have All the Spices?
No problem! If you’re missing individual spices, simply use 1 tablespoon of pumpkin pie spice as a substitute. You can also adjust spice levels to your preference – add more cinnamon for warmth or extra ginger for a spicy kick. Don’t skip the spices entirely though, as they’re what make these bars taste like fall!
How Do I Prevent Dry Bars?
The key to moist pumpkin bars is not overbaking. Start checking at 25 minutes – remember, a few moist crumbs on the toothpick are perfect. Also, make sure you’re using pumpkin puree (not pumpkin pie filling which has added sugars and spices). If you want extra moisture, replace half the coconut oil with additional applesauce.
Can I Make These Oil-Free?
Yes! Replace the coconut oil with ½ cup of unsweetened applesauce or mashed banana for completely oil-free bars. They’ll be slightly denser but still delicious and even lower in calories. Greek yogurt also works as an oil substitute and adds protein.
Why Are My Bars Dense and Heavy?
This usually happens from overmixing the batter or using too much flour. When measuring flour, spoon it into your measuring cup and level it off – don’t pack it down. Mix the batter just until combined; overmixing develops gluten and creates tough bars. Also ensure your baking powder and baking soda are fresh (less than 6 months old) for proper rising.
Can I Add Frosting?
Definitely! These bars are delicious plain, but a cream cheese frosting takes them over the top. For a healthier frosting, beat together 4 oz softened cream cheese (or Greek yogurt cream cheese), 2 tablespoons maple syrup, and 1 teaspoon vanilla. Spread over cooled bars and refrigerate until set.
Storing and Reheating Tips
Room Temperature Storage: Store healthy pumpkin bars in an airtight container at room temperature for up to 3 days. Place parchment paper between layers if stacking to prevent sticking. They actually taste even better the next day as the flavors meld together!
Refrigerator Storage: For longer freshness, keep bars in an airtight container in the refrigerator for up to 1 week. The cooler temperature keeps them extra moist. If you’ve added cream cheese frosting, refrigeration is a must. Let them sit at room temperature for 10 minutes before eating for the best texture.
Freezing Instructions: These bars freeze beautifully for up to 3 months! Wrap individual bars in plastic wrap, then place them in a freezer-safe bag or container. This way, you can grab one whenever a craving hits. To thaw, leave at room temperature for 1-2 hours or microwave for 20-30 seconds.
Reheating Tips: While these bars are delicious cold, warming them brings out the spices beautifully. Microwave individual bars for 15-20 seconds, or warm in a 300°F oven for 5-7 minutes. For a special treat, warm a bar and top with vanilla ice cream – the contrast of warm and cold is incredible!
Frequently Asked Questions
Can I use fresh pumpkin instead of canned?
Yes, but canned pumpkin is more convenient and consistent. If using fresh, roast your pumpkin, puree it until smooth, and strain out excess liquid. You’ll need about 2 cups of fresh pumpkin puree. Make sure it’s not too watery or your bars won’t set properly.
Are these pumpkin bars actually healthy?
Compared to traditional recipes, yes! They use whole grain flour, natural sweeteners, and are packed with vitamin-rich pumpkin. Each bar has about 130 calories, 4g of fiber, and significantly less sugar than conventional versions. They’re a nutritious option that doesn’t taste “diet-y” at all.
Can I make these vegan?
Absolutely! Replace the eggs with flax eggs (2 tablespoons ground flaxseed mixed with 6 tablespoons water, let sit 5 minutes), use maple syrup instead of honey, and ensure your sugar is vegan. The texture will be slightly different but still delicious.
Why did my bars turn out gummy?
This usually happens from using pumpkin pie filling (which has added moisture) instead of pure pumpkin puree, or from underbaking. Make sure to use 100% pure pumpkin and bake until a toothpick comes out with just a few crumbs. Gumminess can also occur if the bars are cut while still too warm.
Can I make these in advance?
Yes! These are perfect make-ahead treats. Bake them up to 3 days before you need them and store covered at room temperature, or freeze for up to 3 months. They’re ideal for meal prep, holiday gatherings, or whenever you need a healthy dessert ready to go.
What’s the difference between pumpkin puree and pumpkin pie filling?
Pumpkin puree is 100% pure pumpkin with no added ingredients – it’s what you want for this recipe. Pumpkin pie filling contains added sugars, spices, and thickeners designed specifically for pies. Using pie filling will make your bars too sweet and can throw off the texture. Always check the label!
How can I make these lower in sugar?
This recipe is already reduced in sugar compared to traditional versions. For even less sweetness, reduce the maple syrup to ⅓ cup, or use a sugar-free sweetener like monk fruit or erythritol. You can also increase the spices slightly to compensate for the reduced sweetness.
Can I double the recipe?
Yes! Double all ingredients and use two 9×13 inch pans or one large sheet pan. Baking time may increase by 5-10 minutes for a sheet pan, so check for doneness with the toothpick test. This is great when you’re feeding a crowd or want extras to freeze.
Nutrition Information
| Nutrient | Per Bar (1/16 of recipe) |
|---|---|
| Calories | 130 |
| Total Fat | 4g |
| Saturated Fat | 2g |
| Cholesterol | 25mg |
| Sodium | 180mg |
| Total Carbohydrates | 22g |
| Dietary Fiber | 3g |
| Sugars | 10g |
| Protein | 3g |
| Vitamin A | 95% DV |
| Calcium | 4% DV |
| Iron | 6% DV |
Nutritional values are approximate and may vary based on specific ingredients used.
Pro Tips for Maximum Flavor
Don’t skip toasting your spices! Before adding ground cinnamon, nutmeg, and ginger to your recipe, toast them in a dry skillet over medium heat for 30-60 seconds. This awakens their essential oils and creates deeper, more complex flavors that make your bars taste professionally made.
Add a secret ingredient – a tablespoon of molasses mixed into the wet ingredients adds rich depth without extra sugar. The slight bitterness balances the sweetness perfectly and enhances the pumpkin flavor.
For bakery-style bars with a beautiful top, reserve a tablespoon of the batter and swirl it on top after pouring into the pan. Then drag a knife through it to create pretty patterns before baking.
Make It Your Own: Variations
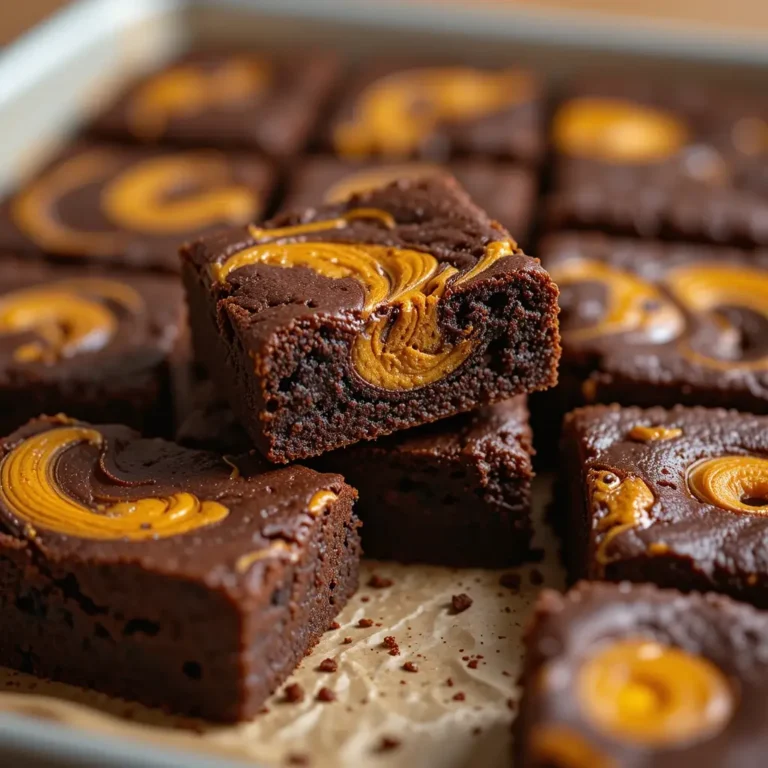
Chocolate Lover’s Pumpkin Bars: Fold in ½ cup dark chocolate chips and top with chocolate drizzle after cooling.
Pumpkin Pecan Bars: Add ½ cup chopped toasted pecans to the batter and sprinkle more on top before baking for extra crunch.
Pumpkin Cranberry Bars: Mix in ½ cup dried cranberries for tart bursts that complement the sweet pumpkin perfectly.
Chai-Spiced Pumpkin Bars: Add ½ teaspoon cardamom and increase ginger to 1 teaspoon for a chai tea twist.
Protein-Packed Bars: Add ¼ cup vanilla protein powder and reduce flour by ¼ cup for a post-workout treat with extra protein.
The Health Benefits of Pumpkin
Pumpkin is a nutritional powerhouse that makes these bars more than just a treat. One serving provides nearly a full day’s worth of vitamin A, which supports eye health, immune function, and glowing skin. The orange color comes from beta-carotene, a powerful antioxidant that fights inflammation.
Pumpkin is also high in fiber, which aids digestion and keeps you feeling full longer. It’s low in calories but high in potassium, which supports heart health and helps regulate blood pressure. The combination of fiber and natural sugars provides steady energy without the blood sugar spike of refined desserts.
Plus, pumpkin contains vitamin C, vitamin E, and iron – all essential nutrients that support overall wellness. By choosing healthy pumpkin bars over traditional baked goods, you’re treating yourself while nourishing your body!
Final Thoughts:
These healthy pumpkin bars prove that nutritious and delicious aren’t mutually exclusive. With their perfectly spiced flavor, tender crumb, and wholesome ingredients, they’ve earned a permanent spot in my fall baking rotation. Whether you’re packing them in lunchboxes, serving them at gatherings, or enjoying them as a mindful treat with your afternoon coffee, these bars deliver satisfaction without compromise.
The best part? They’re so simple that even beginning bakers can nail them on the first try. So grab that can of pumpkin from your pantry and get baking – your kitchen is about to smell like fall heaven, and you’re about to discover your new favorite healthy dessert!
Don’t forget to pin this recipe for later and share it with your pumpkin-loving friends! Happy baking! 🎃