Best Keto Chocolate Mousse You’ll Ever Make
Picture this: a velvety, rich chocolate dessert that melts on your tongue, satisfies your deepest cravings, and keeps you on track with your keto lifestyle. This keto chocolate mousse is pure magic in a bowl! I discovered this recipe during my first month of going keto when I was desperately missing traditional desserts.
The best part? It takes just 10 minutes to whip up and uses ingredients you probably already have. Unlike my popular keto cheesecake that requires baking time, this no-bake wonder delivers instant gratification. Your family won’t even realize they’re eating a low-carb treat. Trust me, this mousse will become your go-to dessert!
This recipe was written by artificial intelligence and was not made in our kitchen. We value honesty and our readers, and feedback from our community about other recipes has been encouraging.
What is Keto Chocolate Mousse?
Ever wondered why something so simple tastes so divine? Keto chocolate mousse is essentially a cloud of chocolate heaven that fits perfectly into your low-carb lifestyle. It’s the French classic reimagined without all the sugar and carbs.
Why the fancy French name “mousse”? It literally means “foam” in French, referring to that airy, light texture we all love.
Here’s the thing: they say the way to a man’s heart is through his stomach, and this dessert proves it every time! I’ve served this to sugar-loving friends who couldn’t believe it was keto-friendly. The secret lies in using high-quality dark chocolate and heavy cream to create that luxurious texture without compromising on flavor.
Ready to impress yourself and everyone around you? Let’s dive into why this recipe deserves a permanent spot in your dessert rotation!
Why You’ll Love This Keto Chocolate Mousse
The Ultimate Chocolate Experience
This isn’t just any chocolate dessert. It’s an indulgent, restaurant-quality treat that rivals anything you’d pay premium prices for at a fancy bistro. The mousse achieves that perfect balance between rich chocolate intensity and light, airy texture. Each spoonful melts instantly, coating your palate with deep cocoa notes and subtle sweetness.
Budget-Friendly Luxury
Making keto chocolate mousse at home saves you serious money compared to buying pre-made keto desserts or dining out. A single serving at a restaurant could cost $8-12, but you can make six servings at home for less than $10 total. Plus, you control the quality of ingredients and sweetness level.
Customizable Perfection
The beauty of this recipe lies in its versatility. Top it with fresh raspberries for a pop of tartness, add a dollop of sugar-free whipped cream for extra decadence, or sprinkle some unsweetened cocoa nibs for crunch. Some days I add a pinch of sea salt on top, other times I fold in some espresso powder for a mocha twist.
If you loved my keto peanut butter cups, you’ll absolutely adore this mousse. Both recipes prove that keto desserts can be just as satisfying as traditional ones.
Why wait? Grab your mixing bowl and let’s create some chocolate magic together!
How to Make Keto Chocolate Mousse
Quick Overview
This keto chocolate mousse comes together faster than you can brew a cup of coffee. The process is straightforward: melt chocolate, whip cream, fold together, and chill. No complicated techniques or special equipment needed.
What makes it special? The combination of dark chocolate and perfectly whipped cream creates that signature mousse texture without any stabilizers or artificial ingredients.
Preparation Time:
- Prep Time: 10 minutes
- Chilling Time: 2 hours
- Total Time: 2 hours 10 minutes
- Servings: 6 portions
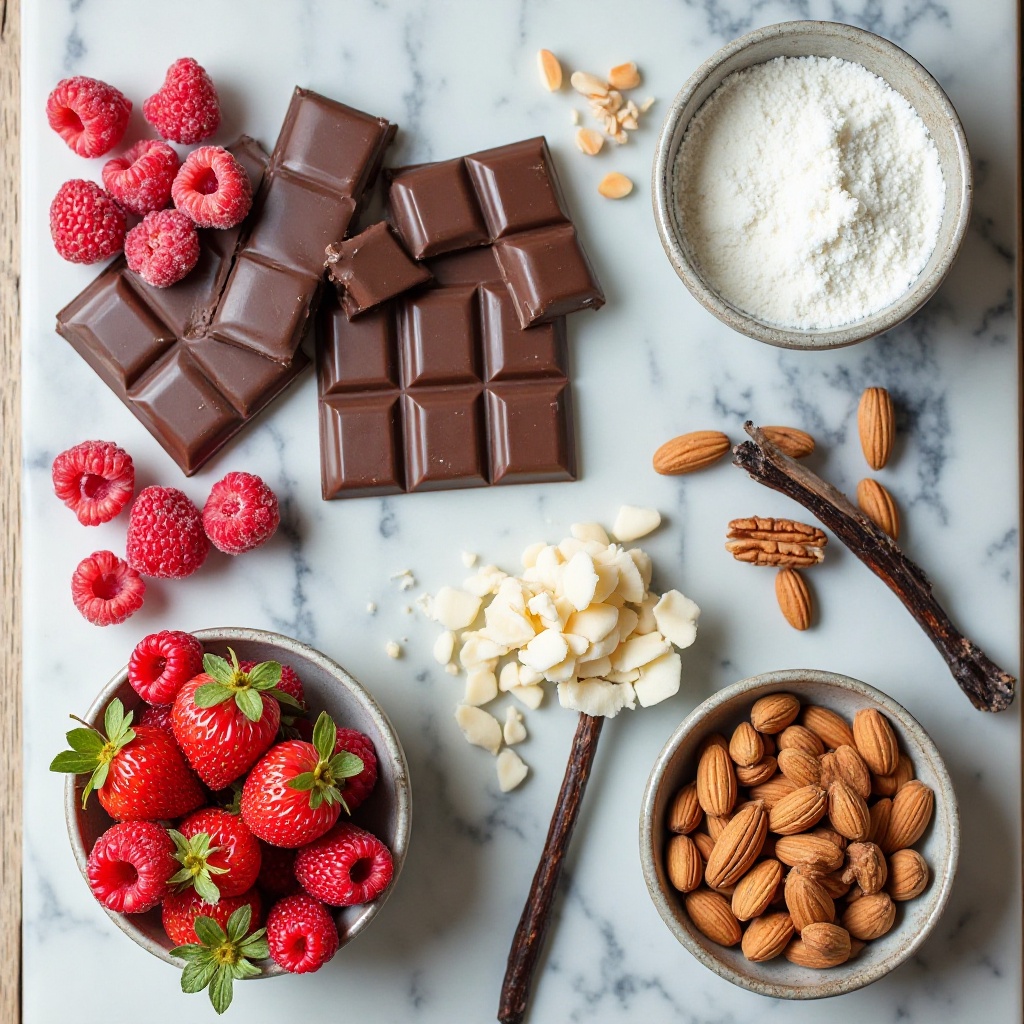
Key Ingredients for Keto Chocolate Mousse
For the Mousse Base:
- 8 oz (225g) dark chocolate (85% cocoa or higher, sugar-free)
- 2 cups (480ml) heavy whipping cream, cold
- 3 tablespoons powdered erythritol or monk fruit sweetener
- 1 teaspoon pure vanilla extract
- Pinch of sea salt
Optional Toppings:
- Fresh berries (raspberries, strawberries, or blackberries)
- Sugar-free whipped cream
- Unsweetened cocoa powder for dusting
- Dark chocolate shavings
- Crushed pecans or almonds
Essential Equipment:
- Mixing bowls (one heatproof)
- Hand mixer or stand mixer
- Rubber spatula
- Serving glasses or ramekins
Step-by-Step Instructions
Prepare Your Chocolate Base
Start by chopping your dark chocolate into small, even pieces. This helps it melt uniformly and prevents burning. Place the chocolate pieces in a heatproof bowl.
Create a double boiler by filling a small saucepan with about 2 inches of water. Bring the water to a gentle simmer over medium heat. Place your bowl with chocolate on top, making sure the bottom doesn’t touch the water.
Stir the chocolate constantly as it melts. This should take about 3-4 minutes. Once completely smooth and glossy, remove from heat and let it cool for 5 minutes. The chocolate should be warm but not hot when you combine it with the cream.
Whip the Cream to Perfection
While your chocolate cools, pour the cold heavy cream into a large, clean mixing bowl. Make sure your bowl and beaters are completely dry – any moisture will prevent proper whipping.
Add the powdered sweetener and vanilla extract to the cream. Using a hand mixer or stand mixer, start on medium speed for about 30 seconds, then increase to medium-high.
Beat the cream for 3-4 minutes until soft peaks form. You’ll know it’s ready when the cream holds its shape but the peaks gently fold over at the tips. Don’t overwhip, or you’ll end up with butter!
Combine and Fold
This step requires a gentle touch. Take about one-third of your whipped cream and add it to the slightly cooled chocolate. Stir this together vigorously – this lightens the chocolate and makes it easier to fold in the remaining cream.
Now add the chocolate mixture back into the bowl with the remaining whipped cream. Using a rubber spatula, fold gently from the bottom of the bowl up and over. Rotate the bowl as you fold.
Continue folding until you see no more white streaks, but don’t overmix. The mousse should look uniformly brown and fluffy. This process takes about 20-25 gentle folds.
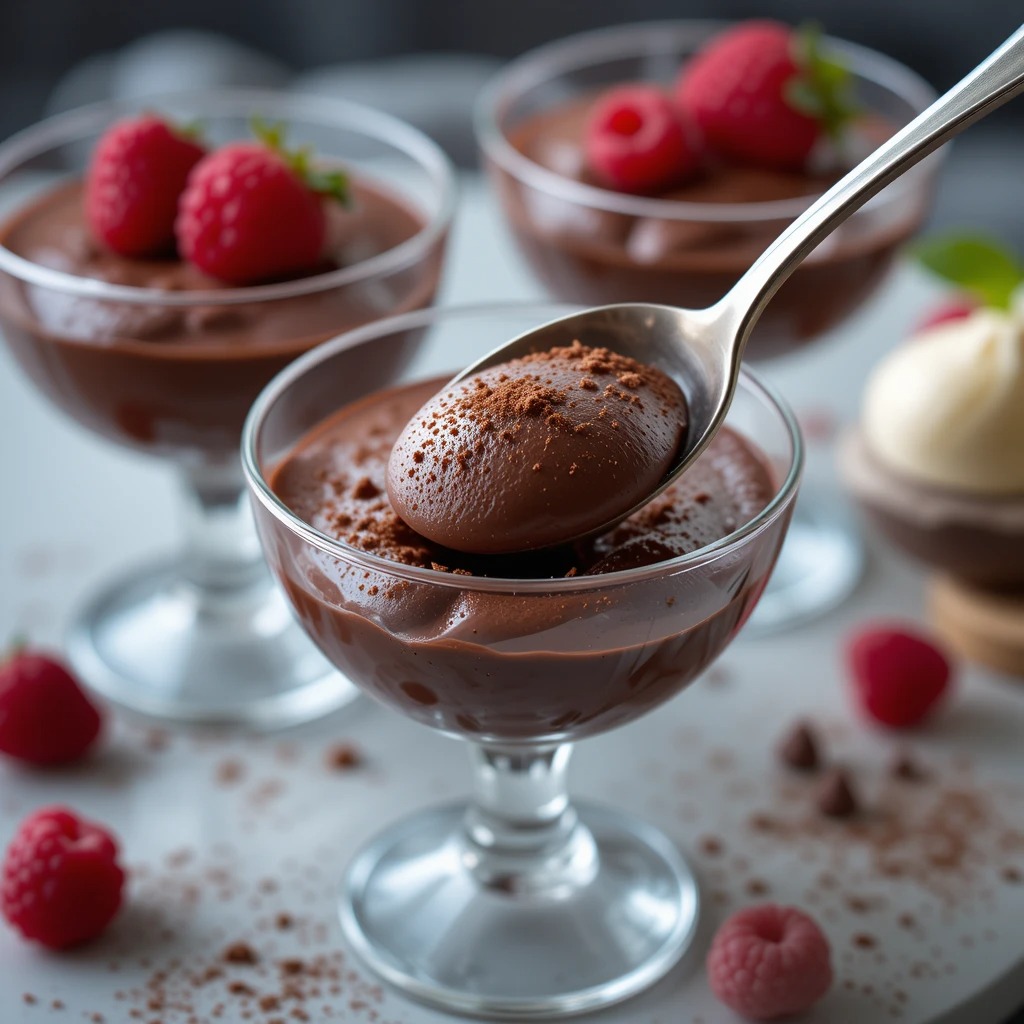
Portion and Chill
Spoon or pipe the mousse into individual serving glasses or ramekins. I love using clear glass cups so you can see the beautiful texture. Smooth the tops with the back of a spoon.
Cover each serving with plastic wrap, pressing it gently against the surface to prevent a skin from forming. Alternatively, you can cover the entire tray with plastic wrap.
Refrigerate for at least 2 hours, or up to 24 hours. The mousse needs this time to set properly and develop its full flavor. Longer chilling actually improves the taste as the chocolate flavor deepens.
Serve with Style
Just before serving, remove the mousse from the refrigerator. Let it sit at room temperature for 5 minutes – this allows the chocolate flavor to bloom fully.
Add your favorite toppings. I usually dust mine with unsweetened cocoa powder and add a few fresh raspberries. The tartness of berries cuts through the richness beautifully.
For an extra special touch, pipe a small rosette of sugar-free whipped cream on top and add a mint leaf. Your guests will think you ordered from a fancy bakery!
What to Serve Keto Chocolate Mousse With
This mousse is rich and satisfying on its own, but pairing it with complementary items creates a complete dessert experience.
Fresh Berries: Raspberries, strawberries, and blackberries add a bright, tart contrast to the rich chocolate. The natural acidity cuts through the cream beautifully.
Keto Cookies: Serve alongside almond flour shortbread cookies or coconut flour biscuits for added texture. The crunch provides a nice contrast to the creamy mousse.
Coffee or Tea: A cup of strong espresso or unsweetened herbal tea makes the perfect accompaniment. The bitterness of coffee especially enhances the chocolate notes.
Nuts: Toasted pecans, almonds, or macadamia nuts add a delightful crunch and healthy fats. Sprinkle them on top or serve on the side.
Cheese Plate: For a sophisticated dessert spread, serve small portions of mousse alongside a selection of aged cheeses. The combination might sound unusual, but sharp cheddar or aged gouda pairs wonderfully with dark chocolate.
Top Tips for Perfecting Keto Chocolate Mousse
Choose Quality Chocolate: The chocolate is the star here, so don’t skimp. Look for dark chocolate with at least 85% cocoa content and zero added sugar. Brands like Lily’s, ChocZero, or Lindt 90% work beautifully. Check the label carefully – some “dark” chocolates still contain significant sugar.
Temperature Matters: Never add hot chocolate directly to cold whipped cream, or you’ll end up with a deflated mess. Let the melted chocolate cool to room temperature before combining. Test by touching the bowl – it should feel just slightly warm.
Don’t Overwhip: Stop beating your cream at soft peaks. If you see the cream starting to look grainy or separated, you’ve gone too far. Overwhipped cream won’t fold smoothly and can make your mousse dense instead of airy.
Fold, Don’t Stir: Use a gentle folding motion when combining chocolate and cream. Stirring vigorously deflates all those air bubbles you worked hard to create. Think of it as gently turning the mixture over itself.
Adjust Sweetness: Everyone’s taste differs, especially when adapting to keto. Start with 2 tablespoons of sweetener and taste the whipped cream before adding more. Remember, the dark chocolate adds some bitterness, so the cream should be slightly sweeter than you think.
Chill Thoroughly: Patience pays off here. A properly chilled mousse has the best texture and flavor. If you’re in a rush, place individual servings in the freezer for 30 minutes, then move to the refrigerator for another 30 minutes.
Prevent Skin Formation: Always cover the mousse surface directly with plastic wrap or parchment paper while chilling. This prevents that unappealing dried layer on top.
Serve at the Right Temperature: Remove from refrigerator 5-10 minutes before serving. Mousse tastes best when it’s cold but not ice-cold. The chocolate flavor is more pronounced at slightly warmer temperatures.
Storing and Reheating Tips
Refrigerator Storage: Store keto chocolate mousse in an airtight container or keep individual servings covered tightly with plastic wrap. It stays fresh in the refrigerator for up to 4 days. The texture might become slightly firmer after day three, but the flavor remains excellent.
Make sure to store away from strong-smelling foods like onions or garlic, as the cream can absorb odors.
Freezer Storage: Yes, you can freeze this mousse! Portion it into individual servings in freezer-safe containers, leaving about half an inch of space at the top for expansion. Freeze for up to 2 months.
When you’re ready to enjoy, transfer a serving to the refrigerator and let it thaw overnight. The texture will be slightly different – a bit denser – but still delicious.
Not for Reheating: Unlike many desserts, mousse should never be reheated. It’s meant to be enjoyed cold. Heating would cause the cream to separate and the chocolate to become grainy.
Quick Thaw Method: If you need to serve frozen mousse quickly, let it sit at room temperature for 30-45 minutes. It will still be slightly firm but perfectly edible with a texture similar to soft-serve ice cream.
Leftover Tips: If your mousse starts to separate slightly after a few days (you might see a little liquid at the bottom), simply give it a gentle stir before serving. This redistributes the moisture evenly.
Common Baking Mistakes to Avoid
Using Milk Chocolate: Regular milk chocolate contains too much sugar and will knock you out of ketosis. It also doesn’t provide that deep, complex flavor that makes this mousse special. Stick with 85% cocoa or higher.
Skipping the Cooling Step: Adding hot chocolate to whipped cream causes immediate deflation. The heat melts the air bubbles and the structure collapses. Always let your chocolate cool to room temperature first.
Using Warm Cream: Cold cream whips better and faster. Room temperature or warm cream takes forever to whip and may never reach proper peaks. Keep your cream in the coldest part of your refrigerator until ready to use.
Overmixing the Final Product: Once you start folding chocolate into cream, work quickly but gently. Too much mixing deflates the mousse and creates a dense, heavy texture instead of light and airy.
Wrong Bowl Material: Plastic bowls can retain oil residue that prevents cream from whipping properly. Always use glass or metal bowls that have been washed and dried thoroughly.
Adding Chocolate Too Fast: When tempering the cream with chocolate, add the chocolate mixture gradually while folding. Dumping it all at once creates lumps that are difficult to incorporate smoothly.
Not Tasting as You Go: Different chocolate brands have varying levels of bitterness. Taste your whipped cream before folding to ensure adequate sweetness. It’s easier to adjust before combining than after.
Using Expired Cream: Heavy cream past its prime won’t whip properly and can add off-flavors to your mousse. Always check expiration dates and smell your cream before using.
Impatient Chilling: Serving mousse before it’s properly set results in a soupy, runny texture. Give it the full 2 hours minimum to develop proper structure.
Frequently Asked Questions
Can I use coconut cream instead of heavy cream for a dairy-free version?
Absolutely! Full-fat coconut cream works wonderfully as a dairy-free substitute. Refrigerate the can overnight, then scoop out only the thick cream on top, leaving the watery liquid behind. Whip it the same way you would heavy cream. The mousse will have a subtle coconut flavor that pairs beautifully with dark chocolate.
Why did my mousse turn out grainy?
Graininess usually happens when the chocolate is too hot when combined with the cream, or if you use chocolate with added ingredients that don’t melt smoothly. Make sure your chocolate cools completely and use high-quality, simple chocolate with minimal ingredients. Also, overwhipping the final mixture can break down the structure.
Can I make this mousse ahead of time?
Yes! This is actually one of the best make-ahead desserts. Prepare it up to 24 hours in advance and store covered in the refrigerator. The flavors deepen and improve over time. Just add toppings right before serving to keep them fresh.
How do I know if I’ve whipped the cream enough?
Soft peaks are your goal. When you lift the beaters, the cream should form peaks that gently fold over at the tips. If the peaks stand straight up (stiff peaks), you’ve gone too far. Stop just before you think you should – it’s better to under-whip slightly than over-whip.
Is this mousse really keto-friendly?
When made with sugar-free dark chocolate and proper sweetener, each serving contains approximately 3-4g net carbs. That’s perfectly keto-friendly! Just make sure to check your chocolate label carefully – some brands sneak in extra sugar.
Can I add flavors to customize my mousse?
Definitely! Add 1-2 teaspoons of instant espresso powder for mocha mousse, a teaspoon of peppermint extract for mint chocolate, or a tablespoon of sugar-free peanut butter powder for a peanut butter chocolate version. Add these when you add the vanilla extract.
What if I don’t have a double boiler?
No problem! You can melt chocolate in the microwave instead. Use 30-second intervals at 50% power, stirring between each interval. This prevents burning and gives you better control over the melting process.
Why is my mousse too thick or too thin?
If too thick, you either overwhipped the cream or used too much chocolate. If too thin, the cream wasn’t whipped enough or the chocolate was too hot when combined. The good news? You can salvage thin mousse by refrigerating longer – it firms up significantly when properly chilled.
Nutrition Information
| Nutrient | Per Serving |
|---|---|
| Calories | 320 |
| Total Fat | 31g |
| Saturated Fat | 19g |
| Cholesterol | 65mg |
| Sodium | 35mg |
| Total Carbohydrates | 8g |
| Dietary Fiber | 4g |
| Net Carbohydrates | 4g |
| Protein | 4g |
Note: Nutrition facts are approximate and may vary based on specific brands and ingredients used. Always calculate based on your exact ingredients for precise tracking.
Final Thoughts
This keto chocolate mousse has become my most-requested dessert recipe. Whether you’re fully keto, low-carb curious, or just looking for a healthier chocolate fix, this recipe delivers every single time.
The beauty lies in its simplicity. No fancy equipment, no complicated techniques, just straightforward steps that yield impressive results. I’ve made this for birthday parties, dinner guests, and quiet weeknight treats when I need something special.
What I love most is how this recipe proves that giving up sugar doesn’t mean giving up joy. Each spoonful is a reminder that healthy eating can be absolutely delicious.
So grab your whisk, choose your favorite dark chocolate, and treat yourself to something wonderful. Your taste buds will thank you, and your body will too.