Easy Mickey Mouse Thanksgiving Cookies Step-by-Step Tutorial
Transform your Thanksgiving celebration into a magical Disney adventure with these adorable Mickey Mouse Thanksgiving cookies! These festive treats combine the beloved silhouette of everyone’s favorite mouse with beautiful autumn colors and flavors.
Perfect for family gatherings, classroom parties, or simply adding whimsy to your holiday dessert table, these cookies are surprisingly easy to make and guaranteed to delight both kids and adults alike.
What Are Mickey Mouse Thanksgiving Cookies?
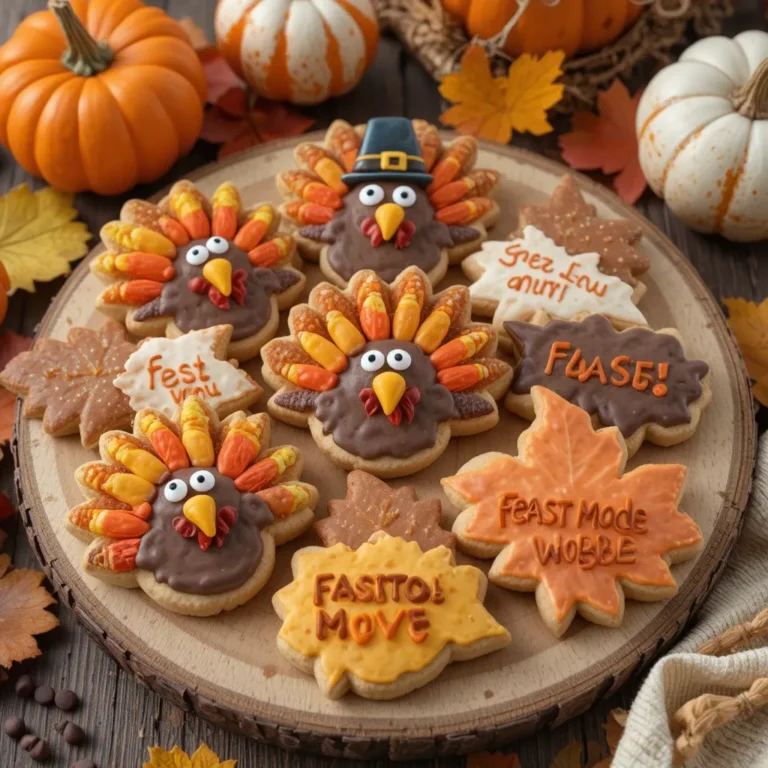
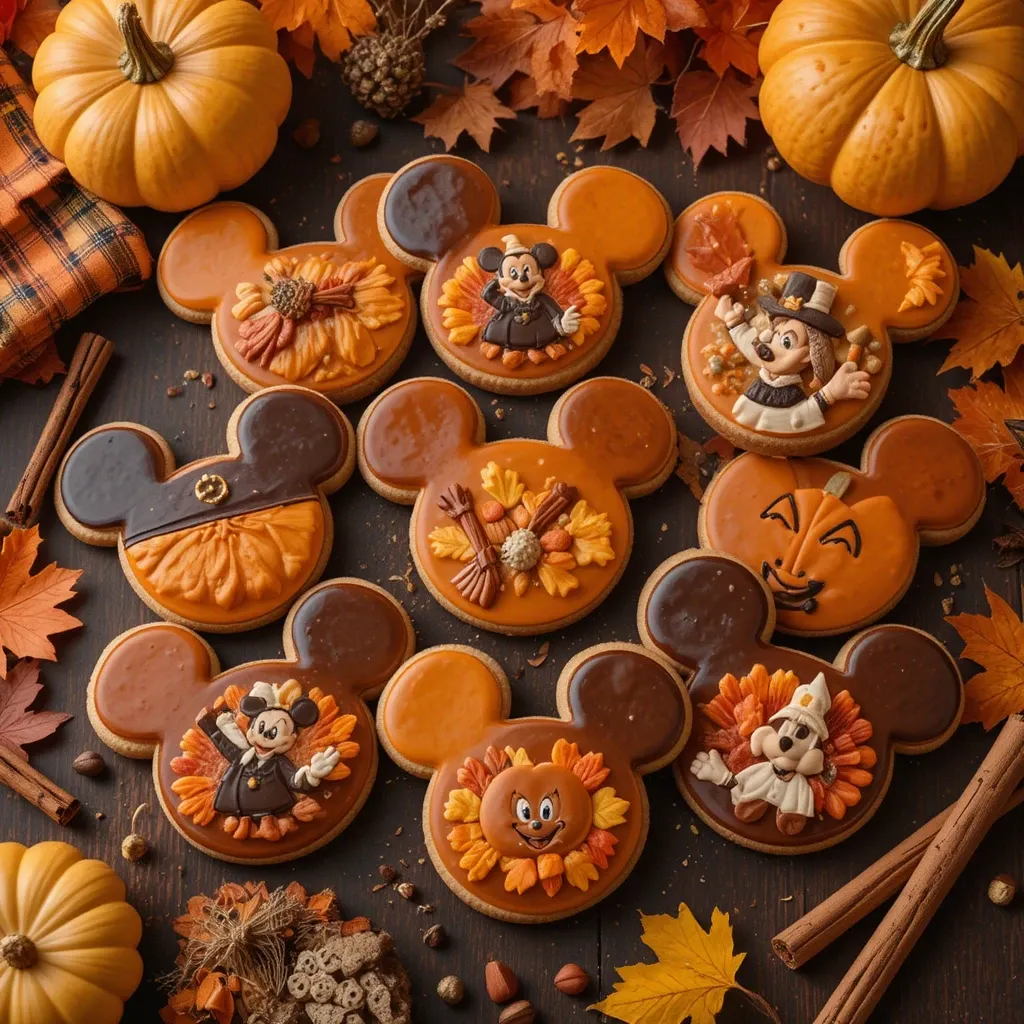
Ever wondered how to bring Disney magic to your Thanksgiving table? Mickey Mouse Thanksgiving cookies are the answer! These delightful treats feature Mickey’s iconic three-circle silhouette decorated with autumn-themed designs like turkeys, pilgrims, fall leaves, and pumpkins.
They say the way to a man’s heart is through his stomach, and these cookies prove the way to anyone’s heart is through adorable, delicious Disney-inspired treats. Ready to create some mouse-eared magic in your kitchen?
Why You’ll Love This Mickey Mouse Thanksgiving Cookies Recipe
Impossibly Cute and Instagram-Worthy
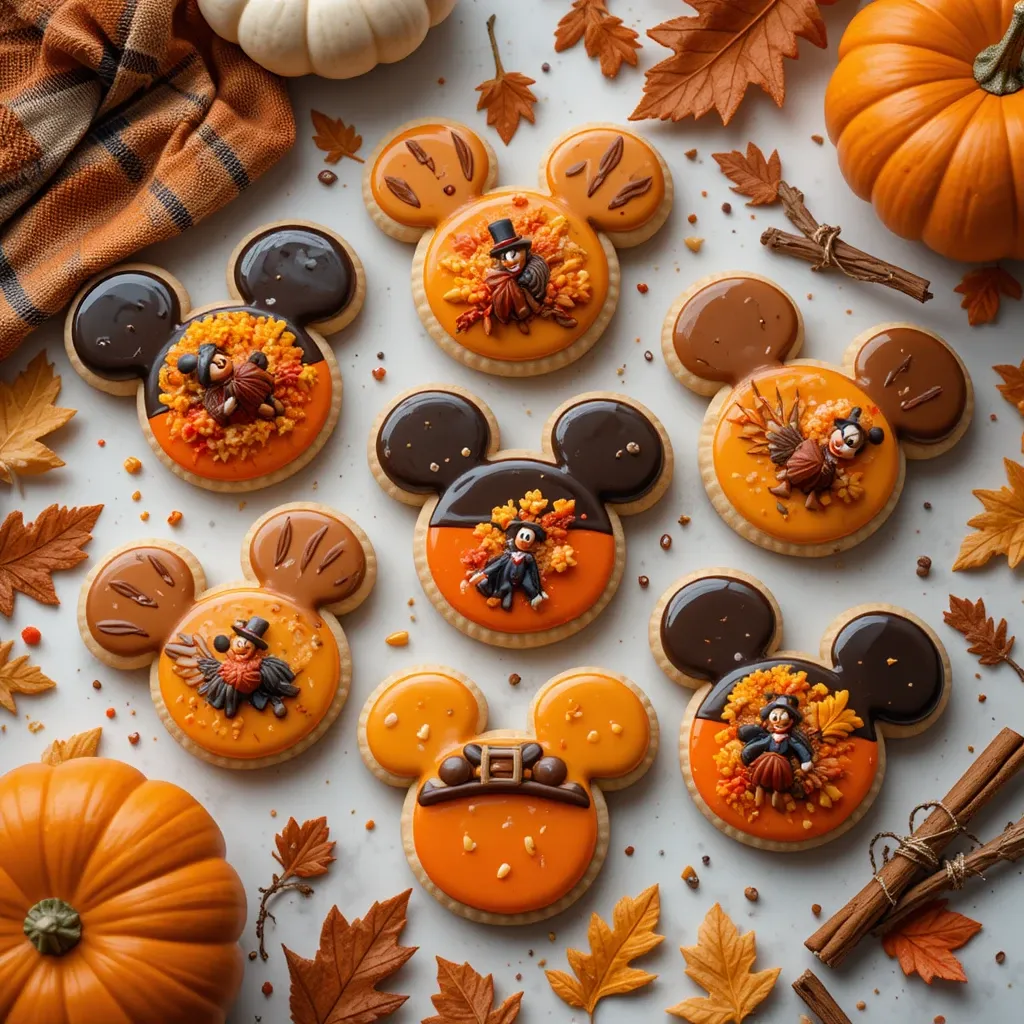
These Mickey Mouse Thanksgiving cookies aren’t just treats—they’re edible art! Each cookie features the unmistakable Mickey silhouette adorned with gorgeous fall decorations. The combination of chocolate cookies with vibrant orange, yellow, red, and brown icing creates a stunning visual display that’ll have your guests reaching for their cameras before their forks.
Budget-Friendly Holiday Magic
Skip the expensive bakery cookies that can cost $4-6 each! Making these Mickey Mouse Thanksgiving cookies at home costs a fraction of the price while delivering bakery-quality results. With basic baking ingredients and some colorful icing, you’ll create dozens of cookies for the price of just a few store-bought treats. Plus, decorating together becomes a priceless family memory.
Customize to Your Heart’s Content
The beauty of these cookies lies in their versatility. Use sugar cookie or chocolate cookie dough as your base. Decorate Mickey as a turkey with colorful tail feathers, dress him as a pilgrim with a black hat, surround him with fall leaves, or create pumpkin-themed designs. If you loved our popular Mickey Mouse Christmas Cookies, you’ll absolutely adore this autumn version. The decorating possibilities are endless, making each batch uniquely yours!
Perfect for All Skill Levels
Whether you’re a baking novice or a seasoned pro, these cookies work beautifully. The simple Mickey shape is forgiving, and royal icing techniques can be as basic or as elaborate as you’re comfortable with. Kids can help with cutting shapes and adding sprinkles, while adults can tackle more detailed piping work.
Ready to bring Disney magic to your Thanksgiving celebration? Let’s get baking!
How to Make Mickey Mouse Thanksgiving Cookies
Quick Overview
These Mickey Mouse Thanksgiving cookies are easier than you might think!
What makes them special:
- Simple three-circle Mickey shape that’s instantly recognizable
- Beautiful autumn color palette with orange, yellow, red, and brown icing
- Delicious buttery cookie base with perfect snap
- Fun decorating process that kids and adults enjoy together
Time Investment:
- Prep Time: 30 minutes
- Chilling Time: 1-2 hours
- Baking Time: 10-12 minutes per batch
- Decorating Time: 1-2 hours (depending on detail level)
- Total Time: 3-4 hours
Key Ingredients for Mickey Mouse Thanksgiving Cookies
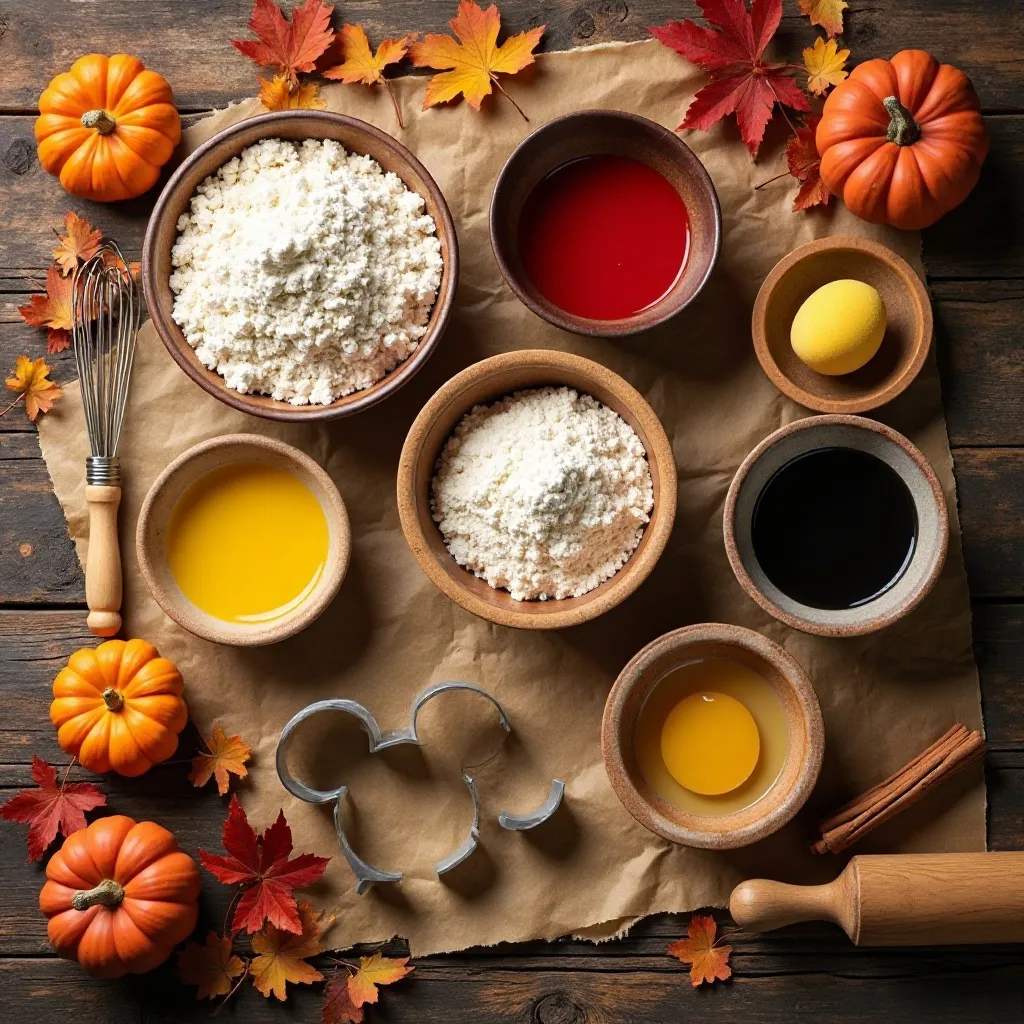
For the Cookie Dough:
- 3 cups all-purpose flour
- 1 teaspoon baking powder
- 1/2 teaspoon salt
- 1 cup (2 sticks) unsalted butter, softened
- 1 cup granulated sugar
- 1 large egg
- 2 teaspoons vanilla extract
- 1 teaspoon almond extract (optional, adds depth)
For the Royal Icing:
- 4 cups powdered sugar, sifted
- 3 tablespoons meringue powder
- 6-8 tablespoons warm water
- Gel food coloring (orange, yellow, red, brown, black)
For Decoration:
- Edible markers (optional for details)
- Fall-themed sprinkles
- Edible glitter or luster dust (optional)
- Candy eyes (optional for turkey faces)
Equipment Needed:
- Mickey Mouse cookie cutter (3-4 inches recommended)
- Rolling pin
- Parchment paper
- Piping bags or squeeze bottles
- Small round piping tips (#2 and #3)
- Toothpicks for detail work
Step-by-Step Instructions
Step 1: Prepare the Cookie Dough
In a medium bowl, whisk together the flour, baking powder, and salt. Set this aside. In a large mixing bowl using an electric mixer, cream together the softened butter and sugar on medium-high speed for 3-4 minutes until light and fluffy. The mixture should look pale and have increased in volume. Add the egg and vanilla extract (and almond extract if using), beating until fully combined and smooth.
Step 2: Combine Wet and Dry Ingredients
Gradually add the flour mixture to the butter mixture, mixing on low speed. Add about one-third at a time to prevent flour clouds in your kitchen. Mix just until the dough comes together and no flour streaks remain. Be careful not to overmix, as this can make cookies tough.
Step 3: Chill the Dough
Divide the dough in half and shape each portion into a flat disk about 1 inch thick. Wrap each disk tightly in plastic wrap. Refrigerate for at least 1 hour or up to 2 days. Chilling is crucial—it prevents spreading during baking and makes the dough easier to handle and cut.
Step 4: Roll and Cut the Cookies
Preheat your oven to 350°F (175°C). Line baking sheets with parchment paper. Remove one dough disk from the refrigerator and let it sit at room temperature for 5 minutes to soften slightly. On a lightly floured surface, roll the dough to 1/4-inch thickness. Use your Mickey Mouse cookie cutter to cut out shapes, pressing firmly and straight down without twisting. Place cookies 2 inches apart on prepared baking sheets.
Step 5: Bake the Cookies
Bake for 10-12 minutes, or until the edges just begin to turn golden. The centers may look slightly underdone, but they’ll firm up as they cool. Don’t overbake—cookies should not brown significantly. Let cookies cool on the baking sheet for 5 minutes, then transfer to a wire rack to cool completely. Cookies must be completely cool before decorating.
Step 6: Prepare the Royal Icing
In a large bowl, combine the sifted powdered sugar and meringue powder. Add 6 tablespoons of warm water and beat with an electric mixer on low speed for 7-10 minutes until the icing forms stiff, glossy peaks. Test the consistency: it should hold a peak when you lift the beater. This is “stiff consistency” icing, perfect for outlining.
Step 7: Create Different Icing Consistencies
Divide your icing into separate bowls for each color you’ll use. Keep one portion at stiff consistency for outlining. Thin another portion with water (add 1 teaspoon at a time) until it reaches “flood consistency”—when you drizzle it from a spoon, it should smooth out within 10-15 seconds. This consistency is perfect for filling in large areas.
Step 8: Color Your Icing
Add gel food coloring to each bowl, mixing thoroughly. You’ll want black (for outlining Mickey), orange, yellow, red, and brown for autumn decorations. Remember: gel colors are concentrated—start with a tiny amount and add more as needed. Mix until the color is uniform with no streaks.
Step 9: Outline the Cookies
Fill piping bags fitted with #2 or #3 tips with your stiff-consistency icing. Start by outlining Mickey’s silhouette in black icing. Pipe a continuous line around the entire edge of each cookie, including the ears. Let this outline dry for 15-20 minutes until it forms a slight crust. This creates a barrier that prevents the flood icing from running off the cookie.
Step 10: Flood the Base
Using flood-consistency icing, fill in Mickey’s face and ears. You can use black for a classic silhouette or use brown for a more natural look. Use a toothpick to guide the icing into corners and pop any air bubbles. Let this base layer dry completely for at least 4 hours or overnight. A fully dried base prevents colors from bleeding together.
Step 11: Add Thanksgiving Decorations
Now comes the fun part! Here are several design ideas:
Turkey Mickey: Pipe colorful “feathers” in red, orange, and yellow behind Mickey’s head. Add a small orange triangle for a beak, red wattle under the face, and candy eyes.
Pilgrim Mickey: Create a black pilgrim hat on top of Mickey’s head using black icing. Add a yellow square buckle. You can also add a white collar at the bottom.
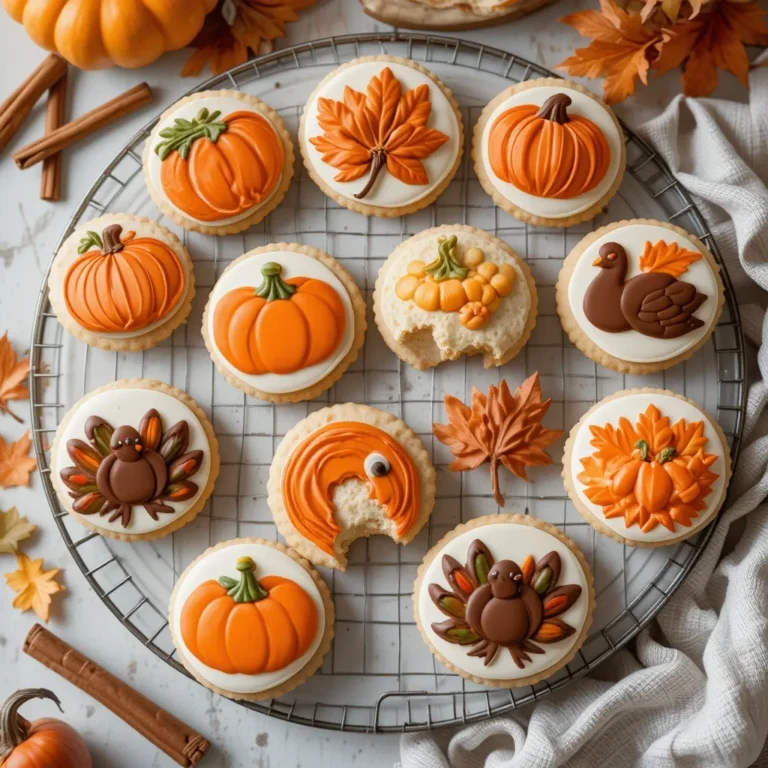
Fall Leaves Mickey: Pipe small leaf shapes around Mickey in orange, red, and yellow. Add veins to leaves with a toothpick for detail.
Pumpkin Mickey: Fill Mickey’s face with orange icing and add black triangle eyes and a zig-zag smile for a jack-o’-lantern look.
Step 12: Add Final Details
Once all decorating is complete, let cookies dry completely for at least 6-8 hours or overnight. Add any final touches like edible glitter, luster dust, or detail work with edible markers. Store in an airtight container once fully dry.
What to Serve Mickey Mouse Thanksgiving Cookies With
These adorable cookies are perfect for any Thanksgiving gathering! Here are delicious pairing ideas:
Beverages:
- Hot apple cider with cinnamon sticks
- Pumpkin spice lattes or regular coffee for adults
- Warm hot chocolate with marshmallows for kids
- Sparkling apple juice for a festive touch
Dessert Table Companions:
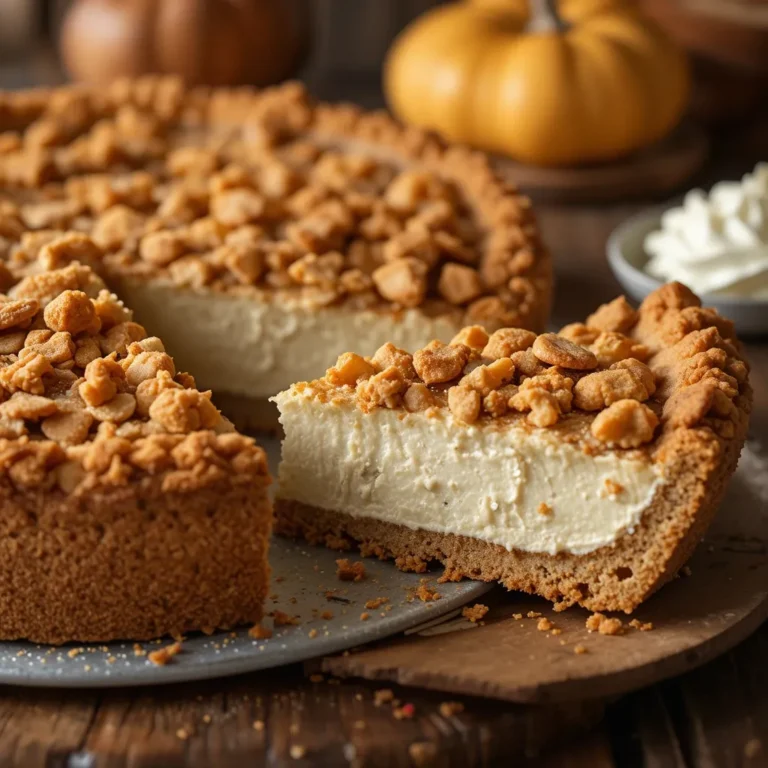
- Classic pumpkin pie with whipped cream
- Pecan pie bars
- Apple crisp with vanilla ice cream
- Mini cheesecakes with caramel drizzle
Afternoon Tea Service:
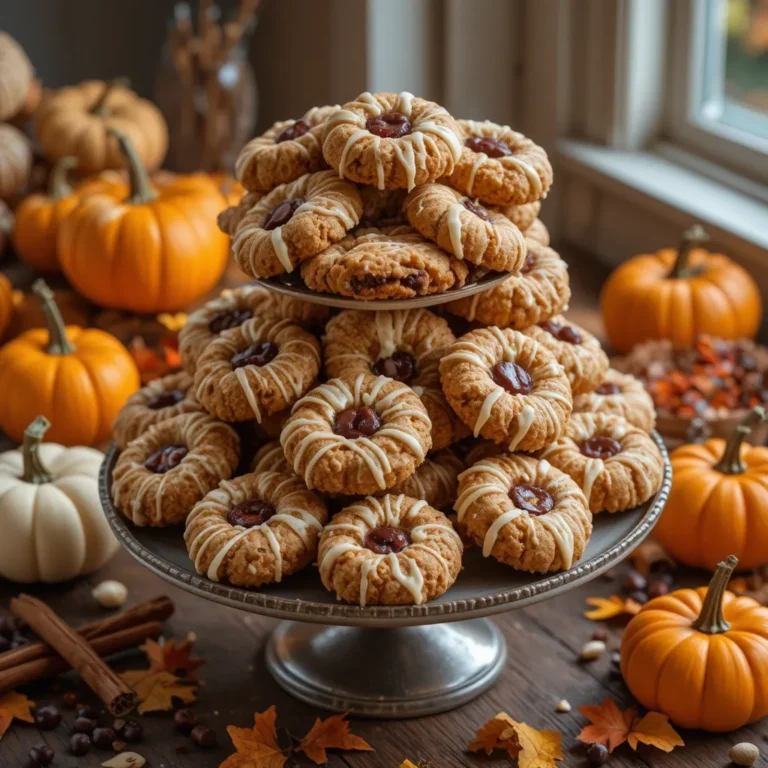
- Arrange cookies on a tiered stand
- Serve with Earl Grey or chai tea
- Add small sandwiches and scones for a complete spread
Kids’ Thanksgiving Table:
- Pair with milk or chocolate milk
- Serve alongside other kid-friendly treats
- Create a Disney-themed dessert station
Gift Presentation:
- Package in clear cellophane bags with ribbon
- Place in decorative tins as hostess gifts
- Arrange in boxes for Thanksgiving care packages
Top Tips for Perfecting Mickey Mouse Thanksgiving Cookies
Use Quality Cookie Cutters
Invest in a sturdy metal Mickey Mouse cookie cutter rather than plastic. Metal cutters create cleaner edges and cut through dough more easily. The Mickey shape should have clear, defined circles—fuzzy edges won’t give you that iconic silhouette.
Keep Dough Cold
If your dough becomes too soft while rolling and cutting, pop it back in the refrigerator for 10-15 minutes. Warm dough spreads during baking, causing your Mickey shapes to lose definition. Work with one disk of dough at a time, keeping the other refrigerated.
Don’t Skip the Meringue Powder
Meringue powder is essential for royal icing that dries hard and smooth. Regular buttercream or cream cheese frosting won’t work for these decorated cookies—they won’t dry properly and will smudge. Find meringue powder in the baking aisle or online.
Master Icing Consistency
Getting the right icing consistency is crucial. Stiff icing for outlining should hold a peak. Flood icing should be thin enough to spread smooth but thick enough not to run off the cookie. The “10-15 second rule” is perfect: when you drizzle a ribbon of icing back into the bowl, it should disappear into the surface within 10-15 seconds.
Allow Proper Drying Time
Patience is key! Let your outline dry before flooding, and let your base layer dry completely before adding details. Rushing leads to colors bleeding together and smudged designs. Overnight drying is ideal for best results.
Practice Your Piping
Before decorating cookies, practice your piping technique on parchment paper. Get comfortable with pressure control and creating steady lines. This practice time will make your actual cookies look much more professional.
Use Toothpicks as Tools
Toothpicks are invaluable for detail work. Use them to pop air bubbles, spread icing into tight corners, create texture in wet icing, and draw through colors to create marbled effects.
Store Undecorated Cookies
If you’re short on time, bake cookies one day and decorate another. Undecorated cookies stay fresh in an airtight container for up to 5 days, or freeze for up to 3 months. Just thaw completely before decorating.
Color Intensity
Gel food coloring intensifies as it sits. Your icing may look brighter and more vibrant after a few hours. Start with less color than you think you need—you can always add more.
Keep Icing Covered
Royal icing dries out quickly when exposed to air. Keep bowls covered with damp paper towels and plastic wrap while working. Keep piping bags tip-down in a tall glass to prevent drying.
Storing and Reheating Tips
Room Temperature Storage:
Store fully decorated and dried Mickey Mouse Thanksgiving cookies in an airtight container at room temperature for up to 2 weeks. Layer cookies between sheets of parchment or waxed paper to prevent sticking and protect decorations. Keep container away from heat, humidity, and direct sunlight, which can cause icing to soften or fade.
Refrigerator Storage:
While not necessary, you can refrigerate cookies if your kitchen is particularly warm or humid. Store in airtight containers for up to 3 weeks. Let cookies come to room temperature before serving for the best flavor and texture. Be aware that condensation can form on icing when moving cookies from cold to warm environments, so allow them to adjust gradually.
Freezer Storage:
Freeze decorated cookies for up to 3 months! Arrange cookies in a single layer on a baking sheet and freeze until solid (about 2 hours). Once frozen, layer cookies between parchment paper in freezer-safe containers or bags. To thaw, remove from freezer and let stand at room temperature for 2-3 hours. Don’t unwrap until completely thawed to prevent condensation on the icing.
Shipping These Cookies:
These cookies ship beautifully! Wrap each cookie individually in cellophane bags or plastic wrap. Stack wrapped cookies vertically (like records) in a sturdy box or tin, filling empty spaces with crumpled parchment paper or bubble wrap. The royal icing creates a protective shell that travels well.
Maintaining Freshness:
For the crispest cookies, add a slice of bread to your storage container. Replace the bread every 2-3 days. The bread absorbs excess moisture, keeping cookies crisp. Remove the bread before serving.
Note on Reheating:
These cookies are meant to be enjoyed at room temperature and should not be reheated. The royal icing would melt and decorations would be destroyed. Simply allow frozen cookies to come to room temperature naturally.
Frequently Asked Questions
Can I use a different cookie recipe as the base?
Absolutely! Any sturdy sugar cookie or chocolate cookie recipe works beautifully. The key is using a recipe that holds its shape well and doesn’t spread too much during baking. Avoid recipes with excessive leavening agents. Our recipe is specifically formulated for cut-out cookies, but gingerbread or shortbread work wonderfully too.
What’s the best way to get smooth, shiny icing?
The secret is proper consistency and patience. Your flood icing should be thin enough to self-level but thick enough to stay within your outline. After flooding, gently tap the cookie on your counter to help bubbles rise and the surface smooth out. Let it dry completely undisturbed—usually 6-8 hours or overnight for that perfect glossy finish.
Do I need special equipment to make royal icing?
You don’t need anything fancy! While a stand mixer makes the job easier, a hand mixer works perfectly. For piping, you can use disposable piping bags, reusable bags, or even plastic squeeze bottles. In a pinch, a zip-top bag with the corner snipped off works for simple designs.
How do I prevent my cookies from spreading in the oven?
Spreading issues usually come from dough that’s too warm. Always chill your dough thoroughly—at least 1 hour. If the dough warms up while rolling and cutting, refrigerate it again before baking. Also ensure your butter is properly softened, not melted, when making the dough.
Can I make these cookies ahead of time for Thanksgiving?
Yes! These cookies are perfect make-ahead treats. Bake cookies up to 1 week ahead and store undecorated. Or bake and decorate up to 2 weeks in advance—royal icing actually improves in flavor after a few days. You can even freeze decorated cookies up to 3 months before your celebration.
What if I don’t have a Mickey Mouse cookie cutter?
Get creative! Use three round cookie cutters in different sizes—one large for the face and two smaller for ears. Arrange them overlapping on the dough to create Mickey’s silhouette. Or use a template: draw Mickey on cardboard, cut it out, place it on rolled dough, and cut around it with a knife.
My royal icing is too thick or too thin. How do I fix it?
Too thick? Add water one teaspoon at a time, mixing thoroughly after each addition. Too thin? Add sifted powdered sugar one tablespoon at a time. Always adjust gradually—it’s easier to thin or thicken slowly than to overshoot and have to correct back.
Can I use store-bought icing instead of making royal icing?
Royal icing is really necessary for decorated cookies like these because it dries hard and maintains beautiful designs. Store-bought frostings remain soft and will smudge. However, store-bought decorating icing in tubes can work for simple details if you’re in a pinch.
How long does royal icing take to dry completely?
Drying time depends on humidity, icing thickness, and air circulation. Outline piping dries in 15-20 minutes to form a crust. Flood icing takes 4-6 hours to be touch-dry. For completely hardened icing that won’t smudge, wait 8-12 hours or overnight before stacking or packaging cookies.
What’s the difference between meringue powder and egg whites?
Meringue powder is pasteurized dried egg whites with added stabilizers. It’s safer than raw egg whites (no salmonella risk), has a longer shelf life, and creates more stable icing. While you can make royal icing with fresh egg whites, meringue powder is the safer, more reliable choice.
Nutrition Information
| Nutrient | Per Cookie (1 decorated cookie) |
|---|---|
| Calories | 145 |
| Total Fat | 6g |
| Saturated Fat | 3.5g |
| Cholesterol | 20mg |
| Sodium | 55mg |
| Total Carbohydrates | 22g |
| Dietary Fiber | 0g |
| Sugars | 14g |
| Protein | 1g |
Nutritional values are approximate and may vary based on specific ingredients and decoration amounts used.
Final Thoughts: Bringing Magic to Your Thanksgiving
Mickey Mouse Thanksgiving cookies are more than just a dessert—they’re an experience that brings families together and creates lasting memories. The process of baking and decorating these cookies becomes a cherished tradition that kids look forward to year after year.
Whether you’re an experienced baker or trying decorated cookies for the first time, these Mickey Mouse treats are achievable and absolutely rewarding. The joy on children’s faces when they see their favorite Disney character dressed for Thanksgiving is priceless.
Don’t stress about perfection. Each cookie has its own character, and “imperfect” cookies often have the most charm. The process of creating together is what matters most.
These cookies also make thoughtful gifts for teachers, neighbors, and friends. Package them beautifully in cellophane bags with festive ribbon, and you have a gift that shows you care.
As Thanksgiving approaches, embrace the magic of Disney and the warmth of home baking. Your Mickey Mouse Thanksgiving cookies will be the talk of the dinner table and the star of your dessert spread.
Happy baking, and may your Thanksgiving be filled with magic, laughter, and delicious cookies!
Pin this recipe for later, and don’t forget to share your cookie creations with us! Tag your photos with #MickeyThanksgivingCookies—we love seeing your magical creations!