Quick Pillsbury Halloween Cookies Magic in 30 Minutes
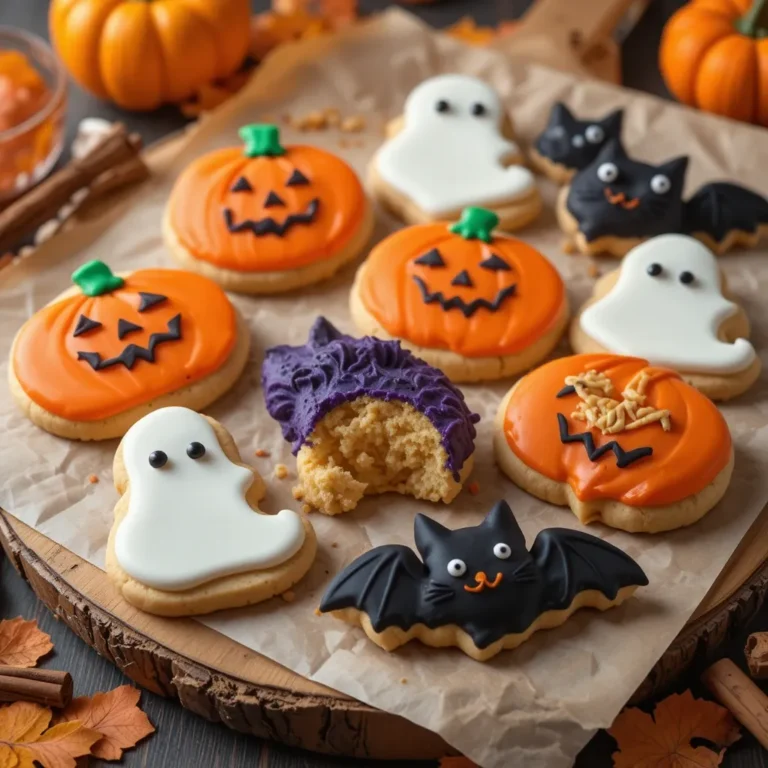
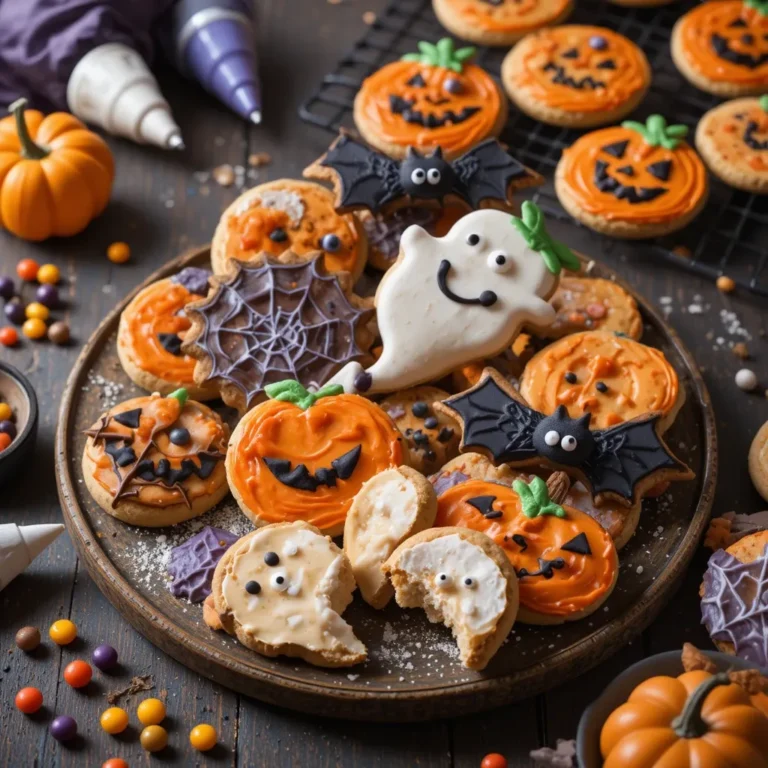
Get ready to transform your kitchen into a Halloween wonderland with these absolutely irresistible Pillsbury Halloween cookies! These delightfully spooky treats combine the convenience of Pillsbury cookie dough with festive Halloween decorations that’ll make your family scream with joy.
Perfect for busy parents who want to create magical memories without spending hours in the kitchen, these cookies are ready in just 30 minutes from start to finish.
What Are Pillsbury Halloween Cookies?
Ever wondered why we go absolutely batty for Halloween-themed cookies? Pillsbury Halloween cookies are the perfect marriage of convenience and creativity, transforming ordinary sugar cookie dough into spine-tingling treats that would make even the Grim Reaper smile.
Whether you call them spooky cookies, Halloween sugar cookies, or monster treats, one thing remains true: the way to anyone’s heart is through their stomach, especially when it’s filled with deliciously decorated cookies! Ready to create some frightfully fun memories?
Why You’ll Love This Pillsbury Halloween Cookies Recipe
Monster-ific Convenience
These Pillsbury Halloween cookies offer the perfect solution for busy families who want homemade taste without the hassle. Using pre-made Pillsbury sugar cookie dough as your base saves precious time while still allowing for creative expression. The soft, buttery texture melts in your mouth, creating that perfect cookie experience that rivals any bakery treat.
Budget-Friendly Spookiness
Making these Halloween cookies at home costs significantly less than purchasing decorated cookies from specialty bakeries. A single package of Pillsbury cookie dough can create 24-36 cookies, depending on size, for under $10 total including decorations. Compare that to bakery cookies that cost $2-3 each, and you’re looking at serious savings that won’t haunt your wallet.
Customizable Halloween Magic
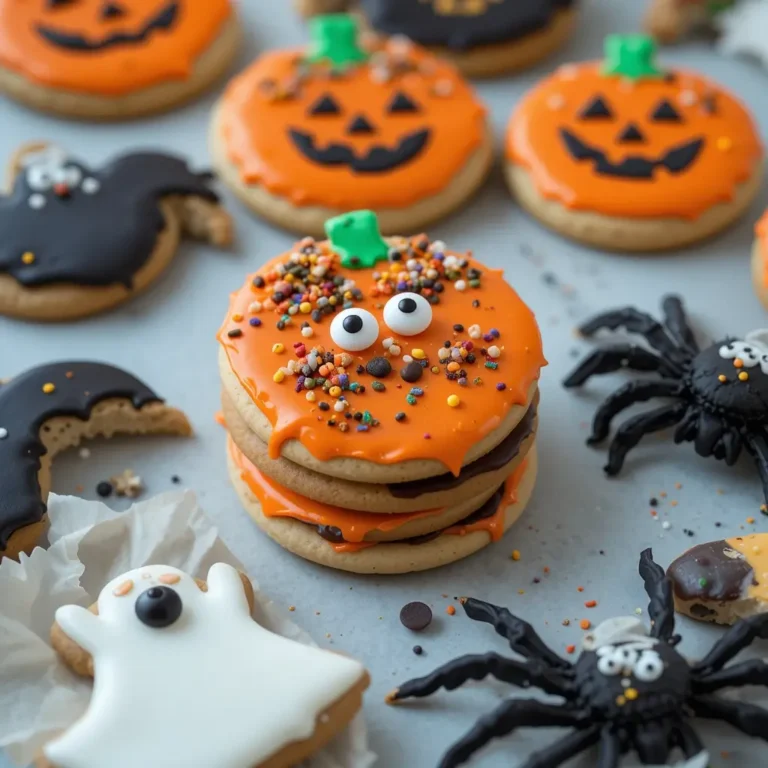
The real magic happens with the decorating possibilities. From classic orange and black icing to edible googly eyes and candy corn pieces, these cookies become your canvas for Halloween creativity. The smooth surface of Pillsbury sugar cookies holds decorations beautifully, making them ideal for both beginner and experienced decorators. Similar to our popular Christmas sugar cookies, these treats offer endless personalization options that keep the whole family engaged.
How to Make Pillsbury Halloween Cookies
Quick Overview
These frighteningly delicious cookies are incredibly simple to make and guaranteed to satisfy your Halloween sweet tooth. The beauty lies in their versatility and the rich, buttery flavor that Pillsbury dough provides. With a prep time of just 15 minutes and baking time of 12-15 minutes, you’ll have fresh Halloween cookies ready to decorate in under 30 minutes total.
Total Time: 45 minutes Prep Time: 15 minutes
Bake Time: 12-15 minutes Decorating Time: 15-20 minutes Servings: 24-36 cookies
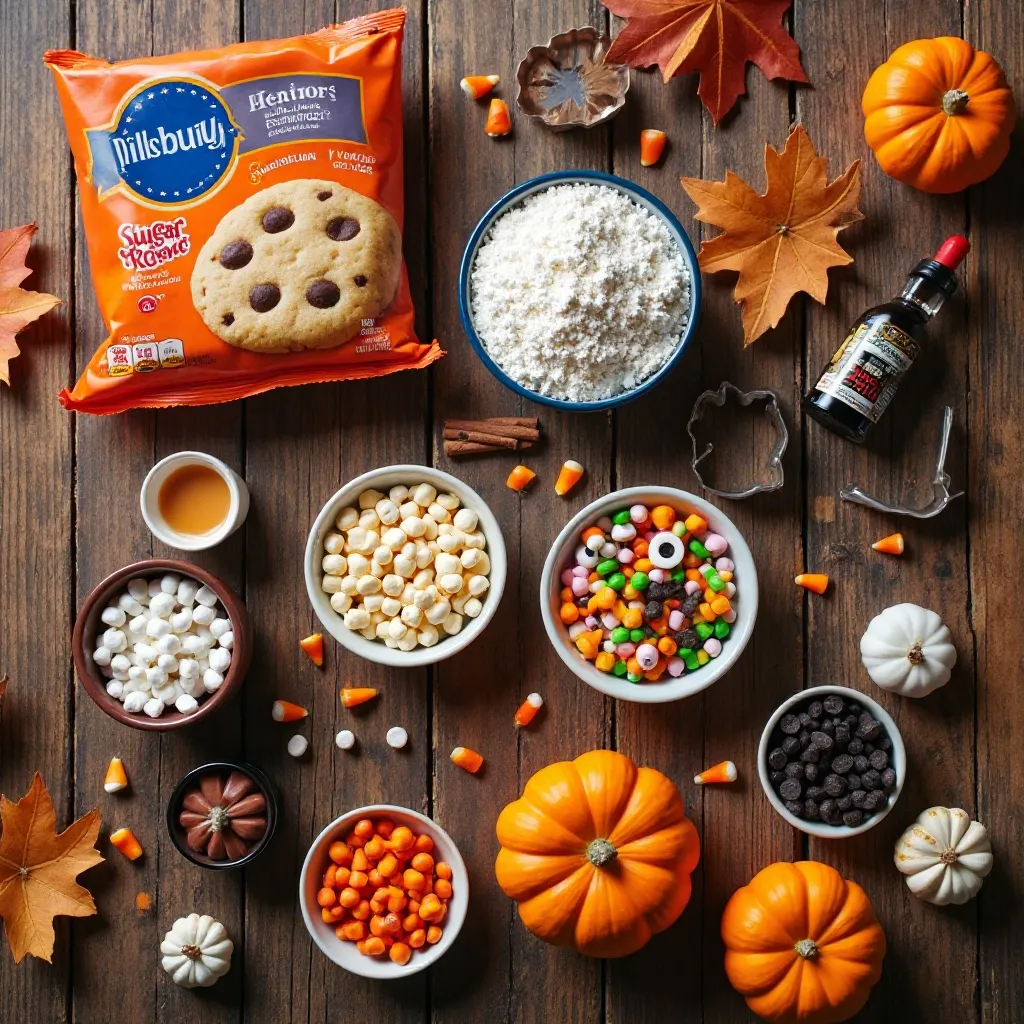
Key Ingredients for Pillsbury Halloween Cookies
Base Ingredients:
- 1 package (16.5 oz) Pillsbury Ready-to-Bake Sugar Cookie Dough
- 2 tablespoons all-purpose flour (for dusting)
- Halloween-shaped cookie cutters
Decoration Ingredients:
- 2 cups powdered sugar
- 3-4 tablespoons milk
- 1 teaspoon vanilla extract
- Orange and black food coloring
- Halloween-themed candies (candy corn, chocolate chips, mini marshmallows)
- Edible googly eyes
- Halloween sprinkles
- Black decorating gel
Step-by-Step Instructions
Step 1: Prepare Your Workspace Preheat your oven to 350°F (175°C). Line two large baking sheets with parchment paper. Remove the Pillsbury cookie dough from refrigerator and let it soften at room temperature for 10-15 minutes for easier rolling.
Step 2: Roll the Dough Lightly flour your work surface and rolling pin. Roll the softened cookie dough to approximately ¼-inch thickness. The dough should be even throughout to ensure uniform baking.
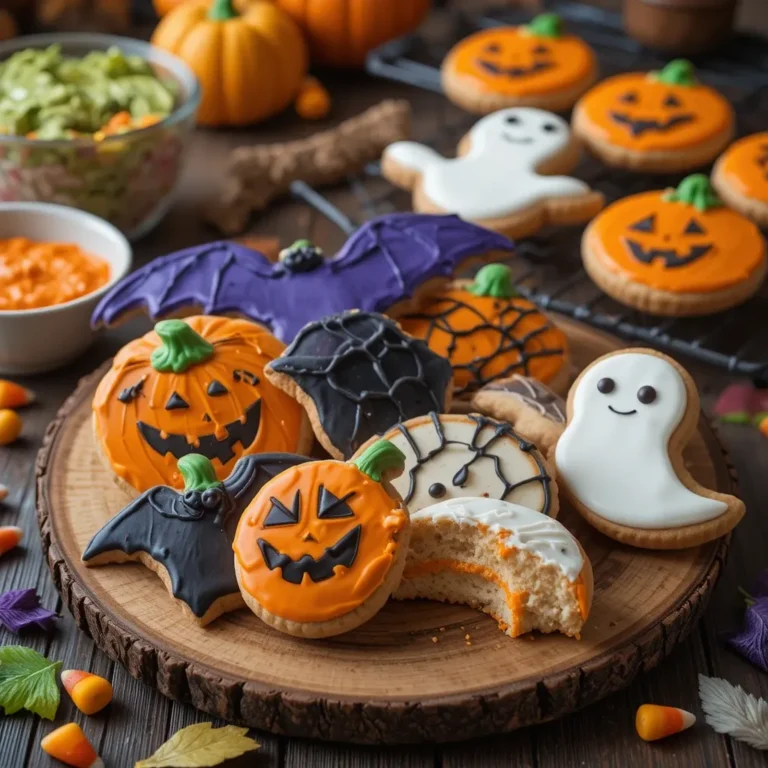
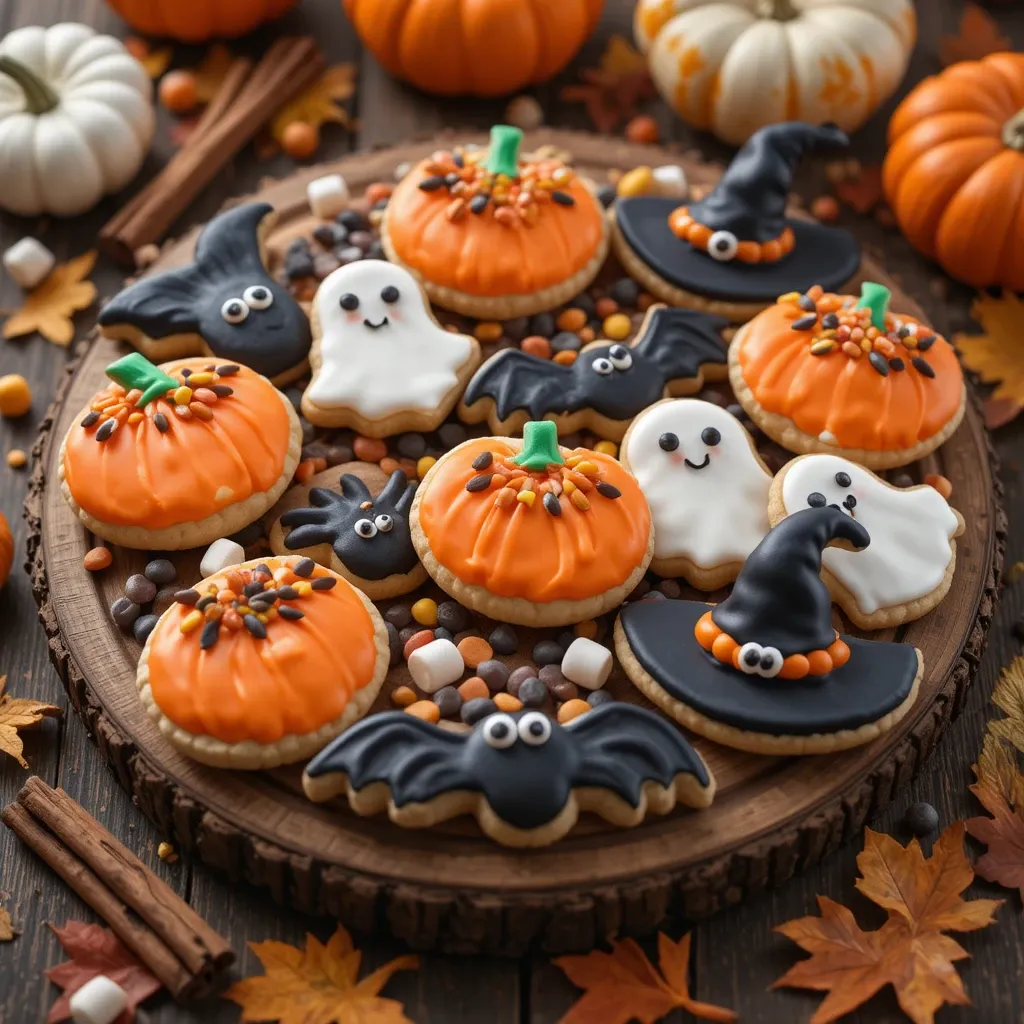
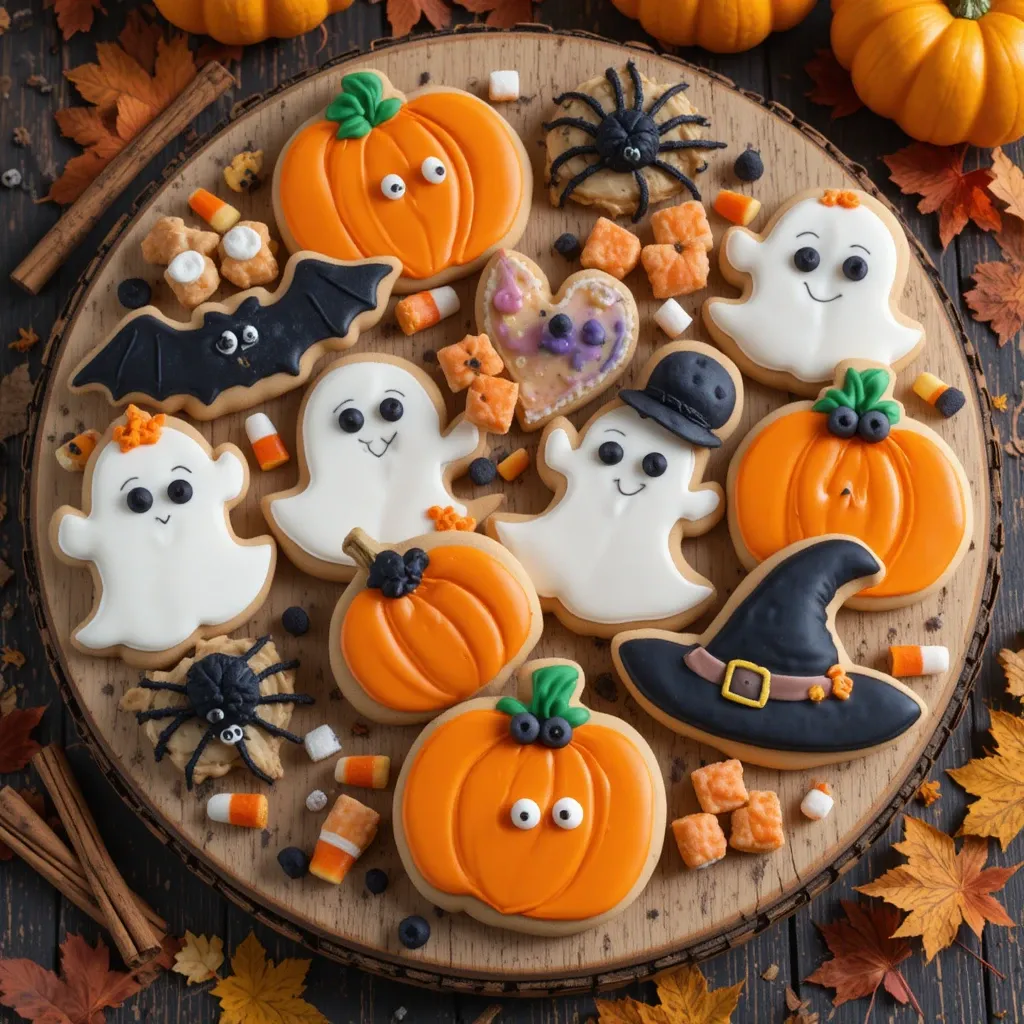
Step 3: Cut Halloween Shapes Using Halloween-themed cookie cutters, cut out your desired shapes. Popular choices include pumpkins, ghosts, bats, spiders, and witch hats. Place cut cookies on prepared baking sheets, spacing them 2 inches apart.
Step 4: Bake to Perfection Bake for 10-12 minutes or until the edges are lightly golden. The centers should still look slightly soft. Remove from oven and let cool on baking sheet for 5 minutes before transferring to a wire rack.
Step 5: Prepare Royal Icing While cookies cool, whisk together powdered sugar, milk, and vanilla extract until smooth. Divide icing into separate bowls and add food coloring to create orange, black, and white icings.
Step 6: Decorate Your Halloween Masterpieces Once cookies are completely cool, use a small offset spatula or knife to spread base icing colors. Add details with decorating gel, candies, and sprinkles while icing is still wet. Let decorations set for 30 minutes before serving.
What to Serve Pillsbury Halloween Cookies With
These spooky treats pair wonderfully with several beverages and complementary snacks. Serve alongside hot apple cider or pumpkin spice hot chocolate for the ultimate fall experience. For adult gatherings, consider pairing with Halloween-themed cocktails.
Create a complete Halloween dessert spread by serving these cookies with candy corn bark, pumpkin fudge, or caramel apples. The varied textures and flavors create an exciting dessert table that appeals to all ages.
For Halloween parties, arrange cookies on themed platters with other finger foods like orange cheese and crackers, “dirt” pudding cups with gummy worms, or Halloween-themed popcorn mix.
Top Tips for Perfecting Pillsbury Halloween Cookies
Temperature Control is Key
Keep your cookie dough properly chilled until ready to use. If the dough becomes too soft while working, refrigerate for 15-20 minutes. This prevents cookies from spreading too much during baking and helps maintain their Halloween shapes.
Even Baking Results
Rotate your baking sheets halfway through baking time for even browning. Use light-colored baking sheets to prevent over-browning the cookie bottoms. Dark pans absorb more heat and may cause uneven baking.
Decoration Success
Allow cookies to cool completely before decorating to prevent icing from melting. If your icing is too thick, add milk one teaspoon at a time. If too thin, gradually add more powdered sugar until you reach the desired consistency.
Make-Ahead Magic
Cookie dough can be rolled, cut, and frozen on baking sheets up to one month in advance. Once frozen solid, transfer to freezer bags. Bake directly from frozen, adding 1-2 extra minutes to baking time.
Storing and Reheating Tips
Short-Term Storage: Store decorated cookies in airtight containers at room temperature for up to one week. Layer cookies between parchment paper to prevent decorations from sticking together. Avoid storing in humid areas, as this can cause decorations to become sticky.
Long-Term Storage: Undecorated baked cookies freeze beautifully for up to three months. Wrap individual cookies in plastic wrap, then place in freezer-safe containers. Thaw at room temperature for 30 minutes before decorating.
Reheating Guidelines: While these cookies are best enjoyed at room temperature, you can warm them slightly in a 200°F oven for 3-4 minutes if desired. Avoid microwaving decorated cookies, as this may cause icing to melt.
Nutrition Information
| Nutrient | Per Cookie (approximate) |
|---|---|
| Calories | 145 |
| Total Fat | 6g |
| Saturated Fat | 2.5g |
| Cholesterol | 8mg |
| Sodium | 95mg |
| Total Carbohydrates | 23g |
| Dietary Fiber | 0g |
| Sugars | 14g |
| Protein | 1g |
Nutritional values may vary based on decorations used
Frequently Asked Questions
Can I use different Pillsbury cookie dough flavors?
Yes! While sugar cookie dough works best for decorating, you can experiment with chocolate chip or snickerdoodle dough for different base flavors. Keep in mind that mix-ins may affect the cookie’s ability to hold fine details.
How far in advance can I make these cookies?
Baked and decorated cookies stay fresh for up to one week when stored properly. For best results, decorate cookies no more than 2-3 days before serving to maintain optimal appearance and texture.
What’s the best way to get clean, sharp edges when cutting?
Dip your cookie cutters in flour before each cut to prevent sticking. Press straight down without twisting, then lift straight up. Clean cutters between shapes for the sharpest results.
Can I make these cookies without eggs for allergy concerns?
Pillsbury cookie dough already contains eggs, but you can look for their allergen-friendly varieties or make homemade egg-free sugar cookie dough as a substitute base.
How do I prevent my icing from cracking?
Ensure cookies are completely cool before decorating, and don’t make your icing too thick. Adding a tiny amount of corn syrup can help create more flexible icing that’s less prone to cracking.
What’s the secret to professional-looking decorations?
Use squeeze bottles or piping bags for precise icing application. Work in sections, allowing base colors to set before adding details. Practice your technique on parchment paper before decorating actual cookies.
Creative Decoration Ideas to Elevate Your Halloween Cookies
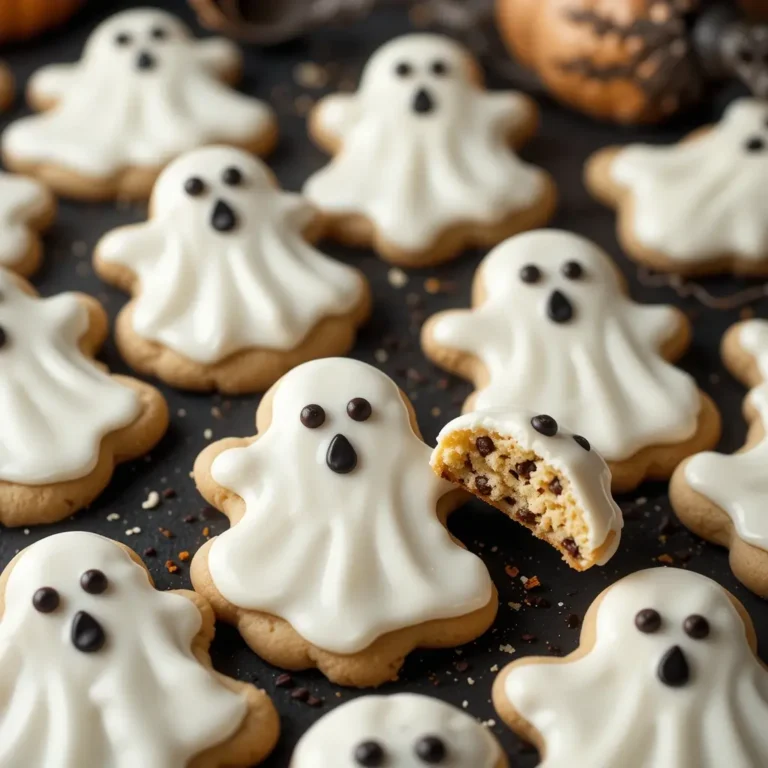
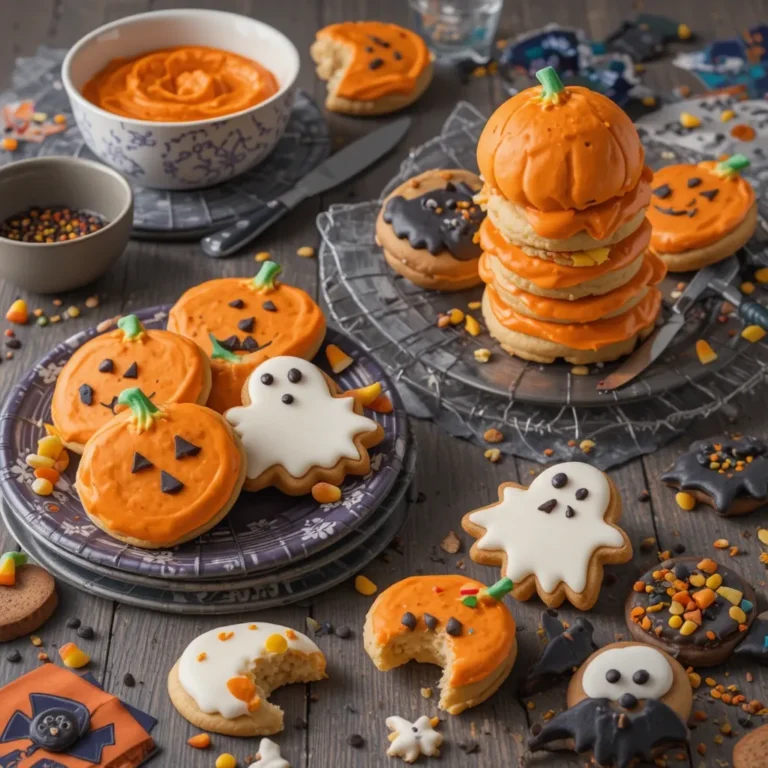
Transform your basic Halloween cookies into show-stopping treats with these creative decoration techniques. Use orange icing with chocolate chip “seeds” to create realistic pumpkin faces. For ghost cookies, pipe white icing in flowing shapes and add mini chocolate chips for eyes.
Create spider cookies by dipping cookies in dark chocolate, then using pretzel sticks broken in half for legs. Witch hat cookies become magical with purple icing, star sprinkles, and a small piece of candy corn for the buckle.
Consider themed sets like “Monster Faces” using different colored icings and candies to create unique personalities for each cookie. This approach works especially well for Halloween parties where kids can help with decorating.
Troubleshooting Common Halloween Cookie Challenges
If your cookies are spreading too much during baking, your dough may be too warm. Chill the cut cookies on the baking sheet for 15 minutes before baking. This helps them maintain their Halloween shapes.
For cookies that are browning too quickly, reduce oven temperature by 25°F and extend baking time by 2-3 minutes. Every oven bakes differently, so adjust accordingly for your specific appliance.
When decorations won’t stick properly, ensure your base icing is still slightly wet when applying candies or sprinkles. If the icing has set too much, lightly brush the area with a damp pastry brush before adding decorations.
These Pillsbury Halloween cookies offer the perfect combination of convenience, creativity, and deliciousness that makes them ideal for busy families wanting to create special Halloween memories. Whether you’re hosting a costume party, preparing treats for trick-or-treaters, or simply enjoying a fun family activity, these cookies deliver professional-looking results with minimal effort.
The beauty of this recipe lies not just in its simplicity, but in its ability to bring people together. Decorating cookies becomes a cherished family tradition that kids will remember long after Halloween passes. So gather your little goblins, roll up those sleeves, and create some deliciously spooky memories that’ll last a lifetime!