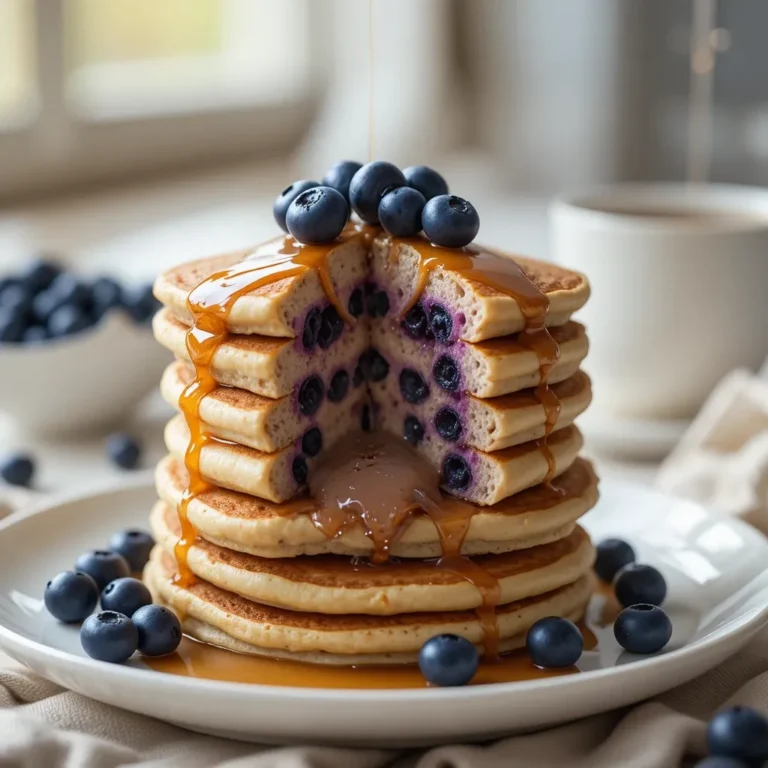
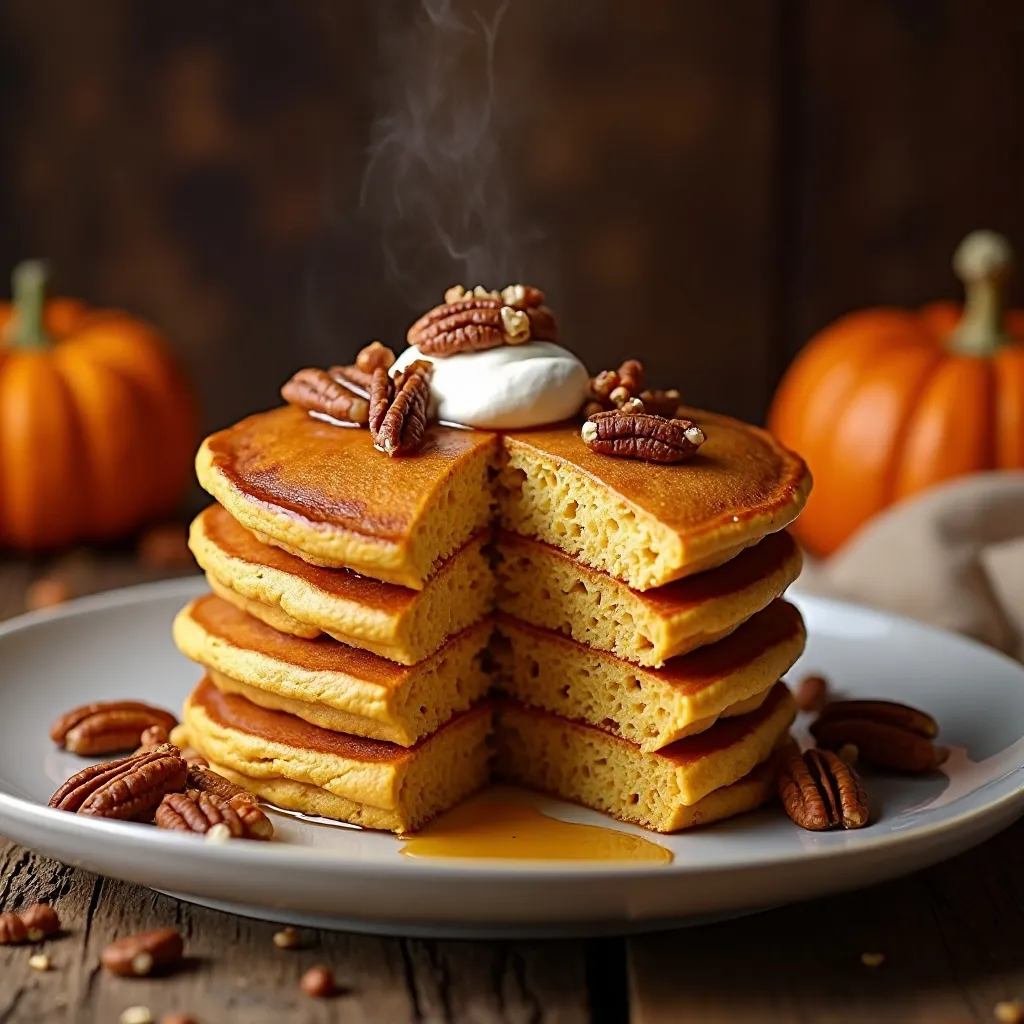
Easy Pumpkin Protein Pancakes – Family Breakfast Recipe
Imagine waking up to the warm aroma of cinnamon and pumpkin spice wafting through your kitchen. These pumpkin protein pancakes are everything you crave in a fall breakfast—fluffy, nutritious, and bursting with cozy flavors. Here’s a fun fact: pumpkin isn’t just for pies! It’s packed with vitamin A and fiber, making these pancakes both delicious and nourishing.
What makes this recipe truly special is how effortlessly it comes together in just 20 minutes, perfect for busy mornings when you want something homemade. These pancakes remind me of my popular sweet potato waffles, but with an autumn twist that’ll have your whole family asking for seconds. Trust me, once you flip that first golden-brown pancake, you’ll be hooked!
This recipe was generated using artificial intelligence and has not been made in our kitchen. We share it with transparency and care, and readers who tried other recipes from our site have reported good results.
What Are Pumpkin Protein Pancakes?
Ever wonder why we call them pumpkin protein pancakes? Well, it’s quite simple—they’re loaded with real pumpkin puree and protein powder, giving you the best of both worlds! I remember the first time I made these on a chilly October morning.
My kids were skeptical about “healthy pancakes,” but one bite changed everything. These aren’t your average flapjacks. They’re thick, satisfying, and secretly nutritious. You know what they say: the way to anyone’s heart is through their stomach, and these pancakes prove it every single time. Ready to transform your breakfast routine? Let’s get cooking!
Why You’ll Love This Pumpkin Protein Pancakes Recipe
The Perfect Balance of Health and Indulgence
These pumpkin protein pancakes deliver an impressive 15 grams of protein per serving while tasting like a seasonal treat. The pumpkin adds natural sweetness and moisture, so you won’t need loads of syrup. Every bite melts in your mouth with hints of cinnamon, nutmeg, and that unmistakable autumn warmth.
Budget-Friendly Home Cooking
Making these pancakes at home costs a fraction of what you’d pay at a trendy brunch spot. A can of pumpkin puree is usually under two dollars and makes multiple batches. You’ll save money while controlling the quality of every ingredient that goes into your family’s breakfast.
Customizable Toppings Make It Special
The real magic happens with the toppings! Drizzle some pure maple syrup, add a dollop of Greek yogurt, sprinkle some pecans, or go wild with chocolate chips. The possibilities are endless. These remind me of my banana oat pancakes, but the pumpkin adds a richer, more decadent flavor profile that screams fall. Why settle for boring breakfast when you can whip up something this exciting? Get your griddle ready and let’s make breakfast amazing!
How to Make Pumpkin Protein Pancakes
Quick Overview
These pumpkin protein pancakes are ridiculously easy to make, even on hectic mornings. The batter comes together in one bowl with no fancy equipment needed. You’ll love how fluffy they turn out, with a tender crumb that’s not too dense. The pumpkin creates this incredible moist texture while the protein powder keeps you satisfied for hours.
Prep Time: 10 minutes
Cook Time: 10 minutes
Total Time: 20 minutes
Servings: 4 (about 12 pancakes)
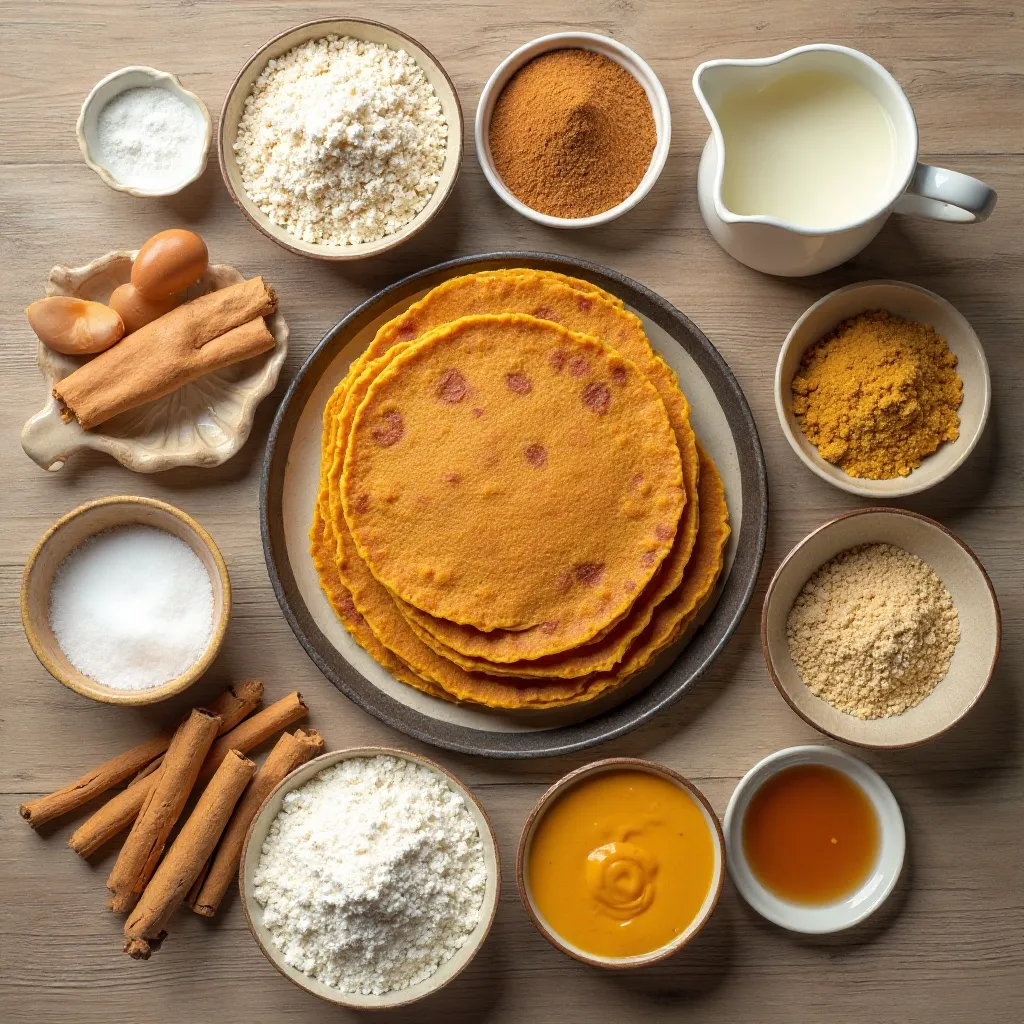
Key Ingredients for Pumpkin Protein Pancakes
Dry Ingredients:
- 1 cup whole wheat flour (or all-purpose flour)
- 1 scoop vanilla protein powder (about 30g)
- 2 tablespoons coconut sugar or brown sugar
- 2 teaspoons baking powder
- 1 teaspoon cinnamon
- ½ teaspoon nutmeg
- ¼ teaspoon ginger
- ¼ teaspoon salt
Wet Ingredients:
- ¾ cup pumpkin puree (not pumpkin pie filling)
- 2 large eggs
- ½ cup milk (dairy or non-dairy)
- 2 tablespoons melted coconut oil or butter
- 1 teaspoon vanilla extract
For Cooking:
- Butter or coconut oil for the griddle
Step-by-Step Instructions
Step 1: Prepare Your Dry Mix
Grab a large mixing bowl and whisk together the flour, protein powder, sugar, baking powder, and all your warm spices. Make sure everything is evenly combined with no lumps. This step is crucial because it ensures your spices distribute throughout every pancake. Set this bowl aside for a moment.
Step 2: Mix Your Wet Ingredients
In a separate medium bowl, whisk the pumpkin puree until smooth. Add the eggs and whisk vigorously until fully incorporated. Pour in the milk, melted coconut oil, and vanilla extract. Keep whisking until you have a uniform orange mixture. The color should be gorgeous and inviting!
Step 3: Combine Wet and Dry
Pour your wet ingredients into the bowl with the dry ingredients. Using a rubber spatula or wooden spoon, gently fold everything together. Mix until just combined—you should still see a few small lumps. Overmixing will make your pancakes tough and rubbery, so resist the urge to keep stirring. Let the batter rest for 5 minutes. This allows the protein powder to absorb moisture and the baking powder to activate.
Step 4: Heat Your Griddle
Place your griddle or large non-stick skillet over medium heat. Let it warm up for about 2 minutes. Add a small pat of butter or a teaspoon of coconut oil. You’ll know it’s ready when a drop of water sizzles on contact. Temperature control is everything here—too hot and the outside burns before the inside cooks; too cool and your pancakes turn out pale and dense.
Step 5: Cook the Pancakes
Use a ¼ cup measuring cup to scoop batter onto the hot griddle. Space them about 2 inches apart because they’ll spread slightly. Watch for bubbles to form on the surface—this takes about 2-3 minutes. Once you see bubbles popping and the edges looking set, it’s flip time! Use a wide spatula and flip confidently. Cook the second side for another 1-2 minutes until golden brown.
Step 6: Keep Warm and Serve
Transfer finished pancakes to a plate and keep warm in a 200°F oven while you cook the remaining batter. This ensures everyone eats hot pancakes at the same time. Stack them high, add your favorite toppings, and dig in!
What to Serve Pumpkin Protein Pancakes With
These pancakes are versatile and pair beautifully with so many options! Here are my favorite combinations:
Classic Sweet Toppings:
- Pure maple syrup with a pat of butter
- Greek yogurt with a drizzle of honey
- Chopped pecans or walnuts for crunch
- Fresh sliced bananas or apples
- A sprinkle of extra cinnamon
Protein-Packed Sides:
- Turkey breakfast sausage
- Scrambled eggs with cheese
- Cottage cheese with berries
- Almond butter or peanut butter
Beverages:
- Hot coffee with cream
- Chai tea latte
- Fresh orange juice
- Pumpkin spice smoothie
The combination of warm pancakes with cold Greek yogurt is absolutely heavenly. The contrast in temperatures and textures creates this restaurant-quality experience right at home.
Top Tips for Perfecting Pumpkin Protein Pancakes
Use Real Pumpkin Puree
Always use 100% pure pumpkin puree, not pumpkin pie filling. The pie filling contains added sugars and spices that will throw off your recipe. Check the ingredients list—it should only say “pumpkin.”
Choose the Right Protein Powder
Vanilla or unflavored protein powder works best. I prefer whey protein for fluffier pancakes, but plant-based options work too. Just note that plant proteins absorb more liquid, so you might need an extra tablespoon or two of milk.
Don’t Overmix the Batter
This is the biggest mistake people make! Lumpy batter is good batter. Overmixing develops gluten, which creates tough, chewy pancakes instead of fluffy ones. Mix until you no longer see dry flour streaks, then stop.
Test Your Griddle Temperature
Drop a tiny bit of batter on the griddle before committing to full pancakes. It should sizzle gently and start forming bubbles within a minute. If it browns in 30 seconds, your heat is too high.
Let the Batter Rest
Those 5 minutes of resting time aren’t optional! The batter thickens, the protein powder hydrates properly, and the leavening agents activate. Your patience pays off in fluffier pancakes.
Adjust Thickness as Needed
If your batter seems too thick (it should pour slowly but smoothly), add milk one tablespoon at a time. Too thin? Add a bit more flour or protein powder. The consistency should be like thick cake batter.
Storing and Reheating Tips
Refrigerator Storage:
Let your pancakes cool completely on a wire rack before storing. Stack them with small pieces of parchment paper between each one to prevent sticking. Place in an airtight container or zip-top bag. They’ll stay fresh in the refrigerator for up to 5 days.
Freezer Storage:
Pumpkin protein pancakes freeze beautifully! After cooling, arrange them in a single layer on a baking sheet and freeze for 1 hour. Once solid, transfer to a freezer-safe bag with parchment paper between layers. They’ll keep for up to 3 months. This is perfect for meal prep Sundays!
Reheating Methods:
Microwave: Place one or two pancakes on a microwave-safe plate. Cover with a damp paper towel and heat for 30-45 seconds. The paper towel prevents them from drying out.
Toaster: My favorite method! Pop frozen or refrigerated pancakes directly into the toaster. Use a medium setting and toast until heated through and slightly crispy on the edges.
Oven: Preheat to 350°F. Arrange pancakes on a baking sheet and cover with foil. Heat for 10 minutes if refrigerated or 15 minutes if frozen.
Skillet: Heat a non-stick pan over medium-low heat with a tiny bit of butter. Warm each side for 1-2 minutes. This method restores that fresh-off-the-griddle taste!
Tips for Avoiding Common Baking Mistakes
Mistake: Dense, Heavy Pancakes
Solution: This usually means too much flour or overmixing. Spoon flour into your measuring cup and level it off instead of scooping directly from the bag. Also, remember that lumpy batter makes fluffy pancakes!
Mistake: Burnt Outside, Raw Inside
Solution: Your heat is too high. Lower the temperature and be patient. Pancakes need gentle, even heat to cook through properly. Medium to medium-low is the sweet spot.
Mistake: Pancakes Stick to the Griddle
Solution: Make sure your griddle is properly preheated and well-greased. Non-stick surfaces still need a light coating of oil or butter. If pancakes consistently stick, your pan might need replacing.
Mistake: Flat, Thin Pancakes
Solution: Check your baking powder’s expiration date! Old leavening agents lose potency. Also, don’t press down on pancakes while cooking—this squeezes out all those lovely air pockets.
Mistake: Unevenly Cooked Pancakes
Solution: Use a consistent amount of batter for each pancake. A ¼ cup measuring cup ensures uniform size and cooking time. Also, maintain consistent heat throughout the cooking process.
Mistake: Bitter or Chalky Taste
Solution: This comes from too much protein powder or baking powder. Stick to the measurements in the recipe. Also, some protein powders have stronger flavors than others, so experiment to find one you like.
Frequently Asked Questions
Can I make pumpkin protein pancakes without protein powder?
Yes! Replace the protein powder with an equal amount of flour or oat flour. Your pancakes will be slightly less filling but still delicious. You might want to add an extra egg for protein and structure.
What’s the best protein powder for pancakes?
Vanilla whey protein isolate works wonderfully because it mixes smoothly and doesn’t add grittiness. However, vanilla pea protein or brown rice protein are great plant-based alternatives. Avoid unflavored protein if you want the best taste.
Can I use fresh pumpkin instead of canned?
Absolutely! Roast pumpkin chunks until tender, then puree until smooth. Make sure to drain excess liquid through a fine-mesh sieve because fresh pumpkin is wetter than canned. You want a thick, paste-like consistency.
Are pumpkin protein pancakes good for weight loss?
They can be part of a balanced diet! Each serving provides protein and fiber, which help you feel full longer. Just watch your portion sizes and toppings. Skip heavy syrups and opt for fresh fruit and a small drizzle of honey.
Can I make the batter ahead of time?
You can mix dry ingredients the night before, but combine wet and dry ingredients right before cooking. The baking powder starts working as soon as it touches liquid, so you’ll lose fluffiness if you wait too long.
Why are my pancakes rubbery?
Overmixing is the culprit! When you stir too much, you develop gluten strands that make pancakes tough and chewy. Mix until ingredients are just barely combined with a few lumps remaining.
Can I make these pancakes dairy-free?
Definitely! Use your favorite non-dairy milk like almond, oat, or coconut milk. Replace butter with coconut oil or a dairy-free butter substitute. The pancakes turn out just as fluffy and delicious.
How do I make pumpkin protein pancakes fluffier?
Separate your eggs. Beat the egg whites until soft peaks form, then gently fold them into the batter as the last step. This incorporates air and creates incredibly fluffy pancakes. Also, don’t skip the resting time!
Nutrition Information
| Nutrient | Per Serving (3 pancakes) |
|---|---|
| Calories | 285 |
| Protein | 15g |
| Carbohydrates | 38g |
| Fiber | 5g |
| Sugar | 8g |
| Fat | 9g |
| Saturated Fat | 5g |
| Cholesterol | 95mg |
| Sodium | 320mg |
| Vitamin A | 170% DV |
| Calcium | 20% DV |
| Iron | 15% DV |
Note: Nutrition facts are approximate and may vary based on specific ingredients used.
Final Thoughts
These pumpkin protein pancakes have become my go-to fall breakfast. There’s something magical about the combination of warm spices, creamy pumpkin, and that satisfying protein boost. They keep me full until lunch, which is saying something!
What I love most is how they make my whole house smell like autumn. My family now requests these every weekend during pumpkin season. Even my pickiest eater gobbles them up without realizing they’re packed with nutrition.
The best part? You can customize them endlessly. Some mornings I add chocolate chips for a treat. Other days, I keep them simple with just a drizzle of maple syrup. They’re perfect for meal prep too. I often make a double batch on Sunday and freeze half for busy weekday mornings.
Whether you’re a fitness enthusiast looking for a high-protein breakfast or simply someone who loves the cozy flavors of fall, these pancakes deliver. They’re proof that healthy food doesn’t have to be boring or taste like cardboard.
So grab that can of pumpkin from your pantry and give these a try. Your taste buds and your body will thank you. Don’t forget to tag me when you make them—I love seeing your creations! Happy cooking, friends!