Best Red Velvet Protein Mug Cake Recipe – Ready in Minutes
Imagine sinking your spoon into a warm, velvety red cake that’s ready in just five minutes and packed with protein. This red velvet protein mug cake is my secret weapon when late-night dessert cravings strike! Here’s something magical: you can enjoy all the decadence of traditional red velvet cake without the hours of baking or the sugar crash afterward.
It’s ridiculously simple, uses ingredients you probably already have, and tastes like you spent all day in the kitchen. If you loved my chocolate protein brownie mug cake, this ruby-red beauty will blow your mind even more! Trust me, once you make this, you’ll wonder how you ever survived without it.
This recipe is fully AI-written and untested by us at home. We care about supporting home cooks, and feedback from our site community about other recipes has been warm and encouraging.
What is Red Velvet Protein Mug Cake?
Ever wondered why we’re so obsessed with red velvet? Is it the striking crimson color that makes every bite feel like a celebration? Or that subtle cocoa flavor paired with tangy cream cheese frosting? This red velvet protein mug cake captures all that magic in a single serving made right in your microwave mug. No sharing required!
The best part? It’s basically a hug in a mug with added muscle-building benefits. They say the way to anyone’s heart is through their stomach, and this protein-packed treat proves it. Whether you’re fueling up post-workout or satisfying your sweet tooth guilt-free, this recipe has your back. Go ahead, give it a try and prepare to become obsessed!
Why You’ll Love This Red Velvet Protein Mug Cake
It’s Lightning-Fast and Ridiculously Easy
Life gets crazy busy. Between work, family, and everything else, who has time for complicated desserts? This red velvet protein mug cake takes literally five minutes from craving to indulging. No stand mixer. No multiple bowls. No waiting for the oven to preheat. Just mix, microwave, and devour.
The beauty is in its simplicity. Even if you’ve never baked before, you can nail this recipe on your first try.
Save Money While Eating Better
Have you seen the prices at those fancy protein bakeries lately? A single slice of protein cake can cost you eight dollars or more! Making this at home costs pennies per serving, and you control exactly what goes into it. No weird preservatives or artificial ingredients.
Plus, you’re not wasting ingredients on a full cake that might go stale. This single-serve approach means freshness every single time.
Packed with Protein and Real Flavor
Here’s where this recipe really shines. Most protein desserts taste like cardboard dipped in artificial sweetener. Not this one! The cocoa powder creates that signature red velvet depth, while the protein powder adds a cake-like texture that’s absolutely dreamy. Top it with a dollop of Greek yogurt mixed with vanilla, and you’ve got that classic cream cheese frosting vibe without the sugar overload.
If you enjoyed my vanilla protein pancakes, you’ll love how this dessert fits perfectly into your healthy lifestyle. The protein keeps you satisfied, so you’re not reaching for another snack thirty minutes later. It’s dessert that actually works for you, not against you. Why not give homemade protein treats a chance? Your taste buds and your muscles will thank you!
How to Make Red Velvet Protein Mug Cake
Quick Overview
This red velvet protein mug cake is a game-changer for anyone who wants dessert without the hassle. The texture is incredibly moist and fluffy, with that signature cocoa undertone that makes red velvet so irresistible. What makes it even better is the protein boost that turns it from guilty pleasure to smart snack.
The whole process is wonderfully forgiving. Even if you slightly overmix or undercook it, you’ll still end up with something delicious.
Prep Time: 2 minutes
Cook Time: 90 seconds
Total Time: 5 minutes
Servings: 1 mug cake
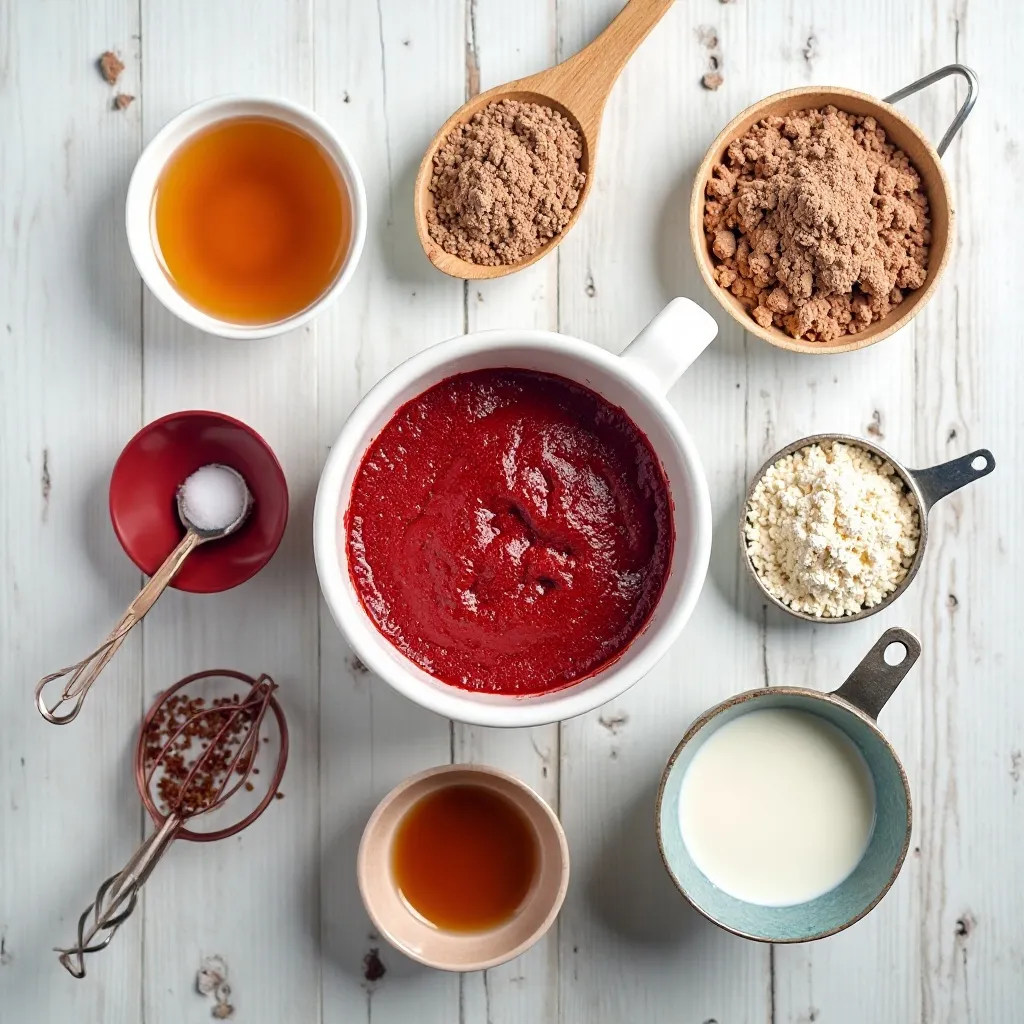
Key Ingredients for Red Velvet Protein Mug Cake
- 3 tablespoons vanilla or chocolate protein powder – This is your base and protein source
- 1 tablespoon cocoa powder – Creates that signature red velvet chocolate flavor
- 2 tablespoons all-purpose flour – Gives structure and that cakey texture
- 1/4 teaspoon baking powder – Makes it rise and get fluffy
- 1-2 tablespoons sweetener of choice – Honey, maple syrup, or stevia work great
- 1/4 cup milk of choice – Almond, oat, or regular milk all work perfectly
- 1 tablespoon vegetable oil or melted coconut oil – Keeps it moist
- 1/4 teaspoon vanilla extract – Enhances all the flavors
- 1/4 teaspoon red food coloring – Optional but gives that classic red velvet look
- Pinch of salt – Balances the sweetness
1 large egg (or 2–3 tbsp egg whites)
Step-by-Step Instructions
Step 1: Prepare Your Mug
Choose a microwave-safe mug that holds at least 12 ounces. I learned this the hard way when my first attempt overflowed everywhere! Lightly spray it with cooking spray or rub a tiny bit of oil inside. This prevents sticking and makes cleanup so much easier later.
Step 2: Mix the Dry Ingredients
Add your protein powder, cocoa powder, flour, baking powder, sweetener, and salt directly into the mug. Use a fork to whisk everything together really well. You want to break up any clumps, especially in the protein powder. This step takes maybe thirty seconds but makes a huge difference in the final texture.
Step 3: Add the Wet Ingredients
Pour in your milk, oil, and vanilla extract. If you’re using food coloring, add it now. Stir everything together until you have a smooth batter with no dry pockets. The batter should be thick but pourable, similar to pancake batter. Don’t worry if you see a few tiny lumps from the protein powder. They’ll disappear during cooking.
Step 4: Microwave to Perfection
Pop your mug in the microwave and cook on high for 60 to 90 seconds. Every microwave is different, so start with 60 seconds and check. The cake is done when the top looks set and springs back slightly when touched. It might look a bit wet on top, but it’ll firm up as it cools for a minute.
Here’s a pro tip: It’s better to slightly undercook than overcook. An undercooked mug cake is fudgy and delicious, while an overcooked one gets rubbery.
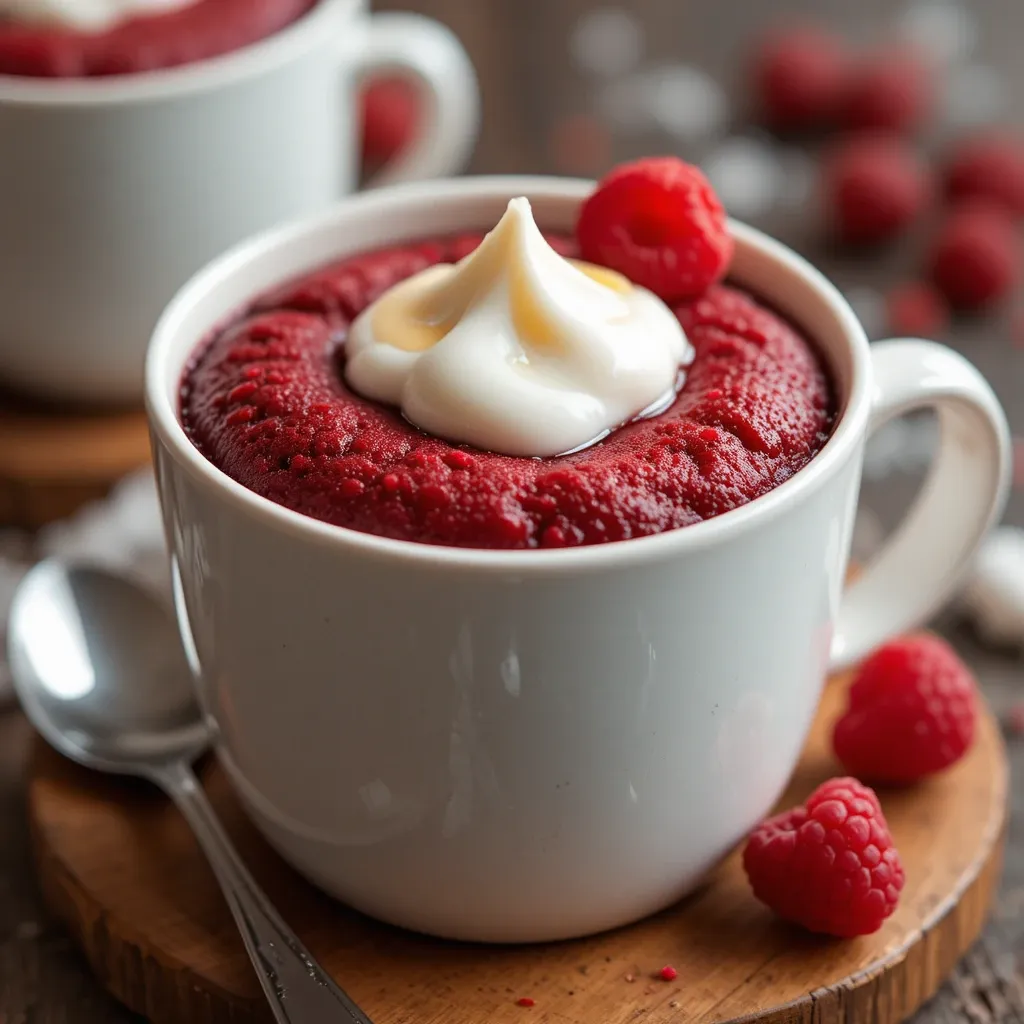
Step 5: Add Your Toppings and Enjoy
Let the cake cool for about one minute. It’ll be volcano-hot straight from the microwave! Then add your favorite toppings. I love mixing Greek yogurt with a drop of vanilla extract and a tiny bit of sweetener to mimic cream cheese frosting. You could also add fresh berries, a drizzle of nut butter, or even sugar-free whipped cream. Grab a spoon and dig in while it’s still warm!
What to Serve Red Velvet Protein Mug Cake With
This mug cake is pretty perfect on its own, but if you want to make it extra special, here are some fantastic pairing ideas:
- Protein-Boosted Cream Cheese Topping: Mix Greek yogurt with cream cheese, vanilla, and a touch of honey for an authentic red velvet experience
- Fresh Berries: Strawberries and raspberries add freshness and complement the chocolate notes beautifully
- Hot Coffee or Tea: The slight bitterness of coffee balances the sweetness perfectly for a cozy afternoon treat
- Nut Butter Drizzle: Almond or cashew butter adds healthy fats and makes it more filling
- Sugar-Free Whipped Cream: Light and airy, it adds a luxurious touch without extra calories
- Dark Chocolate Chips: Sprinkle a few on top right after microwaving so they get melty and delicious
Top Tips for Perfecting Red Velvet Protein Mug Cake
Choose Your Protein Powder Wisely
Not all protein powders behave the same in baking. Whey protein isolate tends to create the fluffiest texture, while plant-based proteins can be slightly denser. I’ve had great success with vanilla whey protein, but chocolate protein powder works wonderfully too and intensifies that red velvet cocoa flavor. Avoid collagen protein for this recipe as it doesn’t set properly in mug cakes.
Don’t Skip the Oil
I know it’s tempting to leave out the oil to save calories, but trust me on this one. That single tablespoon is what keeps your cake moist and prevents it from drying out. Without it, you’ll end up with something that tastes more like a protein bar than a cake. If you’re really concerned about calories, use just two teaspoons instead of a full tablespoon.
Adjust Cooking Time for Your Microwave
Microwaves vary wildly in power. Mine is 1100 watts and 70 seconds is perfect, but yours might need more or less time. Start with 60 seconds, then add 10-second intervals if needed. Watch through the microwave window. When you see the cake rise up and the center looks mostly set, it’s done. Remember, it continues cooking slightly after you remove it.
Experiment with Mix-Ins
This base recipe is incredibly versatile. Try folding in sugar-free chocolate chips, chopped nuts, or even a teaspoon of instant espresso powder for a mocha twist. Just don’t add more than two tablespoons of mix-ins or you’ll mess with the texture.
Natural Red Color Alternative
If you want to avoid artificial food coloring, use one tablespoon of beet powder instead. It gives a gorgeous natural red color and adds a subtle earthiness that actually complements the cocoa. Just reduce the regular flour by one tablespoon to compensate.
Storing and Reheating Tips
Honestly, this red velvet protein mug cake tastes best fresh from the microwave. The texture is at its peak when it’s warm and just set. But life happens, and sometimes you want to prep ahead.
Short-Term Storage
If you have leftovers (which rarely happens!), let the cake cool completely first. Cover your mug with plastic wrap or transfer the cake to an airtight container. Store it in the refrigerator for up to two days. The texture will firm up quite a bit in the fridge, becoming more dense and brownie-like rather than fluffy cake-like.
Reheating Instructions
To bring back some of that fresh-baked magic, microwave your refrigerated mug cake for 20 to 30 seconds. It won’t be quite as fluffy as the original, but it’ll still be delicious. You can also eat it cold straight from the fridge if you enjoy a denser, more fudgy texture.
Make-Ahead Dry Mix
Here’s a time-saving trick I absolutely love: Mix up several servings of the dry ingredients and store them in small containers or zip-top bags. Label them with the wet ingredients you need to add. When a craving hits, just dump the dry mix in a mug, add your liquids, and microwave. It’s even faster than the regular recipe!
Freezing Not Recommended
I’ve tried freezing these mug cakes, and I honestly can’t recommend it. The texture gets weird and rubbery when thawed. Since it only takes five minutes to make a fresh one, there’s really no need to freeze them anyway.
Common Baking Mistakes to Avoid
Overfilling Your Mug
This is mistake number one! The batter rises quite a bit during cooking. Fill your mug only halfway at most, even if it looks like there’s barely any batter. I once filled a mug three-quarters full and ended up with cake exploding all over my microwave. Learn from my mess!
Overmixing the Batter
You’re not making bread here. Once your wet and dry ingredients are combined and you don’t see any dry streaks, stop stirring! Overmixing develops the gluten in the flour and makes your cake tough and chewy instead of light and fluffy. Twenty to thirty good stirs is plenty.
Using Expired Baking Powder
Baking powder loses its oomph over time. If your mug cake comes out flat and dense, your baking powder might be the culprit. Test it by dropping a little in hot water. If it doesn’t fizz immediately, toss it and buy fresh. This made a huge difference in my results!
Cooking Too Long
The biggest rookie mistake is overcooking because you’re worried about it being raw inside. Remember, the cake continues cooking with residual heat after you remove it. It should still jiggle very slightly in the center when you take it out. Overcooked protein cakes turn into hockey pucks. Not delicious.
Forgetting the Oil
Please don’t try to make this oil-free! I see people doing this all the time to save calories, then they complain the cake is dry and crumbly. That one tablespoon of oil is crucial for moisture. If you really want to reduce fat, try using two teaspoons instead, but don’t eliminate it completely.
Using the Wrong Sized Mug
Too small and your cake overflows. Too large and it cooks unevenly, getting overcooked on the edges while staying raw in the middle. A 12 to 16-ounce mug is your sweet spot. I use a wide, shallow mug rather than a tall, narrow one for more even cooking.
Nutrition Information
| Nutrient | Amount Per Serving |
|---|---|
| Calories | 220-250 |
| Protein | 20-22g |
| Carbohydrates | 22-25g |
| Fat | 8-10g |
| Fiber | 2-3g |
| Sugar | 6-8g |
Note: Nutrition information varies based on specific protein powder and milk choice. These are approximate values.
Frequently Asked Questions
Can I make this red velvet protein mug cake without protein powder?
Technically yes, but it won’t be a protein mug cake anymore! You’d need to replace the protein powder with equal parts flour, which changes the nutritional profile and the texture. The protein powder isn’t just for nutrition. It actually creates that unique, slightly dense but fluffy texture that makes mug cakes so addictive. If you don’t have protein powder, I’d suggest trying a different mug cake recipe designed without it.
Why did my mug cake turn out rubbery?
This almost always means you overcooked it. Protein sets quickly and gets tough when heated too long. Try reducing your microwave time by 10 to 15 seconds next time. Also make sure you’re using a microwave-safe mug and cooking on full power. Lower power settings for longer times can also create a rubbery texture.
Can I use a different type of milk?
Absolutely! I’ve tested this with almond milk, coconut milk, oat milk, soy milk, and regular dairy milk. They all work great. The only difference is slight flavor variations. Coconut milk makes it slightly richer, while almond milk keeps it lighter. Use whatever you have on hand or prefer taste-wise.
Is this recipe suitable for meal prep?
Not really in the traditional sense. Mug cakes are best enjoyed fresh. However, you can prep the dry ingredients in advance in individual portions. Keep them in small containers or bags, and when you want one, just add the wet ingredients and microwave. This way you get a fresh mug cake in minutes!
Can I bake this in the oven instead of microwaving?
You can, but you’ll need to adjust things. Pour the batter into a small ramekin and bake at 350°F for about 12 to 15 minutes. The texture will be slightly different and more like a traditional cake. The whole point of a mug cake is the speed and convenience of the microwave, though!
What’s the best protein powder to use for this recipe?
I get the best results with whey protein isolate in vanilla or chocolate flavor. It creates the fluffiest texture. If you’re plant-based, pea protein and brown rice protein blends work well. Avoid casein protein as it gets too thick and gummy. Whatever you choose, make sure it’s a quality powder that tastes good on its own.
Can I make this recipe dairy-free?
Definitely! Use your favorite plant-based milk and coconut oil instead of butter. Make sure your protein powder is also dairy-free if you’re strictly avoiding dairy. The texture and taste stay pretty much the same with these simple swaps.
How do I know when my mug cake is done?
The top should look set and spring back slightly when gently touched with your finger. It might still look slightly moist in the center, which is perfect! It continues cooking after you remove it from the microwave. If you insert a toothpick, it should come out with just a few moist crumbs, not wet batter.
Can I double this recipe?
You can, but use two separate mugs rather than doubling in one large mug. A single mug with double the batter won’t cook evenly. You’ll end up with overcooked edges and a raw center. If you’re making two, cook them one at a time or side by side if they fit in your microwave together.
Why doesn’t my cake look red?
The cocoa powder and protein powder can darken the color. To get that vibrant red velvet look, you need to use gel food coloring rather than liquid, and be generous with it. Start with 1/4 teaspoon and add more if needed. Natural alternatives like beet powder give a burgundy red rather than bright red.
Final Thoughts
This red velvet protein mug cake has honestly changed my dessert game. Before I discovered this recipe, I struggled with late-night sweet cravings that would derail my healthy eating. Now I have a solution that’s fast, satisfying, and actually good for me.
The beauty of this recipe is how forgiving and adaptable it is. You can adjust the sweetness, play with different toppings, or even change up the protein powder flavor to keep things interesting. Some weeks I make it five times, other weeks not at all. It’s always there when I need it.
What I love most is how it proves that healthy eating doesn’t mean deprivation. You can have your cake and eat it too, literally! Whether you’re tracking macros, trying to eat better, or just want a quick dessert that doesn’t require turning on your oven, this red velvet protein mug cake delivers.
Give it a try tonight. Seriously, what do you have to lose except five minutes and a craving? I’d love to hear how yours turns out! Happy baking!