Rice Krispie Treats Halloween Ideas
Halloween just got sweeter with these incredibly delicious and spooky rice krispie treats halloween ideas! These gooey, crunchy, and perfectly spooky treats combine the classic crunch of Rice Krispies with festive Halloween magic. Did you know that Rice Krispie treats were invented by accident in 1939?
Today, we’re transforming this beloved classic into spine-tingling Halloween masterpieces that are ridiculously easy to make. Perfect for busy parents, these treats require minimal ingredients and zero baking skills, making them ideal for last-minute Halloween parties or trick-or-treat gatherings.
Unlike our popular chocolate chip cookies that need precise timing, these spooky squares come together in just 15 minutes!
What are Rice Krispie Treats Halloween Ideas?
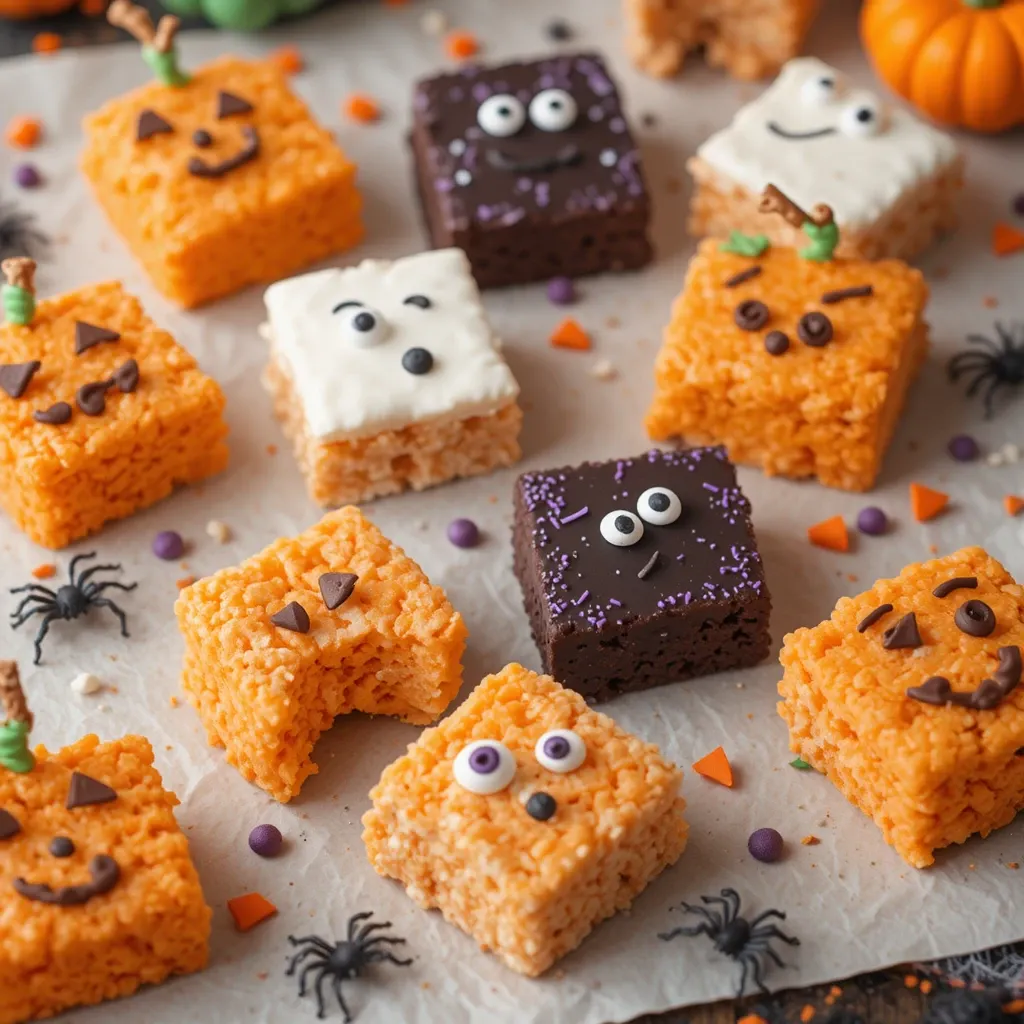
Ever wondered why we call them “treats” when they’re basically edible art projects? Rice Krispie treats Halloween ideas are simply the classic marshmallow-cereal combo dressed up in their Halloween finest! Whether you’re creating orange pumpkin squares, ghostly white bites, or witchy black concoctions, these treats prove that sometimes the simplest recipes make the biggest impact.
After all, they say the way to a monster’s heart is through their stomach! Ready to create some Halloween magic in your kitchen?
Why You’ll Love This Rice Krispie Treats Halloween Ideas
Transform Your Kitchen into a Halloween Workshop
These rice krispie treats halloween ideas turn your ordinary kitchen into a spooky treat factory! The main highlight is how easily you can customize each batch with different colors, shapes, and decorations. Watch as simple marshmallows and cereal transform into jack-o’-lantern faces, spider webs, and ghostly figures that’ll make your Halloween spread absolutely memorable.
Save Money While Creating Magic
Making these Halloween treats at home costs a fraction of store-bought alternatives. A single batch feeds a crowd for under $5, compared to specialty Halloween treats that can cost $20 or more. Plus, you control every ingredient, ensuring fresh, preservative-free goodies that taste infinitely better than anything from the store.
Endless Flavor and Design Possibilities
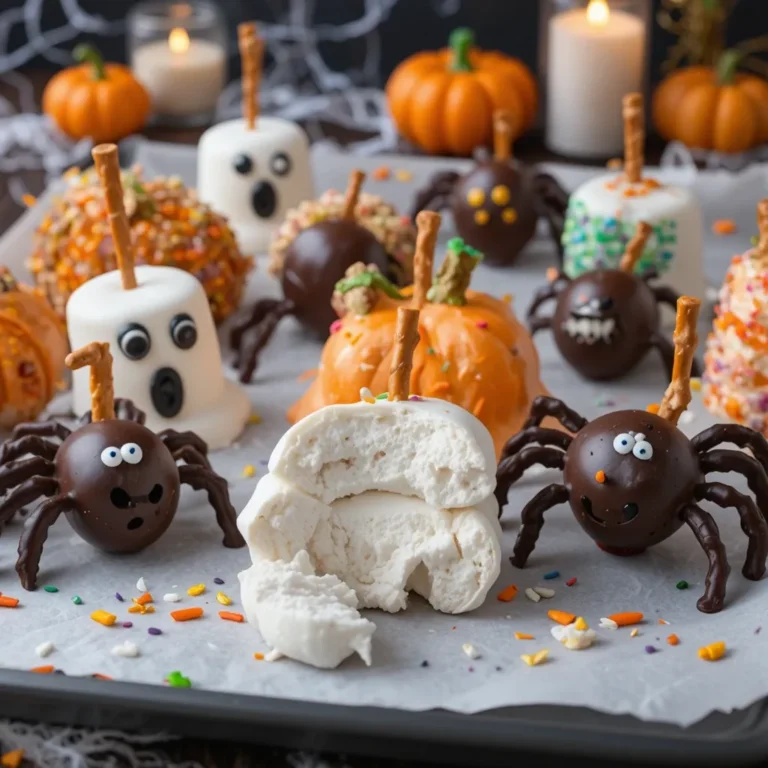
The beauty lies in the incredible variety of toppings and mix-ins available. From orange food coloring and candy corn pieces to chocolate chips and pretzel stick “bones,” these treats become your creative canvas. Unlike our elaborate Halloween cake recipe, these require no special equipment or advanced decorating skills, making them perfect for involving kids in the fun.
Ready to create Halloween memories that are as sweet as they are spooky? Let’s dive into these frighteningly fun recipes!
How to Make Rice Krispie Treats Halloween Ideas
Quick Overview
These spook-tacular treats combine the classic Rice Krispie base with Halloween-themed decorations and colors. The magic happens through simple additions like food coloring, Halloween candies, and creative shaping techniques.
Preparation Time:
- Active prep time: 15 minutes
- Setting time: 30 minutes
- Total time: 45 minutes
- Serves: 16 squares
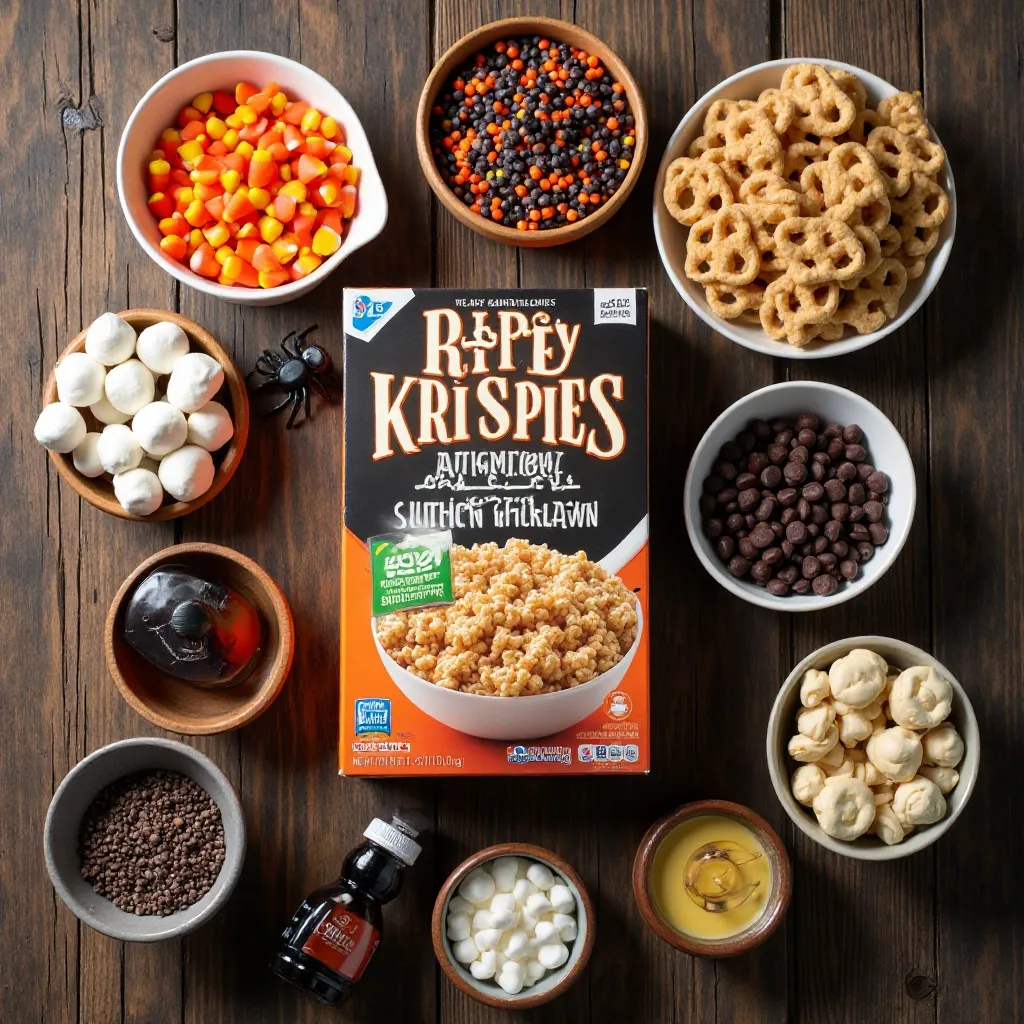
Key Ingredients for Rice Krispie Treats Halloween Ideas
Base Recipe:
- 6 cups Rice Krispies cereal
- 4 cups mini marshmallows
- 3 tablespoons butter
- 1/4 teaspoon vanilla extract
Halloween Decorating Supplies:
- Orange and black food coloring
- Candy corn
- Halloween sprinkles
- Mini chocolate chips
- Pretzel sticks
- White chocolate chips
- Halloween cookie cutters
- Edible markers
Step-by-Step Instructions
Step 1: Prepare Your Workspace Line a 9×13 inch pan with parchment paper and lightly grease with butter. Set out all your Halloween decorating supplies within easy reach. This preparation prevents the mixture from hardening before you can add your spooky touches.
Step 2: Create the Base In a large microwave-safe bowl, melt butter on high for 30 seconds. Add marshmallows and microwave in 30-second intervals, stirring between each, until completely melted and smooth. This usually takes 1-2 minutes total.
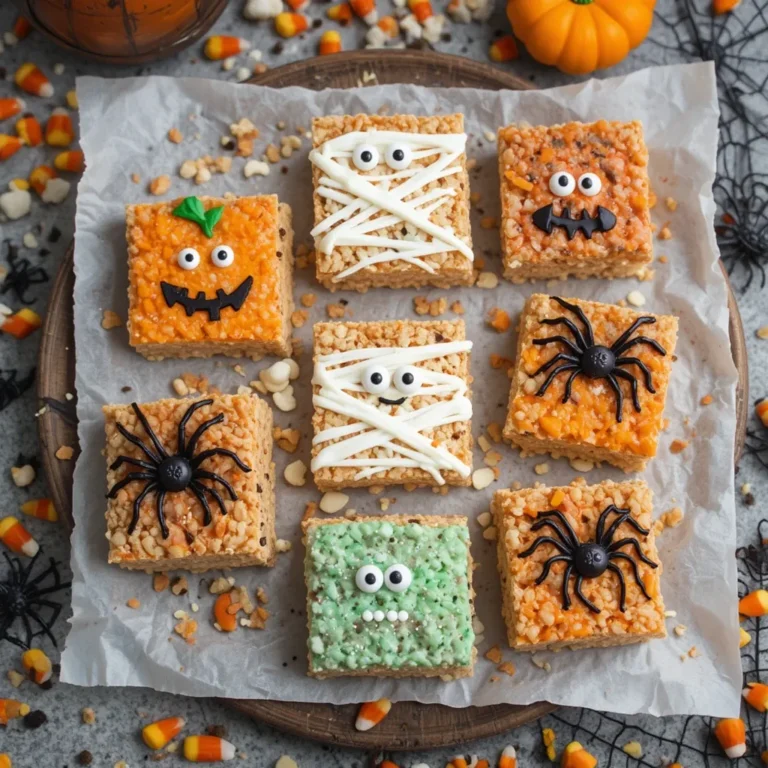
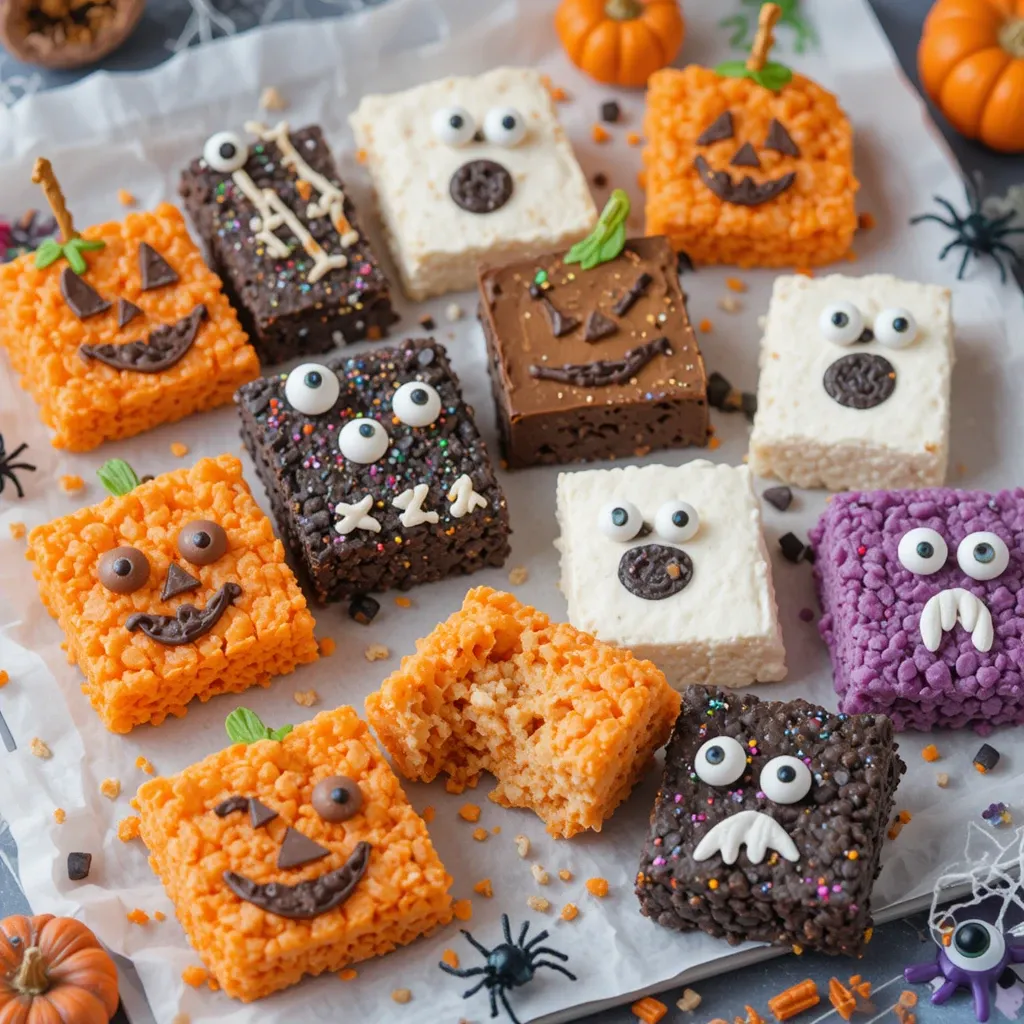
Step 3: Add Halloween Colors Quickly stir in vanilla extract, then divide the mixture if making multiple colors. Add 3-4 drops of food coloring to each portion. Orange creates perfect pumpkin treats, while black makes spooky midnight squares. Work quickly as the mixture begins to set.
Step 4: Mix in the Cereal Pour the Rice Krispies into each colored marshmallow mixture. Stir rapidly but gently until every piece is evenly coated. The mixture should hold together but not be overly sticky.
Step 5: Shape and Press Transfer mixture to prepared pan and press evenly using buttered hands or wax paper. For shaped treats, use Halloween cookie cutters while the mixture is still warm and pliable.
Step 6: Add Spooky Decorations While treats are still slightly warm, press in your Halloween decorations. Create jack-o’-lantern faces with mini chocolate chips, add candy corn for festive flair, or create spider legs with pretzel stick pieces.
Step 7: Cool and Cut Let treats set at room temperature for 30 minutes before cutting into squares. For clean cuts, use a knife sprayed with cooking spray.
What to Serve Rice Krispie Treats Halloween Ideas With
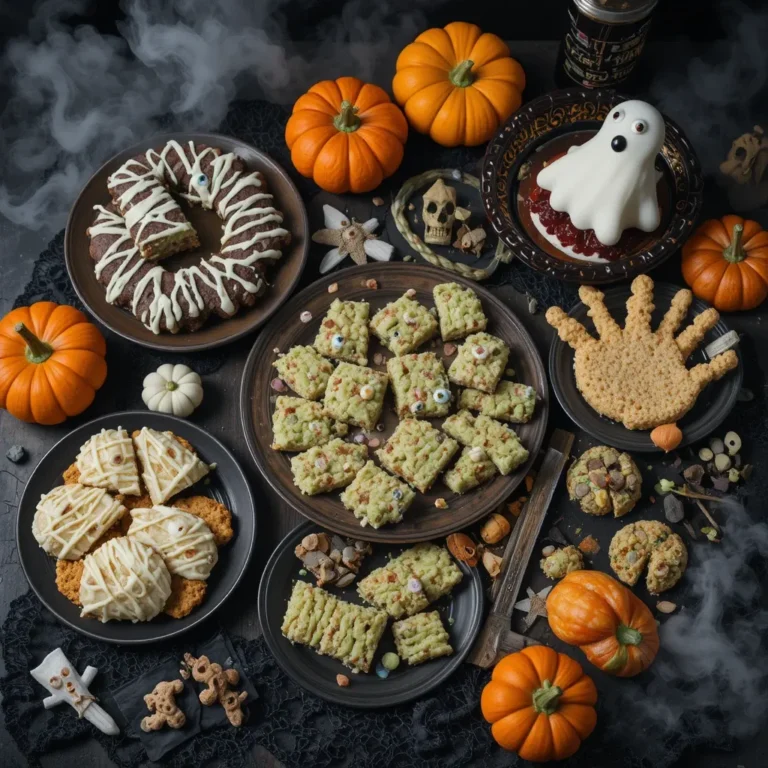
These spooky squares pair wonderfully with hot apple cider or chocolate milk for the little ghouls and goblins. Create a complete Halloween spread by serving alongside caramel apples, pumpkin cookies, and popcorn balls. For adult Halloween parties, consider pairing with spiced coffee or even Halloween-themed cocktails. The treats also complement savory Halloween snacks like cheese and crackers shaped like bats or orange-colored dips with black bean “dirt.”
Top Tips for Perfecting Rice Krispie Treats Halloween Ideas
Choose Fresh Ingredients
Always use fresh marshmallows for the best texture. Stale marshmallows won’t melt properly and create tough, chewy treats instead of perfectly gooey ones.
Work Quickly with Colors
Food coloring works best when added immediately after melting marshmallows. If the mixture cools too much, colors won’t distribute evenly throughout the treats.
Don’t Overmix the Cereal
Gentle folding prevents crushing the Rice Krispies and maintains that perfect crunch. Overmixing creates dense, compact treats instead of light, airy ones.
Use the Right Pan Size
A 9×13 inch pan creates perfectly thick treats. Using a larger pan makes them too thin, while smaller pans create overly thick, dense squares.
Press Gently
When pressing into the pan, use light pressure to avoid compacting the mixture too much. The treats should hold together but maintain their fluffy texture.
Storing and Reheating Tips
Store your Halloween Rice Krispie treats in an airtight container at room temperature for up to one week. Layer treats between wax paper to prevent sticking and preserve decorations. For longer storage, wrap individual treats in plastic wrap and freeze for up to three months.
These treats don’t require reheating, but if they become slightly hard, place a slice of bread in the container overnight to restore moisture. Avoid refrigerating as this can make them overly firm and less enjoyable.
For gifting or transport, wrap treats individually in clear cellophane bags tied with orange and black ribbons for a professional, festive presentation.
Creative Halloween Variations
Pumpkin Patch Treats: Add orange coloring and top with green frosting “stems” made from vanilla frosting mixed with green food coloring.
Ghostly White Delights: Keep the base white and use mini chocolate chips for spooky ghost faces. Drizzle with white chocolate for extra ghostly effect.
Witchy Black Magic: Use black food coloring and add purple sprinkles for a magical witchy appearance.
Monster Green Squares: Create lime green treats and add googly candy eyes for friendly monster faces.
Frequently Asked Questions
Can I make these treats ahead of time?
Yes! These Halloween Rice Krispie treats stay fresh for up to one week when stored properly in an airtight container at room temperature.
What if I don’t have food coloring?
You can create natural colors using ingredients like cocoa powder for brown, pureed pumpkin for orange, or spirulina powder for green.
How do I prevent the treats from sticking to my hands?
Butter your hands lightly or use wax paper when pressing the mixture into the pan. This prevents sticking and makes shaping much easier.
Can I use regular marshmallows instead of mini?
Yes, but you’ll need to chop them smaller for even melting. Use about 40 regular marshmallows in place of 4 cups mini marshmallows.
What’s the best way to cut clean squares?
Spray your knife with cooking spray between cuts, or use a plastic knife which doesn’t stick as much to the treats.
Can I add other mix-ins besides Halloween decorations?
Absolutely! Try adding vanilla extract, almond extract, or even a tablespoon of peanut butter to the melted marshmallow mixture for extra flavor.
How do I fix treats that are too hard?
Place a piece of fresh bread in the storage container overnight. The treats will absorb moisture from the bread and soften.
Nutrition Information
| Nutrient | Per Square (1/16 recipe) |
|---|---|
| Calories | 95 |
| Total Fat | 2g |
| Saturated Fat | 1g |
| Cholesterol | 5mg |
| Sodium | 85mg |
| Total Carbohydrates | 20g |
| Dietary Fiber | 0g |
| Total Sugars | 12g |
| Protein | 1g |
| Vitamin D | 0mcg |
| Calcium | 2mg |
| Iron | 2mg |
Nutritional values are approximate and may vary based on specific ingredients and decorations used.
These rice krispie treats halloween ideas prove that the best treats combine simplicity with creativity. Whether you’re planning a Halloween party, preparing for trick-or-treaters, or just want to add some spooky sweetness to your day, these versatile treats deliver every time.
The beauty lies not just in their delicious taste, but in the joy of creating something magical with your own hands – and maybe a few little helpers who love getting their fingers sticky with marshmallow goodness!