Best Thanksgiving Cookies and Bars Family Favorite Recipe
Picture this: golden-brown treats fresh from the oven, filling your home with cinnamon, nutmeg, and buttery goodness. These thanksgiving cookies and bars are the perfect addition to your holiday spread! Whether you’re hosting a crowd or bringing dessert to a potluck, these sweet treats are incredibly easy to make and absolutely irresistible.
Fun fact: dessert bars became popular in the 1950s as a way to serve cookie-like treats without all the individual baking. What makes these special? They’re ready in under an hour, feed a crowd effortlessly, and capture all those cozy fall flavors we crave. If you loved our pumpkin pie recipe, you’ll adore these handheld delights!
This recipe is AI-created and has not been cooked or tested at home by our team. We share our recipes with care, and readers who’ve tried other site recipes often have positive experiences.
What Are Thanksgiving Cookies and Bars?
Ever wonder why we call them “bars” when they’re basically cookies in a pan? It’s simple—these thanksgiving cookies and bars are the lazy baker’s best friend! Instead of rolling, cutting, and baking dozens of individual cookies, you press the dough into one pan and slice after baking. Genius, right?
They’re portable, shareable, and pack all those holiday spices into every bite. As the saying goes, “the way to a man’s heart is through his stomach,” and these treats work magic on everyone! Ready to become the star of your Thanksgiving gathering? Let’s get baking!
Why You’ll Love This Thanksgiving Cookies and Bars Recipe
The Ultimate Crowd-Pleaser
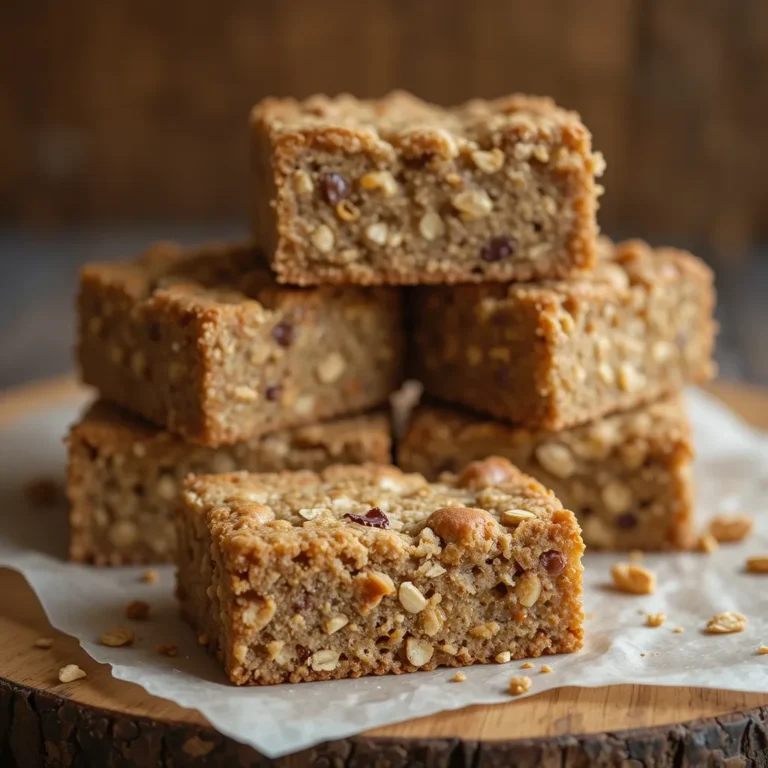
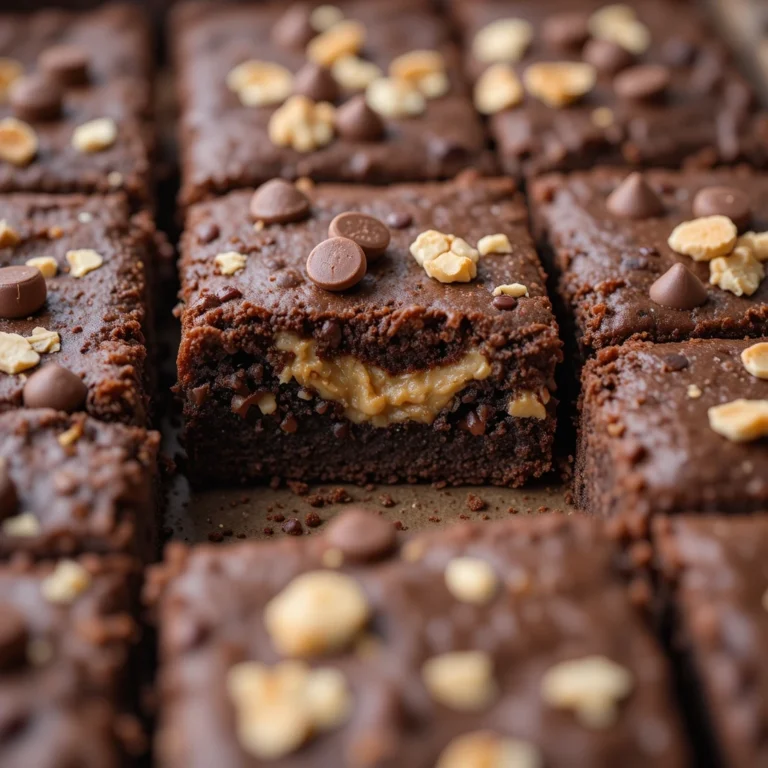
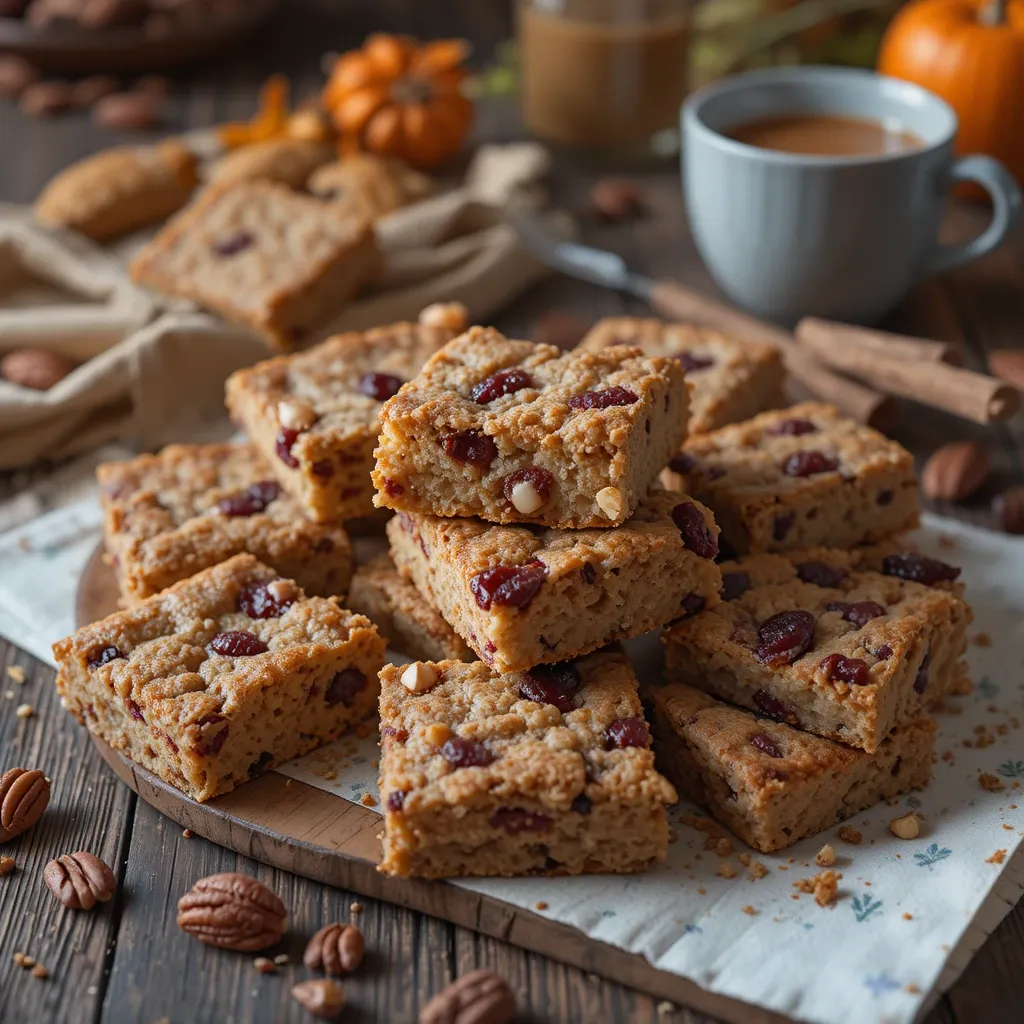
These thanksgiving cookies and bars are the hero dessert your holiday table needs. Imagine layers of buttery crust topped with brown sugar, pecans, cranberries, and warm spices creating a symphony of fall flavors. Each bite delivers that perfect balance of chewy, crunchy, and melt-in-your-mouth goodness that keeps everyone reaching for seconds.
Budget-Friendly Holiday Baking
Making thanksgiving cookies and bars at home saves you serious money compared to bakery prices. A full pan costs just a fraction of store-bought treats and feeds 20+ people easily. You control the quality of ingredients, avoid preservatives, and can customize flavors to your family’s preferences. Plus, most ingredients are pantry staples you already have!
Endless Flavor Possibilities
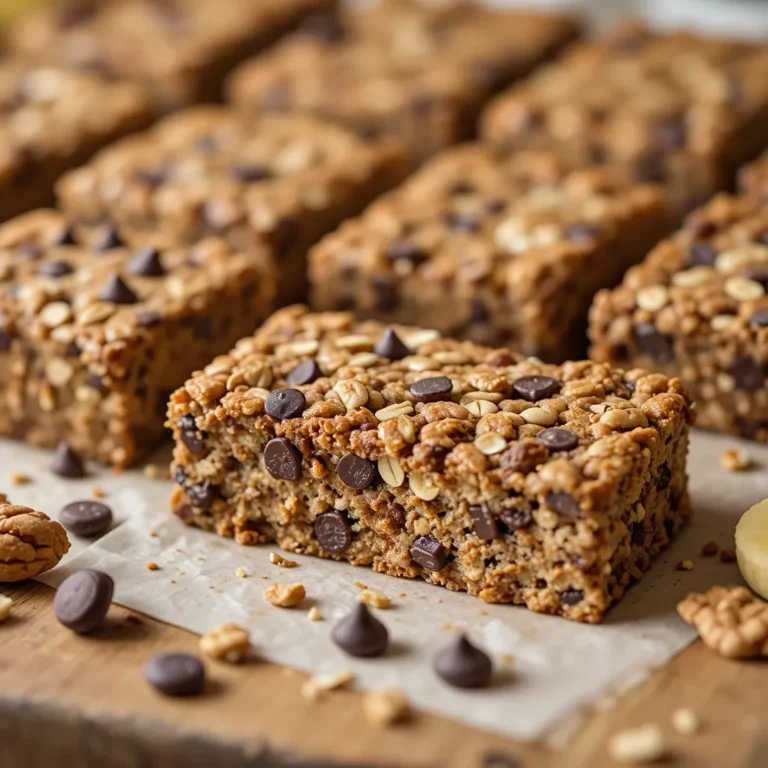
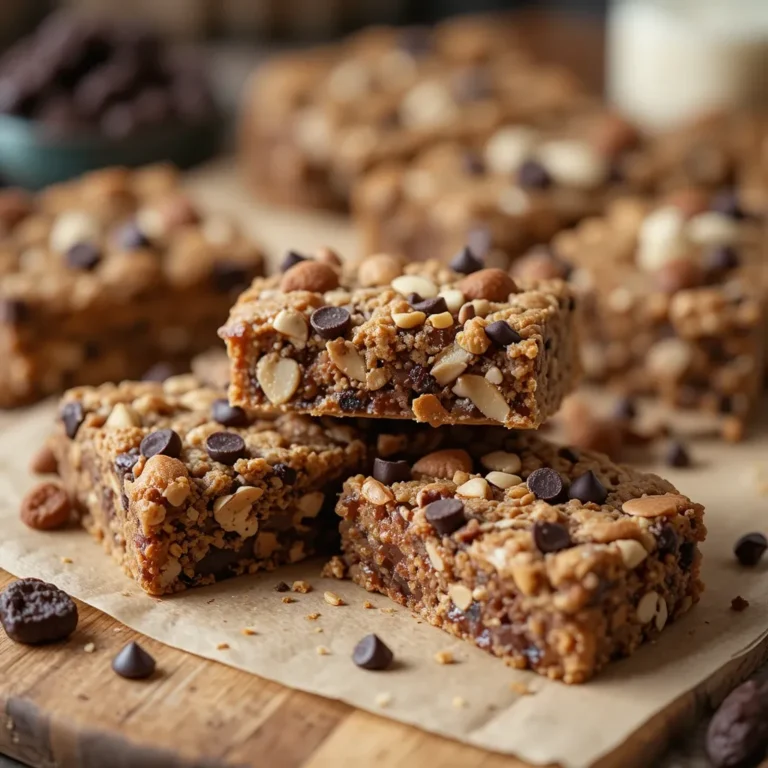
The beauty of these bars lies in their versatility. Top them with cream cheese frosting, chocolate drizzle, or leave them simple and rustic. Add white chocolate chips, dried cranberries, chopped pecans, or even a caramel swirl. Love our apple crisp bars? These thanksgiving cookies and bars follow the same easy-to-love concept but with seasonal spices that scream holiday comfort.
Why Make These Today?
Stop stressing about complicated desserts! These bars come together quickly, can be made ahead, and travel beautifully. Whether you’re an experienced baker or just starting out, this recipe guarantees success. Your guests will think you spent hours in the kitchen, but it’ll be our little secret that these took less time than watching a football game. Grab your ingredients and let’s create some holiday magic!
How to Make Thanksgiving Cookies and Bars
Quick Overview
These thanksgiving cookies and bars are ridiculously simple to make and deliver bakery-quality results every time. The rich, buttery base gets topped with a spiced pecan-cranberry layer that caramelizes beautifully in the oven. The combination creates an irresistible texture that’s both chewy and slightly crispy around the edges. Best of all, you only need one bowl for mixing!
Time Breakdown:
- Prep Time: 15 minutes
- Baking Time: 35-40 minutes
- Cooling Time: 30 minutes
- Total Time: 1 hour 30 minutes
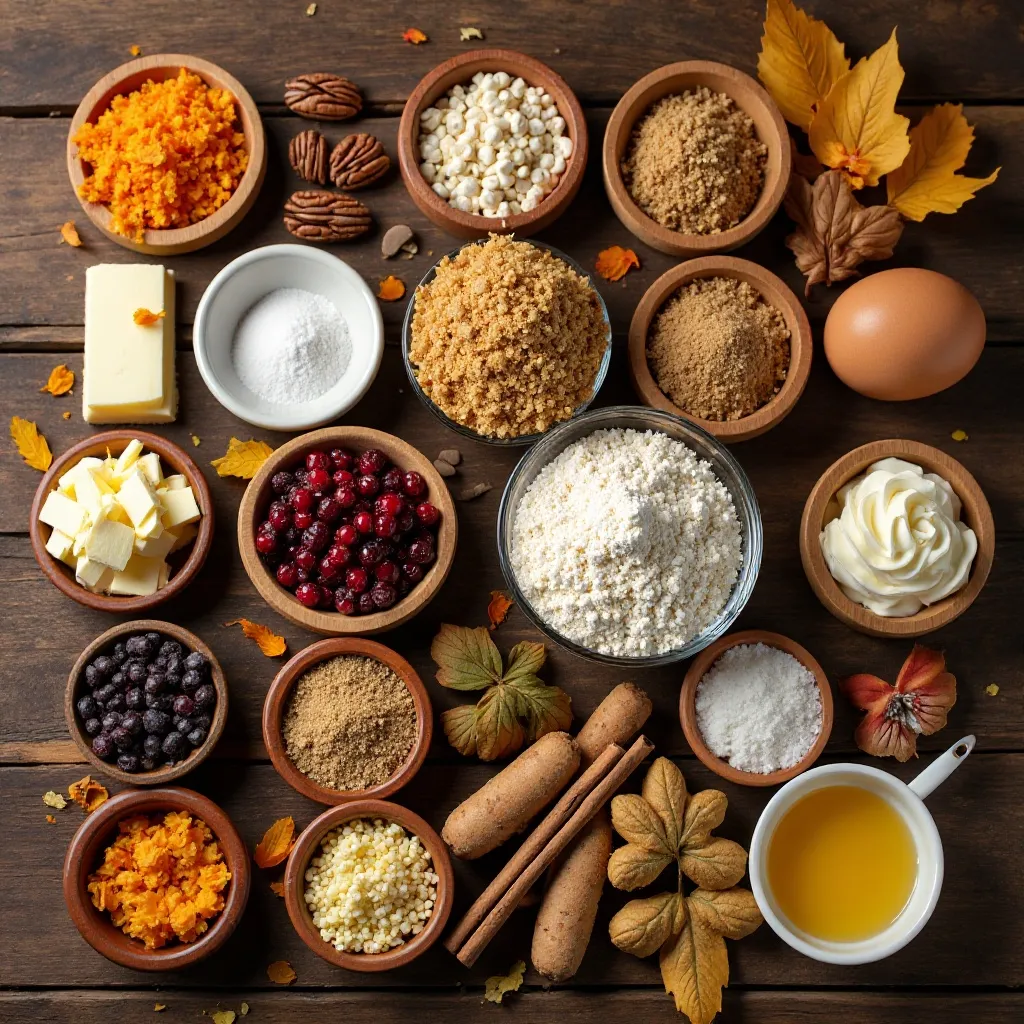
Key Ingredients for Thanksgiving Cookies and Bars
For the Base Layer:
- 2 cups all-purpose flour
- 1 cup unsalted butter, softened (2 sticks)
- ½ cup granulated sugar
- ½ cup light brown sugar, packed
- 1 teaspoon vanilla extract
- ½ teaspoon salt
- ½ teaspoon cinnamon
For the Topping:
- 1½ cups chopped pecans
- 1 cup dried cranberries
- ¾ cup light brown sugar, packed
- ½ cup all-purpose flour
- ½ cup melted butter
- 2 large eggs
- 1 teaspoon vanilla extract
- 1 teaspoon cinnamon
- ½ teaspoon nutmeg
- ¼ teaspoon ground ginger
- ¼ teaspoon salt
Optional Additions:
- White chocolate chips
- Orange zest
- Maple syrup drizzle
- Cream cheese frosting
Step-by-Step Instructions
Step 1: Prepare Your Baking Setup
Preheat your oven to 350°F (175°C). Line a 9×13-inch baking pan with parchment paper, leaving some overhang on the sides for easy removal. This step is crucial—it prevents sticking and makes cleanup a breeze. Spray the parchment lightly with cooking spray for extra insurance.
Step 2: Make the Cookie Base
In a large mixing bowl, cream together the softened butter, granulated sugar, and brown sugar using an electric mixer on medium speed for 3-4 minutes. The mixture should become light and fluffy. Add the vanilla extract and mix until combined. In a separate bowl, whisk together the flour, salt, and cinnamon. Gradually add the dry ingredients to the butter mixture, mixing on low speed until a soft dough forms. The dough should hold together when pressed but not be overly sticky.
Step 3: Press the Base Layer
Transfer the dough to your prepared pan. Using your hands or the back of a measuring cup, press the dough evenly across the entire bottom of the pan. Make sure it reaches all corners and is uniform in thickness—this ensures even baking. The layer should be about ¼-inch thick. Press firmly so it holds together well during baking.
Step 4: Prepare the Topping Mixture
In a medium bowl, whisk together the eggs, melted butter, brown sugar, and vanilla extract until smooth and well combined. Add the flour, cinnamon, nutmeg, ginger, and salt, stirring until just incorporated. Fold in the chopped pecans and dried cranberries, making sure they’re evenly distributed throughout the mixture. The topping should be thick but pourable.
Step 5: Assemble and Bake
Pour the topping mixture over the pressed cookie base, spreading it evenly with a spatula to cover the entire surface. Make sure the nuts and cranberries are distributed evenly. Place the pan in the preheated oven and bake for 35-40 minutes. The bars are done when the edges are golden brown and the center is set but still slightly soft. A toothpick inserted near the center should come out with just a few moist crumbs.
Step 6: Cool Completely
Remove the pan from the oven and place it on a wire cooling rack. Let the thanksgiving cookies and bars cool completely in the pan for at least 30 minutes—this is essential! If you cut them while warm, they’ll fall apart. For best results, refrigerate for 1-2 hours before cutting for clean, professional-looking slices.
Step 7: Cut and Serve
Once completely cooled, use the parchment paper overhang to lift the entire slab out of the pan onto a cutting board. Using a sharp knife, cut into 24 squares or 32 smaller bars, wiping the knife clean between cuts for neat edges. Arrange on a serving platter and watch them disappear!
What to Serve Thanksgiving Cookies and Bars With
Perfect Beverage Pairings
These thanksgiving cookies and bars pair beautifully with hot apple cider, spiced chai tea, or a rich cup of coffee. The warm spices in the bars complement the flavors in these drinks perfectly. For evening gatherings, Irish cream coffee for an adults-only treat.
Complementary Desserts
Create a stunning dessert spread by pairing these bars with pumpkin pie, pecan pie, or our famous apple crisp. The variety of textures and flavors gives guests options while keeping that cohesive fall theme. Add some vanilla ice cream or whipped cream on the side for an extra-indulgent experience.
As Part of Your Thanksgiving Spread
These bars work wonderfully as part of a dessert buffet alongside traditional pies. They’re also perfect for afternoon snacking while watching football or as a sweet addition to your breakfast table on Thanksgiving morning. Serve them on a rustic wooden board with some fresh apple slices and cheese for a casual presentation.
Gift-Worthy Packaging
Wrap individual bars in cellophane tied with festive ribbon for party favors or hostess gifts. Stack them in decorative tins lined with parchment paper, or arrange on a pretty platter covered with plastic wrap. They’re the perfect contribution to cookie exchanges or bake sales!
Top Tips for Perfecting Thanksgiving Cookies and Bars
Ingredient Temperature Matters
Always use softened butter for the base layer—not melted! Butter should be at room temperature, soft enough to leave an indent when pressed but not greasy. This creates the perfect texture. For the topping, melted butter works best as it helps create that gooey, caramelized finish.
Don’t Skip the Cooling Time
Patience is key with these thanksgiving cookies and bars. Cutting them warm will result in a crumbly mess. Let them cool completely, or better yet, refrigerate them for an hour. Cold bars cut cleanly and hold their shape beautifully. Trust the process!
Customize Your Mix-Ins
Feel free to swap pecans for walnuts, almonds, or a nut-free seed option like pepitas. Replace cranberries with chopped dried apricots, figs, or chocolate chips. Add a tablespoon of orange zest to the topping for a bright citrus note. Make it your own!
Prevent Overbaking
These bars continue cooking slightly after removing from the oven due to residual heat. Take them out when the center still jiggles slightly—it will set as it cools. Overbaked bars become dry and crumbly instead of chewy and delicious.
Line Your Pan Properly
Parchment paper is your best friend here. Create a sling by overlapping two sheets in a cross pattern, or use one long sheet with overhang on two sides. This makes removal foolproof and prevents any sticking disasters. Greasing the pan underneath helps the parchment stay in place.
Flour Your Toppings
Notice how the topping mixture includes flour? This is intentional—it helps the layer set properly and prevents it from being too runny. Don’t skip or reduce this ingredient, or you’ll end up with a soupy mess instead of beautiful bars.
Storage Prevents Drying
These bars taste best when stored properly. Keep them in an airtight container with parchment paper between layers to prevent sticking. Don’t refrigerate unless necessary, as cold storage can make them dry. Room temperature keeps them perfectly chewy.
Storing and Reheating Tips
Room Temperature Storage
Store your thanksgiving cookies and bars in an airtight container at room temperature for up to 5 days. Place parchment or wax paper between layers to prevent sticking. Keep them away from direct sunlight and heat sources. They’ll maintain their perfect chewy texture this way!
Refrigerator Storage
If your kitchen is warm or humid, refrigerate the bars in an airtight container for up to 10 days. Let them come to room temperature for 15-20 minutes before serving for the best flavor and texture. The cold can make them slightly firmer, but the taste remains incredible.
Freezer Storage for Long-Term
These bars freeze beautifully for up to 3 months! Wrap individual bars tightly in plastic wrap, then place them in a freezer-safe container or heavy-duty freezer bag. Label with the date. This is perfect for making ahead for Thanksgiving or having treats ready anytime.
Thawing Instructions
Remove frozen bars from the freezer and let them thaw at room temperature for 1-2 hours, or refrigerate overnight. For a quick option, microwave individual bars for 10-15 seconds. They taste freshly baked when slightly warmed!
Reheating for Fresh-Baked Taste
While these thanksgiving cookies and bars are delicious at room temperature, warming them slightly enhances the flavors. Place bars on a baking sheet and warm in a 300°F oven for 5-7 minutes. The butter and sugar will soften slightly, creating that just-baked experience your guests will love.
Make-Ahead Strategy
Bake these bars up to 3 days before your event. Store them covered at room temperature, and they’ll taste just as fresh as day one. You can even prepare the base layer and topping separately the night before, then assemble and bake on the day of your gathering.
Nutrition Information
| Nutrient | Per Serving (1 bar) |
|---|---|
| Calories | 245 |
| Total Fat | 14g |
| Saturated Fat | 6g |
| Cholesterol | 35mg |
| Sodium | 85mg |
| Total Carbohydrates | 29g |
| Dietary Fiber | 2g |
| Sugars | 19g |
| Protein | 3g |
Based on 24 servings. Values are approximate and may vary based on specific ingredients used.
Frequently Asked Questions
Can I make these thanksgiving cookies and bars ahead of time?
Absolutely! These bars are perfect for advance preparation. Bake them up to 3 days before your event and store at room temperature in an airtight container. For longer storage, freeze them up to 3 months. They actually taste even better the next day as the flavors meld together beautifully.
Can I substitute the nuts if someone has allergies?
Yes! Replace pecans with sunflower seeds, pepitas (pumpkin seeds), or simply increase the amount of dried cranberries. You can also add coconut flakes, chocolate chips, or oats for a nut-free version that’s equally delicious. The texture will be slightly different but still fantastic.
Why did my bars fall apart when I cut them?
The most common reason is cutting them too soon. These thanksgiving cookies and bars need to cool completely—at least 30 minutes at room temperature, or better yet, chill them for an hour. The topping needs time to set properly. Also, make sure you didn’t underbake them; the center should be set, not jiggly.
Can I use fresh cranberries instead of dried?
Dried cranberries work best for this recipe as fresh ones release too much moisture and can make the bars soggy. If you really want to use fresh, reduce the amount to ½ cup and toss them with 1 tablespoon of sugar and 1 tablespoon of flour before adding to prevent excess moisture.
How do I know when the bars are done baking?
Look for golden-brown edges and a topping that appears set in the center. A toothpick inserted near the middle should come out with a few moist crumbs, not wet batter. The center might look slightly underdone, but it will firm up as it cools. Remember, overbaking makes them dry!
Can I double this recipe?
Yes! Simply double all ingredients and use two 9×13-inch pans, or bake in a large sheet pan. Keep the baking time the same—don’t increase it significantly. Bake both pans on the center rack, rotating them halfway through for even browning.
What’s the best way to cut clean squares?
Use a sharp chef’s knife and wipe it clean with a damp cloth between each cut. Make sure the bars are completely cool or chilled. Score the surface lightly first to mark your cutting lines, then cut with firm, decisive strokes rather than sawing motions.
Can I make these gluten-free?
Substitute the all-purpose flour with a 1:1 gluten-free baking flour blend in both the base and topping. Make sure all other ingredients (vanilla extract, spices) are certified gluten-free. The texture will be very similar to the original recipe.
Why are my bars too dry or crumbly?
Overbaking is usually the culprit. These thanksgiving cookies and bars should be slightly underdone in the center when you remove them from the oven. Also, measure flour correctly using the spoon-and-level method rather than scooping directly from the bag, which can pack too much flour.
Can I add frosting or glaze?
Definitely! A cream cheese frosting pairs wonderfully with these bars. You can also drizzle with a simple powdered sugar glaze, melted chocolate, or caramel sauce. Add these toppings after the bars have completely cooled and right before serving for best results.
Bonus Tips for Holiday Success
Creating Beautiful Presentation
Dust your finished thanksgiving cookies and bars with powdered sugar for an elegant, snowy effect. Cut them into different sizes—larger squares for dessert servings and smaller bites for cookie platters. Use decorative paper liners on your serving platter for a professional bakery look.
Scaling for Different Occasions
This recipe easily adapts to various pan sizes. For thicker bars, use an 8×8-inch pan and increase baking time by 5-10 minutes. For thinner, crispier bars, use a larger sheet pan and reduce baking time slightly. Always check doneness with the toothpick test.
Seasonal Variations Throughout the Year
Transform this base recipe for other holidays! At Christmas, add peppermint extract and crushed candy canes. For Easter, use lemon zest and white chocolate. Summer gatherings? Try lime zest with coconut and macadamia nuts. The possibilities are endless!
Building a Thanksgiving Dessert Bar
Make these thanksgiving cookies and bars the centerpiece of a dessert station. Arrange them alongside traditional pies, fresh fruit, whipped cream, ice cream, and hot beverages. Label each item with small cards for a beautiful, organized presentation that makes guests feel special.
Involving Kids in the Kitchen
These bars are perfect for getting children involved in holiday baking. Kids can help measure ingredients, press the base layer into the pan, and sprinkle toppings. It’s a wonderful way to create memories and teach basic baking skills. Just supervise oven use and knife work!
These thanksgiving cookies and bars are more than just a dessert—they’re a celebration of everything we love about the holiday season. The warm spices, the buttery richness, and the perfect balance of textures make every bite memorable. Whether you’re an experienced baker or just starting your culinary journey, this recipe guarantees success and rave reviews.
The best part? You’ll spend less time in the kitchen and more time with the people you love. Make a batch today, and start your own delicious Thanksgiving tradition. Your guests will be talking about these bars long after the last crumb disappears!
Happy baking, and happy Thanksgiving! 🍂