Thanksgiving Cookies Crumbl Style in 30 Minutes
Last November, I stood in line at Crumbl for forty-five minutes—yes, forty-five minutes—just to get their Thanksgiving cookie box. Don’t get me wrong, they were incredible. But as I bit into that third cookie (okay, maybe it was the fourth), I thought: “I could make these at home.” And honestly?
After testing homemade versions six times over the past year, I’ve cracked the code. These thanksgiving cookies crumbl-inspired treats are just as good—maybe even better—than the bakery version, and you can make them in your pajamas without the line.
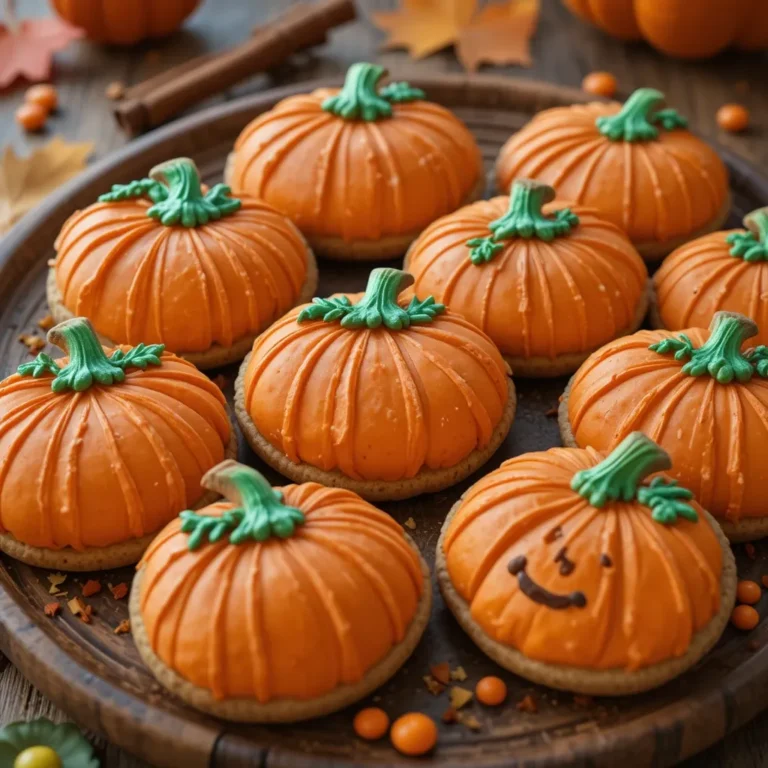
The thing about Crumbl’s Thanksgiving lineup is that they’ve mastered that perfect balance of nostalgic fall flavors with their signature thick, soft cookie base. We’re talking brown butter, warm spices, cream cheese frosting that doesn’t quit, and toppings that make you feel like you’re eating a slice of pie in cookie form. But here’s what I’ve learned: you don’t need a commercial kitchen to recreate that magic.
I’ve been making these for my family’s Thanksgiving prep day (we bake everything the weekend before), and they’ve become as essential as the turkey itself. My sister actually requested I skip the pumpkin pie this year and just make a triple batch of these instead. That’s how you know they’re good.
This recipe was created by AI and has not been personally prepared at home by us. We share everything with care, and readers who’ve made other recipes here often report success.
What Makes Thanksgiving Cookies Crumbl Style So Irresistible
Let’s talk about what sets these cookies apart from your standard fall treats. Crumbl built their empire on a specific formula: thick, bakery-style cookies that are part cake, part cookie, completely indulgent.
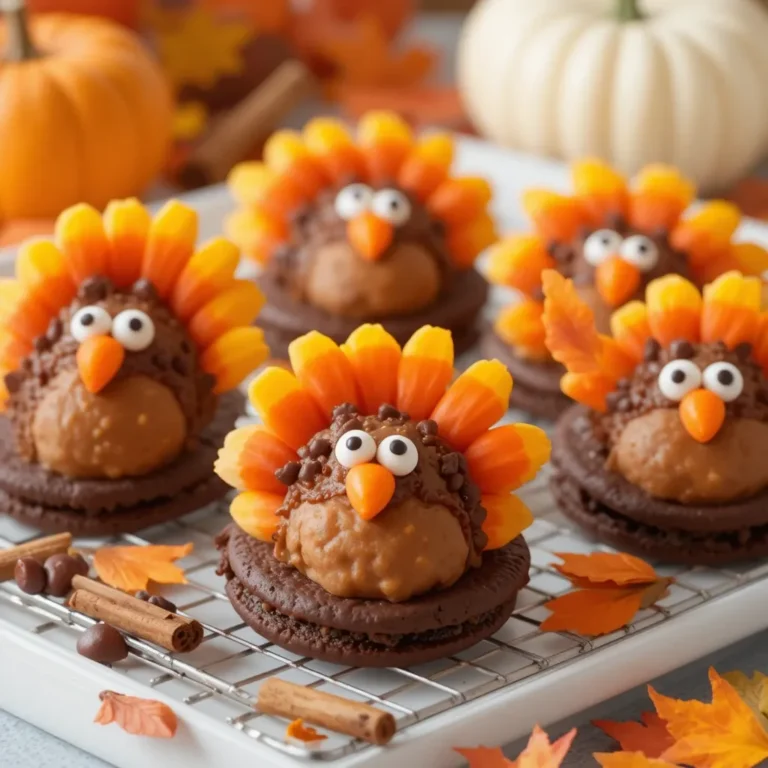
Their Thanksgiving flavors take that base and layer in everything we love about the holiday—pumpkin spice, pecans, caramel, cream cheese, cranberries—without making them taste like a candle store (you know what I mean).
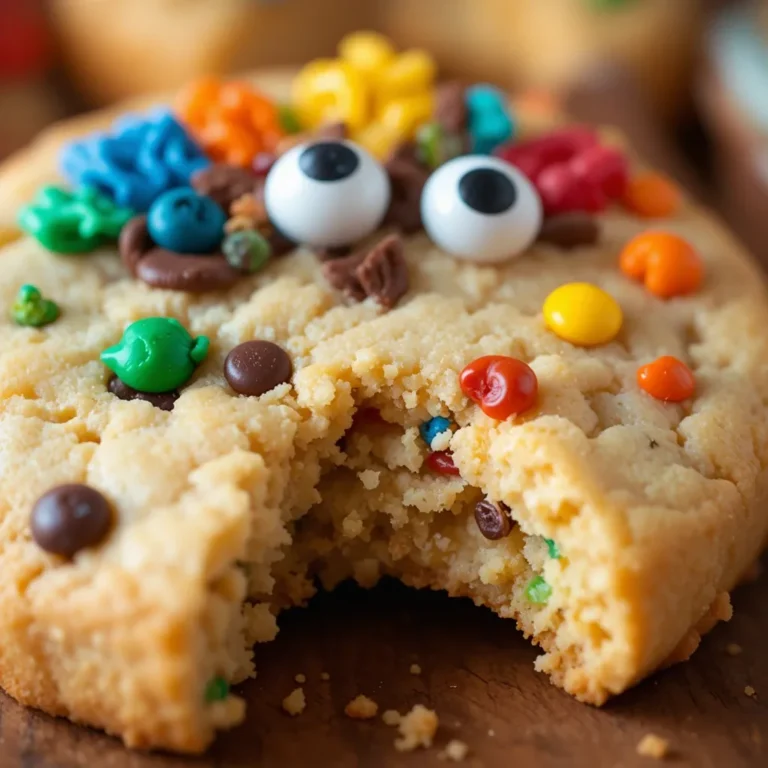
The texture is key here. We’re not making thin, crispy cookies. These are substantial, almost gooey in the center, with that signature dome top. The first time I made these, I under-baked them by two minutes because I thought they weren’t done, and they turned out perfect. That’s the secret: they look slightly underdone when you pull them out, but they set up beautifully as they cool.
What I love most is that these cookies capture the essence of Thanksgiving desserts without requiring you to make six different pies. You get the pumpkin, the spice, the richness—all in one portable, shareable package. Plus, they’re way less intimidating than pie if you’re a nervous baker.
Why This Recipe Beats Waiting in Line at Crumbl
You Control the Flavors
Here’s the thing about making these at home: you can adjust everything to your family’s taste. My dad thinks store-bought cookies are too sweet (he’s not wrong), so I dial back the sugar by a quarter cup and add extra vanilla. My nephew has a nut allergy, so I can easily make a nut-free batch. Try getting that customization at a bakery.
They’re Actually Fresh
I hate to break it to you, but those Crumbl cookies you’re buying? They might be a day old. When you make thanksgiving cookies crumbl style at home, they come out of your oven and go straight to your family’s mouths. The difference in texture and flavor is noticeable. Trust me on this.
Save Your Money
One Crumbl cookie costs about $4-5. A batch of these homemade ones (which makes 12 massive cookies) costs maybe $8-10 total. Do the math. You could make five batches for the price of one Crumbl box. And honestly, I think these taste better because they’re made with real butter and quality spices.
They’re Easier Than You Think
I promise, if you can follow a recipe and use a mixer, you can make these. The first time took me about 45 minutes start to finish. Now I can whip up a batch in 30 minutes flat. There’s no special technique, no complicated steps, just good ingredients mixed properly.
Perfect for Thanksgiving Prep
Unlike pie that needs to be served fresh, these cookies actually taste better the next day after the flavors meld. Make them two days before Thanksgiving, store them properly, and you’ve got one less thing to stress about on Turkey Day.
Thanksgiving Cookies Crumbl Recipe Details
| Recipe Details | |
|---|---|
| Prep Time | 20 minutes |
| Cook Time | 12 minutes |
| Total Time | 32 minutes |
| Servings | 12 large cookies |
| Difficulty | Easy |
| Calories | 380 per cookie |
| Protein | 4g |
| Carbs | 48g |
| Fat | 19g |
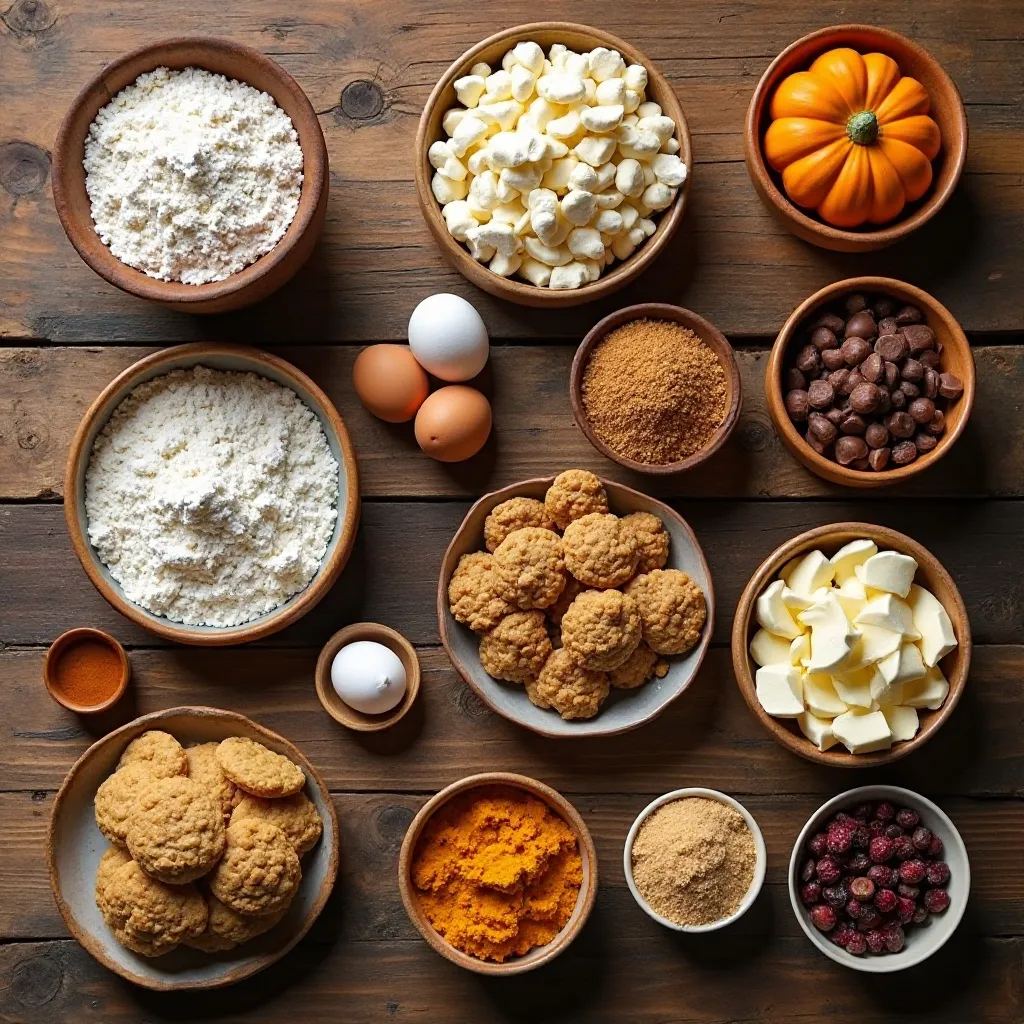
Ingredients for Thanksgiving Cookies Crumbl
Before we dive into the ingredient list, let me tell you: quality matters here. I once tried making these with margarine instead of butter (I was out, don’t judge me), and they were just… sad. The brown butter step in particular needs real butter to create that nutty, caramelized flavor that makes these cookies special. Also, use real vanilla extract, not imitation. Your kitchen will smell like heaven, and the flavor difference is worth the extra two dollars.
For the Cookie Base:
- 2 ½ cups all-purpose flour
- 1 teaspoon baking soda
- 1 teaspoon baking powder
- ½ teaspoon salt
- 1 cup unsalted butter (we’ll brown half of it)
- 1 cup light brown sugar, packed
- ½ cup granulated sugar
- 2 large eggs (room temperature is important!)
- 2 teaspoons vanilla extract
- 1 tablespoon pumpkin pie spice
- ½ cup pumpkin puree (NOT pumpkin pie filling)
For the Cream Cheese Frosting:
- 8 oz cream cheese, softened
- ¼ cup unsalted butter, softened
- 2 ½ cups powdered sugar
- 1 teaspoon vanilla extract
- Pinch of salt
For Toppings (Mix and Match):
- Crushed pecans
- Mini chocolate chips
- Caramel sauce drizzle
- White chocolate chips
- Dried cranberries
- Graham cracker crumbs
- Cinnamon sugar
Pro tip: I always buy an extra can of pumpkin puree because I’ve learned the hard way that half a cup is an awkward measurement, and you’ll want extra for breakfast muffins anyway.
How to Make Thanksgiving Cookies Crumbl at Home
Quick Overview
This recipe comes together in three simple stages: making the cookie dough (with that crucial brown butter step), baking, and topping with frosting. The whole process takes about 45 minutes including baking time, but active hands-on work is only about 20 minutes. Even if you’re a beginner baker, you’ve got this. The most “technical” part is browning the butter, and honestly, if you can melt butter without burning it, you’re already qualified.
Step-by-Step Instructions
Step 1: Brown Half the Butter
Take half a cup of your butter and put it in a light-colored saucepan over medium heat. Watch it closely—this is where the magic happens. It’ll melt, start bubbling, then you’ll see little brown bits forming at the bottom. Swirl the pan occasionally. When it smells nutty and the color turns amber (about 5-7 minutes), immediately remove it from heat and pour it into a heatproof bowl. I learned this the hard way: brown butter can go from perfect to burnt in literally 30 seconds. Let it cool for 10 minutes. This step adds an incredible depth of flavor that regular melted butter just can’t match.
Step 2: Mix Your Dry Ingredients
While the brown butter cools, whisk together your flour, baking soda, baking powder, salt, and pumpkin pie spice in a medium bowl. Set this aside. I know it seems fussy to have a separate bowl, but this ensures everything is evenly distributed. The one time I skipped this step, I ended up with a cookie that was perfectly spiced on one side and bland on the other.
Step 3: Cream the Butter and Sugars
In your stand mixer (or a large bowl with a hand mixer), beat the remaining half cup of softened butter with both sugars for 3-4 minutes until it’s light and fluffy. It should almost double in volume. Then add your cooled brown butter and mix until combined. This creaming process creates air pockets that make your cookies soft and tender rather than flat and dense.
Step 4: Add Wet Ingredients
Beat in the eggs one at a time, making sure each is fully incorporated before adding the next. Then mix in your vanilla extract and pumpkin puree. The mixture might look a little curdled at this point—that’s totally normal. Don’t panic. It’ll all come together once you add the flour.
Step 5: Combine and Chill
Gradually add your dry ingredients to the wet mixture, mixing on low speed just until no flour streaks remain. Here’s my most important tip: don’t overmix. The moment you can’t see dry flour anymore, stop mixing. Overmixing develops gluten and makes your cookies tough instead of tender. Cover the bowl and refrigerate the dough for at least 30 minutes. I usually make the dough after dinner and let it chill while I clean the kitchen. Cold dough = thicker cookies that don’t spread too much.
Step 6: Scoop and Bake
Preheat your oven to 350°F. Line two baking sheets with parchment paper (don’t skip this—trust me, cleanup is so much easier). Use a large cookie scoop (about 3 tablespoons) to portion out the dough, spacing them at least 3 inches apart. These babies spread. Bake for 11-13 minutes. They should look slightly underdone in the center—the edges will be set but the middle will look puffy and soft. This is exactly what you want. They’ll continue cooking on the hot pan after you remove them. Let them cool on the baking sheet for 5 minutes, then transfer to a cooling rack.
Step 7: Make the Frosting
While the cookies cool completely (this is important—warm cookies will melt the frosting), beat the softened cream cheese and butter until smooth and creamy, about 2 minutes. Gradually add the powdered sugar, one cup at a time, beating well after each addition. Mix in the vanilla and salt. The frosting should be thick and spreadable, not runny. If it’s too thick, add a teaspoon of milk. Too thin? Add more powdered sugar.
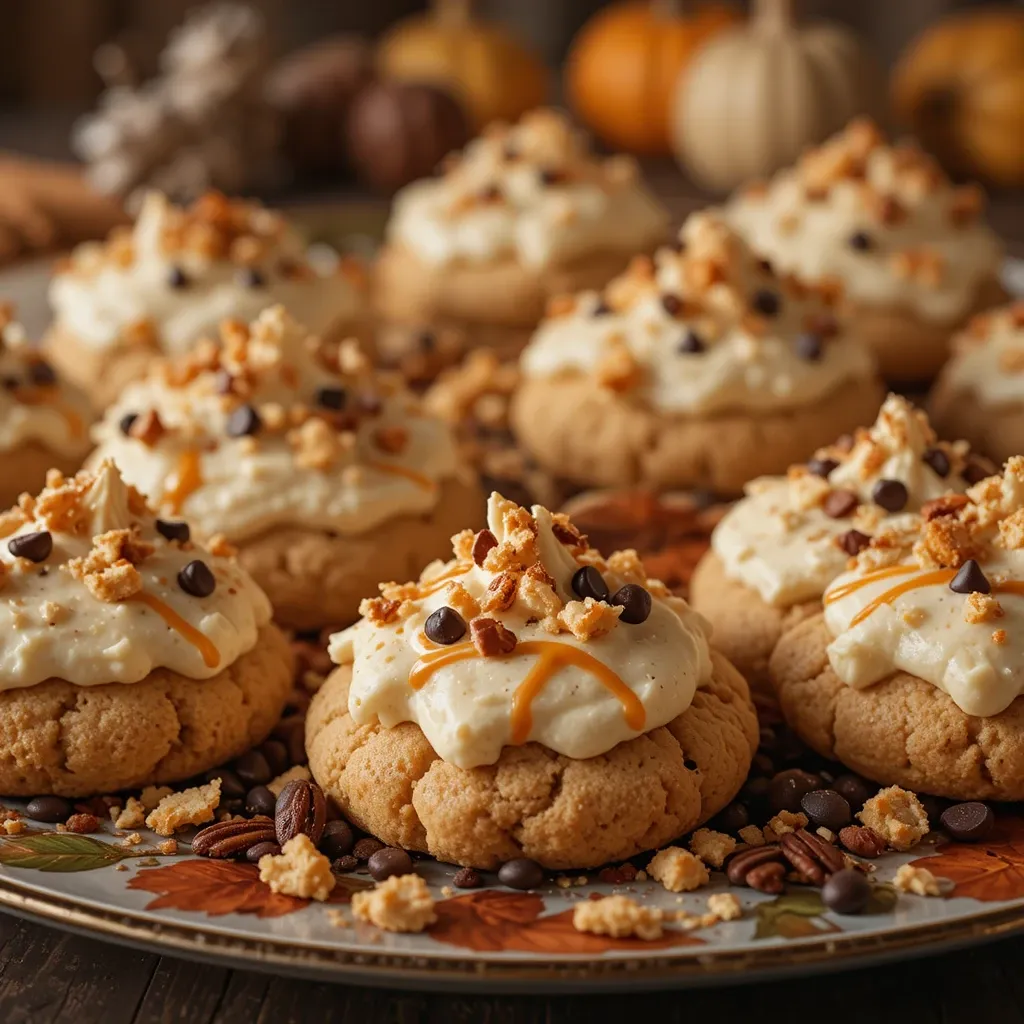
Step 8: Decorate
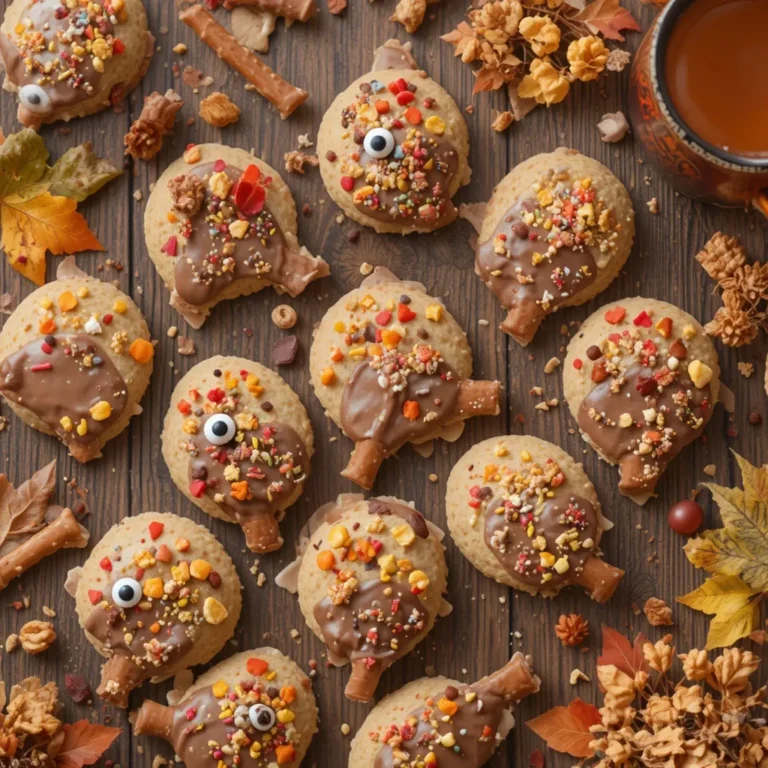
Once cookies are completely cool (I wait at least 30 minutes), spread a generous amount of frosting on each cookie using an offset spatula or the back of a spoon. Then get creative with your toppings. I like to do a variety: some with crushed pecans and caramel drizzle, others with chocolate chips and graham cracker crumbs. My kids love helping with this part, and honestly, there’s no wrong way to do it.
My Favorite Ways to Serve These
These thanksgiving cookies crumbl style treats are incredibly versatile. At our Thanksgiving table, I arrange them on a tiered dessert stand alongside the pies—they’re always the first to disappear. For a special presentation, I’ll serve them slightly warm (15 seconds in the microwave) with a scoop of vanilla ice cream on the side. The warm cookie with cold ice cream? Chef’s kiss.
For a Dessert Board
I love including these on a Thanksgiving dessert board with mini pecan pie bars, pumpkin cheesecake bites, and apple cider caramels. The cookies act as the anchor—they’re substantial enough to be a full dessert but also complement smaller treats.
Coffee Shop Style
Pair these with a strong cup of coffee or a pumpkin spice latte for an afternoon treat. I’ve brought these to my office’s Thanksgiving potluck for three years running, and they’re always gone within an hour. They travel well too—just layer them between parchment paper in a container.
Leftover Turkey Day Breakfast
Here’s a weird but delicious tip: these are amazing with your morning coffee the day after Thanksgiving. When you’re exhausted from hosting and drowning in leftovers, grab one of these cookies and a strong black coffee. It’s become a tradition in my house.
Pro Tips from My Kitchen
Can I make the dough ahead of time?
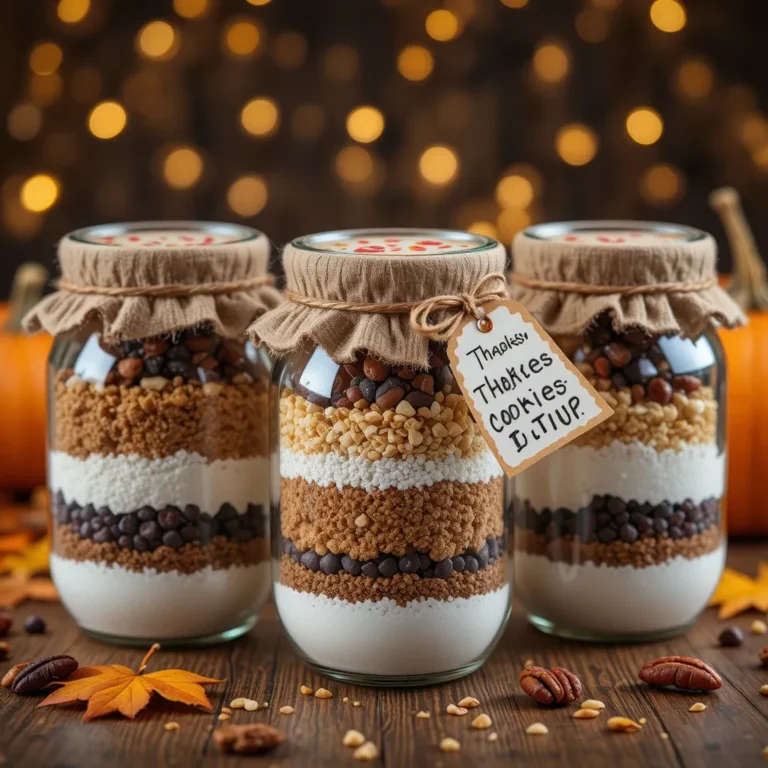
Absolutely! In fact, I prefer it. You can refrigerate the dough for up to 3 days or freeze it for up to 3 months. For frozen dough, scoop it into balls first, freeze on a baking sheet, then transfer to a freezer bag. Bake straight from frozen, adding 2-3 extra minutes to the baking time. This is a game-changer for Thanksgiving prep.
The secret to that perfect dome top
Two things: chilled dough and not overbaking. The cold dough doesn’t spread as quickly, which allows the cookies to puff up before they spread out. And pulling them when they still look slightly underdone ensures they stay thick and soft. I’ve tested this probably twenty times, and this method never fails.
Don’t skip the brown butter
I know it’s an extra step, but it’s the difference between a good cookie and a great cookie. That nutty, caramelized flavor adds complexity that regular butter can’t match. The first batch I made without browning the butter, and my husband immediately noticed something was missing. When I added brown butter back in, he said, “There it is!”
Use room temperature ingredients
This is especially important for the eggs and butter (except the part you’re browning). Cold ingredients don’t incorporate as smoothly, which can affect the texture. I take my eggs and cream cheese out of the fridge about 30 minutes before I start baking. Set a timer—I’ve forgotten about eggs on the counter before, and nobody wants room temperature eggs that have been sitting out for 4 hours.
My foolproof timing trick
Every oven is different. Mine runs hot, so I set my timer for 11 minutes and watch closely. The cookies are done when the edges are set and lightly golden, but the centers still look soft and slightly shiny. They’ll firm up as they cool. If you’re unsure, err on the side of underbaking—you can always pop them back in for a minute, but you can’t un-bake a overdone cookie.
Frosting consistency matters
The cream cheese frosting should be thick enough to hold its shape but spreadable. If it’s too thin, it’ll slide off the cookies. If it’s too thick, it’ll tear the cookie surface as you spread it. I aim for the consistency of thick peanut butter. Also, make sure both the butter and cream cheese are properly softened—not melted, but soft enough that you can easily press your finger into them.
How to Store Leftovers (If You Have Any)
Refrigerator Storage
Store frosted cookies in an airtight container with parchment paper between layers. They’ll keep for up to 5 days in the fridge. The cream cheese frosting must be refrigerated—don’t leave these sitting out overnight. I learned this lesson at a summer picnic (wrong holiday, I know, but the lesson applies). Take them out about 15 minutes before serving to take the chill off.
Freezer Instructions
Unfrosted cookies freeze beautifully for up to 3 months. Let them cool completely, then freeze in a single layer on a baking sheet. Once frozen solid, transfer to a freezer bag. Thaw at room temperature for about an hour, then frost and decorate. I don’t recommend freezing already-frosted cookies—the cream cheese frosting gets weird and watery when thawed.
Best Way to Reheat
If you want that fresh-from-the-oven experience, warm unfrosted cookies in a 300°F oven for 5 minutes, or microwave a single cookie for 10-15 seconds. Do NOT reheat frosted cookies in the oven (learned this the hard way—frosting everywhere). You can microwave a frosted cookie for about 8 seconds if you want it slightly warm, but be careful.
Common Mistakes to Avoid
After making these thanksgiving cookies crumbl style dozens of times and troubleshooting with friends who’ve tried the recipe, here are the most common issues I’ve seen:
Using canned pumpkin pie filling instead of pure pumpkin puree: This will make your cookies way too sweet and add weird spices you don’t want. Make sure the can says “100% pure pumpkin.”
Not chilling the dough: I know you’re excited, but skip this step and you’ll get flat, spread-out cookies instead of thick bakery-style ones. The 30-minute wait is worth it.
Overbaking: These cookies continue cooking after you remove them from the oven. They should look slightly underdone in the center when you pull them out. This is the number one mistake I see people make.
Warm cookies + frosting: Be patient! If you frost warm cookies, the frosting will melt and slide right off. Wait until they’re completely cool to the touch.
Recipe FAQs
Can I make these without pumpkin?
Yes! Skip the pumpkin puree and add an extra 2 tablespoons of softened butter. You’ll still have delicious spiced cookies with brown butter flavor. They just won’t have that pumpkin undertone.
What if I don’t have pumpkin pie spice?
Make your own by mixing 1 teaspoon cinnamon, ½ teaspoon ginger, ¼ teaspoon nutmeg, and ¼ teaspoon allspice. Store the extra in a small jar for next time.
Can I use a different frosting?
Absolutely. I’ve made these with simple vanilla buttercream, maple frosting, and even a salted caramel glaze. The cream cheese frosting is my favorite because it balances the sweetness of the cookie, but experiment with what you love.
Why are my cookies flat?
Usually this means: (1) your dough wasn’t chilled long enough, (2) your butter was too soft/melted, or (3) you overmixed the dough. Make sure you’re measuring flour correctly too—spoon it into the measuring cup and level it off rather than scooping directly from the bag.
Can I make these gluten-free?
I haven’t tested it personally, but readers have told me a 1:1 gluten-free baking flour works well here. You might need to adjust the baking time by a minute or two.
How do I know when the brown butter is done?
Watch for three signs: (1) it smells nutty and toasted, (2) the color changes from yellow to amber/golden brown, and (3) you see brown specks at the bottom of the pan. This usually takes 5-7 minutes. Remove it from heat immediately—it goes from perfect to burnt very quickly.
So there you have it—everything I’ve learned from a year of making thanksgiving cookies crumbl style at home. These have become such a staple in my kitchen that I honestly can’t imagine Thanksgiving without them now. They’re easier than pie, more impressive than store-bought, and they make your house smell absolutely incredible.
Give these a try this Thanksgiving, and I’d love to hear how they turn out! Are you team pecans or team chocolate chips? Drop a comment below and let me know what topping combination you try. And if you’re feeling ambitious, make a double batch—I promise they won’t last long.
Happy baking, and happy Thanksgiving! 🧡