Thanksgiving Sugar Cookies Decorated Round – Perfect Fall Cookie
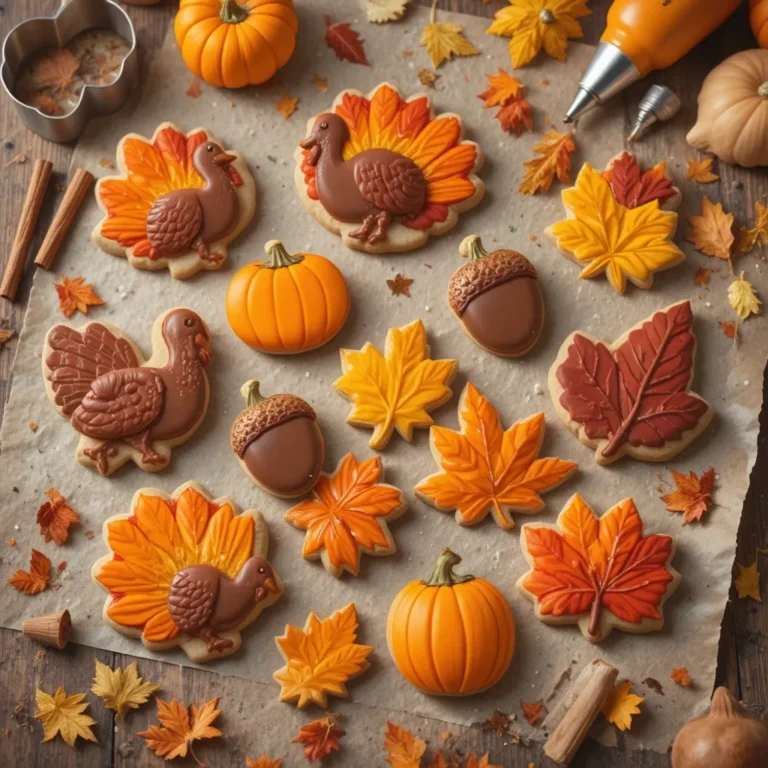
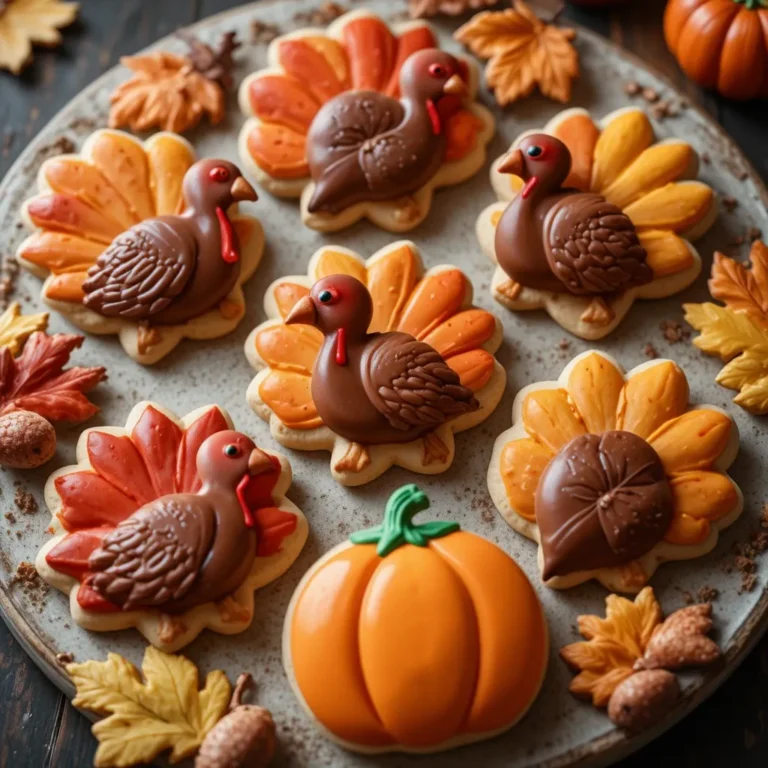
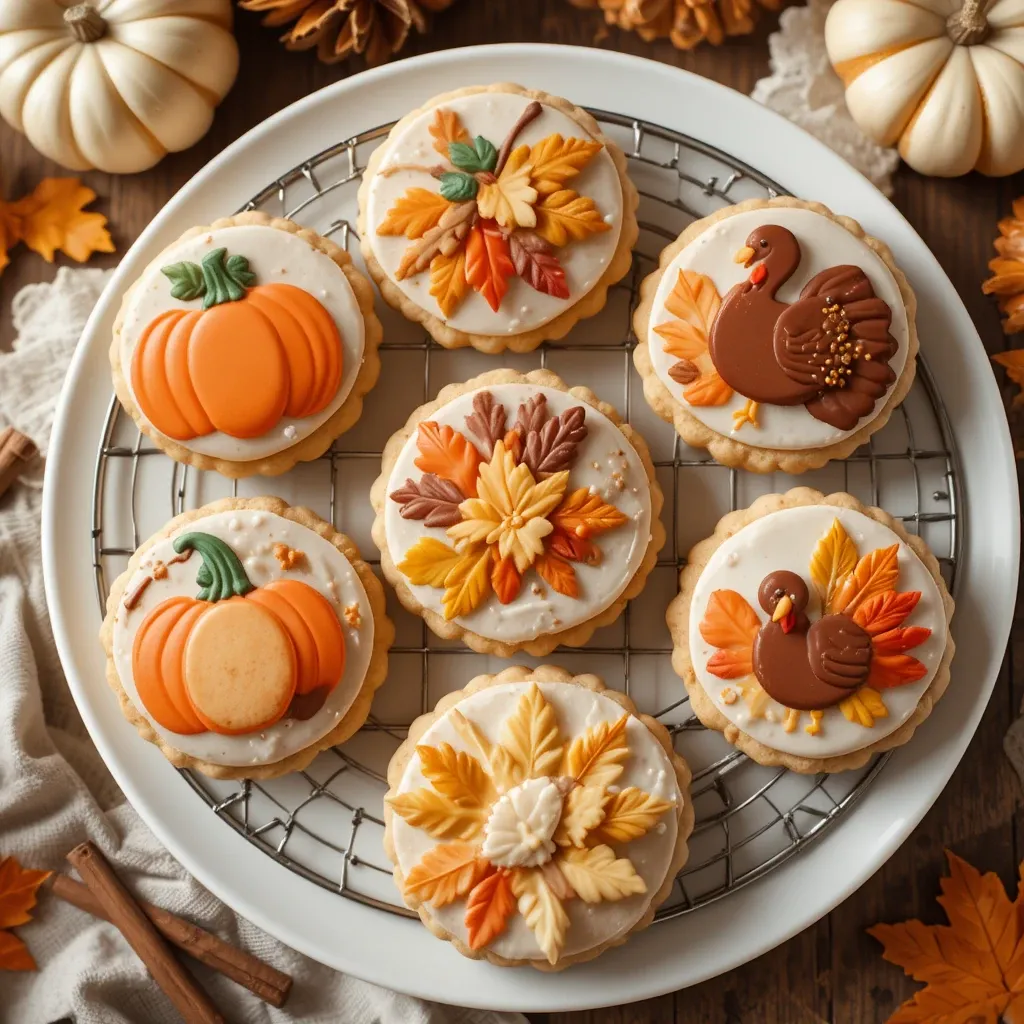
Picture this: buttery, melt-in-your-mouth sugar cookies adorned with autumn leaves, turkeys, and pumpkins that look almost too pretty to eat. These Thanksgiving sugar cookies decorated round are the perfect blend of sweet nostalgia and festive celebration.
Whether you’re baking with kids or preparing for your holiday dessert table, these cookies combine simplicity with stunning results. Just like our popular Christmas Gingerbread Cookies, these seasonal treats will become your go-to recipe year after year!
What Are Thanksgiving Sugar Cookies Decorated Round?
Ever wondered why we call them “round” when they can be any shape? Well, these thanksgiving sugar cookies decorated round refer to the classic circular base that serves as the perfect canvas for your autumn artistry.
They’re tender, buttery cookies that hold their shape beautifully during baking, making them ideal for decorating with royal icing and festive designs. As the saying goes, “the way to a man’s heart is through his stomach,” and these cookies prove it’s also through beautifully decorated treats! Ready to create edible autumn masterpieces?
Why You’ll Love This Thanksgiving Sugar Cookies Decorated Round
Irresistibly Buttery and Tender
These cookies deliver that perfect sugar cookie texture—crisp edges with a slightly soft center that practically dissolves on your tongue. The hint of vanilla and almond extract creates a flavor profile that’s sweet without being overwhelming, making them addictive for both kids and adults.
Budget-Friendly Holiday Baking
Forget spending $30-40 on bakery cookies! Making thanksgiving sugar cookies decorated round at home costs a fraction of the price. With basic pantry staples like flour, butter, and sugar, you’ll create dozens of cookies for under $10. Plus, decorating them becomes a fun family activity rather than an expensive purchase.
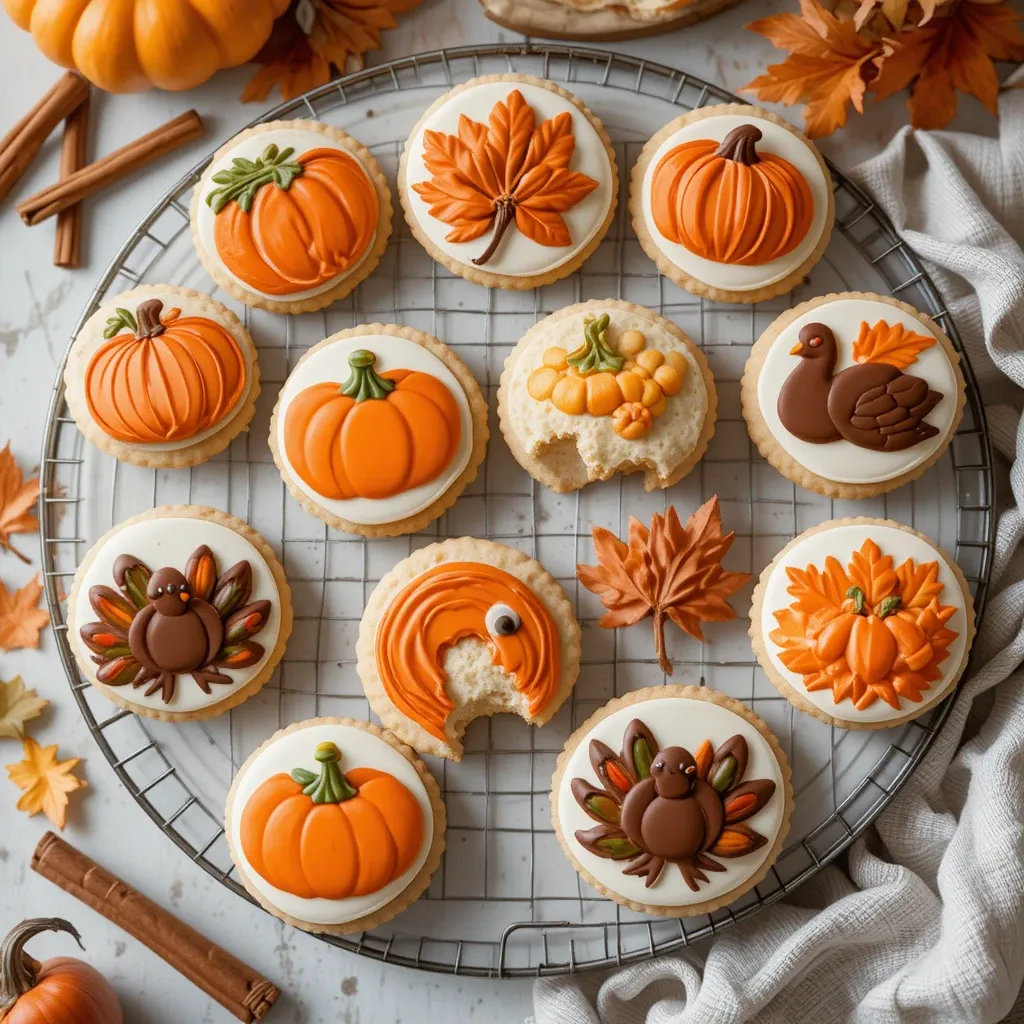
Endless Decorating Possibilities
From orange and brown royal icing to edible gold dust and festive sprinkles, these cookies are your creative playground. Design turkeys, pilgrim hats, cornucopias, or autumn leaves. Each cookie becomes a unique piece of edible art. Similar to our Valentine’s Heart Cookies, the decorating options are limited only by your imagination!
Making these at home means you control the quality, freshness, and personal touches that store-bought cookies simply can’t match. Give this recipe a try and watch your Thanksgiving dessert table transform!
How to Make Thanksgiving Sugar Cookies Decorated Round
Quick Overview
These thanksgiving sugar cookies decorated round are surprisingly simple to make, even for beginner bakers. The dough comes together in just 15 minutes, requires minimal chilling, and bakes to perfection in under 12 minutes. The result? Buttery cookies that hold their shape beautifully and provide the perfect base for decorating.
Time Breakdown:
- Prep Time: 20 minutes
- Chill Time: 1 hour
- Baking Time: 10-12 minutes per batch
- Decorating Time: 30-60 minutes
- Total Time: Approximately 2.5 hours
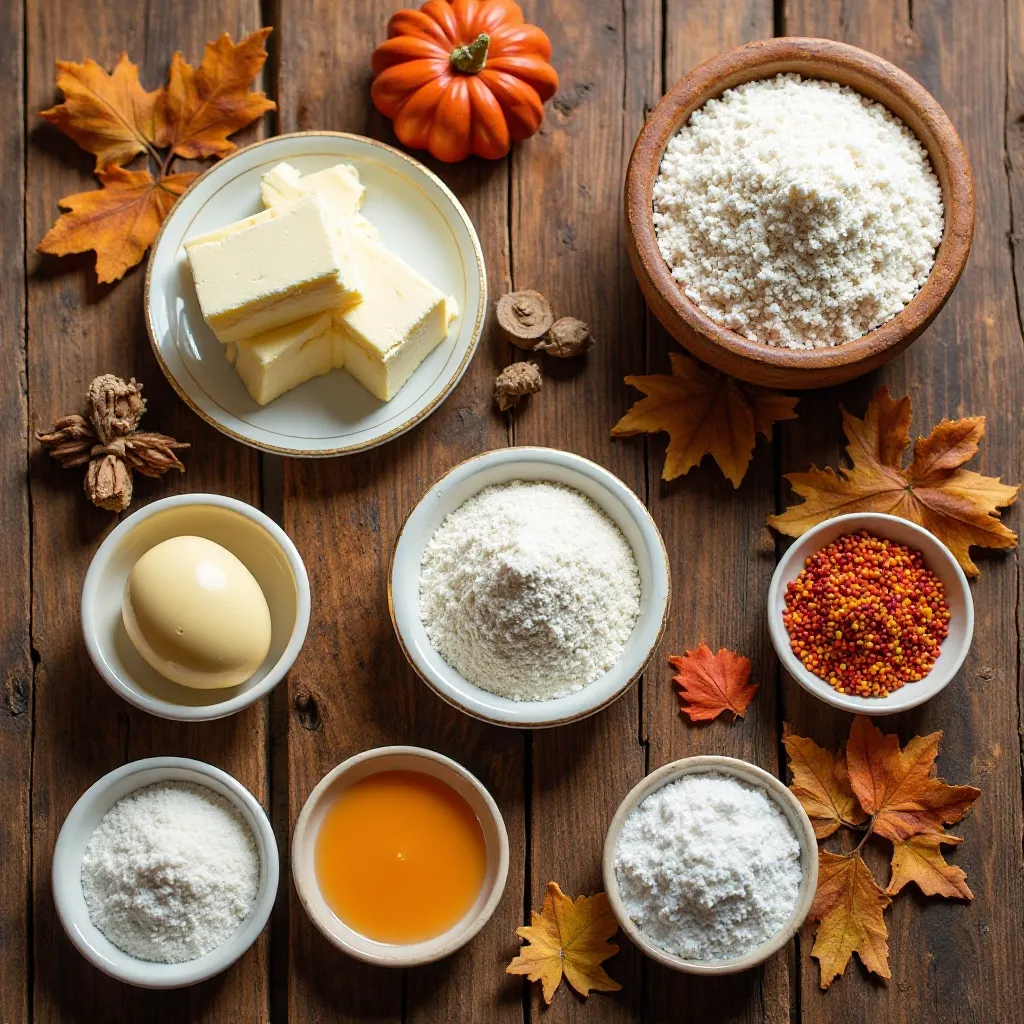
Key Ingredients for Thanksgiving Sugar Cookies Decorated Round
For the Cookie Dough:
- 3 cups all-purpose flour
- 1 teaspoon baking powder
- ½ teaspoon salt
- 1 cup (2 sticks) unsalted butter, softened
- 1 cup granulated sugar
- 1 large egg
- 1 teaspoon vanilla extract
- ½ teaspoon almond extract
- 1 tablespoon whole milk
For the Royal Icing:
- 4 cups powdered sugar, sifted
- 3 tablespoons meringue powder
- 6-8 tablespoons warm water
- Gel food coloring (orange, brown, yellow, red)
For Decorating:
- Festive sprinkles (autumn leaves, gold stars)
- Edible markers
- Edible gold dust (optional)
- Small decorating tips and piping bags
Step-by-Step Instructions
Step 1: Prepare the Dry Ingredients
In a medium bowl, whisk together 3 cups of all-purpose flour, 1 teaspoon baking powder, and ½ teaspoon salt. Set this mixture aside. This step ensures even distribution of the leavening agent, which helps your cookies maintain their shape during baking.
Step 2: Cream Butter and Sugar
In a large mixing bowl or stand mixer, beat the softened butter and granulated sugar together on medium speed for 3-4 minutes until light and fluffy. The mixture should become pale in color and increase in volume. This creaming process incorporates air, creating a tender cookie texture.
Step 3: Add Wet Ingredients
Beat in the egg, vanilla extract, and almond extract until fully combined, about 1 minute. Scrape down the sides of the bowl to ensure everything is incorporated. Add the tablespoon of milk and mix briefly.
Step 4: Combine Wet and Dry Mixtures
Reduce mixer speed to low and gradually add the flour mixture, about one cup at a time. Mix until just combined—don’t overmix, or your cookies will become tough. The dough should come together and pull away from the sides of the bowl.
Step 5: Chill the Dough
Divide the dough in half and shape each portion into a flat disk. Wrap tightly in plastic wrap and refrigerate for at least 1 hour or up to 3 days. Chilling is crucial for preventing spread during baking and making the dough easier to roll out.
Step 6: Preheat and Prepare
Preheat your oven to 350°F (175°C). Line baking sheets with parchment paper or silicone baking mats. This prevents sticking and ensures even browning.
Step 7: Roll Out the Dough
On a lightly floured surface, roll out one disk of dough to about ¼-inch thickness. Keep the remaining dough refrigerated. If the dough becomes too soft while working with it, pop it back in the fridge for 10 minutes.
Step 8: Cut Out Shapes
Using round cookie cutters (2.5 to 3 inches work best for decorating), cut out circles. Place them on prepared baking sheets about 2 inches apart. Gather scraps, re-roll once, and cut additional cookies. Avoid re-rolling more than once, as this can make cookies tough.
Step 9: Bake to Perfection
Bake for 10-12 minutes, just until the edges are barely golden. The centers should still look slightly underdone—they’ll continue cooking on the hot pan. Let cookies cool on the baking sheet for 5 minutes before transferring to a wire rack to cool completely.
Step 10: Prepare Royal Icing
In a large bowl, combine powdered sugar and meringue powder. Add 6 tablespoons of warm water and beat with an electric mixer on low speed for 7-10 minutes until stiff peaks form. The icing should be thick and glossy. Adjust consistency with additional water (for thinner icing) or powdered sugar (for thicker icing).
Step 11: Color and Divide Icing
Divide the royal icing into separate bowls for each color you plan to use. Add gel food coloring drop by drop, mixing until you achieve your desired shades. For Thanksgiving themes, create orange, brown, yellow, deep red, and keep some white.
Step 12: Decorate Your Cookies
Transfer icing to piping bags fitted with small round tips. Create outlines first, then flood the centers with slightly thinned icing. Use toothpicks to spread icing evenly and pop any air bubbles. Add details, sprinkles, or additional designs while the icing is still wet. Allow decorated cookies to dry completely at room temperature for 4-6 hours or overnight.
What to Serve Thanksgiving Sugar Cookies Decorated Round With
Warm Beverages
Pair these cookies with hot apple cider, spiced chai lattes, or pumpkin spice coffee. The warmth of the drinks complements the buttery sweetness of the cookies perfectly.
Ice Cream Dessert Bar
Create a Thanksgiving dessert spread by serving these cookies alongside vanilla ice cream, caramel sauce, and whipped cream. Guests can make ice cream sandwiches or crumble cookies over their ice cream.
Holiday Cheese Board
Balance the sweetness by including these cookies on a dessert cheese board with mild cheeses like brie or mascarpone, fresh apple slices, candied pecans, and honey drizzle.
After-Dinner Coffee Station
Set up a coffee bar with various creamers, syrups, and these cookies arranged on a tiered platter. They’re the perfect accompaniment to espresso or cappuccino.
Hot Chocolate Bar
For family gatherings, create a hot chocolate station with marshmallows, whipped cream, and these decorated cookies as stirrers or accompaniments.
Top Tips for Perfecting Thanksgiving Sugar Cookies Decorated Round
Use Room Temperature Butter
Your butter should be soft enough to leave an indent when pressed but still hold its shape. Butter that’s too soft will cause cookies to spread; too cold butter won’t cream properly. Let it sit at room temperature for 30-45 minutes.
Don’t Skip the Chilling Step
Chilled dough is essential for cut-out cookies. It prevents excessive spreading, makes rolling easier, and helps cookies maintain crisp edges. If you’re short on time, chill for at least 30 minutes in the freezer.
Invest in Quality Cookie Cutters
Sharp-edged metal cookie cutters create cleaner shapes than plastic ones. Dip cutters in flour between cuts to prevent sticking.
Roll Dough Between Parchment
Place dough between two sheets of parchment paper before rolling. This eliminates the need for excess flour, which can make cookies dry, and makes transferring shapes easier.
Adjust Icing Consistency Properly
For outlining, icing should hold stiff peaks. For flooding, thin it with water until it slowly flows back into itself when drizzled—this takes about 10 seconds. Test consistency before piping onto cookies.
Let Cookies Cool Completely
Warm cookies will melt your icing and create a messy disaster. Be patient and wait until cookies are completely room temperature before decorating.
Use Gel Food Coloring
Liquid food coloring can thin your royal icing too much. Gel colors are concentrated, vibrant, and won’t affect icing consistency.
Practice Piping First
Test your icing on parchment paper before decorating cookies. This helps you get comfortable with the piping bag and perfect your technique.
Storing and Reheating Tips
Room Temperature Storage
Store undecorated cookies in an airtight container at room temperature for up to 5 days. Place parchment paper between layers to prevent sticking.
Decorated Cookie Storage
Once royal icing has fully hardened (24 hours), store decorated cookies in an airtight container at room temperature for up to 2 weeks. Layer with parchment paper to protect designs.
Freezing Cookie Dough
Wrap dough disks tightly in plastic wrap, then aluminum foil, and freeze for up to 3 months. Thaw overnight in the refrigerator before rolling and baking.
Freezing Baked Cookies
Freeze unfrosted cookies in freezer bags for up to 3 months. Let them come to room temperature before decorating. Decorated cookies can also be frozen but may develop condensation upon thawing.
Keeping Cookies Fresh
Add a slice of white bread to your cookie container. It will keep cookies soft and fresh by releasing moisture. Replace the bread every few days.
Gift-Worthy Packaging
For gift-giving, wrap individual cookies in cellophane bags tied with ribbon, or stack them in decorative tins with parchment paper layers.
Tips for Avoiding Common Baking Mistakes
Mistake: Cookies Spread Too Much
Solution: Ensure your butter isn’t too soft and that you’ve chilled the dough adequately. Also, check that your baking powder is fresh—expired leavening agents can cause issues.
Mistake: Dough is Too Sticky to Roll
Solution: Chill the dough longer or add 1-2 tablespoons more flour. Work quickly in a cool kitchen, and if dough warms up, return it to the fridge.
Mistake: Cookies Are Too Hard
Solution: You may have overbaked them or added too much flour. Bake just until edges are set, and measure flour by spooning it into measuring cups rather than scooping.
Mistake: Royal Icing Won’t Harden
Solution: You may have added too much water or not beaten it long enough. Ensure meringue powder is fresh and beat until stiff peaks form before thinning for flooding.
Mistake: Colors Are Bleeding Together
Solution: Let each color dry completely before adding adjacent colors. For clean lines, outline first, let it crust (15-20 minutes), then flood.
Mistake: Uneven Cookie Thickness
Solution: Use rolling pin guide rings or stack wooden dowels on either side of your dough to ensure uniform ¼-inch thickness throughout.
Mistake: Cookies Lost Their Shape
Solution: Freeze cut shapes for 10-15 minutes before baking. This firms up the butter and helps cookies hold their shape perfectly.
Frequently Asked Questions
How far in advance can I make these thanksgiving sugar cookies decorated round?
You can make the dough up to 3 days ahead and refrigerate it, or freeze it for up to 3 months. Baked but undecorated cookies stay fresh for 5 days at room temperature. Fully decorated cookies with hardened royal icing can be made 2 weeks in advance and stored in airtight containers.
Can I use regular icing instead of royal icing?
While you can use buttercream or cream cheese frosting, royal icing is preferred for decorated cookies because it hardens completely, allowing for stacking and packaging without smudging. Royal icing also creates cleaner, more professional-looking designs.
Why did my cookies lose their shape while baking?
Shape loss happens when dough is too warm, butter is too soft, or cookies weren’t chilled before baking. Always chill cut shapes for 10-15 minutes before baking, and ensure your oven is fully preheated to prevent spreading.
How do I make my icing colors more vibrant?
Use gel or paste food coloring instead of liquid. Add color gradually and let it sit for 10 minutes—colors often deepen as they rest. For deep colors like black or red, make icing a day ahead to allow colors to develop fully.
Can I make these cookies gluten-free?
Yes! Substitute the all-purpose flour with a 1:1 gluten-free baking flour blend that contains xanthan gum. The texture will be slightly different but still delicious. Chill the dough longer as gluten-free dough can be softer.
What if I don’t have almond extract?
Simply omit it or increase vanilla extract to 1.5 teaspoons. The almond extract adds depth but isn’t essential. You could also substitute with lemon extract for a citrusy note.
How do I fix icing that’s too thick or too thin?
Too thick: Add water one teaspoon at a time, mixing well between additions. Too thin: Add more sifted powdered sugar, one tablespoon at a time. Always test consistency on parchment paper before decorating.
Can kids help make these cookies?
Absolutely! Kids love cutting shapes and decorating. Give them the rolled dough and cookie cutters for cutting, and set up decorating stations with different colored icings and sprinkles. It’s a wonderful Thanksgiving tradition to start.
Nutrition Information
| Nutrient | Per Cookie (undecorated) |
|---|---|
| Calories | 145 |
| Total Fat | 6g |
| Saturated Fat | 4g |
| Cholesterol | 25mg |
| Sodium | 45mg |
| Total Carbohydrates | 21g |
| Dietary Fiber | 0g |
| Sugars | 12g |
| Protein | 2g |
Note: Nutrition values are approximate and will vary based on size of cookies and amount of icing used. Decorated cookies will have higher sugar and calorie content.
Final Thoughts
These thanksgiving sugar cookies decorated round are more than just a dessert—they’re an opportunity to create lasting memories with loved ones. The simple dough recipe is forgiving for beginners, while the decorating possibilities satisfy experienced bakers looking for a creative outlet.
Whether you’re making them for a Thanksgiving dessert table, gifting them to neighbors, or starting a new family tradition, these cookies deliver on taste, appearance, and fun. The buttery vanilla flavor appeals to all ages, and the satisfaction of creating beautiful decorated cookies is unmatched.
Don’t be intimidated by the decorating process. Start simple with solid colors and sprinkles, then work your way up to intricate designs as you gain confidence. Every cookie will be unique, and that’s part of their charm!
So grab your mixing bowl, preheat that oven, and get ready to fill your home with the sweet aroma of freshly baked thanksgiving sugar cookies decorated round. Your Thanksgiving celebration just got a whole lot sweeter!
Happy Baking! 🍂
Have you tried this recipe? Leave a comment below and let me know how your thanksgiving sugar cookies decorated round turned out! Don’t forget to tag me in your cookie photos on social media—I love seeing your beautiful creations!