Thanksgiving Cookies in a Jar The Perfect Edible Gift
Imagine gifting joy in a jar this holiday season! These delightful Thanksgiving cookies in a jar combine convenience, creativity, and irresistible flavor in one beautiful package. Whether you’re looking for a thoughtful hostess gift, a fun family activity, or a make-ahead dessert solution, this recipe delivers on all fronts.
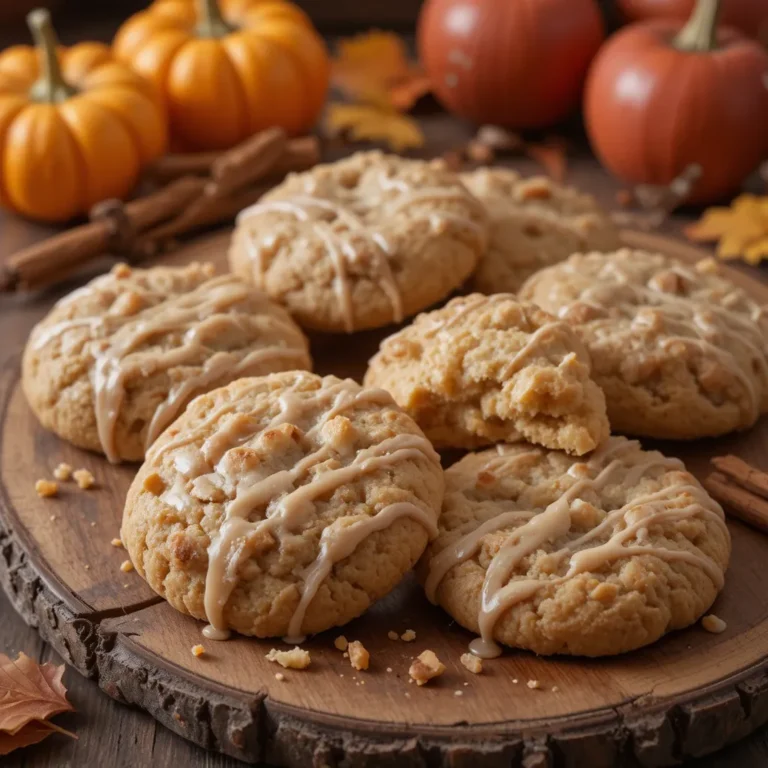
The layered ingredients create a stunning visual display while promising warm, chewy cookies that taste like autumn in every bite. Best of all, assembly takes just 15 minutes, making it perfect for busy holiday schedules!
This recipe was produced fully by AI and has not been personally prepared by us. Our readers come first, and feedback from those who tried other recipes here has been encouraging.
What Are Thanksgiving Cookies in a Jar?
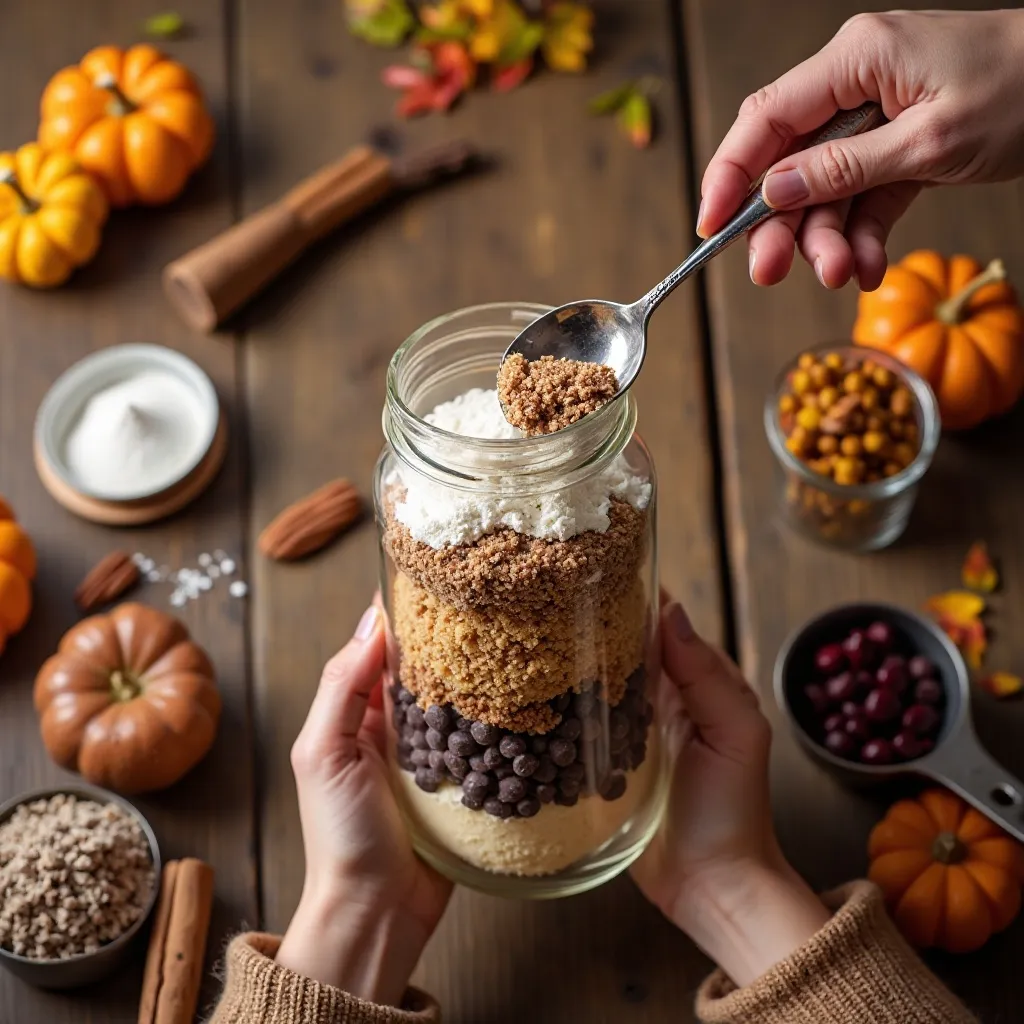
Ever wonder how something so simple can bring so much joy? Thanksgiving cookies in a jar are essentially a DIY cookie mix beautifully layered in a mason jar, creating an Instagram-worthy gift that’s as fun to make as it is to receive.
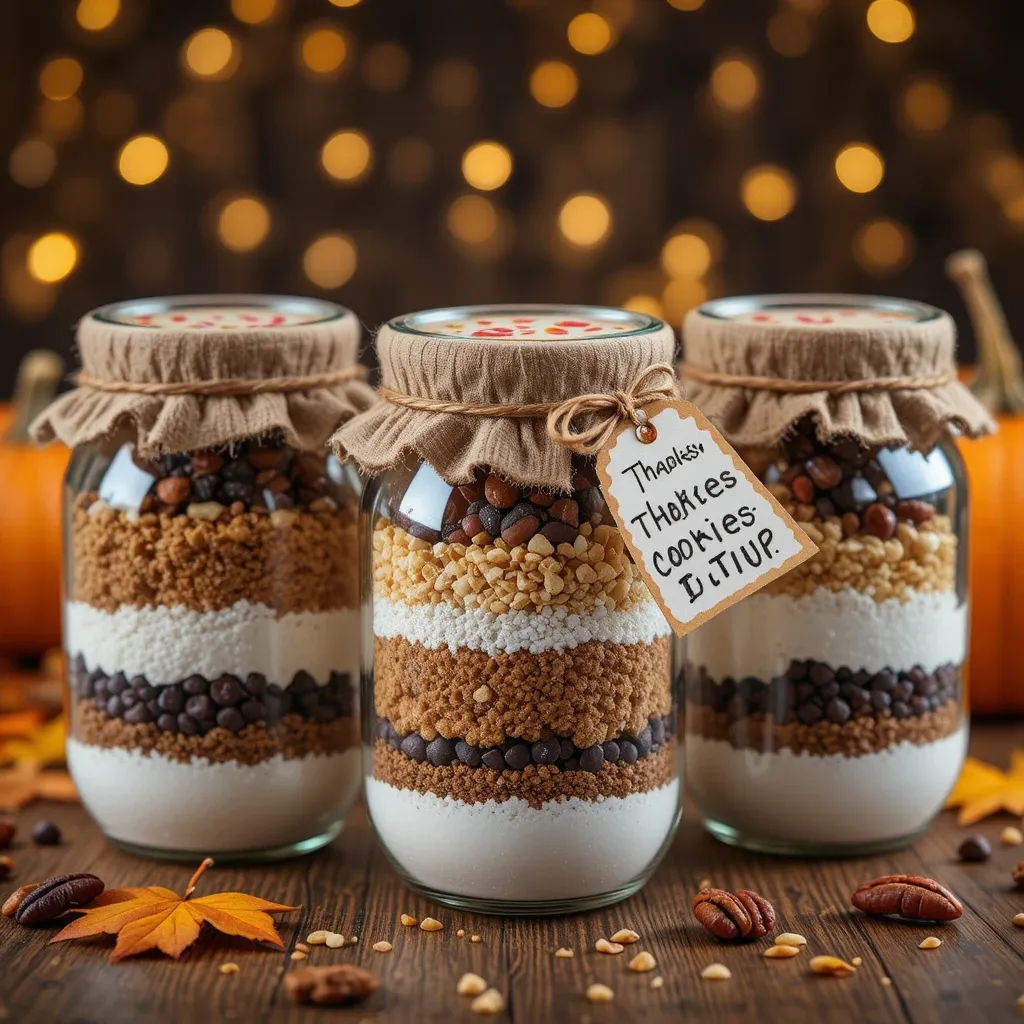
The dry ingredients are carefully stacked to create colorful layers—think brown sugar, chocolate chips, cranberries, and warm spices—all topped with a festive ribbon and recipe tag. After all, the way to anyone’s heart during the holidays is through homemade treats! Grab your jars and let’s create some edible magic.
Why You’ll Love This Thanksgiving Cookies in a Jar Recipe
The Ultimate Make-Ahead Solution
Holiday stress? Not here! These thanksgiving cookies in a jar can be assembled weeks in advance, giving you one less thing to worry about when November arrives. The presentation is absolutely stunning—those gorgeous layers of ingredients make every jar look like it came from a boutique bakery. Friends and family will be amazed by your thoughtfulness, never guessing how incredibly easy they were to create.
Budget-Friendly Gifting
Skip the expensive store-bought gift baskets! Making thanksgiving cookies in a jar at home costs a fraction of what you’d spend on comparable gifts. With basic pantry staples and inexpensive mason jars, you can create 6-8 gifts for under $20. The homemade touch adds priceless sentimental value that no store-bought item can match.
Flavor-Packed Perfection
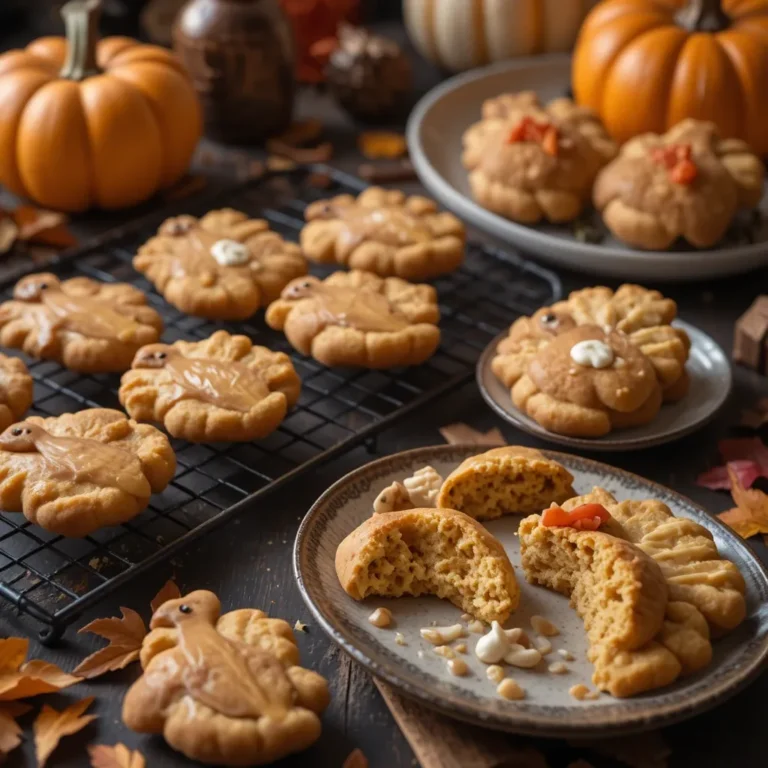
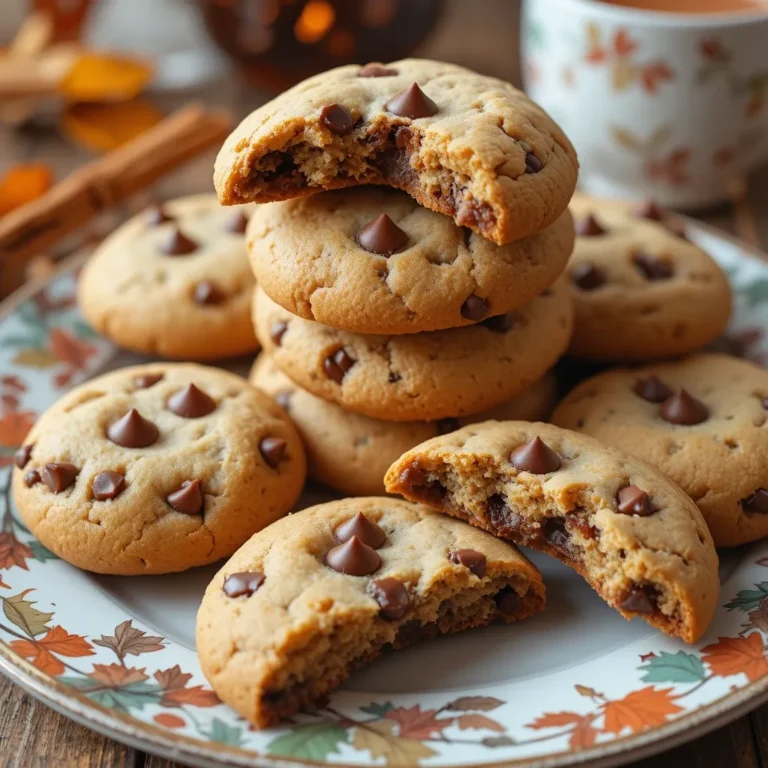
These aren’t ordinary cookies. Each bite bursts with fall flavors: warm cinnamon, nutmeg, sweet dried cranberries, rich chocolate chips, and crunchy pecans. The combination creates a cookie that tastes like Thanksgiving dinner transformed into dessert. If you loved our Pumpkin Spice Cookies recipe, you’ll adore this festive variation that’s equally delicious but way more giftable.
The best part? Recipients can bake fresh cookies whenever the craving hits, filling their homes with that irresistible aroma of homemade goodness. Ready to spread some holiday cheer? Let’s get those jars filled!
How to Make Thanksgiving Cookies in a Jar
Quick Overview
This recipe is ridiculously simple—if you can layer ingredients, you can make these! The beautiful presentation makes them look professionally crafted, but the process requires zero cooking skills. Each jar contains perfectly measured ingredients that transform into 2 dozen chewy, flavorful cookies.
Time Breakdown:
- Assembly Time: 15 minutes per jar
- Baking Time (for recipient): 10-12 minutes
- Total Hands-On Time: 15 minutes
- Shelf Life: 3-6 months when stored properly
The recipient simply adds butter, eggs, and vanilla—that’s it! The hard work is already done.
Key Ingredients for Thanksgiving Cookies in a Jar
For the Jar Layers (makes one quart-size jar):
- 1 ½ cups all-purpose flour
- ½ teaspoon baking soda
- ½ teaspoon salt
- 1 teaspoon ground cinnamon
- ¼ teaspoon ground nutmeg
- ⅔ cup packed brown sugar
- ½ cup granulated sugar
- ½ cup white chocolate chips
- ½ cup semi-sweet chocolate chips
- ½ cup dried cranberries
- ½ cup chopped pecans
Additional Supplies:
- One quart-size (32 oz) mason jar with lid
- Festive fabric or scrapbook paper (7-inch circle)
- Ribbon or twine
- Gift tag or label
What the Recipient Needs to Add:
- ½ cup (1 stick) softened butter
- 1 large egg
- 1 teaspoon vanilla extract
Step-by-Step Instructions
Step 1: Prepare Your Workspace
Clean your mason jars thoroughly and let them dry completely. Any moisture can affect the shelf life of your mix. Gather all your ingredients and measuring cups. Having everything ready makes the assembly process smooth and enjoyable. Set up an assembly line if making multiple jars—it’s much more efficient!
Step 2: Mix the Dry Base Ingredients
In a medium bowl, whisk together the flour, baking soda, salt, cinnamon, and nutmeg. This ensures even distribution of the leavening agents and spices throughout the flour. Breaking up any lumps now prevents uneven cookies later. This mixture forms your first layer and provides the foundation for perfect texture.
Step 3: Create the First Layer
Add the flour mixture to your jar, packing it down gently with the back of a spoon. You want it compact enough to create distinct layers but not so tight that it becomes difficult to remove later. Use a funnel if you’re worried about spills—keeping the jar sides clean maintains that professional appearance.
Step 4: Add the Brown Sugar Layer
Spoon the brown sugar into the jar, creating an even layer on top of the flour mixture. Pack it down firmly with a flat-bottomed object like a small glass or the back of a measuring cup. Brown sugar can be lumpy, so break up any clumps before adding. This creates a beautiful caramel-colored layer that’s visually striking against the flour.
Step 5: Layer the Granulated Sugar
Add the white sugar next, gently pouring it to create another distinct layer. Avoid shaking the jar—you want to maintain those gorgeous, separate layers. The white sugar creates a nice contrast against the darker brown sugar below.
Step 6: Add the White Chocolate Chips
Pour in the white chocolate chips, spreading them evenly across the sugar layer. These add pockets of creamy sweetness throughout the cookies. Gently press them down to make room for the remaining ingredients.
Step 7: Layer the Semi-Sweet Chocolate Chips
Add the semi-sweet chocolate chips next. The combination of white and dark chocolate creates amazing flavor complexity. These layers are starting to look gorgeous—like edible art!
Step 8: Add the Dried Cranberries
Scatter the dried cranberries over the chocolate chips. These provide tart bursts of flavor that perfectly balance the sweetness. They also add a beautiful pop of red color that screams Thanksgiving. Press down gently.
Step 9: Top with Pecans
Finish with a layer of chopped pecans. These add crunch and nutty richness that makes these cookies truly special. They also create an attractive top layer. If the jar isn’t quite full, that’s okay—just make sure all ingredients are included.
Step 10: Seal and Decorate
Place a circle of fabric or decorative paper over the jar opening, then screw on the metal ring (remove the flat lid first). This creates a charming, rustic look. Tie ribbon or twine around the rim, attaching your recipe card or gift tag.
Step 11: Create the Recipe Tag
Write clear baking instructions on a decorative tag:
“Thanksgiving Cookies in a Jar
Preheat oven to 350°F. Empty jar contents into a large bowl. Add ½ cup softened butter, 1 egg, and 1 tsp vanilla. Mix until combined. Drop spoonfuls onto a lined baking sheet. Bake 10-12 minutes until edges are golden. Let cool 5 minutes. Makes 24 cookies. Enjoy!”
Attach the tag securely so recipients have everything they need.
What to Serve Thanksgiving Cookies in a Jar With
These cookies are incredibly versatile! Here are perfect pairings:
Beverages:
- Hot spiced apple cider
- Pumpkin spice lattes
- Chai tea
- Hot chocolate with marshmallows
- Coffee with cinnamon cream
Dessert Pairings:
- Vanilla ice cream for warm cookie sandwiches
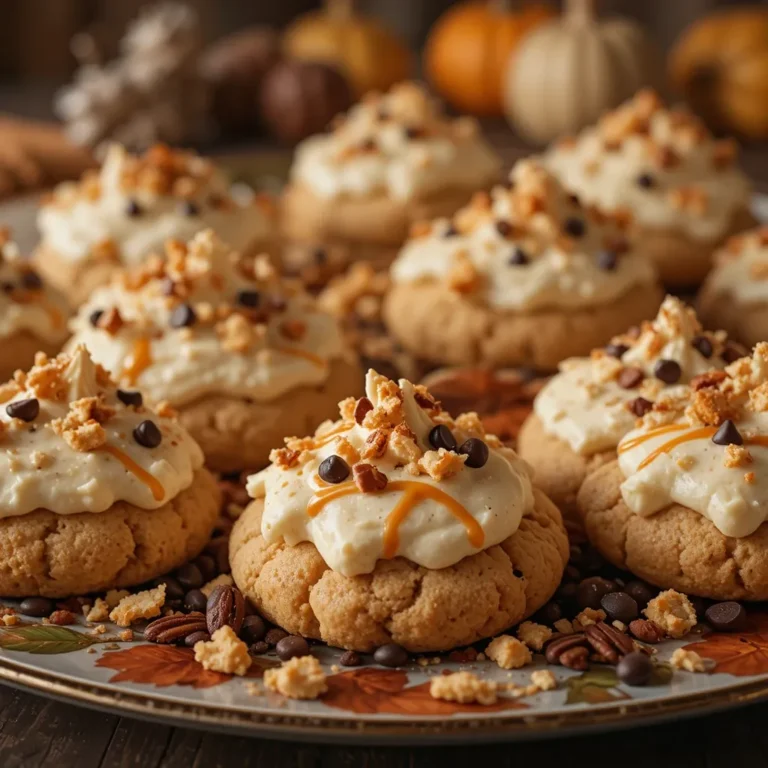
- Whipped cream dolloped on top
- Caramel sauce drizzle
Party Ideas:
- Set out with hot cocoa at Thanksgiving gatherings
- Include in holiday cookie exchange boxes
- Serve alongside pumpkin pie as an alternative dessert
- Pack in lunch boxes as a special fall treat
Gift Basket Additions:
- Pair with gourmet coffee beans
- Include hot cocoa mix
- Add festive napkins and plates
- Bundle with a cookie spatula
Top Tips for Perfecting Thanksgiving Cookies in a Jar
Choose the Right Jar Size
Quart-size (32 oz) mason jars work perfectly for this recipe. If ingredients don’t quite reach the top, don’t worry—that’s normal! Avoid overpacking, as recipients need to easily remove the contents. Wide-mouth jars are easier to fill and create cleaner layers.
Master the Layering Technique
Order matters! Always start with flour mixture (heaviest) and end with nuts or chips. Use a funnel or rolled paper cone to keep jar sides clean—this maintains visual appeal. Gently tap the jar on the counter between layers to settle ingredients without mixing.
Ingredient Substitutions That Work
Can’t find cranberries? Use dried cherries, raisins, or chopped dried apricots. Swap pecans for walnuts, almonds, or even pumpkin seeds. Replace white chocolate chips with butterscotch or cinnamon chips. For nut-free versions, increase chocolate chips or add oats. The recipe is very forgiving!
Preventing Sugar Clumping
Brown sugar hardens over time. Add a small piece of terra cotta sugar saver or a marshmallow to the jar to keep it soft. Alternatively, instruct recipients to break up the brown sugar before mixing if it’s hardened. Using fresh brown sugar helps prevent this issue.
Maximize Shelf Life
Store filled jars in cool, dark places—not above the stove or near heat sources. The ingredients stay fresh for 3-6 months when properly stored. Date your jars and suggest using within 3 months for best flavor. Avoid direct sunlight, which can cause ingredients to deteriorate.
Presentation Matters
Use matching jars for multiple gifts to create a cohesive look. Invest in quality ribbons and tags—they make a huge difference! Consider adding small wooden spoons tied to the ribbon for extra charm. Group jars in baskets with holiday fabric for stunning presentation.
Testing Your Recipe
Before gifting, bake one batch yourself to ensure perfect results. This lets you fine-tune baking instructions and guarantee delicious cookies. Take photos of your finished cookies to attach to the jar—visual inspiration encourages recipients to bake them!
Storing and Reheating Tips
Storing the Jar Mix:
Assembled jars stay fresh for 3-6 months in a cool, dry place. Keep them away from heat, humidity, and direct sunlight—all of which can affect ingredient quality. The pantry or kitchen cabinet works perfectly. Avoid storing in the refrigerator, as moisture can affect the flour and cause chocolate chips to bloom.
Make sure jar lids are tightly sealed. If gifting won’t happen immediately, store jars in a cardboard box to protect from light exposure.
Storing Baked Cookies:
Once recipients bake the cookies, they should store them in an airtight container at room temperature for up to 1 week. Layer cookies between parchment paper to prevent sticking. Adding a slice of bread to the container keeps cookies soft and chewy.
For longer storage, freeze baked cookies for up to 3 months. Place in freezer-safe bags or containers with parchment between layers. Thaw at room temperature for 30 minutes before serving.
Freezing the Dough:
Recipients can also freeze the unbaked dough! After mixing the jar contents with wet ingredients, form dough balls and freeze on a baking sheet. Once solid, transfer to freezer bags. Bake from frozen, adding 2-3 minutes to baking time.
Reheating Baked Cookies:
For that fresh-baked taste, warm cookies in a 300°F oven for 5 minutes. Microwave individual cookies for 10-15 seconds. The chocolate chips will get melty and delicious, making them taste just-baked.
Frequently Asked Questions
How long do Thanksgiving cookies in a jar last before baking?
When stored properly in a cool, dry place, the jar mix stays fresh for 3-6 months. However, for optimal flavor and freshness, we recommend using within 3 months. The ingredients are shelf-stable, but chocolate chips can bloom and brown sugar can harden over extended periods. Always date your jars and include a “best by” date on the recipe tag.
Can I make these cookies gluten-free?
Absolutely! Substitute the all-purpose flour with a 1:1 gluten-free baking flour blend. Make sure all other ingredients (especially chocolate chips and baking soda) are certified gluten-free. Note this substitution on your recipe tag so recipients know they’re receiving a gluten-free treat. The texture will be slightly different but still delicious.
What size jar do I need for this recipe?
A standard quart-size (32 oz) mason jar works perfectly. Wide-mouth jars are easier to fill and layer. The ingredients should nearly fill the jar, leaving just a small gap at the top. If you want to make smaller gifts, halve the recipe and use pint-size jars, adjusting the baking instructions to yield 12 cookies instead of 24.
Can I add other mix-ins to customize the recipe?
Definitely! This recipe is highly customizable. Consider adding mini marshmallows, toffee bits, coconut flakes, dried apple pieces, or candied ginger. Just maintain the same volume of mix-ins (about 2 cups total of chips, nuts, and dried fruit). Remember to update your recipe card if you make changes.
Do I need to pack the ingredients tightly?
Pack the brown sugar firmly to create distinct layers, but don’t over-compact other ingredients. Flour mixture should be gently pressed, while chips, nuts, and cranberries can be loosely poured. The goal is visible layers without making it difficult for recipients to empty the jar. A gentle tap on the counter between layers helps settle ingredients naturally.
What if the brown sugar gets hard in the jar?
Brown sugar naturally hardens over time. Recipients should empty the jar contents and use their hands to break up any clumps before mixing with wet ingredients. To prevent hardening, add a food-safe terra cotta disc or small marshmallow to the jar. Another option is to use granulated sugar exclusively, though you’ll lose the rich molasses flavor brown sugar provides.
Can I double or triple this recipe?
Yes! This recipe scales beautifully. Measure carefully to ensure each jar has the correct proportions. An assembly line setup makes multiple jars much easier—lay out all your jars and add one ingredient to all of them before moving to the next layer. This ensures consistency and saves time.
Are these cookies soft and chewy or crispy?
When baked according to instructions, these cookies are soft and chewy with slightly crispy edges—the perfect texture! For softer cookies, reduce baking time by 1-2 minutes. For crispier cookies, bake an additional 2 minutes. The key is removing them when edges are golden but centers still look slightly underbaked.
Can I make this recipe nut-free for allergy concerns?
Absolutely! Simply omit the pecans and replace with an equal amount of additional chocolate chips, dried cranberries, or rolled oats. Make sure to clearly label the jar as nut-free, especially if gifting. Also verify that your chocolate chips were processed in a nut-free facility if severe allergies are a concern.
What’s the best way to transport these jars as gifts?
Pack jars carefully in boxes with crumpled tissue paper or bubble wrap to prevent breakage. For local delivery, a cardboard carrier or wooden crate works beautifully and adds to the presentation. If shipping, wrap each jar individually in bubble wrap, use plenty of packing material, and mark the box “Fragile.” Consider plastic jars for mailed gifts to eliminate breakage risk.
Nutrition Information
| Nutrient | Per Cookie (1 of 24) |
|---|---|
| Calories | 165 |
| Total Fat | 8g |
| Saturated Fat | 3g |
| Cholesterol | 15mg |
| Sodium | 85mg |
| Total Carbohydrates | 22g |
| Dietary Fiber | 1g |
| Sugars | 14g |
| Protein | 2g |
Note: Nutrition information is approximate and based on standard ingredient measurements. Actual values may vary depending on specific brands and ingredient substitutions used.
Bonus Tips for Gift-Giving Success
Create a Cookie Kit
Take your gift to the next level by including everything needed: attach a small bottle of vanilla extract, include parchment paper sheets, or add a cute cookie spatula. These thoughtful touches show extra care and make baking even easier for the recipient.
Personalize Your Tags
Hand-write recipient names on tags or print custom labels with family photos. Include a personal message about why you’re grateful for them this Thanksgiving. These small details transform a simple gift into a cherished memory.
Host a Jar-Making Party
Invite friends over for a jar-filling party! Provide all ingredients, jars, and decorating supplies. Everyone makes multiple jars while enjoying snacks and conversation. It’s a fun way to prepare gifts together while creating holiday memories.
Pair with Recipe Books
Include these jars in holiday gift baskets alongside your favorite cookie cookbook or recipe cards. This encourages recipients to keep baking throughout the season and establishes you as their source for delicious recipes.
Photography Tips
Document your creations! Photograph jars on wooden boards with fall decorations like mini pumpkins and autumn leaves. Natural window light works best. Share photos on social media to inspire others and spread holiday cheer.
Why This Recipe Is a Holiday Game-Changer
Thanksgiving cookies in a jar solve so many holiday problems at once. They’re affordable yet feel expensive. They’re thoughtful without requiring hours of work. They look professional without needing special skills. And most importantly, they’re delicious!
Whether you’re gifting to teachers, neighbors, coworkers, or family members, these jars deliver joy in every layer. The recipients get the fun of baking fresh cookies without the hassle of measuring ingredients or hunting down recipe cards.
Plus, making these jars can become a cherished family tradition. Kids love helping layer ingredients and decorating jars. It’s a screen-free activity that teaches measuring, following directions, and the joy of giving.
This Thanksgiving, skip the store-bought gifts and create something truly special. With just 15 minutes and a few dollars, you can spread homemade happiness to everyone on your list. Your friends and family will be talking about these cookies long after the holiday season ends.
So grab those mason jars, crank up the holiday music, and start creating! Your kitchen is about to become a gift-making wonderland, and your loved ones are about to receive the most thoughtful present of the season.
Happy baking, and happy Thanksgiving! 🍂