Thanksgiving Cookies Mini in 45 Minutes Holiday Magic
Picture this: it’s two days before Thanksgiving, my kitchen counter is covered in flour, and I’m frantically trying to figure out how to make enough desserts for twenty people without losing my mind. That’s when I discovered the absolute genius of thanksgiving cookies mini. Honestly, it changed my entire holiday baking game.
These little beauties are perfectly portioned, insanely cute, and—here’s the best part—they take about half the time of regular-sized cookies. The first time I made them, I was skeptical.
Could something so small really deliver on flavor? Trust me, after testing this recipe eight times over the past two years, I can confidently say these mini cookies pack just as much punch as their full-sized cousins, maybe even more.
Why Thanksgiving Cookies Mini Are Total Game-Changers
Let me be real with you. I used to think mini cookies were just… regular cookies that someone gave up on halfway through. But after my first Thanksgiving cookie disaster three years ago (don’t ask about the burnt pumpkin spice incident), I started experimenting with smaller versions. And wow, was I wrong about them.
They’re Ridiculously Easy to Manage
When you’re juggling a turkey, three side dishes, and trying to keep Uncle Bob from talking politics, the last thing you need is complicated desserts. These thanksgiving cookies mini are so forgiving. I’ve made them while simultaneously mashing potatoes, and they still turned out perfect.
The smaller size means they bake in just 8-10 minutes instead of the usual 12-15, which means you can knock out multiple batches before your oven’s even needed for the main course.
Perfect for Cookie Platters
Here’s something I learned the hard way: big cookies disappear fast, but people feel guilty taking seconds. With mini cookies? Everyone can try multiple flavors without feeling like they’re hogging the dessert table. Last Thanksgiving, I made four different varieties of thanksgiving cookies mini, and my cousin literally said, “This is genius—I can try them all!” My kitchen smelled like cinnamon, nutmeg, and brown butter for three days after, and honestly, I wasn’t mad about it.
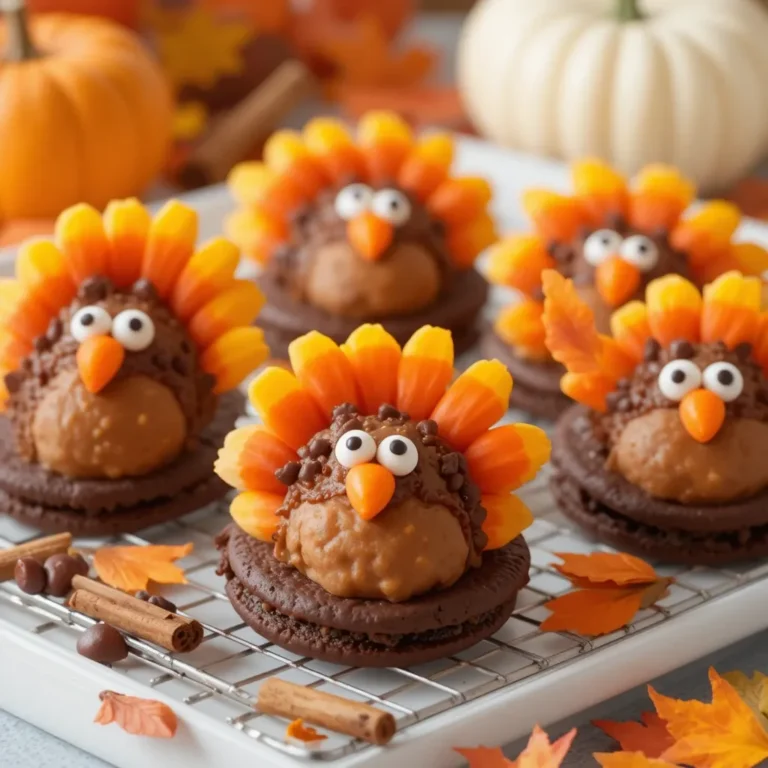
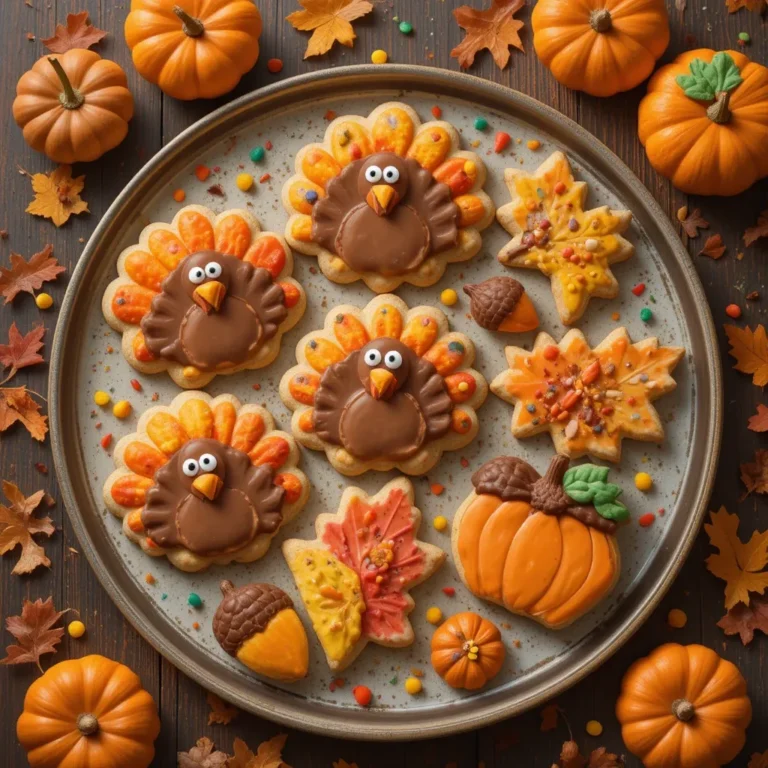
They Look Adorable (And Instagram-Worthy)
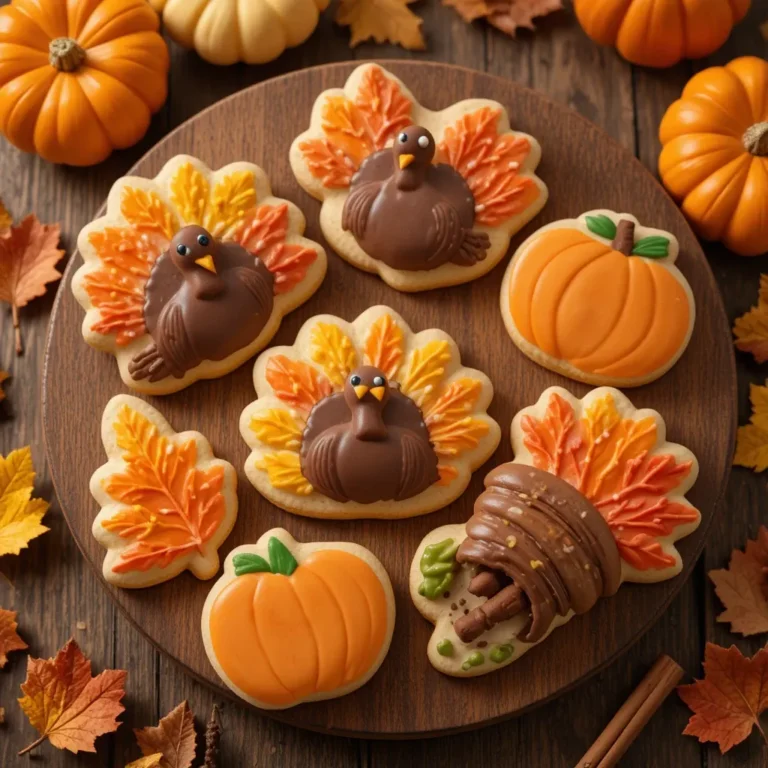
Okay, I know we’re not supposed to care about aesthetics, but these little guys are just so darn cute. Arranged on a vintage plate with some fall leaves? Chef’s kiss. They make your dessert spread look like you hired a professional, even though you made them in your pajamas at 10 PM the night before.
Kid-Approved and Guest-Friendly
My 7-year-old nephew won’t eat anything that isn’t chicken nugget-shaped, but he devoured six of these thanksgiving cookies mini. The bite-sized format is less intimidating for picky eaters, and there’s something about “mini” foods that just makes kids (and adults, let’s be honest) want to try them.
Recipe Details
| Recipe Details | |
|---|---|
| Prep Time | 15 minutes |
| Cook Time | 9 minutes per batch |
| Total Time | 45 minutes (including cooling) |
| Servings | 48 mini cookies |
| Difficulty | Easy |
| Calories | 65 per cookie |
| Protein | 1g |
| Carbs | 9g |
| Fat | 3g |
What You Need for Thanksgiving Cookies Mini
Before we dive into the ingredients, let me tell you about the one thing that makes or breaks this recipe: good quality butter. I once tried to save money using the cheap stuff, and the cookies spread into little puddles. Not cute. Since then, I always splurge on European-style butter, and the difference is incredible—they hold their shape and have this rich, almost caramel-like flavor.
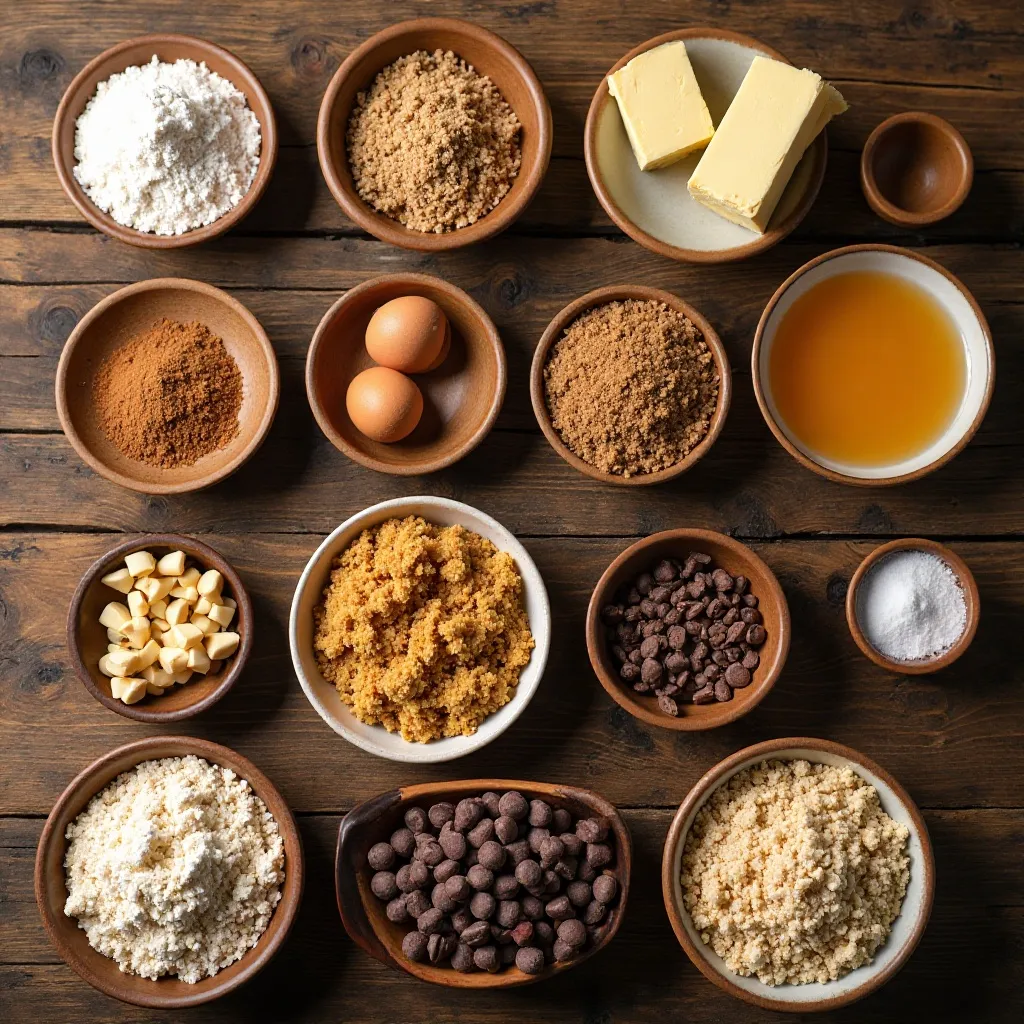
Dry Ingredients:
- 2 cups all-purpose flour (I prefer unbleached)
- 1/2 teaspoon baking soda
- 1/2 teaspoon salt
- 1 teaspoon cinnamon
- 1/2 teaspoon nutmeg
- 1/4 teaspoon ground ginger
- 1/4 teaspoon ground cloves
Wet Ingredients:
- 3/4 cup unsalted butter, softened (seriously, don’t use cold butter)
- 1/2 cup light brown sugar, packed
- 1/4 cup granulated sugar
- 1 large egg
- 2 teaspoons vanilla extract
- 1 tablespoon maple syrup (the real stuff, not pancake syrup)
Optional Add-Ins:
- 1/2 cup mini chocolate chips
- 1/2 cup chopped pecans or walnuts
- 1/3 cup dried cranberries, chopped
- White chocolate chips for drizzling
Ingredient Notes: The maple syrup isn’t just for show—it adds this subtle depth that screams “fall.” I’ve tried making these without it, and they’re fine, but with it? They’re spectacular. Also, don’t skip the spices. That combo of cinnamon, nutmeg, ginger, and cloves is what makes these taste like Thanksgiving in cookie form.
Let’s Get Cooking
Quick Overview
Here’s the thing about thanksgiving cookies mini: they’re so simple that you could literally make them with your eyes closed (but please don’t). The whole process is straightforward—cream, mix, scoop, bake. It took me 23 minutes the first time I made them, but now I can whip up a batch in about 18 minutes flat. The key is having everything at room temperature before you start.
The Cooking Process
Step 1: Prep Your Workspace Preheat your oven to 350°F (175°C) and line two baking sheets with parchment paper. Don’t skip the parchment—it makes cleanup a breeze and prevents sticking. While the oven heats up, make sure your butter is truly soft. I usually leave mine on the counter for about 30 minutes before I start. You should be able to press your finger into it easily without it being greasy or melted.
Step 2: Combine Your Dry Ingredients In a medium bowl, whisk together the flour, baking soda, salt, and all those gorgeous spices. I like to really whisk it well—about 20 good strokes—to make sure everything’s evenly distributed. You’ll know it’s ready when you can smell the spices wafting up. Set this bowl aside while you work on the wet ingredients.
Step 3: Cream the Butter and Sugars This is where the magic happens. In a large bowl (or stand mixer if you’re fancy), beat the softened butter with both sugars for about 2-3 minutes. It should look lighter in color and fluffy, almost like frosting. I’ve noticed that if you don’t cream it long enough, the cookies turn out dense instead of tender. Pro tip: scrape down the sides of the bowl halfway through to make sure everything’s incorporating.
Step 4: Add Wet Ingredients Beat in the egg, vanilla extract, and maple syrup until fully combined. The mixture might look a little separated at first—that’s totally normal. Just keep mixing for another 30 seconds and it’ll come together. When I first made these, I panicked at this stage because it looked weird, but trust the process!
Step 5: Incorporate Dry Ingredients Here’s where you need to resist overmixing (this was my mistake on attempt number three). Add your flour mixture in two batches, stirring just until no white streaks remain. The dough should be soft but not sticky. If you’re adding chocolate chips, nuts, or cranberries, fold them in gently now. Don’t go crazy with the mixing—you want tender cookies, not hockey pucks.
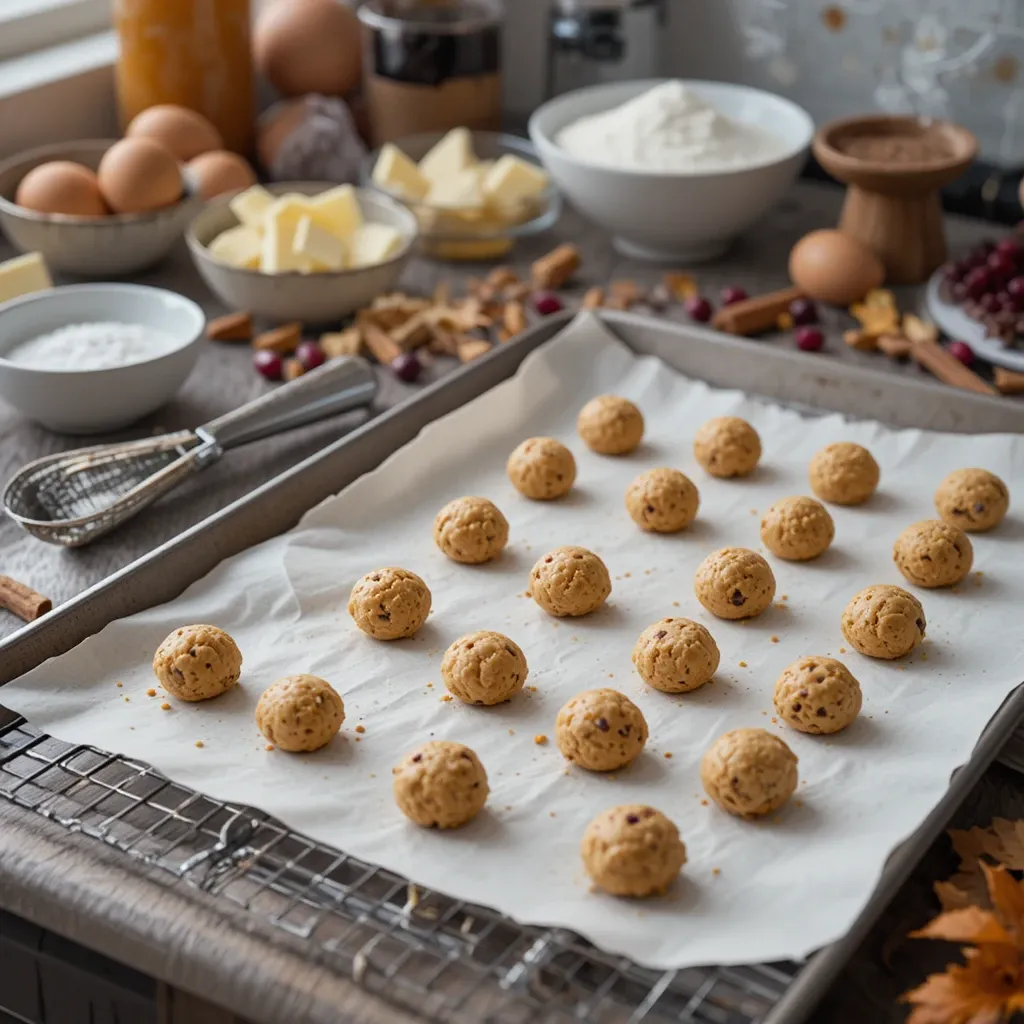
Step 6: Scoop and Shape Use a small cookie scoop (about 1 teaspoon size) or two spoons to portion out the dough onto your prepared baking sheets. Space them about 1.5 inches apart—they’ll spread just a bit. I usually fit about 24 per sheet. You’ll notice the dough is pretty pliable, which makes scooping easy. If it’s too soft, pop the whole bowl in the fridge for 10 minutes.
Step 7: Bake to Golden Perfection Bake for 8-10 minutes, rotating the pan halfway through. You’ll know they’re done when the edges are just starting to turn golden and the centers still look slightly underdone. This is crucial: they’ll continue cooking on the hot pan after you remove them, so don’t overbake! The edges should be set but the middle still soft. After about 5 minutes on the baking sheet, transfer them to a wire rack to cool completely.
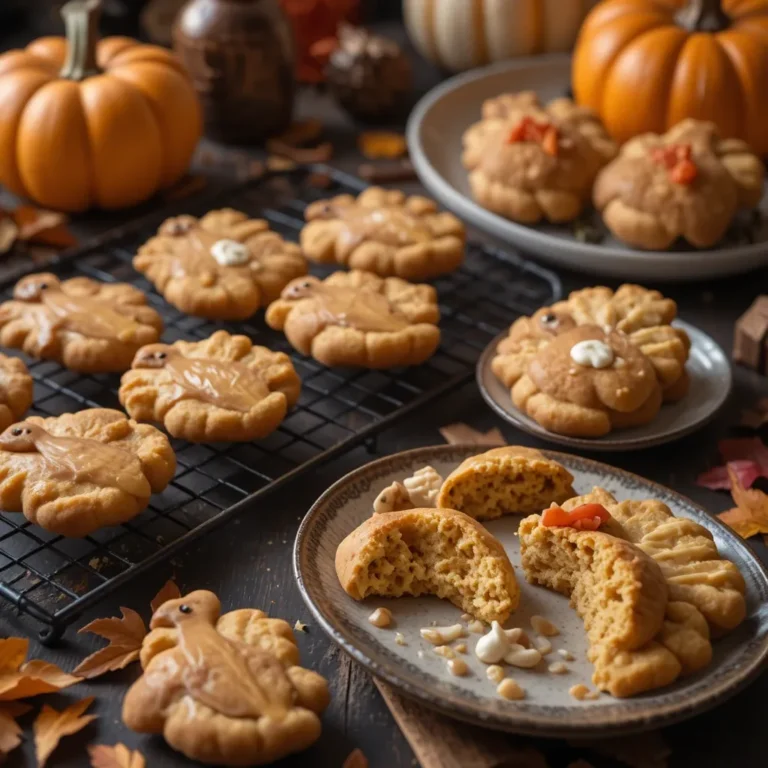
My Favorite Ways to Serve These
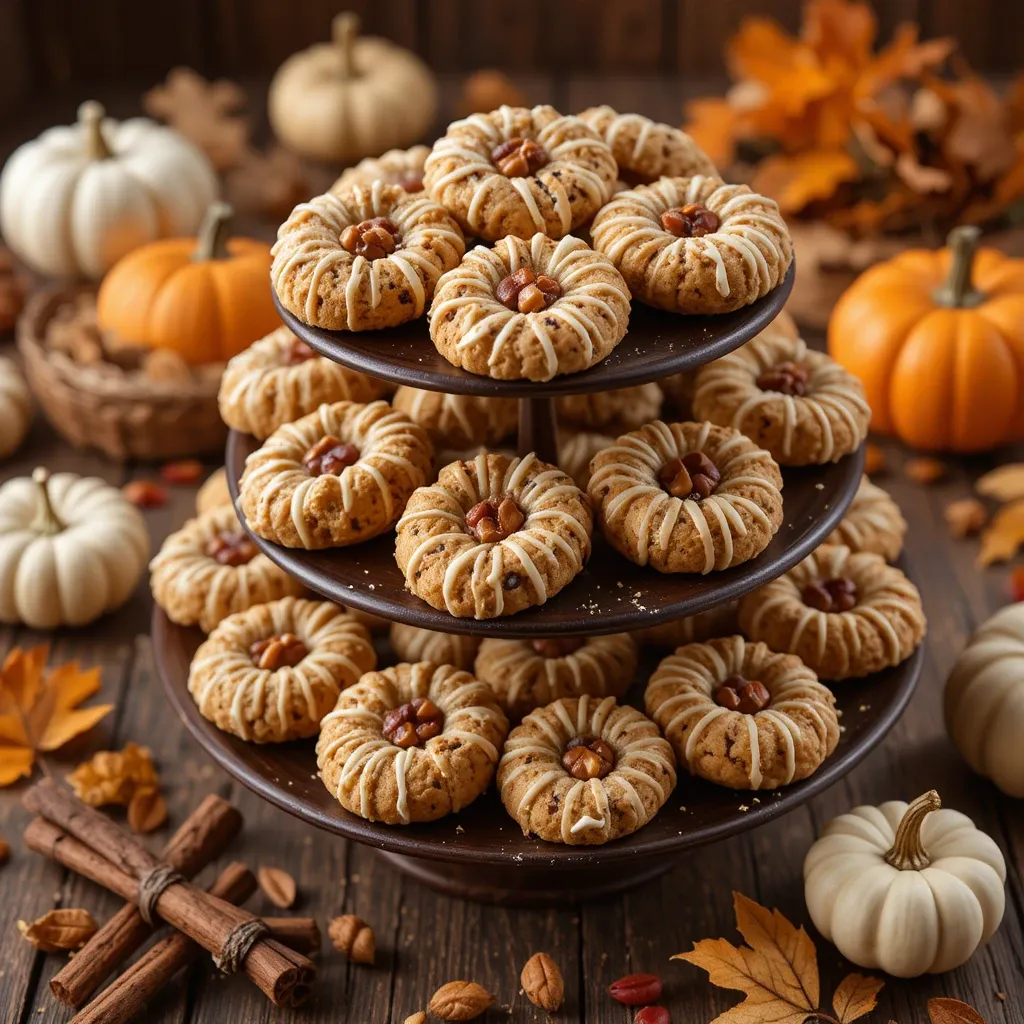
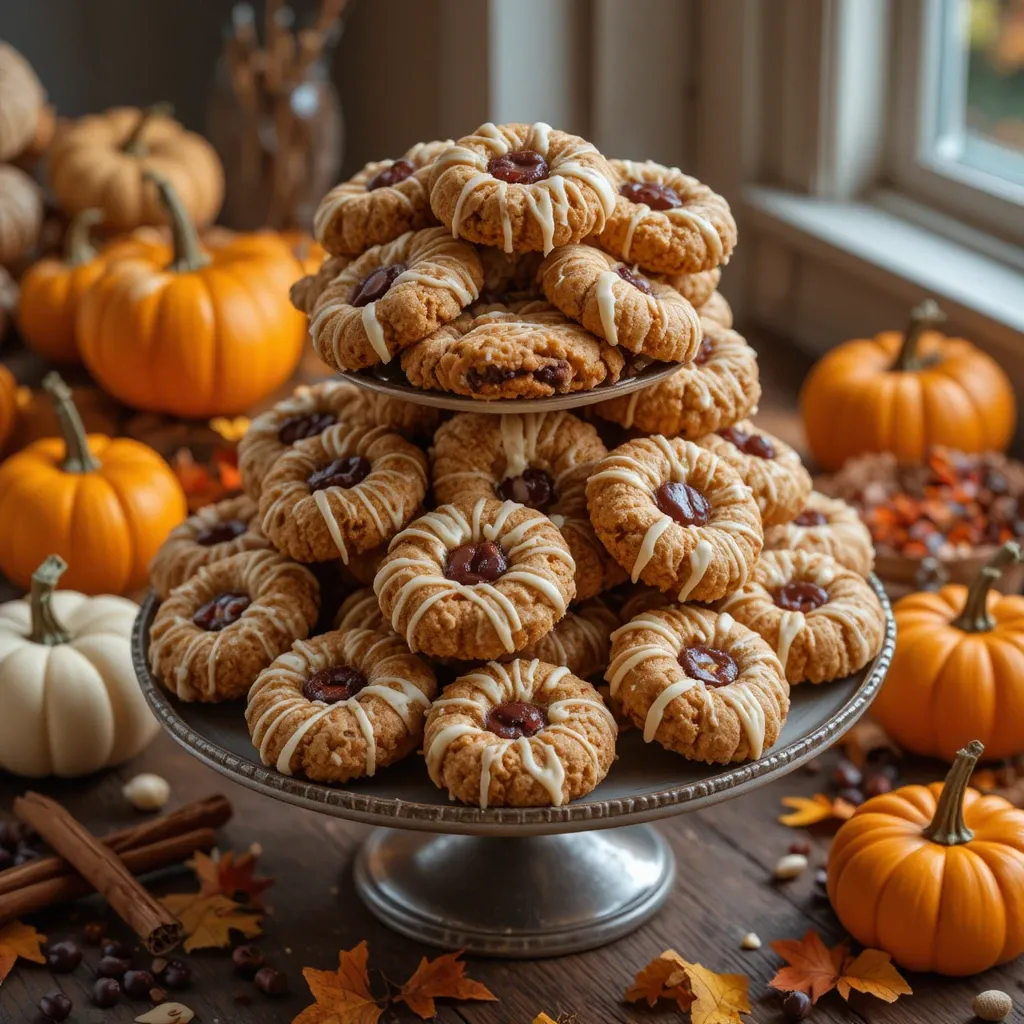
In my opinion, thanksgiving cookies mini are most impressive when you create a variety platter. I typically make three different versions: classic spiced, chocolate chip pecan, and cranberry white chocolate. Arranged on a tiered stand with some mini pumpkins and cinnamon sticks as decoration? Everyone thinks you spent hours on presentation when it literally took five minutes.
For Thanksgiving Dinner
I like setting these out right as guests arrive, alongside some hot apple cider or coffee. They’re the perfect little pre-dinner treat that doesn’t spoil appetites. Plus, it gives people something to nibble on while you’re frantically finishing the gravy (just me?).
Dessert Table Essentials
After the main meal, I bring out the full spread. These thanksgiving cookies mini pair beautifully with pumpkin pie, apple crisp, and pecan tart. The mini size means people can sample everything without feeling overstuffed. I also love serving them with vanilla ice cream for anyone who wants to make a mini ice cream sandwich situation.
Gift Packaging Ideas
Here’s a secret: these make incredible hostess gifts. Last year, I packaged them in clear cellophane bags with raffia bows and little tags that said “Grateful for You.” My sister-in-law still talks about them. They hold up great for 2-3 days in an airtight container, so you can prep them ahead if you’re bringing them somewhere.
Pro Tips from My Kitchen
After making these countless times (seriously, I’ve made over 200 of these little guys), I’ve learned some tricks that make a huge difference.
Use a Cookie Scoop for Perfect Uniformity
Eyeballing the size seems easier, but trust me—get a 1-teaspoon cookie scoop. All your cookies will bake evenly, which means no burnt edges and raw middles. It’s a $6 investment that’ll change your cookie game forever.
The Brown Butter Upgrade
Want to take these from great to absolutely incredible? Brown your butter first, then let it cool to room temperature before using. I started doing this on my fifth attempt, and the nutty, caramelized flavor it adds is insane. Just watch the butter carefully in the pan—it goes from perfect to burnt in about 10 seconds.
Chill the Dough If Needed
If your kitchen is warm (or you’re baking in summer), the dough can get too soft and the cookies will spread too much. When this happened to me in August while testing, I just refrigerated the dough for 15 minutes between batches. Problem solved, and the cookies kept their adorable shape.
Don’t Skip the Spices
Most recipes call for just cinnamon, but I find that the combination of four spices is what makes these actually taste like Thanksgiving. The ginger adds brightness, the cloves add depth, and the nutmeg ties everything together. It’s the secret that took me years to figure out.
Room Temperature Everything
I can’t stress this enough. Cold eggs, cold butter—they don’t mix well, and your texture suffers. I usually take everything out about an hour before I start baking. It makes such a difference in how smooth your dough comes together.
The Maple Syrup Secret
Real maple syrup has this complex flavor that imitation just can’t match. I tested both versions, and the real stuff is worth the extra couple dollars. It adds moisture and that signature autumn taste that makes people ask, “What’s in these?”
Storing and Reheating Tips
Room Temperature Storage
These thanksgiving cookies mini stay fresh in an airtight container at room temperature for up to 5 days. I usually layer them between sheets of parchment paper to prevent sticking. By day three, they’re still soft and chewy—honestly sometimes I think they taste even better after a day because the flavors meld together.
Freezer Instructions
Here’s where these cookies really shine: they freeze like champions. I always make a double batch and freeze half for when unexpected guests show up. Place cooled cookies in a freezer-safe container or bag with parchment between layers. They’ll keep for up to 3 months. To thaw, just leave them at room temperature for 30 minutes, or pop them in a 300°F oven for 3-4 minutes to serve warm.
Freezing the Dough
My favorite make-ahead trick? Scoop the dough into balls, freeze them on a baking sheet until solid, then transfer to a freezer bag. When you need fresh cookies, bake them straight from frozen—just add 2 extra minutes to the bake time. This saved me during last-minute Thanksgiving prep when I realized I needed more desserts.
Recipe FAQs
Can I make these gluten-free?
I’ve experimented with a 1:1 gluten-free flour blend, and they turn out pretty well! The texture is slightly more crumbly, but still delicious. Make sure your blend includes xanthan gum for the best results.
Why are my cookies spreading too much?
This usually means your butter was too warm or your dough needed chilling. The first time this happened to me, I was so frustrated! Now I know to pop the dough in the fridge if it feels soft, and to make sure my butter is softened but not melted.
Can I use salted butter instead?
You can, but reduce the added salt to 1/4 teaspoon. I prefer unsalted because it gives you better control over the final saltiness, but I’ve done it both ways and they’re both tasty.
How do I know when they’re actually done?
The edges will be set and lightly golden, while the centers still look soft and slightly underdone. They’ll firm up as they cool. When I first started making these, I overbaked them trying to get them “done,” but slightly underbaked is actually perfect.
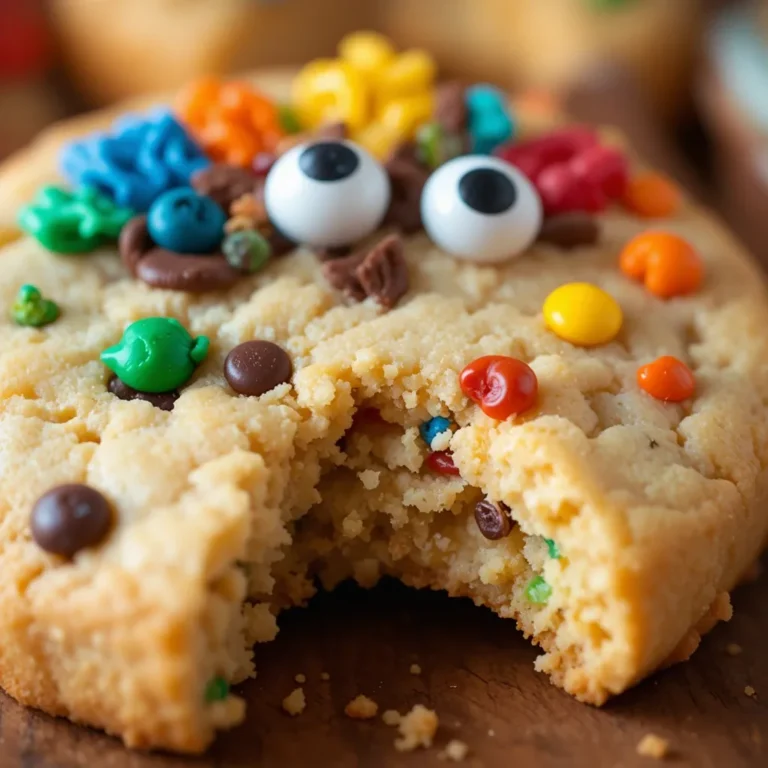
Can I add other mix-ins?
Absolutely! I’ve tried toffee bits, butterscotch chips, different nuts—they all work great. Just keep the total add-ins to about 1 cup so the cookie structure stays intact.
Do these work for other holidays?
Yes! I make them year-round by adjusting the spices. For Christmas, I add peppermint extract and red/green sprinkles. For fall in general, they’re perfect as-is. The base recipe is super versatile.
Final Thoughts
Look, I’ll be honest with you—thanksgiving cookies mini have become my secret weapon for holiday entertaining. They’re easy, they’re delicious, and they make me look way more put-together than I actually am on Thanksgiving Day (usually I’m running around with one shoe on and gravy in my hair). The best part? Watching people’s faces light up when they try one. My mom now requests these specifically every year, which is saying something because she’s pretty picky about her desserts.
If you make these, I’d love to hear how they turn out! Do you add extra chocolate chips? Go crazy with the spices? Tag me in your photos or leave a comment below. And if you’re looking for more Thanksgiving dessert ideas, check out my posts on maple pecan pie bars and pumpkin snickerdoodles—they’re perfect companion recipes to these cookies.
Happy baking, and here’s to a Thanksgiving filled with good food, great company, and cookies that actually turn out right on the first try (or the eighth, no judgment here)