Easy Thanksgiving Cupcakes Scarecrow Kids Will Love Making
There’s something absolutely magical about transforming simple cupcakes into charming scarecrow characters that make everyone smile. These Thanksgiving cupcakes scarecrow designs are incredibly easy to create, bursting with autumn flavors, and guaranteed to be the star of your holiday table.
I stumbled upon this idea three years ago when my daughter asked if we could make “happy cupcakes” for her school’s Thanksgiving party, and they’ve become our cherished family tradition ever since.
What makes these special is how they combine moist, spiced cupcakes with adorable decorations that kids and adults genuinely love creating together, all ready in under an hour from start to finish.
This recipe was fully created by AI and has not been prepared or tested in our kitchen. Our readers are important to us, and many say other recipes from the site turned out well.
What Are Thanksgiving Cupcakes Scarecrow?
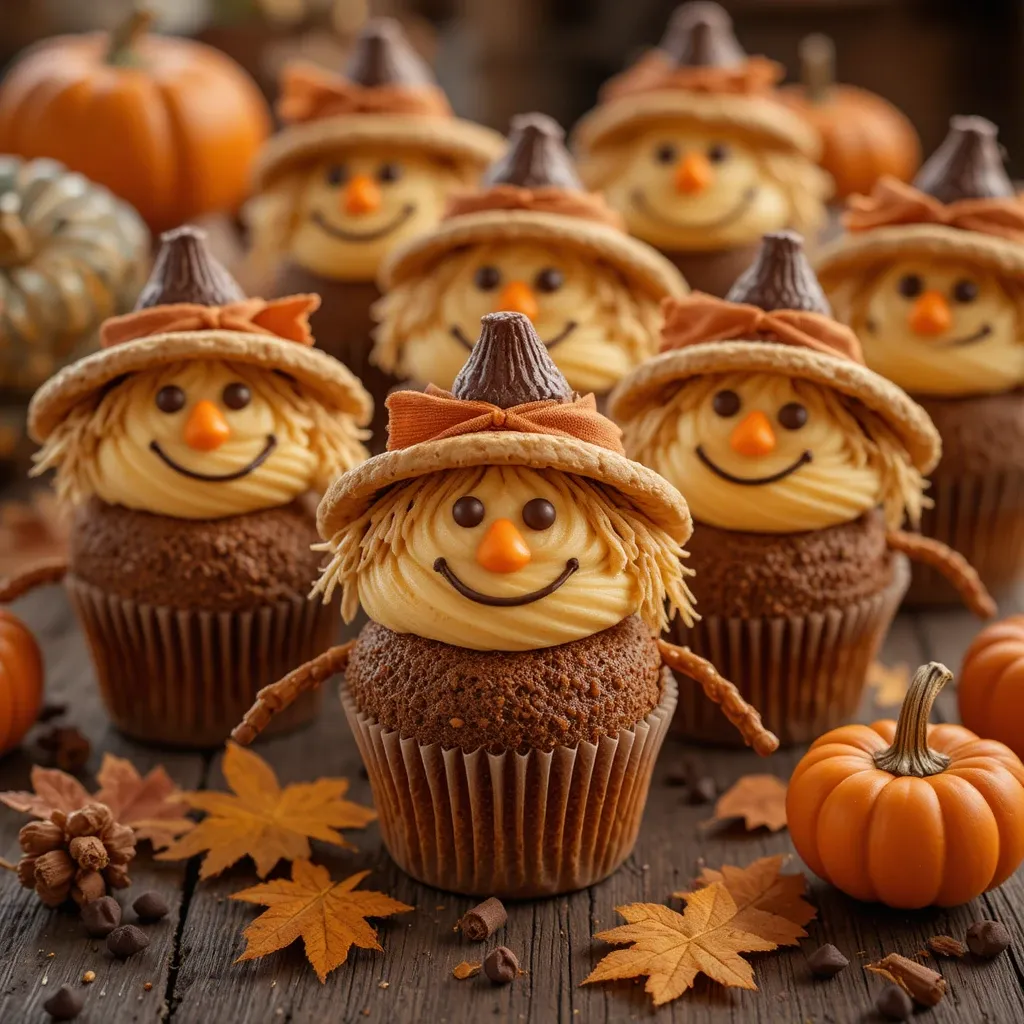
Ever wonder why we’re putting little straw hats and button noses on perfectly good cupcakes? Well, Thanksgiving cupcakes scarecrow are festive fall cupcakes decorated to look like friendly scarecrows, complete with candy corn smiles, pretzel stick arms, and fondant or buttercream faces.
They’re whimsical, totally Instagram-worthy, and honestly, they taste just as amazing as they look. My grandmother always said, “the way to a man’s heart is through his stomach,” but I think the way to anyone’s heart during the holidays is through adorably decorated baked goods. Trust me, once you make these cheerful little guys, you’ll want to create them every autumn.
Why You’ll Love This Thanksgiving Cupcakes Scarecrow Recipe
The Perfect Holiday Centerpiece
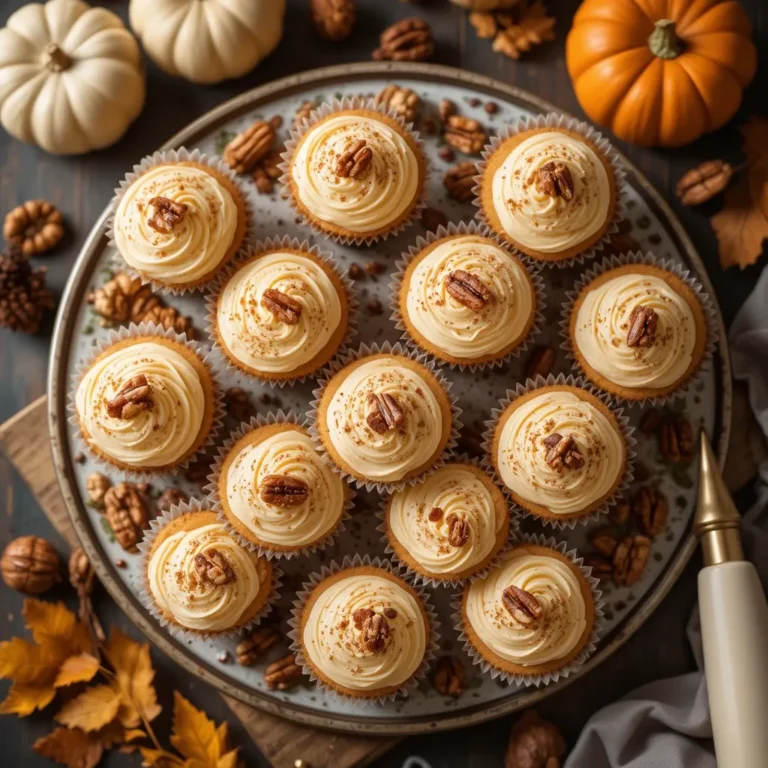
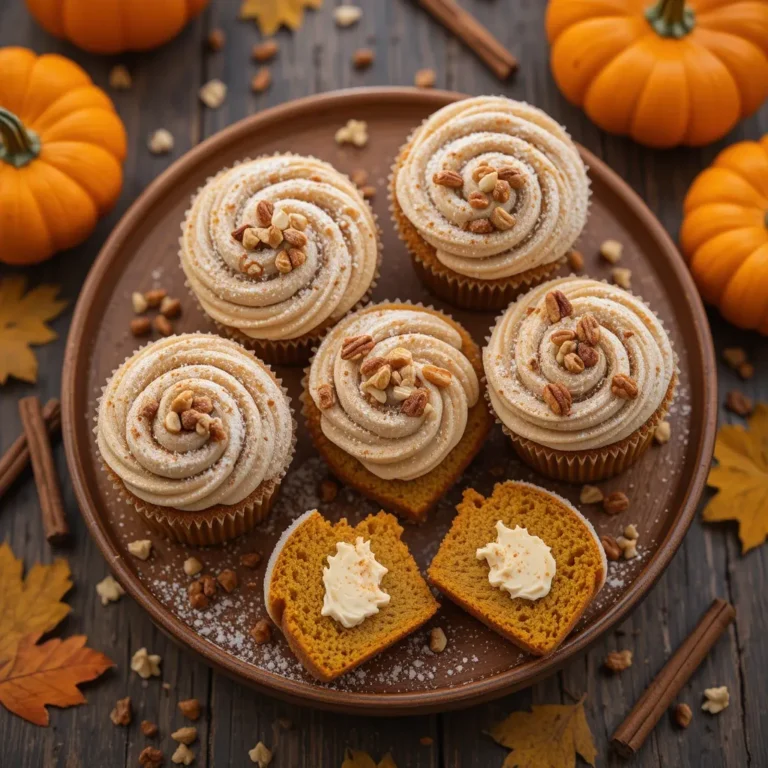
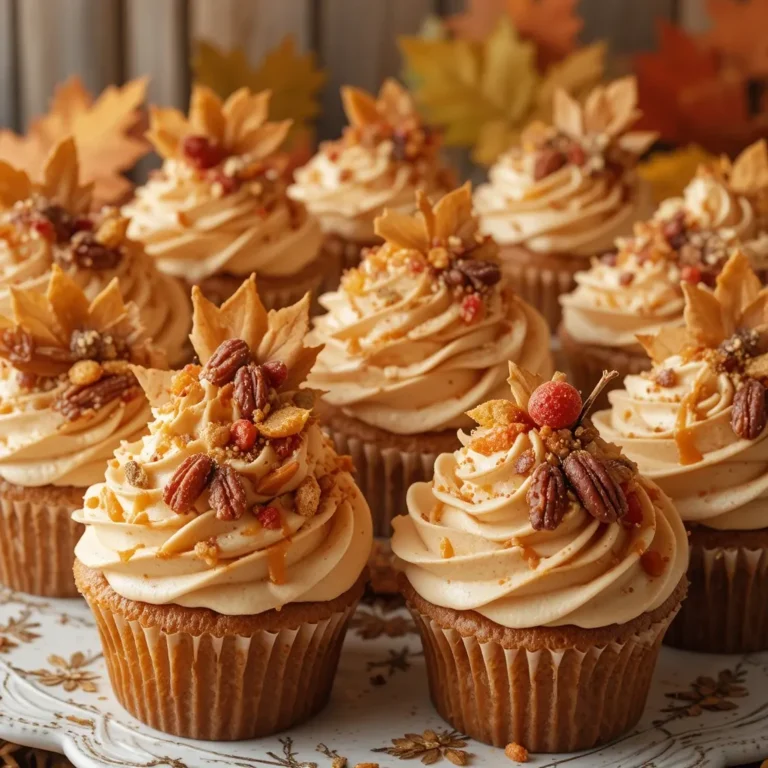
These cupcakes aren’t just dessert; they’re edible art that brings joy to your Thanksgiving celebration. The warm spices of cinnamon, nutmeg, and ginger combined with moist pumpkin or vanilla cake create flavors that scream autumn in the most delicious way possible.
Budget-Friendly Family Fun
Making these at home costs a fraction of what you’d pay at a fancy bakery, probably around $15-20 for two dozen cupcakes versus $4-6 per cupcake at specialty shops. Plus, decorating them becomes a memorable family activity that creates lasting memories without breaking the bank.
Customizable and Creative
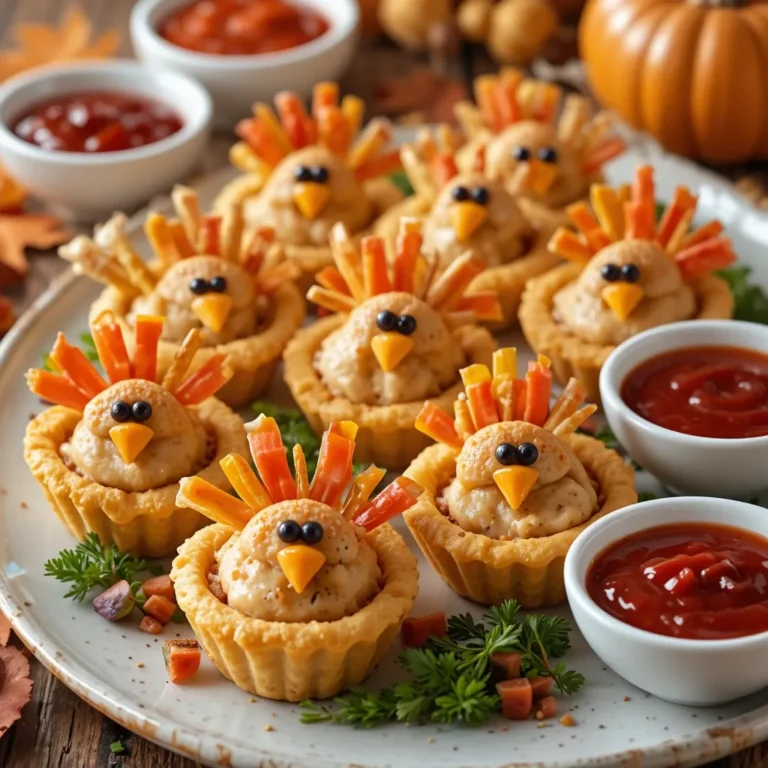
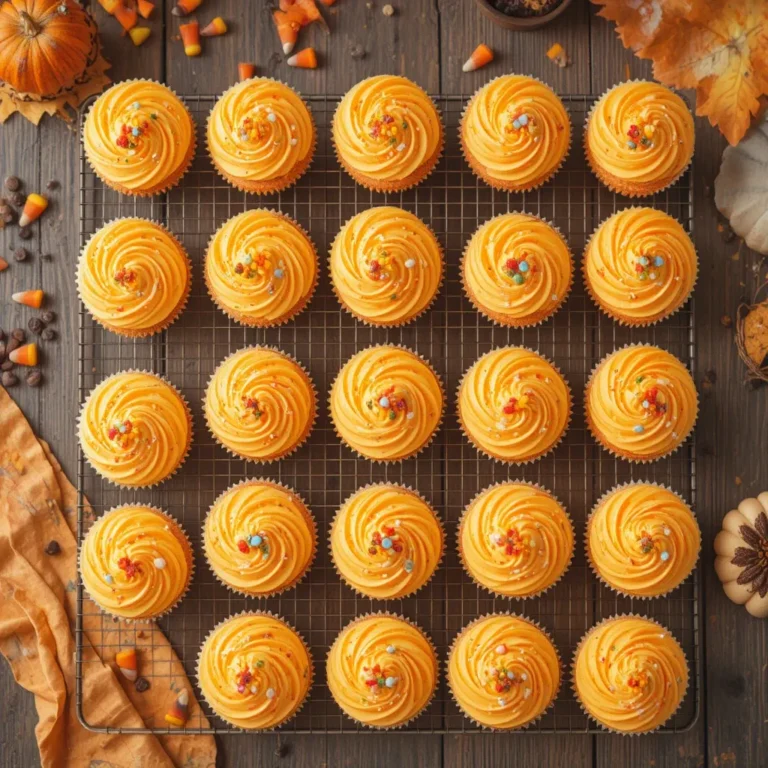
The beauty of Thanksgiving cupcakes scarecrow is their versatility. You can use chocolate, vanilla, or pumpkin spice cake as your base, and the decoration possibilities are endless. Add burlap ribbon collars, different hat styles, or even create scarecrow families with varying expressions. If you loved making my Thanksgiving Turkey Cupcakes, you’ll absolutely adore these scarecrow companions. They’re perfect for creating an entire cupcake farm scene on your dessert table.
How to Make Thanksgiving Cupcakes Scarecrow
Quick Overview
These delightful Thanksgiving cupcakes scarecrow combine the comforting flavors of fall with adorable decorative touches that anyone can master.
The process involves baking moist, flavorful cupcakes, creating smooth buttercream frosting, and assembling cute scarecrow faces using simple candies and cookies.
What I love most is how forgiving this recipe is—imperfect decorations actually add to their rustic charm.
Time Breakdown:
- Prep Time: 25 minutes
- Baking Time: 18-20 minutes
- Cooling Time: 30 minutes
- Decorating Time: 30-40 minutes
- Total Time: Approximately 2 hours
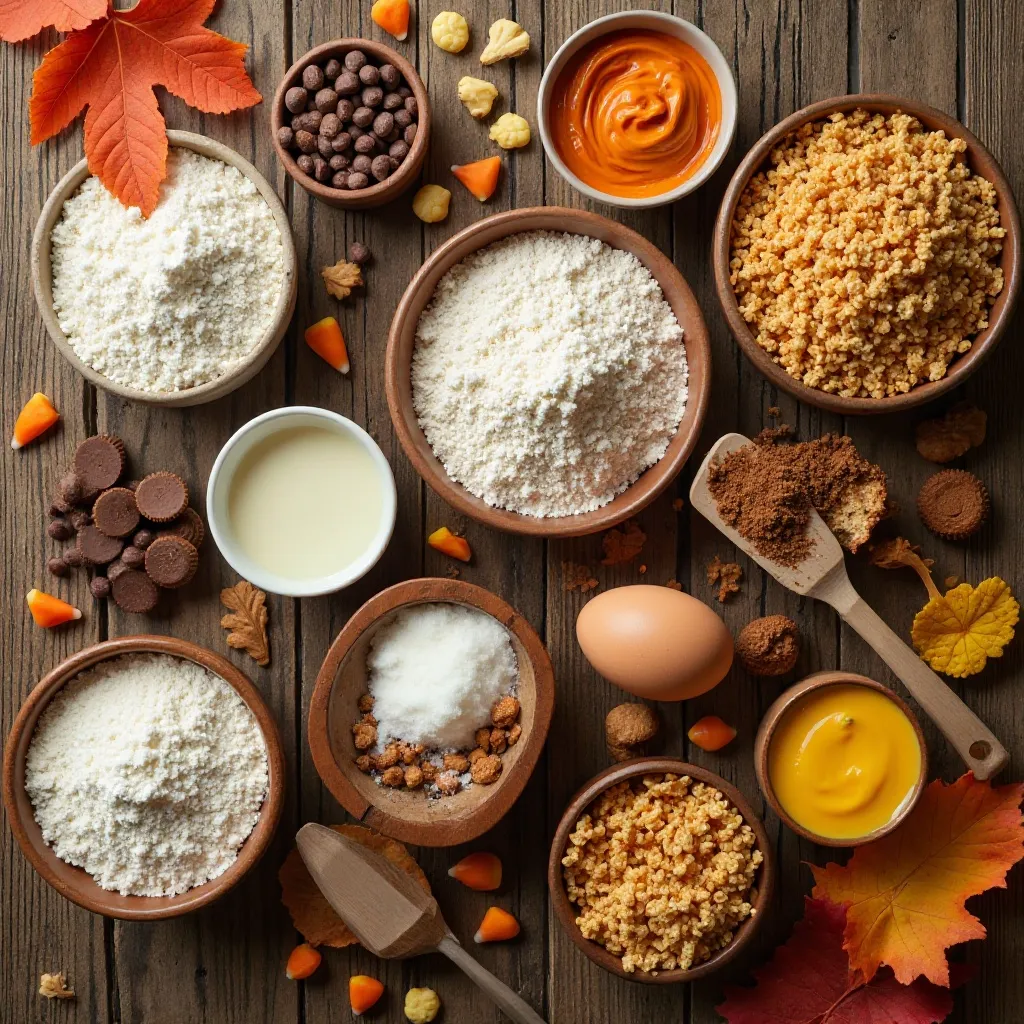
Key Ingredients for Thanksgiving Cupcakes Scarecrow
For the Cupcakes:
- 1¾ cups all-purpose flour
- 1½ teaspoons baking powder
- ½ teaspoon baking soda
- ½ teaspoon salt
- 1½ teaspoons ground cinnamon
- ½ teaspoon ground nutmeg
- ¼ teaspoon ground ginger
- ½ cup unsalted butter, softened
- 1 cup granulated sugar
- 2 large eggs, room temperature
- 1 teaspoon vanilla extract
- ¾ cup buttermilk (or regular milk with 1 tablespoon lemon juice)
- ½ cup pumpkin puree (optional, for extra fall flavor)
For the Buttercream Frosting:
- 1 cup unsalted butter, softened
- 4 cups powdered sugar
- 3-4 tablespoons heavy cream or milk
- 1 teaspoon vanilla extract
- Orange gel food coloring (optional, for a harvest look)
- Brown gel food coloring (for creating “burlap” texture)
For Decorating:
- 24 sugar cookies or vanilla wafers (for hat brims)
- 24 Reese’s Peanut Butter Cups or chocolate kisses (for hats)
- Candy corn (for noses)
- Mini chocolate chips (for eyes and mouths)
- Black decorating gel or edible marker
- Pretzel sticks (for arms)
- Shredded wheat cereal or coconut (dyed yellow for straw hair)
- Optional: Small fabric scraps or ribbon for scarves
Step-by-Step Instructions
Preparing the Cupcakes
Preheat your oven to 350°F and line two 12-cup muffin tins with festive fall-colored cupcake liners. I prefer using brown or orange liners to complement the scarecrow theme.
In a medium bowl, whisk together the flour, baking powder, baking soda, salt, cinnamon, nutmeg, and ginger until well combined. Set this dry mixture aside.
In a large mixing bowl, cream the softened butter and sugar together using an electric mixer on medium speed for about 3-4 minutes until the mixture becomes light and fluffy. This step is crucial for achieving a tender crumb.
Add the eggs one at a time, beating well after each addition. Mix in the vanilla extract and pumpkin puree if using. The mixture might look slightly curdled, but don’t worry—this is completely normal.
With the mixer on low speed, alternate adding the dry ingredients and buttermilk to the butter mixture. Begin and end with the dry ingredients, mixing until just combined. Add about one-third of the dry ingredients, then half the buttermilk, another third of dry ingredients, the remaining buttermilk, and finally the last of the dry ingredients. Avoid overmixing, as this can create tough cupcakes.
Baking
Divide the batter evenly among the prepared cupcake liners, filling each about two-thirds full. I use a large cookie scoop to ensure uniform cupcakes that bake evenly.
Bake for 18-20 minutes, or until a toothpick inserted into the center comes out clean or with just a few moist crumbs. The tops should spring back when lightly touched.
Remove from the oven and let the cupcakes cool in the pans for 5 minutes before transferring them to a wire rack. Allow them to cool completely before frosting—this typically takes about 30 minutes. Frosting warm cupcakes will cause the buttercream to melt and slide off.
Making the Buttercream
In a large bowl, beat the softened butter with an electric mixer on medium speed for about 2 minutes until creamy and smooth.
Gradually add the powdered sugar, one cup at a time, alternating with tablespoons of heavy cream. Beat on low speed initially to prevent a sugar cloud in your kitchen, then increase to medium-high speed.
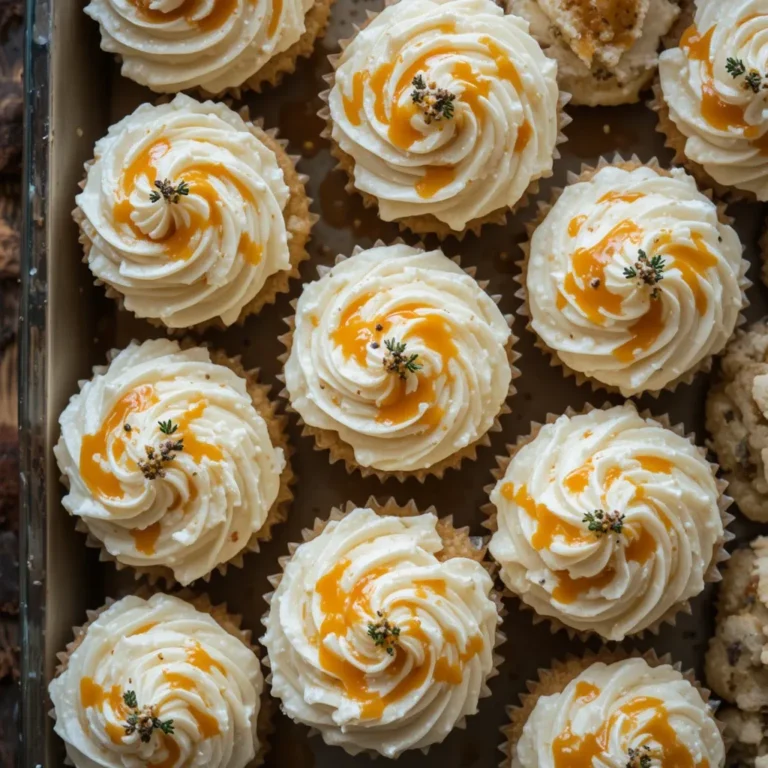
Add the vanilla extract and continue beating for 3-4 minutes until the frosting becomes light and fluffy. If you want a harvest orange color, add a small amount of orange gel food coloring and mix until the desired shade is reached.
For creating a “burlap” textured look, you can mix in a tiny bit of brown food coloring to create a tan or beige shade that resembles burlap fabric.
Assembling the Scarecrow Faces
Frost each cooled cupcake with a generous swirl of buttercream. I prefer using a piping bag fitted with a large round tip for a smooth, professional look, but a knife or offset spatula works perfectly too.
Creating the Hair: Before the frosting sets, press shredded wheat cereal pieces or dyed yellow coconut around the top edge of each cupcake to create the scarecrow’s straw hair. Gently tear the shredded wheat into smaller, wispy pieces for a more authentic straw appearance.
Adding the Hat: Place a sugar cookie or vanilla wafer on top of the frosted cupcake as the hat brim. Position it slightly off-center for a jaunty, whimsical look. Use a dab of frosting as “glue” to attach a Reese’s Peanut Butter Cup or large chocolate kiss on top of the cookie to create the hat crown.
Making the Face: Press a candy corn, pointed side down, into the center of the cupcake for the nose. Position two mini chocolate chips above the nose for eyes. For the mouth, either use mini chocolate chips arranged in a smile, or pipe a simple smile using black decorating gel.
Adding Details: Use an edible marker or black decorating gel to add eyebrows, freckles, or stitch marks to give your scarecrow personality. Each one can have a unique expression—some surprised, some smiling, some winking.
Final Touches: Carefully insert broken pretzel sticks on either side of the cupcake to create the scarecrow’s arms. If you want to add extra charm, tie small pieces of ribbon or fabric around the base of the cupcake to create a scarf or collar.
What to Serve Thanksgiving Cupcakes Scarecrow With
These adorable cupcakes shine brightest when served as part of a complete Thanksgiving dessert spread. Pair them with:
Hot Apple Cider or Spiced Tea: The warm, spiced notes in these beverages complement the cinnamon and nutmeg in the cupcakes beautifully.
Pumpkin Pie or Pecan Pie: Create a dessert table that offers variety. While traditional pies satisfy the adults, these playful cupcakes captivate the children.
Caramel Dip with Apple Slices: Offer a lighter option alongside the cupcakes for guests who want something refreshing between courses.
Coffee Bar: Set up a simple coffee station with various creamers and toppings. The combination of strong coffee with sweet, decorated cupcakes is absolutely divine.
Cheese and Fruit Platter: Balance the sweetness with a savory cheese platter featuring sharp cheddar, brie, and seasonal fruits like pears and grapes.
Top Tips for Perfecting Thanksgiving Cupcakes Scarecrow
Room Temperature Ingredients Are Essential
Always bring your eggs, butter, and buttermilk to room temperature before baking. Cold ingredients don’t incorporate properly, leading to dense cupcakes with an uneven texture. I typically set mine out about an hour before I start baking.
Don’t Overmix the Batter
Once you add the flour mixture, mix only until you can no longer see dry streaks. Overmixing develops the gluten in flour, resulting in tough, dense cupcakes instead of light, fluffy ones. A few small lumps are perfectly acceptable.
Test for Doneness Properly
Insert a toothpick into the center of a cupcake, not near the edges. It should come out clean or with a few moist crumbs—not wet batter. If you see wet batter, give them another 2-3 minutes and test again.
Achieve the Perfect Buttercream Consistency
If your frosting is too thick to pipe smoothly, add cream one teaspoon at a time. If it’s too thin and won’t hold its shape, add more powdered sugar, a quarter cup at a time. The ideal consistency should be creamy, smooth, and hold peaks when the mixer is lifted.
Customize for Dietary Restrictions
For gluten-free versions, substitute with a 1:1 gluten-free flour blend. For dairy-free options, use plant-based butter and milk alternatives. I’ve had success with both almond and oat milk in this recipe.
Make It Ahead
Bake the cupcakes a day ahead and store them in an airtight container at room temperature. Frost and decorate them on the day you plan to serve for the freshest appearance and taste.
Get Creative with Expressions
No two scarecrows need to look identical. Encourage kids to create different facial expressions—winking scarecrows, surprised scarecrows, or even silly scarecrows with crossed eyes. The imperfections make them even more charming.
Storing and Reheating Tips
Room Temperature Storage
Store fully decorated Thanksgiving cupcakes scarecrow in an airtight container at room temperature for up to 2 days. Keep them away from direct sunlight or heat sources, as the buttercream will soften and decorations may slide. If your home is particularly warm, consider refrigeration.
Refrigerator Storage
These cupcakes will stay fresh in the refrigerator for up to 5 days when stored in an airtight container. Before serving, let them sit at room temperature for 20-30 minutes to allow the buttercream to soften and the cake to reach optimal texture. Cold cupcakes can taste dense and the frosting becomes hard.
Freezing Instructions
For longer storage, freeze unfrosted cupcakes in a single layer on a baking sheet until solid, then transfer to freezer bags with as much air removed as possible. They’ll maintain quality for up to 3 months. Thaw overnight in the refrigerator or at room temperature for a few hours before decorating.
I don’t recommend freezing fully decorated cupcakes, as the candy decorations and buttercream can become compromised during thawing. The chocolate may develop a white bloom, and the pretzel sticks can become soft and stale.
Reheating Tips
These cupcakes are meant to be enjoyed at room temperature, so reheating isn’t typically necessary. However, if you’ve refrigerated them, simply let them sit on the counter for 20-30 minutes before serving. Never microwave decorated cupcakes, as the frosting will melt and decorations will fall off.
Common Baking Mistakes to Avoid
Using Cold Ingredients
This is the number one mistake I see beginners make. Cold butter won’t cream properly with sugar, and cold eggs can cause the batter to curdle. Always plan ahead and let your ingredients warm up naturally on the counter.
Opening the Oven Door Too Early
I know it’s tempting to peek, but opening the oven door during the first 15 minutes of baking causes temperature fluctuations that can make cupcakes sink in the middle. Trust the process and wait until you’re close to the minimum baking time.
Overfilling the Liners
Filling cupcake liners more than two-thirds full causes batter to overflow, creating mushroom-topped cupcakes that are difficult to frost and decorate. Use a cookie scoop for perfectly portioned, bakery-style cupcakes.
Decorating While Warm
I cannot stress this enough—patience is crucial. Warm cupcakes will melt your buttercream faster than you can say “Thanksgiving.” Wait for complete cooling, even if it feels like forever.
Using Low-Quality Food Coloring
Liquid food coloring can make your buttercream watery and requires large amounts to achieve vibrant colors. Invest in gel food coloring for intense colors without changing frosting consistency.
Not Securing Decorations Properly
Use small dabs of buttercream as “glue” to attach cookies, candy, and other decorations. Without this adhesive, your scarecrow will lose his hat during transport.
Skipping the Crumb Coat
While not mandatory for these cupcakes, if you want ultra-smooth frosting, apply a thin layer first, refrigerate for 15 minutes, then apply the final decorative layer. This seals in crumbs for a professional finish.
Frequently Asked Questions
Can I make these cupcakes without pumpkin puree?
Absolutely! The pumpkin puree is optional and adds moisture and subtle flavor. You can replace it with an equal amount of sour cream, Greek yogurt, or additional buttermilk for equally delicious results. The cupcakes will be slightly lighter in color without the pumpkin.
What’s the best way to transport decorated cupcakes?
Invest in a cupcake carrier with individual slots, or use a deep container lined with a non-slip mat. You can also insert toothpicks around the perimeter of each cupcake and loosely tent aluminum foil over the top to protect decorations without touching them. I’ve transported hundreds of decorated cupcakes this way without incident.
Can I use store-bought frosting instead of homemade?
While homemade buttercream tastes infinitely better and pipes more smoothly, store-bought frosting works in a pinch. Choose a high-quality brand and consider whipping it with a mixer for a few minutes to improve texture and add volume.
How do I prevent my cupcakes from doming?
Reduce your oven temperature by 25°F and bake slightly longer. Also, avoid overmixing the batter and don’t overfill the liners. Some doming is natural and can easily be trimmed with a serrated knife if you want perfectly flat tops.
What can I substitute for buttermilk?
Make your own by adding 1 tablespoon of white vinegar or lemon juice to ¾ cup of regular milk. Let it sit for 5 minutes until slightly curdled. You can also use plain yogurt thinned with a bit of milk.
Are these cupcakes kid-friendly to make?
Definitely! The decorating portion is perfect for children ages 5 and up with supervision. Let adults handle the baking and frosting, then give kids free rein to create scarecrow faces. It becomes a fun, memorable activity.
Can I make mini scarecrow cupcakes instead?
Yes! Use a mini muffin tin and reduce baking time to 10-12 minutes. You’ll need to scale down your decorations—use smaller candies and cookies for proportional scarecrows.
How far in advance can I decorate these?
Ideally, decorate them the day you plan to serve them for the freshest look. However, you can decorate them up to 24 hours in advance if stored properly in a cool, dry place.
What if I don’t have all the decorating supplies?
Get creative with what you have! Use any round cookie for the hat brim, any chocolate candy for the hat top, and draw faces with frosting if you don’t have candy. The beauty of these cupcakes is their flexibility.
Can I use chocolate cupcakes instead of spiced cupcakes?
Absolutely! Any cupcake flavor works as your base. Chocolate, vanilla, carrot, or even red velvet would all be delicious foundations for scarecrow decorations.
Nutrition Information
| Nutrient | Amount Per Cupcake |
|---|---|
| Calories | 385 |
| Total Fat | 18g |
| Saturated Fat | 11g |
| Cholesterol | 65mg |
| Sodium | 180mg |
| Total Carbohydrates | 54g |
| Dietary Fiber | 1g |
| Sugars | 42g |
| Protein | 3g |
Note: Nutrition information is approximate and based on one cupcake with standard decorations. Values may vary depending on specific ingredients and decoration choices.
Final Thoughts
Making Thanksgiving cupcakes scarecrow has become one of my favorite holiday traditions, and I genuinely hope it becomes one of yours too. There’s something incredibly special about gathering in the kitchen with loved ones, creating these cheerful little characters, and watching everyone’s face light up when they see the finished product.
The beauty of this recipe lies not just in its delicious taste or adorable appearance, but in the memories you’ll create while making them. Every year, my family adds new personality quirks to our scarecrow cupcakes—last year, we created an entire scarecrow family with grandpa scarecrows sporting white coconut beards and baby scarecrows with tiny hats.
Don’t stress about perfection. The slightly crooked hats, the lopsided smiles, and the stray pieces of “straw” hair are what give these cupcakes their charm and character. Some of my favorite scarecrows have been the “happy accidents” where decorations didn’t go exactly as planned but turned out even better than imagined.
I’d absolutely love to see your Thanksgiving cupcakes scarecrow creations! Share your photos, tell me about any creative variations you tried, and let me know if these became a hit at your holiday gathering. Happy baking, and may your Thanksgiving be filled with joy, gratitude, and plenty of adorable desserts!
Pin this recipe for later and share it with fellow baking enthusiasts who’d love a fun, festive Thanksgiving treat!