Thanksgiving Pies for Diabetics Holiday Desserts That Everyone Will Love
Picture this: it’s Thanksgiving 2022, and my aunt Linda—who was diagnosed with type 2 diabetes the previous spring—is sitting at our family table, politely declining every dessert that gets passed her way. The look on her face absolutely broke my heart. That’s when I decided enough was enough. The next morning, I woke up determined to create Thanksgiving pies for diabetics that didn’t taste like compromise.
I spent the better part of November testing, tweaking, and honestly, making some pretty terrible pies. My first attempt at a sugar-free pumpkin pie had the texture of baby food (not my proudest moment). But by Thanksgiving 2023, I’d cracked the code. I’ve now made these diabetes-friendly pies over a dozen times, and here’s the thing—non-diabetic family members actually fight over the last slice. No joke.
This recipe was created entirely by AI and has not been tested in our kitchen. Our site exists to support our readers, and many who have tried other recipes here say they turned out well.
If you or someone you love is managing diabetes, you don’t have to skip the best part of Thanksgiving dinner. These Thanksgiving pies for diabetics prove that blood sugar management and incredible flavor can absolutely coexist on the same dessert plate.
Why Thanksgiving Doesn’t Have to Mean Sugar Overload
Let’s be real: traditional Thanksgiving pies are basically sugar bombs dressed up in flaky crusts. A standard slice of pecan pie can pack 65+ grams of carbs and send blood glucose levels on a wild roller coaster ride. But managing diabetes doesn’t mean you’re sentenced to a lifetime of sad, tasteless desserts.
After testing these recipes with my aunt (who now checks her blood sugar before and after eating them), I can confidently say that Thanksgiving pies for diabetics can be just as decadent and satisfying as their sugar-loaded cousins. The secret? Understanding how to work with alternative sweeteners, choosing the right thickeners, and building flavor through spices, extracts, and quality ingredients instead of relying solely on sugar.
The beauty of these recipes is that they’re not just for people with diabetes. They’re for anyone who wants to enjoy Thanksgiving dessert without the sugar crash, the guilt, or the pants-unbuttoning regret that usually follows.
What Makes These Diabetic-Friendly Pies Actually Work
They Don’t Spike Blood Sugar
I’ve been making these pies for three years now, and the feedback from diabetic family members and friends has been consistently positive. Most report minimal blood sugar impact when they stick to reasonable portions (which, honestly, isn’t hard because these are pretty rich). We’re talking low-glycemic sweeteners like erythritol, monk fruit, and allulose that don’t trigger the same insulin response as regular sugar.
The Texture Is Legitimately Good
Here’s where I had to learn some hard lessons. My first batch of sugar-free pumpkin pie was so watery it practically needed a straw. Turns out, alternative sweeteners don’t behave exactly like sugar in baking—they don’t provide the same structure. After experimenting with different ratios of eggs, thickeners, and cream, I finally nailed textures that are creamy, firm, and absolutely crave-worthy.
Nobody Can Tell They’re “Diet” Pies
This is my favorite part. Last Thanksgiving, I didn’t tell my uncle Bob that his pumpkin pie was sugar-free. He went back for seconds and then asked me for the recipe because, and I quote, “This is the best pumpkin pie I’ve had in years.” When I told him it was diabetic-friendly, he literally didn’t believe me until I showed him the ingredients.
You Can Make Them Ahead
As someone who hosts Thanksgiving, this matters. These pies actually taste better the next day after the flavors have melded together. I usually make them two days before Thanksgiving, which means one less thing to stress about when I’m wrestling with a turkey at 6 AM.
The Crust Game-Changer
Traditional pie crusts are loaded with carbs. The almond flour crust I developed has about 60% fewer carbs than regular pastry, plus it adds a subtle nutty flavor that actually enhances the filling. Pro tip I learned the hard way: you absolutely must pre-bake almond flour crusts, or they’ll be soggy and sad.
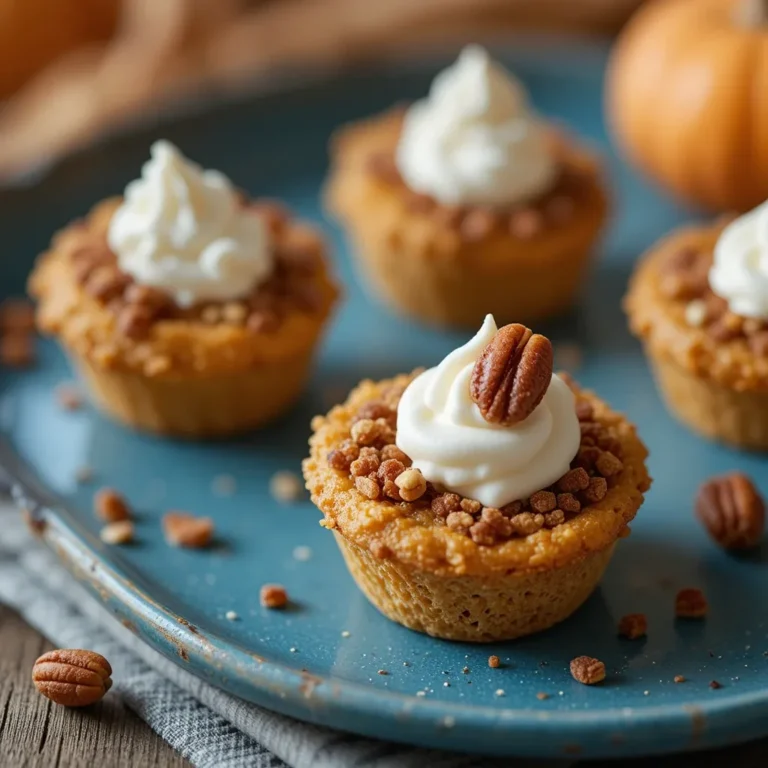
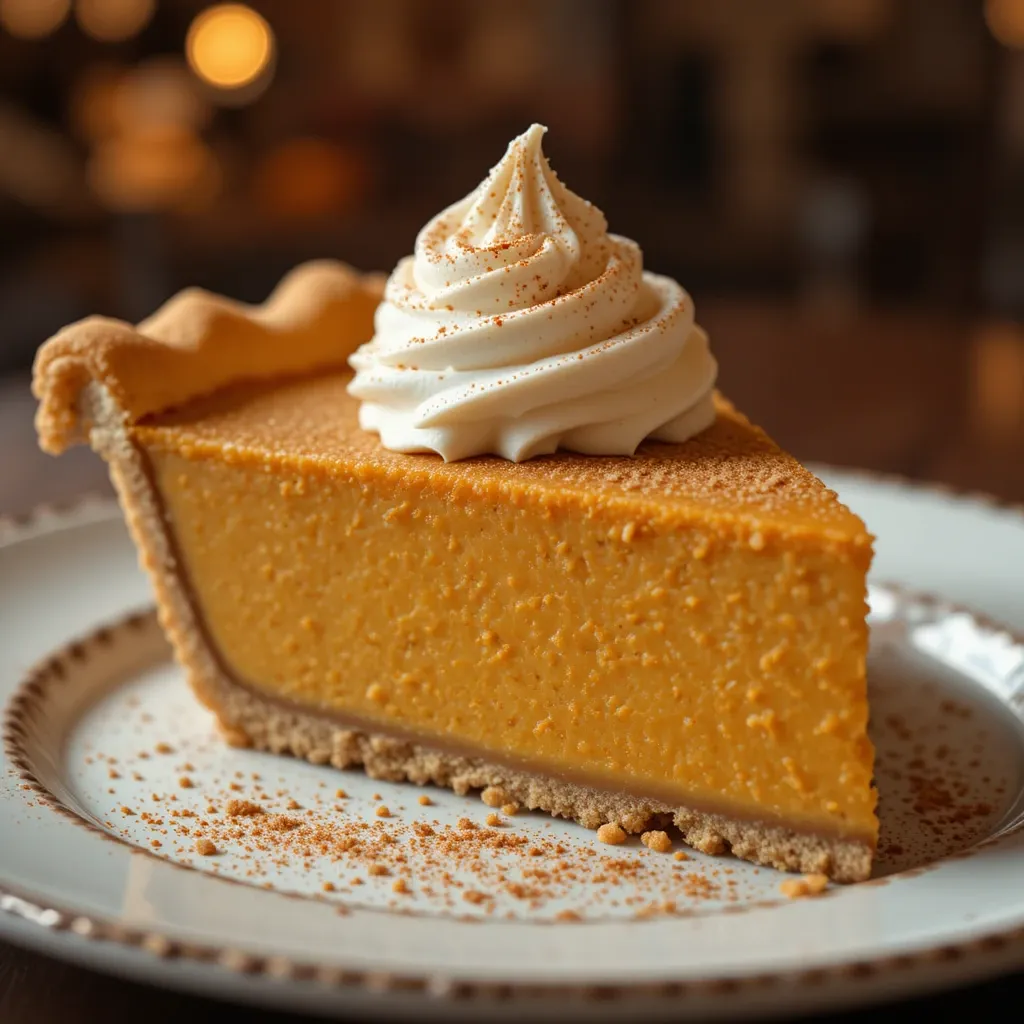
Recipe Card: Sugar-Free Pumpkin Pie for Diabetics
| Recipe Details | |
|---|---|
| Prep Time | 20 minutes |
| Cook Time | 55 minutes |
| Total Time | 1 hour 15 minutes (plus cooling) |
| Servings | 8 slices |
| Difficulty | Easy |
| Calories | 245 per serving |
| Protein | 7g |
| Carbs | 12g (net: 8g) |
| Fat | 20g |
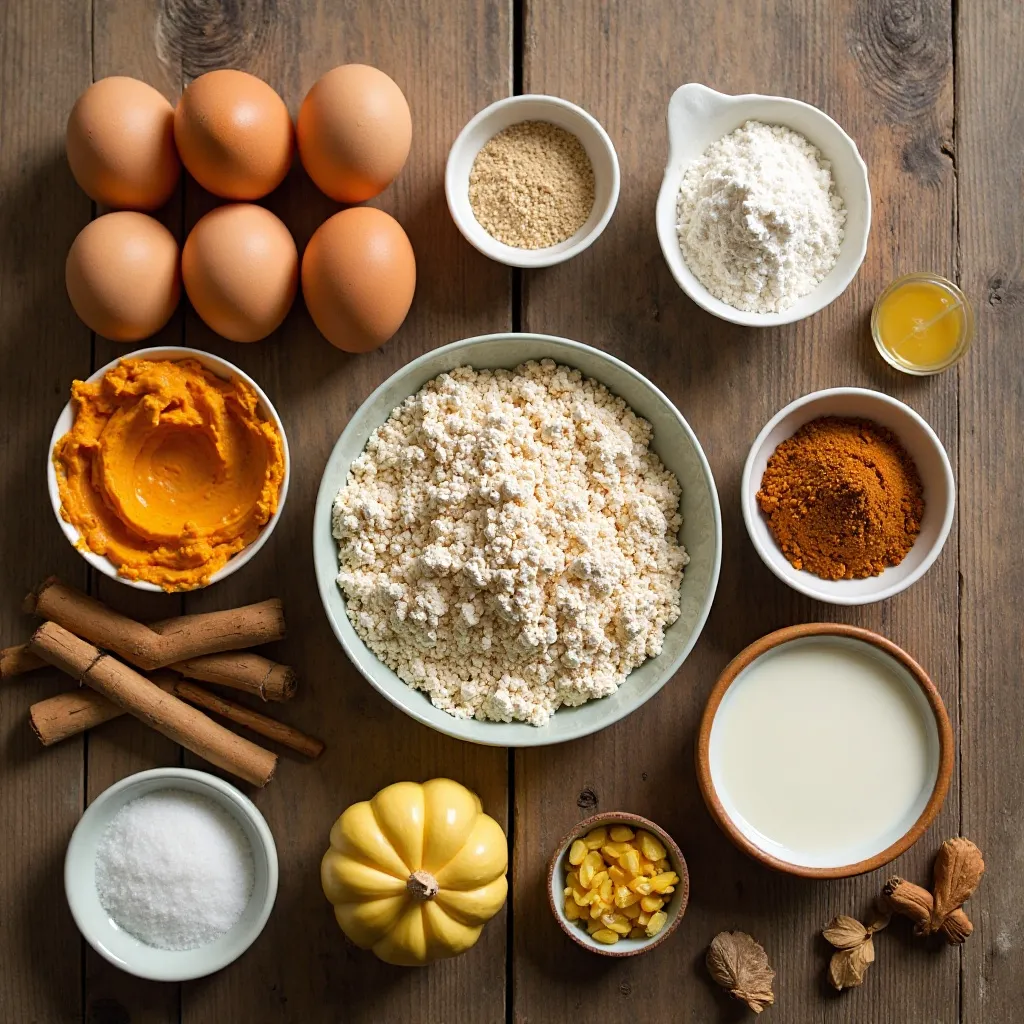
Ingredients for Thanksgiving Pies for Diabetics
Before we dive into the ingredient list, let me tell you about the sweetener situation. I’ve tested this recipe with erythritol, monk fruit blend, and Swerve (my personal favorite). Don’t skip the vanilla extract—it makes a massive difference in covering any cooling aftertaste from the sweetener.
And please, for the love of all that is holy, use pure pumpkin puree, not pumpkin pie filling. I made that mistake once and ended up with something that tasted like a spice bomb exploded in my kitchen.
For the Almond Flour Crust:
- 2 cups almond flour (blanched works best)
- 3 tablespoons granulated erythritol or monk fruit sweetener
- 1/4 teaspoon sea salt
- 1/4 cup melted butter or coconut oil
- 1 large egg
- 1/2 teaspoon vanilla extract
For the Pumpkin Filling:
- 15 oz pure pumpkin puree (not pie filling!)
- 3/4 cup granulated sugar substitute (I use Swerve)
- 3 large eggs
- 1 cup heavy cream (or full-fat coconut cream for dairy-free)
- 2 teaspoons vanilla extract
- 1 1/2 teaspoons ground cinnamon
- 1/2 teaspoon ground ginger
- 1/4 teaspoon ground nutmeg
- 1/4 teaspoon ground cloves
- 1/2 teaspoon sea salt
Optional Sugar-Free Whipped Cream:
- 1 cup heavy whipping cream
- 2 tablespoons powdered erythritol
- 1 teaspoon vanilla extract
How to Make Perfect Thanksgiving Pies for Diabetics
Quick Overview
Here’s the quick version before we dive in: this recipe takes about 75 minutes from start to finish, but most of that is hands-off baking time. The hardest part is waiting for it to cool completely (trust me, cutting into a warm pie will give you pumpkin soup). It’s honestly easier than traditional pumpkin pie because you don’t have to worry about rolling out pastry dough.
The Complete Process
Step 1: Prepare the Almond Flour Crust
Preheat your oven to 350°F. In a medium bowl, combine the almond flour, sweetener, and salt. I use a whisk to make sure there aren’t any lumps—almond flour can be clumpy straight from the bag. In a separate small bowl, whisk together the melted butter (let it cool slightly so it doesn’t cook the egg), egg, and vanilla. Pour the wet ingredients into the dry and mix until it forms a dough that holds together when pressed. It’ll be more crumbly than regular pie dough, and that’s totally normal.
Press the dough evenly into a 9-inch pie pan, working it up the sides. I use the bottom of a measuring cup to get it nice and even. Poke the bottom a few times with a fork (this prevents bubbling). Here’s where people often go wrong—you MUST pre-bake this crust for 10-12 minutes until it’s just starting to turn golden. Otherwise, you’ll end up with a soggy bottom, and nobody wants that.
Step 2: Make the Pumpkin Filling
While the crust is baking, let’s tackle the filling. In a large mixing bowl, whisk together the pumpkin puree and sweetener until well combined. I’ve found that mixing the sweetener with the pumpkin first helps it dissolve better. Add the eggs one at a time, whisking well after each addition. Then pour in the heavy cream and vanilla, whisking until smooth.
Now for the spices—this is where the magic happens. Add all your spices and salt, then whisk for a good 30 seconds. The mixture should be completely smooth and smell absolutely incredible. If you see any lumps, keep whisking or use an immersion blender for 10 seconds.
Step 3: Bake to Perfection
Once your crust is pre-baked, reduce the oven temperature to 325°F (this lower temp prevents cracking). Pour the filling into the warm crust—it should come almost to the top but not overflow. Carefully transfer to the oven and bake for 50-55 minutes.
Here’s the visual cue I learned after making this a dozen times: the edges should be set and slightly puffed, while the center should still have a slight jiggle (about the size of a quarter) when you gently shake the pan. It’ll firm up as it cools. I once overbaked one until the center was completely set, and it turned into pumpkin-flavored rubber. Not recommended.
Step 4: The Hardest Part—Cooling
Remove the pie from the oven and place it on a wire rack. This is where patience becomes a virtue. Let it cool at room temperature for at least 2 hours, then refrigerate for at least 4 hours or overnight. I know it’s tempting to dig in early (I’ve been there), but warm Thanksgiving pies for diabetics will be liquidy and won’t slice nicely.
Step 5: Make the Sugar-Free Whipped Cream (Optional but Highly Recommended)
Right before serving, make your whipped cream. Using a hand mixer or stand mixer, beat the heavy cream on medium speed until it starts to thicken. Add the powdered sweetener and vanilla, then increase speed to high and beat until stiff peaks form (about 2-3 minutes total). The first time I made this, I over-whipped it and basically made butter. Stop when it holds its shape but is still smooth and glossy.
My Favorite Ways to Serve These Pies
I’ve served these Thanksgiving pies for diabetics at three different Thanksgivings now, and I’ve learned a thing or two about presentation. The sugar-free whipped cream is non-negotiable in my house—it adds a luxurious touch and helps balance the spices in the pumpkin. A light dusting of cinnamon on top makes it look like it came from a fancy bakery.
For a special presentation, I sometimes drizzle a little sugar-free caramel sauce over individual slices. You can make this by melting butter with allulose and a pinch of salt until it turns golden and smells like caramel heaven. My sister also loves adding a handful of toasted pecans on top for crunch, though that does add a few extra carbs.
If you’re serving this alongside other desserts, I’d pair it with my sugar-free apple crisp or a cheese board. The mild, creamy flavor of this pumpkin pie plays really well with sharp cheddar or aged gouda if you want to do a sweet-and-savory thing.
Secrets to Nailing Thanksgiving Pies for Diabetics Every Time
Don’t Skip the Pre-Bake
I can’t stress this enough. The first time I made this recipe, I was running behind and skipped pre-baking the almond flour crust. The result was a soggy, undercooked bottom that basically disintegrated when I tried to serve it. Pre-baking creates a barrier that keeps the crust crisp even with that wet pumpkin filling. Those 12 minutes are absolutely worth it.
Room Temperature Ingredients Matter
This might sound fussy, but using room temperature eggs and cream makes a huge difference in how smooth your filling turns out. Cold eggs can cause the mixture to seize up and create lumps. I usually pull my eggs out of the fridge about 30 minutes before I start baking (or you can place them in warm water for 5 minutes in a pinch).
The Jiggle Test Is Your Friend
After making this recipe eight times in one month while perfecting it (yes, I ate a lot of pie), I learned that the jiggle test is more reliable than timing. Ovens vary wildly. My mom’s oven runs hot, so her pies are done in 45 minutes. Mine is slower and needs the full 55. That slight jiggle in the center is your signal—it should wobble like Jell-O, not slosh like soup.
Sweetener Selection Actually Matters
In my opinion, Swerve (which is an erythritol blend) gives the best results for Thanksgiving pies for diabetics because it measures cup-for-cup like sugar and doesn’t have a weird aftertaste. I’ve tried pure erythritol, and it has a bit of a cooling sensation. Monk fruit can be great but is super sweet—you’ll need way less. Allulose browns beautifully and has amazing texture, but it’s pricey. For beginners, I always recommend starting with Swerve.
Add Extra Vanilla to Combat Aftertaste
Most alternative sweeteners have at least a subtle aftertaste. The secret that took me months to figure out is adding extra vanilla extract—a whole 2 teaspoons instead of the typical 1 teaspoon. The vanilla essentially masks any sweetener weirdness and makes the pie taste richer and more complex.
If Your Pie Cracks, Don’t Panic
Cracks happen, especially if your oven runs hot or you overbake slightly. But here’s the thing—nobody will notice once you top it with whipped cream. I’ve also learned that rapid temperature changes cause cracking, so I now turn off the oven and let the pie sit inside with the door cracked for 10 minutes before removing it. This gradual cooling helps prevent those surface fissures.
Make-Ahead and Storage Magic
One of the best things about these Thanksgiving pies for diabetics is that they actually improve with age. I always make mine two days before Thanksgiving. The flavors meld together, the texture becomes even more custard-like, and it saves me precious oven space on Turkey Day.
Refrigerator Storage
Cover the cooled pie tightly with plastic wrap or aluminum foil and store in the refrigerator for up to 5 days. I use plastic wrap directly on the surface to prevent it from drying out, then add a layer of foil over the whole pie. The pie will stay fresh and delicious, though the crust may soften very slightly after day three (still totally delicious though).
Freezer Instructions
You can absolutely freeze this pie for up to 2 months. I bake it completely, let it cool, then wrap it tightly in two layers of plastic wrap followed by a layer of heavy-duty foil. Write the date on the foil with a Sharpie (I once found a mystery pie in my freezer from who-knows-when).
To thaw, transfer to the refrigerator 24 hours before serving. Don’t try to thaw at room temperature or you’ll end up with condensation that makes everything soggy. The texture is about 95% as good as fresh, which is pretty darn impressive for a frozen pie.
Best Way to Reheat
Honestly? I prefer this pie cold or at room temperature. But if you want it slightly warm, place individual slices on a microwave-safe plate and heat for 15-20 seconds. Any longer and the filling can become rubbery. You can also warm the whole pie in a 300°F oven for about 15 minutes if you’re serving a crowd.
Three More Diabetic-Friendly Pie Variations to Try
Once you’ve mastered the pumpkin version, these variations will give you even more options for your Thanksgiving dessert spread.
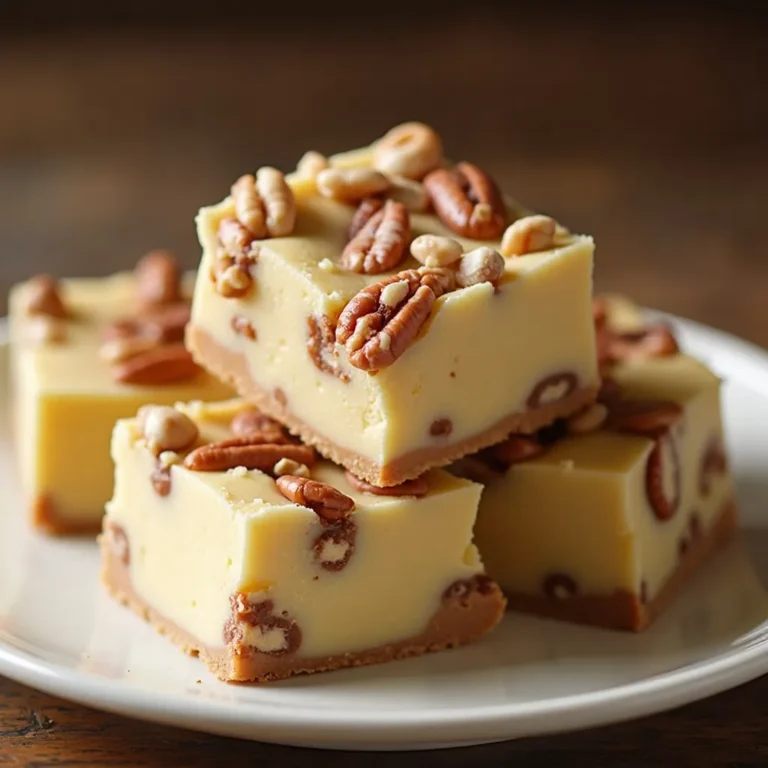
Sugar-Free Pecan Pie
This was my second recipe development project, and it’s become almost as popular as the pumpkin. Use the same almond flour crust, then make a filling with eggs, sugar-free maple syrup (or brown sugar substitute), butter, vanilla, and of course, pecans. The trick is using a combination of allulose and erythritol in the filling—the allulose helps it set properly and provides that gooey texture pecan pie is famous for.
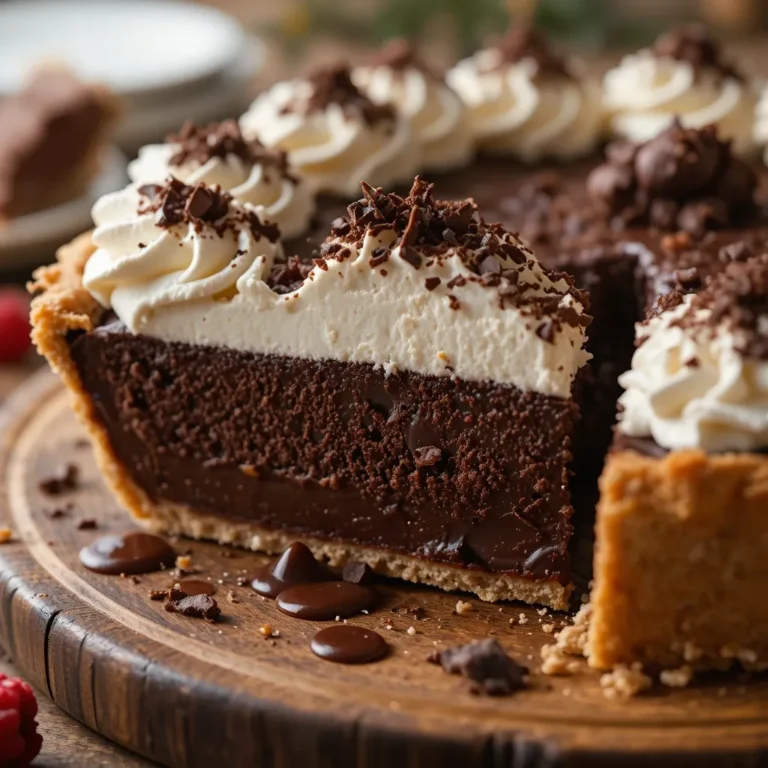
No-Bake Chocolate Cream Pie
For a completely different flavor profile, try this no-bake option that’s perfect when your oven is already packed. Make the crust, pre-bake it, then fill with a chocolate cream cheese mixture sweetened with powdered erythritol. Top with sugar-free whipped cream and sugar-free chocolate shavings. It’s ridiculously decadent and takes maybe 20 minutes of active work.
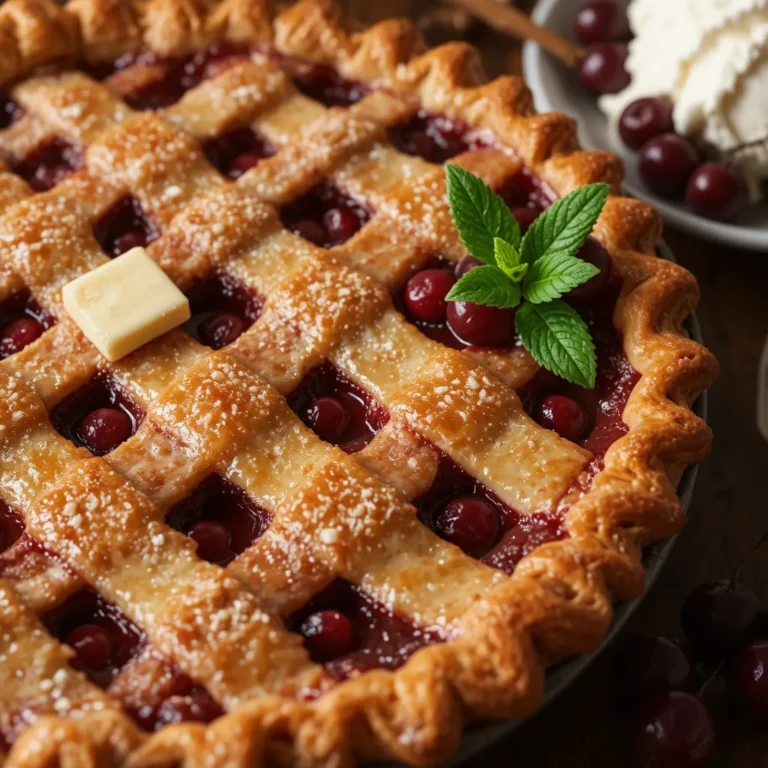
Low-Carb Apple Pie
This one requires a bit more effort but is so worth it. Use a double almond flour crust, fill with thinly sliced apples (Granny Smith hold up best) tossed with cinnamon, sweetener, and a tablespoon of almond flour to thicken the juices. The carb count is higher than the pumpkin version (apples have natural sugars), but it’s still way lower than traditional apple pie.
Questions I Get Asked All the Time
Can I use a store-bought crust instead?
You could, but most store-bought crusts are loaded with carbs and wouldn’t keep this pie diabetic-friendly. If you’re really opposed to making the almond flour crust, look for a pre-made almond flour or keto pie crust in the freezer section of health food stores. Just check the net carb count before buying.
What if I don’t like the taste of erythritol?
Try allulose instead—it’s the closest alternative sweetener to actual sugar in terms of taste and texture. It doesn’t have that cooling sensation some people find off-putting about erythritol. The only downside is it’s more expensive and can be harder to find. Most health food stores carry it now, or you can order it online.
Can I make this dairy-free?
Absolutely! I’ve tested this with full-fat coconut cream instead of heavy cream, and it works beautifully. Just make sure to use the thick cream from a can of coconut milk (refrigerate the can overnight and scoop off the solid cream on top). Replace the butter in the crust with coconut oil. The flavor has a slight coconut undertone, but most people actually really enjoy it.
How many carbs am I really getting per slice?
With the almond flour crust and sugar-free sweeteners, you’re looking at approximately 12 grams of total carbs and 8 grams of net carbs per slice (that’s total carbs minus fiber). Compare that to a traditional pumpkin pie slice at 40-50 grams of carbs, and you can see why these Thanksgiving pies for diabetics are such a game-changer.
Will this affect my blood sugar?
I can’t give medical advice (I’m a food blogger, not a doctor), but I can share that the diabetic friends and family members who’ve tested these pies report minimal blood sugar impact. Everyone’s body responds differently to different sweeteners, so I always recommend testing your blood sugar after trying any new recipe. Some people tolerate erythritol beautifully; others prefer allulose or monk fruit.
Can I reduce the fat content?
Technically yes, but I wouldn’t recommend it. The fat from the cream and almond flour is what makes this pie satisfying and helps stabilize blood sugar response. Fat slows down the absorption of any carbs, which is actually a good thing for blood sugar management. Low-fat desserts tend to spike blood sugar more dramatically.
Why This Recipe Matters to Me
Every holiday season, I think about that Thanksgiving when my Aunt Linda sat at our table feeling left out of the dessert celebration. Food is such a central part of how we connect, celebrate, and show love—especially during Thanksgiving. The idea that managing diabetes means you can’t participate in those traditions just doesn’t sit right with me.
These Thanksgiving pies for diabetics have become my small way of making sure everyone at my table feels included. Last year, we had four people at Thanksgiving dinner managing diabetes or pre-diabetes. Being able to serve a dessert that everyone could enjoy—without anyone feeling like they were eating “diet food”—made the entire meal feel more joyful and connected.
I’ve gotten messages from people who’ve made these pies saying their diabetic parents cried because they hadn’t had pumpkin pie in years. That kind of feedback reminds me why I spent weeks perfecting these recipes. Food is about more than just nutrition; it’s about belonging, tradition, and joy.
Your Turn to Make These Pies
So here’s my challenge to you: make one of these Thanksgiving pies for diabetics this holiday season. Even if you don’t have diabetes yourself, I bet you know someone who’d appreciate having a delicious dessert option that won’t spike their blood sugar.
Take a photo of your finished pie and tag me—I genuinely love seeing how these recipes turn out in other people’s kitchens. And if you discover any tweaks or variations that work well, drop a comment below! I’m always looking for ways to improve these recipes.
This Thanksgiving, nobody should have to sit at the table watching everyone else enjoy dessert. With these pies in your recipe arsenal, everyone gets to celebrate.
Happy baking, and happy Thanksgiving!