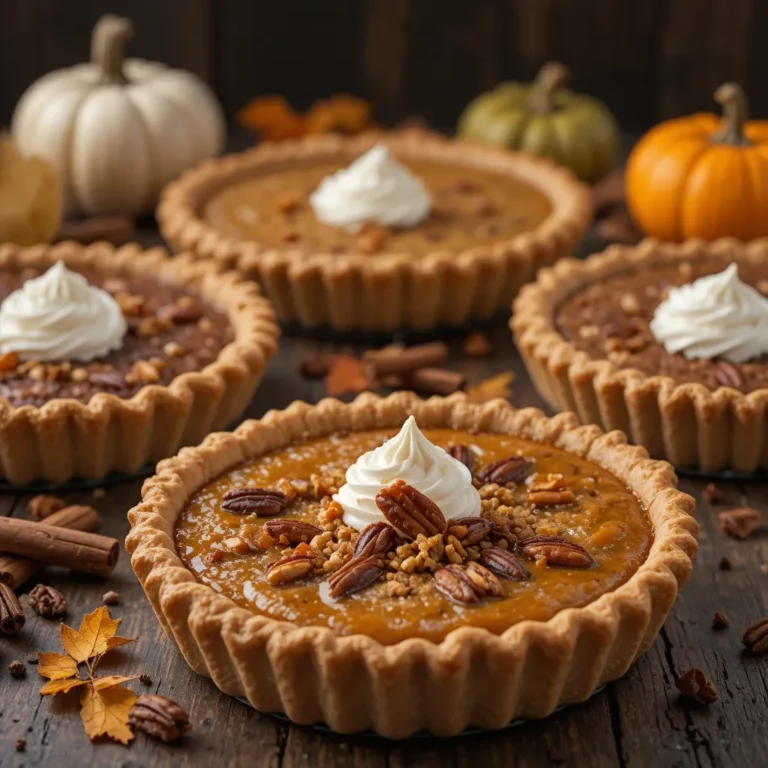
Thanksgiving Pies with Graham Cracker Crust Family-Favorite
Picture this: It’s 9 PM the night before Thanksgiving, and you’re frantically rolling out pie dough for the third time because it keeps cracking. Your kitchen counter is covered in flour, you’re sweating, and you’re seriously considering whether anyone would notice if you just served store-bought pies. I’ve been there. That’s exactly why I switched to thanksgiving pies with graham cracker crust five years ago, and honestly? I’ll never go back.
The first time I made a graham cracker crust for Thanksgiving, my aunt looked at me like I’d committed some kind of holiday crime. “That’s not traditional,” she said, arms crossed. But after one bite of my silky pumpkin filling nestled in that buttery, slightly sweet crust? She asked for the recipe.
And here’s the thing – graham cracker crusts aren’t just easier (though they absolutely are). They bring this incredible texture and flavor that actually makes your pies taste better. The subtle sweetness and crispy-chewy texture complement those classic Thanksgiving fillings in ways that regular pastry crust just can’t match.
This recipe was written by artificial intelligence and has not been personally tested at home. Feedback from our readers who tried other recipes on the site has been encouraging.
Why Graham Cracker Crusts Deserve a Place on Your Thanksgiving Table
Let me be real with you for a second. I grew up thinking that if you didn’t make traditional pie crust from scratch, you weren’t a “real” baker. My grandmother would spend hours perfecting her all-butter crust, and it was delicious. But you know what? Times have changed, and there’s absolutely nothing wrong with making your holiday cooking easier without sacrificing quality.
Graham cracker crusts bring something special to the Thanksgiving table. That slight honey sweetness plays beautifully with spiced pumpkin, tart cranberries, and rich pecans. Plus – and this is huge – they’re practically foolproof. No worrying about overworking the dough or getting the butter temperature just right. You literally press crumbs into a pan and bake. It takes maybe ten minutes of active work.
I’ve made thanksgiving pies with graham cracker crust at least twenty times now (I’m not exaggerating – I started making practice pies in October every year), and I’ve learned exactly what works and what doesn’t. The ratio of butter to crumbs matters more than you’d think, and there’s a specific trick to getting that crust perfectly crispy without burning the edges. I’m going to share all of that with you.
What Makes These Holiday Pies So Special
They Save You Precious Time
Here’s what nobody tells you about Thanksgiving: it’s not just about cooking one big meal. It’s about timing seventeen different dishes to be ready at the same time while also setting the table, entertaining guests, and pretending you’re not stressed. When I use graham cracker crusts, I shave about 45 minutes off my pie-making time. That’s 45 minutes I can spend on other dishes, or honestly, just sitting down with a cup of coffee before the chaos begins.
The Flavor Actually Elevates Your Fillings
I’m not just saying this because they’re easier. After testing different crust types side by side, I genuinely prefer how graham cracker crusts taste with classic Thanksgiving fillings. The slight sweetness doesn’t compete with your filling – it enhances it. My pumpkin pie filling tastes more complex, my chocolate silk pie is more balanced, and don’t even get me started on how good cranberry filling tastes against that buttery graham base.
Anyone Can Make Them (And I Mean Anyone)
My sister-in-law had never made a pie in her life before last Thanksgiving. She was terrified. I walked her through my graham cracker crust method over FaceTime, and you know what? Her pie was perfect. The crust was golden and crispy, held together beautifully, and she didn’t stress about it once. If you can stir things in a bowl and press them into a pan, you can make these crusts.
They’re More Forgiving Than Traditional Pastry
With regular pie crust, if you overwork it even slightly, you get tough, chewy pastry. With graham cracker crust? There’s almost nothing you can do to mess it up. The first time I made one, I thought I’d added too much butter and it would be greasy. Nope – it turned out perfectly. I’ve also accidentally used cinnamon graham crackers when I meant to use regular ones, and honestly, it was delicious.
Recipe Card for Thanksgiving Pies with Graham Cracker Crust
| Recipe Details | |
|---|---|
| Prep Time | 15 minutes |
| Cook Time | 10 minutes (crust only) |
| Total Time | 25 minutes + cooling |
| Servings | 8 slices per pie |
| Difficulty | Easy |
| Calories | 180 per slice (crust only) |
| Protein | 2g |
| Carbs | 22g |
| Fat | 9g |
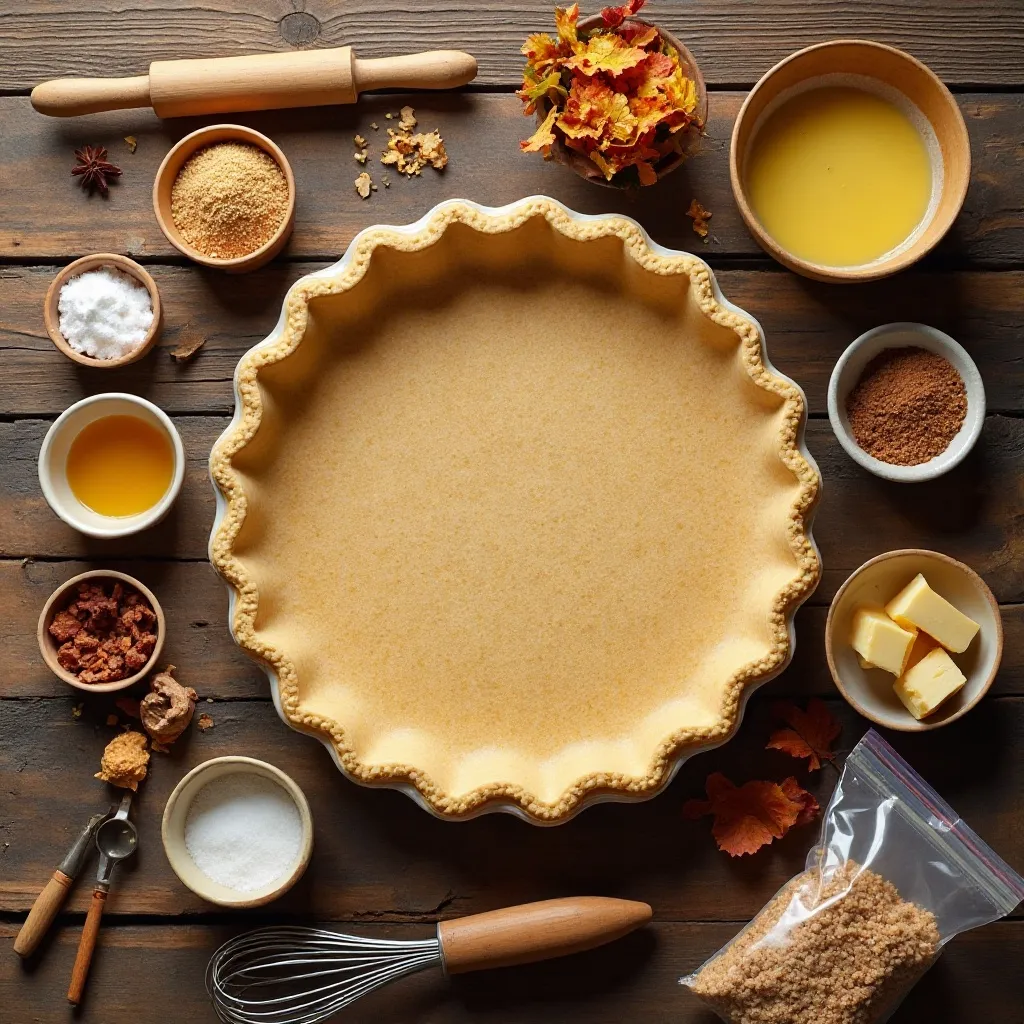
Ingredients for Thanksgiving Pies with Graham Cracker Crust
Before we dive into the ingredient list, let me tell you about the most important component: the graham crackers themselves. I always use Honey Maid because they’re consistently sized and have the perfect level of sweetness, but honestly, any brand works. Just avoid the low-fat versions – they don’t have enough flavor and the texture is off.
For the Basic Graham Cracker Crust:
- 2 cups (about 16 full crackers) graham cracker crumbs
- 6 tablespoons unsalted butter, melted
- 3 tablespoons granulated sugar
- ¼ teaspoon salt
- Optional: ½ teaspoon cinnamon for spiced pies
My Notes on Ingredients:
The butter-to-crumb ratio is crucial. Too little butter and your crust will be crumbly and fall apart when you slice it. Too much and it’ll be greasy. I’ve tested this exactly – 6 tablespoons is the sweet spot for 2 cups of crumbs. And don’t skip the salt! It sounds weird to add salt to a sweet crust, but trust me, it makes the entire thing taste more balanced and less one-dimensionally sweet.
I always use unsalted butter so I can control the salt level myself. If you only have salted butter on hand, reduce the added salt to just a pinch.
Let’s Get Cooking: The Simple Process
Step 1: Prep Your Graham Crackers
You’ve got two options here. You can put the graham crackers in a food processor and pulse until they’re fine crumbs (this takes about 30 seconds), or you can do what I did for years before I owned a food processor: put them in a zip-top bag and smash them with a rolling pin. The rolling pin method is actually kind of therapeutic when you need to work out some pre-Thanksgiving stress. You want the crumbs to be fine and even – no big chunks. It should look and feel like slightly coarse sand.
Step 2: Mix Your Crust Base
In a medium bowl, combine your graham cracker crumbs, sugar, and salt. Stir them together with a fork until everything is evenly distributed. Then pour in your melted butter (make sure it’s melted but not hot – if it’s too hot, it’ll start to soak into the crumbs unevenly). Mix everything together with that same fork until every single crumb is coated with butter. It should look like wet sand and hold together when you squeeze a small amount in your hand.
Step 3: Press Into Your Pan
Here’s where I see people make the most mistakes. You want to press the crumbs firmly and evenly into your 9-inch pie pan. I start by dumping all the crumbs into the pan, then use the bottom of a measuring cup to press them into the bottom first. Get that base nice and firm. Then, working my way around the edges, I press the crumbs up the sides of the pan. The crust should be about ¼ inch thick all around. Don’t leave any thin spots, or those areas will burn.
Pro tip I learned the hard way: Press the edges where the bottom meets the sides really firmly. That’s where crusts tend to crack when you slice them, and a good solid press there prevents that.
Step 4: Bake It to Golden Perfection
Preheat your oven to 350°F. Once it’s up to temperature, bake your crust for 8-10 minutes until it’s fragrant and the edges are just starting to turn golden brown. Your kitchen will smell amazing – like honey and butter and toasted graham crackers. Set a timer because it can go from perfect to burnt pretty quickly.
Step 5: Cool Completely
This is the hardest part, and I say that only half-jokingly. You need to let that crust cool completely before adding your filling. I usually make my crusts the day before Thanksgiving and let them cool completely, then cover them and store them overnight. If you’re doing it the same day, give it at least an hour to cool to room temperature.
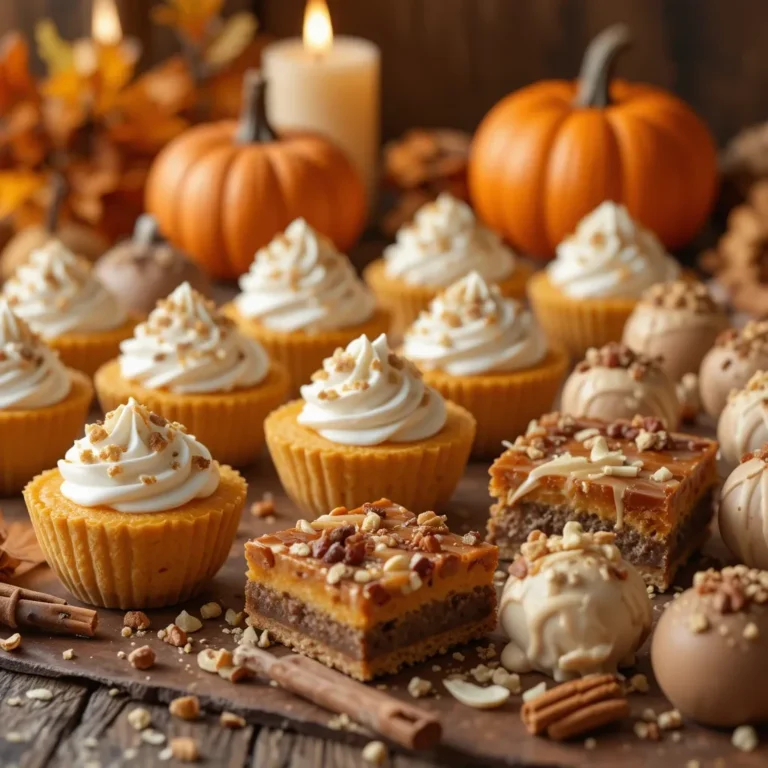
Perfect Pairings: The Best Fillings for Graham Cracker Crust
In my opinion, not all pie fillings work equally well with graham cracker crust. After years of experimenting (and some combinations my family still teases me about), here are my tried-and-true favorites:
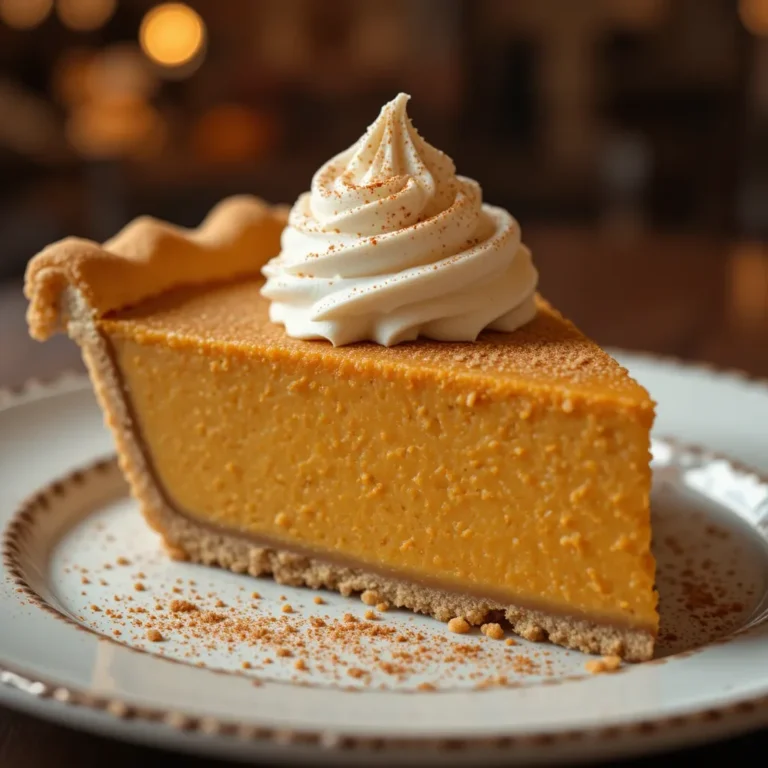
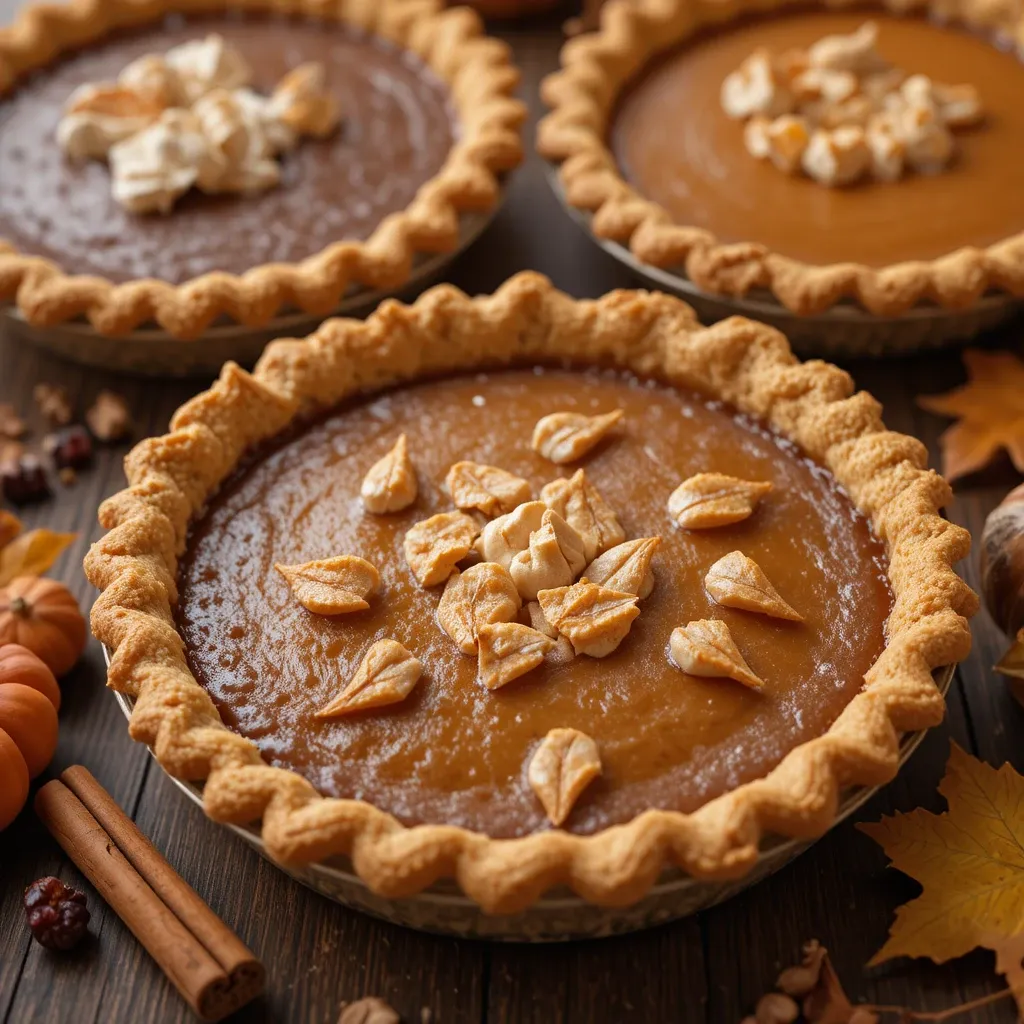
Classic Pumpkin Pie – This is THE pie that made me fall in love with graham cracker crusts. The spices in pumpkin filling (cinnamon, nutmeg, ginger) play so beautifully with the honey notes in the graham crackers. It’s like they were made for each other.
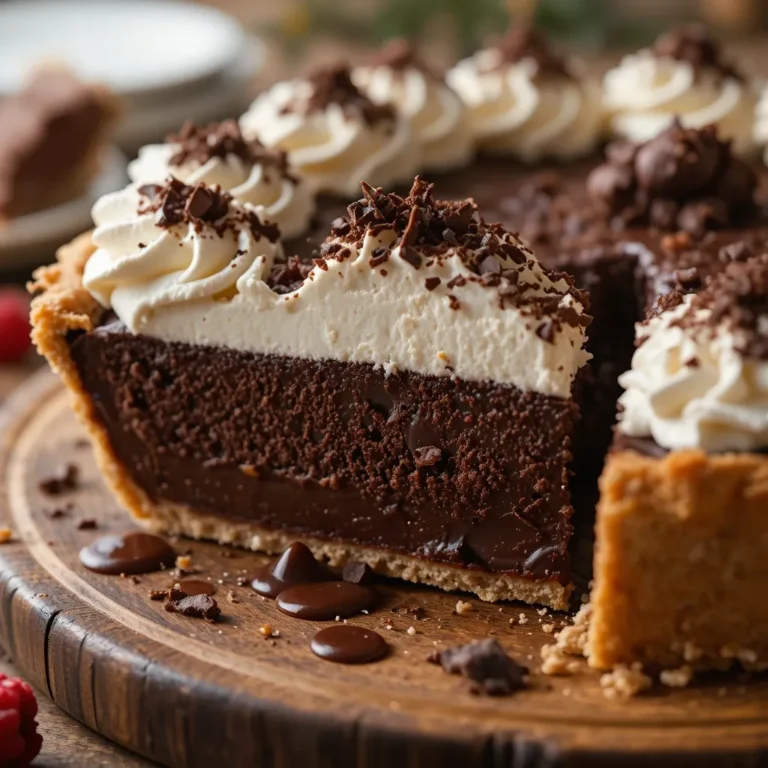
Chocolate Cream or Silk Pie – This combination tastes like an elevated s’more, and I mean that in the best way possible. The graham crust brings that nostalgic campfire vibe while still feeling sophisticated enough for Thanksgiving dinner.
Cranberry Pie – Hear me out on this one. Cranberries are tart, and that graham cracker sweetness balances them perfectly. I make a cranberry-orange pie with graham crust every year now, and it’s become the most requested dish at our Thanksgiving table.
Pecan Pie – The buttery, slightly sweet crust complements the caramelized pecan filling without competing with it. Plus, the texture contrast between crunchy pecans and crispy-chewy crust is just chef’s kiss.
Sweet Potato Pie – If you’re team sweet potato instead of team pumpkin, this crust works just as well. The flavors are similar enough to pumpkin that all my tips apply here too.
Pro Tips from My Kitchen (AKA Lessons I Learned the Hard Way)
Can I Make the Crust Ahead of Time?
Absolutely! In fact, I prefer it. You can make these crusts up to two days ahead. Once they’re completely cooled, cover them tightly with plastic wrap and store them at room temperature. They actually get a little bit crisper as they sit, which is perfect for no-bake fillings. For pies that need to bake with the filling, making the crust a day ahead still saves you time on Thanksgiving day.
My Secret to Extra Flavor
Add a quarter teaspoon of cinnamon to your crust mixture. It’s subtle – guests won’t be able to identify what the extra flavor is, but they’ll notice the crust tastes more complex and interesting. I’ve been doing this for three years now, and it’s my not-so-secret secret ingredient.
Don’t Skip the Pre-Baking Step
Even for pies that will bake again with filling, I always pre-bake my graham cracker crust first. This sets the butter and helps the crust hold its shape. The first year I made these pies, I tried to skip this step to save time, and the filling made the crust soggy in spots. Never again.
Use a Glass or Metal Pan, Not Ceramic
I’ve tested this in every type of pie pan I own. Glass and metal pans heat more evenly and give you a crisper bottom crust. Ceramic pans are pretty, but they don’t conduct heat as well, and you can end up with a softer, less crispy crust. My favorite is actually a simple metal pan – nothing fancy.
The Toothpick Test Doesn’t Work Here
Unlike traditional pie crust where you’re looking for certain visual cues, graham cracker crust is done when it’s fragrant and the edges are just starting to turn a deeper golden brown. If you wait until the whole thing is deeply golden, the edges will be burnt. Trust your nose as much as your eyes.
Room Temperature Butter Is Too Soft
I used to think that any melted fat would work the same in this crust. Wrong. You need butter that’s fully melted but not hot. If it’s too hot, it’ll make the crust greasy. I melt mine in the microwave in 15-second bursts, then let it sit for a minute before mixing it in.
Storing and Keeping Things Fresh
Before Baking: Unbaked graham cracker crust can be wrapped tightly and frozen for up to three months. Just thaw it overnight in the refrigerator before baking. I sometimes make a double batch and freeze one for later – it’s nice to have a head start on holiday baking.
After Baking: Once baked and cooled, the crust can sit covered at room temperature for up to two days. Any longer than that and it starts to lose its crispness. Once you’ve added filling, follow the storage instructions for that specific filling (most require refrigeration).
Fully Assembled Pies: Most pies with graham cracker crust need to be refrigerated once they’re filled. They’ll keep for 3-4 days in the fridge, though honestly, they never last that long in my house. For the crispest crust, let the pie come to room temperature for 30 minutes before serving.
Freezing Filled Pies: Cream pies don’t freeze well, but custard-based pies like pumpkin and pecan can be frozen for up to a month. Wrap them tightly in plastic wrap, then aluminum foil. Thaw overnight in the fridge before serving. The crust might lose a tiny bit of crispness, but it’s still delicious.
Common Questions I Get Asked
Will My Family Notice This Isn’t Traditional Crust?
Honestly? Some will, some won’t. But here’s what I’ve noticed over the years: even the people who notice don’t usually care once they taste it. My dad is a traditional-pie-crust purist, and even he admitted my pumpkin pie with graham crust was the best he’d had in years. The proof is in the eating, as they say.
Can I Use Other Types of Crackers?
I’ve experimented with vanilla wafers (good but very sweet), gingersnaps (amazing for fall pies), and even Nilla wafers (too soft). Graham crackers are still my favorite for thanksgiving pies with graham cracker crust, but gingersnaps are a close second if you want something with more spice.
What If My Crust Cracks When I Slice the Pie?
This usually means the crust wasn’t pressed firmly enough, especially at that crucial junction where the bottom meets the sides. It can also happen if you try to slice the pie while it’s too cold – let it sit at room temperature for 20-30 minutes before cutting. And use a sharp knife! Dip it in hot water, wipe it dry, and then make your cut. Clean the knife between each slice.
How Do I Get Perfectly Even Crumbs Without a Food Processor?
Put your graham crackers in a gallon-sized zip-top bag, press out all the air, and seal it. Then go to town with a rolling pin. Roll in different directions, flip the bag over, and keep going until the crumbs look uniformly fine. It takes about 3-4 minutes of solid rolling. Pour the crumbs through a mesh strainer to catch any larger pieces, crush those pieces again, and you’re set.
My Crust Is Too Crumbly – What Went Wrong?
Not enough butter. The mixture should hold together when you squeeze it in your hand. If it’s falling apart, add another tablespoon of melted butter, mix it in, and try again. It’s much easier to add more butter than to fix a greasy crust from too much butter, so start with the recipe amount and add more only if needed.
Why This Recipe Has Changed My Thanksgiving
I’ll be honest with you – Thanksgiving used to stress me out. There were always too many dishes to make, too many opinions about how things should be prepared, and never enough time. Switching to thanksgiving pies with graham cracker crust was one of several small changes I made that collectively transformed my holiday from stressful to actually enjoyable.
It’s not just about the time savings (though those 45 minutes matter). It’s about the confidence that comes from knowing this crust will turn out perfectly every single time. It’s about the compliments from guests who genuinely love the texture and flavor. And honestly, it’s about giving myself permission to do things differently than my grandmother did, and that’s okay.
Your Thanksgiving doesn’t have to look like anyone else’s Thanksgiving. If graham cracker crust makes your life easier and your pies taste better, then that’s what you should use. Anyone who judges you for it probably isn’t making the pies themselves.
Ready to Try It?
I hope you’ll give these thanksgiving pies with graham cracker crust a shot this year. Make one as a test run in the next few weeks so you feel confident on Thanksgiving day. Try it with your favorite filling, or branch out and experiment with one of the combinations I suggested.
And here’s the thing I love most about these crusts: once you master the basic technique, you can use it year-round. I make lemon icebox pie with graham crust in summer, chocolate cream pie for birthdays, and key lime pie whenever I’m craving something bright and citrusy. This one simple recipe will get so much mileage in your kitchen.
What’s your favorite Thanksgiving pie? Have you ever tried a graham cracker crust, or would this be your first time? Drop a comment below – I love hearing about what everyone’s making for the holidays!