Easy Thanksgiving Sugar Cookies Decorated Royal Icing Recipe
Get ready to fall in love with these beautiful Thanksgiving sugar cookies decorated royal icing! These buttery, melt-in-your-mouth treats are the perfect addition to your holiday table. Here’s a fun fact: decorated sugar cookies date back to the 1700s in Nazareth, Pennsylvania, where German settlers created intricate designs for special occasions.
These Thanksgiving cookies are incredibly special because they’re surprisingly simple to make, require just basic ingredients, and create stunning results that’ll impress everyone at your holiday gathering.
Similar to our popular Christmas Gingerbread Cookies, these festive treats are perfect for family baking sessions and make wonderful homemade gifts that show you care.
What Are Thanksgiving Sugar Cookies Decorated Royal Icing?
Ever wondered why these cookies have stolen the hearts of bakers everywhere? Thanksgiving sugar cookies decorated royal icing are classic butter cookies transformed into edible autumn masterpieces with smooth, glossy icing that hardens beautifully. The name simply describes what they are—sugar cookies celebrating Thanksgiving, adorned with royal icing in festive fall colors and designs.
Why “royal” icing? Legend says it earned its regal name after being used to decorate Queen Victoria’s wedding cake! As they say, the way to anyone’s heart is through their stomach, and these gorgeous cookies definitely pave that path. Ready to create your own edible art? Let’s get baking!
Why You’ll Love This Thanksgiving Sugar Cookies Decorated Royal Icing
Stunning Visual Appeal That Tastes Amazing
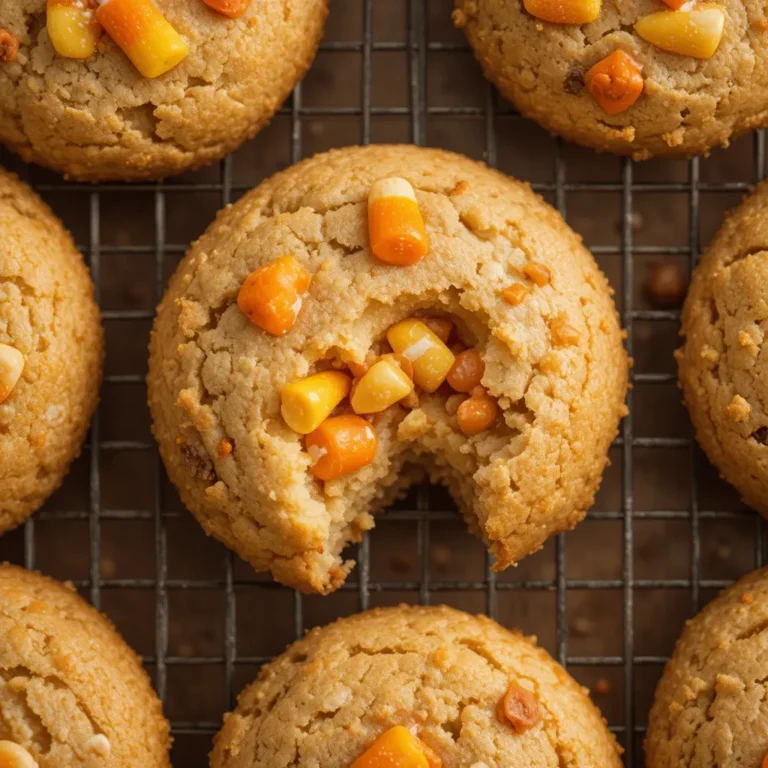
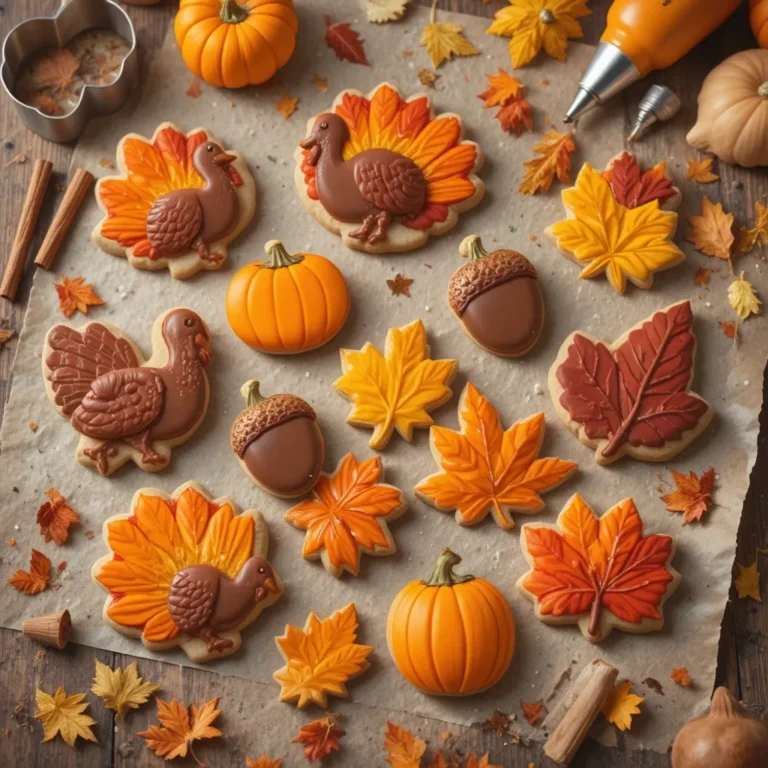
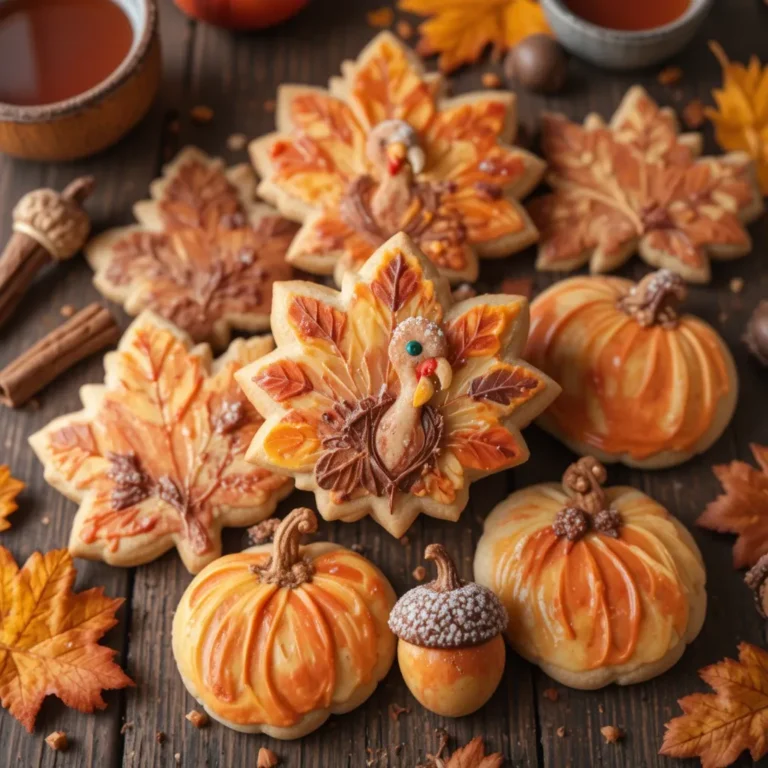
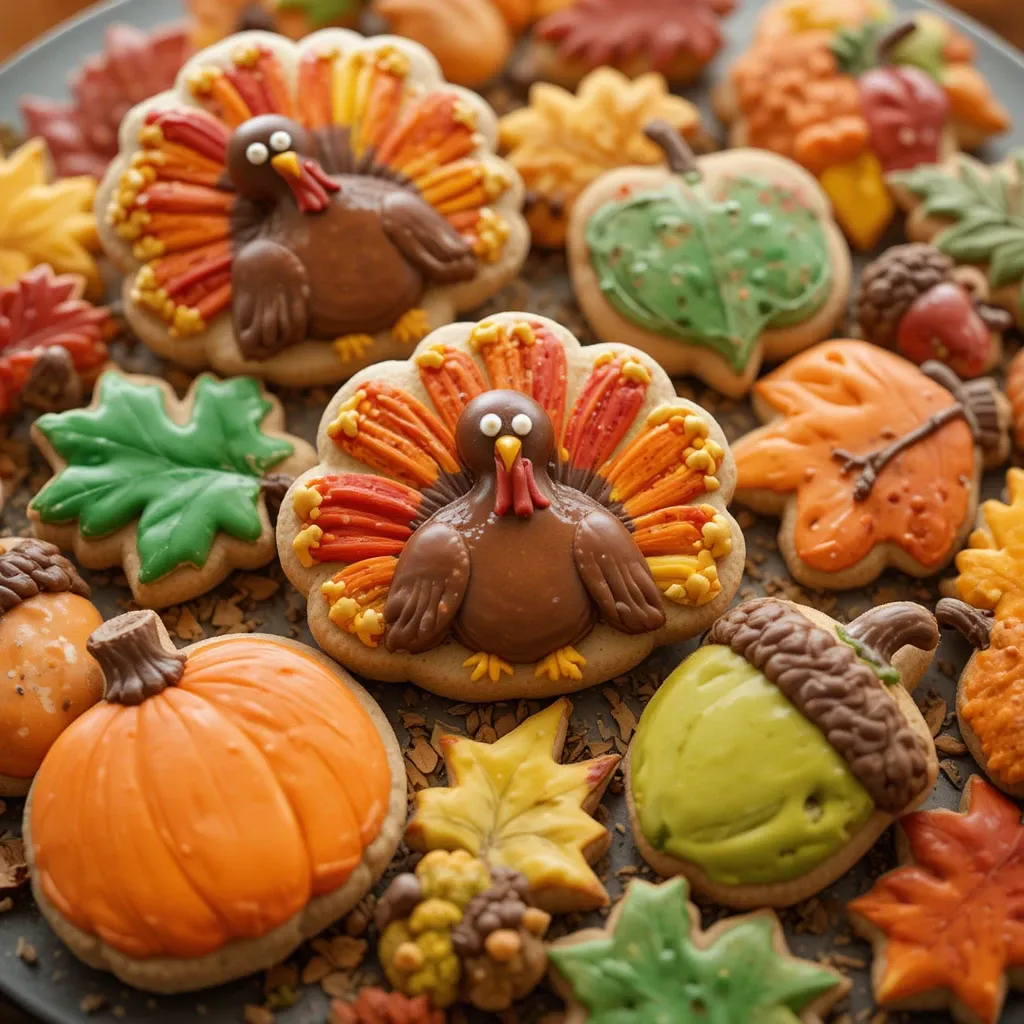
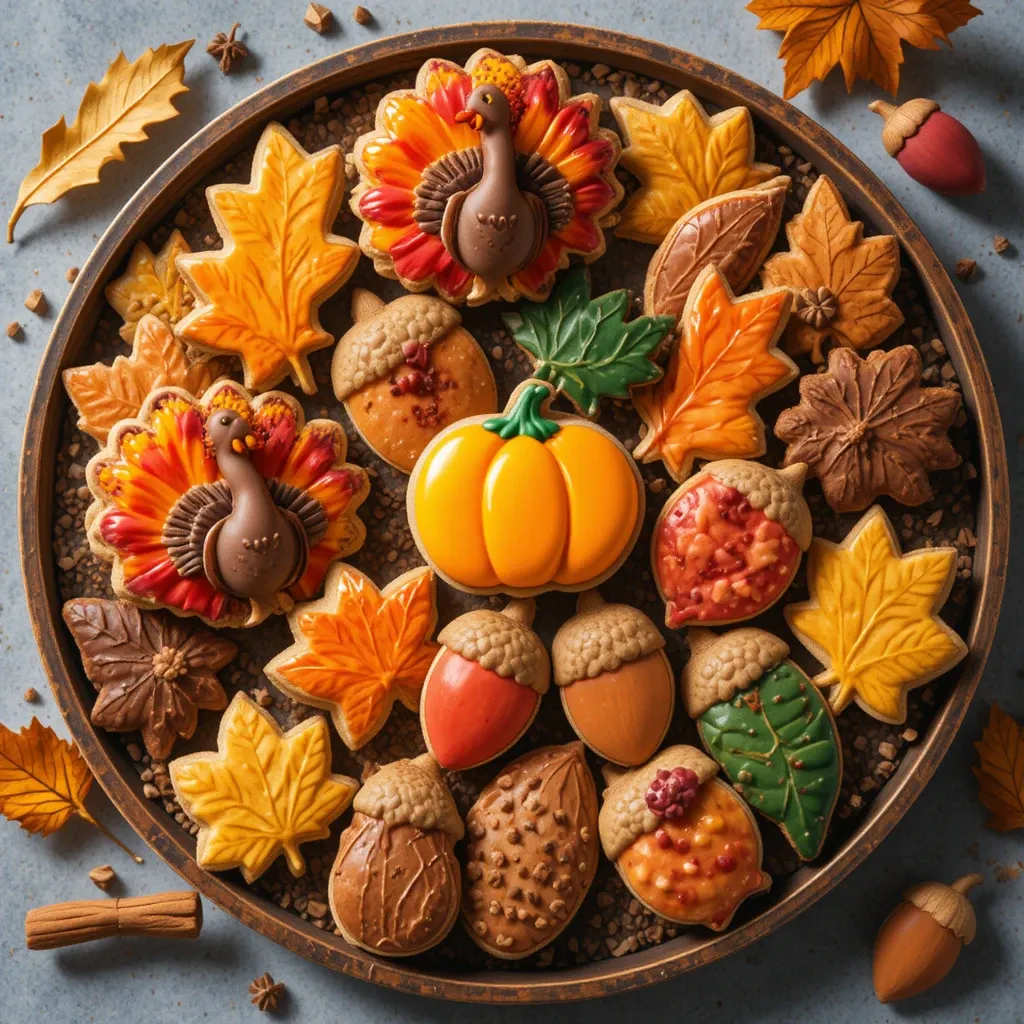
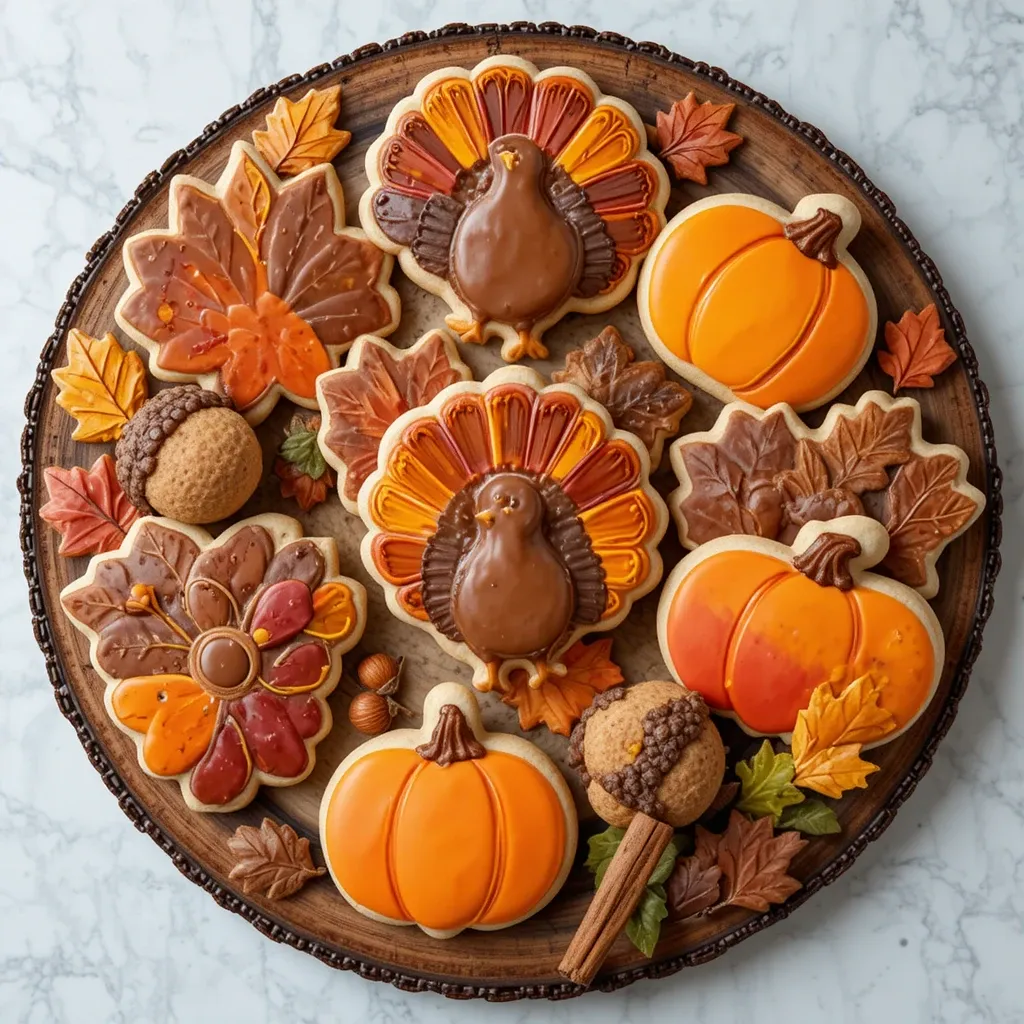
These thanksgiving sugar cookies decorated royal icing are absolute showstoppers. The crisp cookie base provides the perfect canvas for your artistic royal icing designs. Picture warm cinnamon-spiced cookies decorated with autumn leaves, turkeys, pumpkins, and acorns in rich oranges, deep browns, golden yellows, and warm reds.
The buttery cookie melts on your tongue while the sweet royal icing adds a delightful crunch. Each bite delivers a perfect balance of vanilla sweetness with hints of warm spices.
Incredible Cost Savings
Making thanksgiving sugar cookies decorated royal icing at home saves you serious money! Bakery decorated cookies can cost $3-5 per cookie, but homemade versions cost mere pennies each. You’ll spend around $15 on ingredients and create 3-4 dozen beautiful cookies—that’s less than 50 cents per cookie!
Plus, you control the quality of ingredients. Use real butter, organic eggs, and pure vanilla for superior taste. No preservatives, artificial colors, or mystery ingredients.
Endless Customization Options
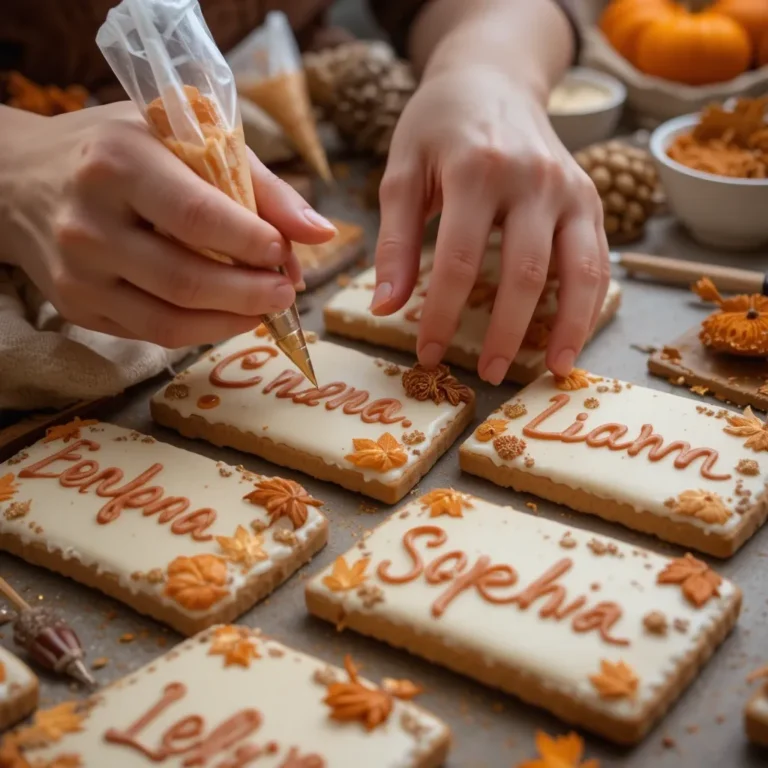
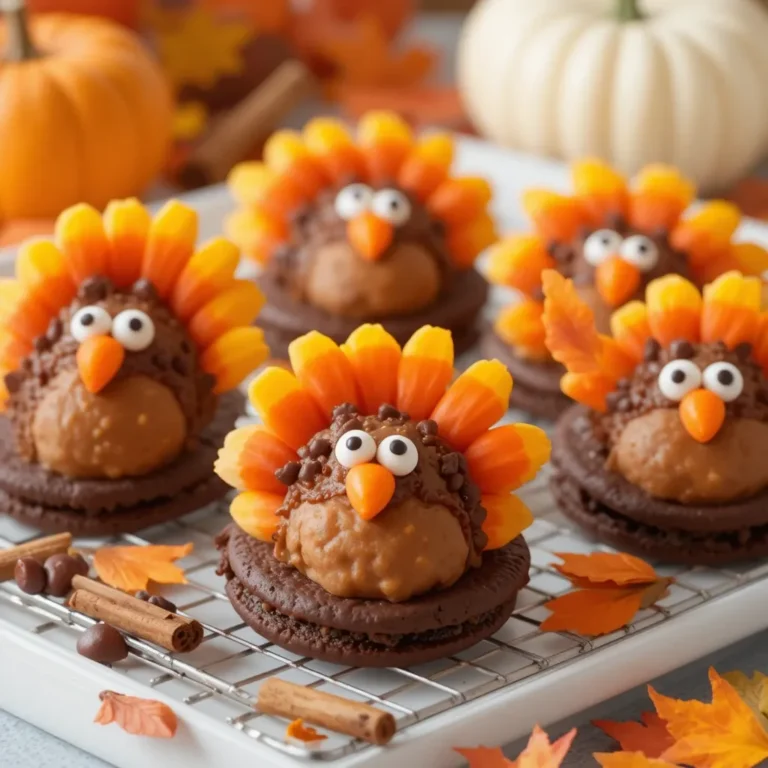
The real magic is in the decorating! Royal icing can be tinted any color and piped into intricate designs. Create turkeys with fanned tail feathers, leaves with delicate veins, pumpkins with curling vines, or write personalized messages for each guest.
Love creative baking? Check out our Halloween Sugar Cookies for more decorated cookie inspiration using similar techniques. The possibilities are truly endless, and each cookie becomes a unique work of edible art.
Making these at home also means you can customize flavors. Add almond extract, brown the butter, or incorporate pumpkin spice. You’re the master baker—make them your way!
How to Make Thanksgiving Sugar Cookies Decorated Royal Icing
Quick Overview
These thanksgiving sugar cookies decorated royal icing are surprisingly easy to make! The cookie dough comes together quickly and requires minimal ingredients you likely have on hand.
The result is perfectly crisp-edged cookies with tender centers that hold their shape beautifully for decorating.
Time Breakdown:
- Prep Time: 30 minutes
- Chill Time: 2 hours
- Baking Time: 10 minutes per batch
- Decorating Time: 1-2 hours
- Total Time: 4 hours
Key Ingredients for Thanksgiving Sugar Cookies Decorated Royal Icing
For the Sugar Cookies:
- 3 cups all-purpose flour
- 1½ teaspoons baking powder
- ½ teaspoon salt
- 1 cup unsalted butter, softened
- 1 cup granulated sugar
- 1 large egg
- 2 teaspoons pure vanilla extract
- ½ teaspoon almond extract (optional)
For the Royal Icing:
- 4 cups powdered sugar, sifted
- 3 tablespoons meringue powder
- 5-6 tablespoons warm water
- ½ teaspoon vanilla extract
- Gel food coloring (orange, brown, yellow, red, green)
Special Equipment:
- Cookie cutters (turkey, leaf, pumpkin, acorn shapes)
- Piping bags or squeeze bottles
- Piping tips (round tips #2, #3, #4)
- Toothpicks for detail work

Step-by-Step Instructions
Step 1: Prepare the Cookie Dough
In a medium bowl, whisk together 3 cups flour, 1½ teaspoons baking powder, and ½ teaspoon salt. Set this dry mixture aside.
In a large mixing bowl, beat 1 cup softened butter and 1 cup sugar together using an electric mixer on medium-high speed for 3-4 minutes. The mixture should become light, fluffy, and pale in color. This creaming process is crucial for tender cookies.
Add 1 egg, 2 teaspoons vanilla extract, and ½ teaspoon almond extract (if using) to the butter mixture. Beat on medium speed for another minute until everything is fully incorporated and smooth.
Step 2: Combine and Chill
Reduce mixer speed to low and gradually add the flour mixture to the wet ingredients. Mix just until the dough comes together and no flour streaks remain. Avoid overmixing, which creates tough cookies.
Divide the dough into two equal portions. Flatten each portion into a disk about 1 inch thick. Wrap each disk tightly in plastic wrap.
Refrigerate the dough for at least 2 hours or up to 3 days. Chilled dough is essential for cookies that hold their shape during baking.
Step 3: Roll and Cut
Preheat your oven to 350°F (175°C). Line baking sheets with parchment paper or silicone baking mats.
Remove one dough disk from the refrigerator. Let it sit at room temperature for 5-10 minutes to soften slightly—this makes rolling easier.
On a lightly floured surface, roll the dough to ¼-inch thickness. Use a rolling pin with thickness guides if you have them for perfectly even cookies.
Cut out shapes using Thanksgiving cookie cutters. Place cookies 2 inches apart on prepared baking sheets. Gather dough scraps, re-roll once, and cut more shapes.
Step 4: Bake to Perfection
Bake cookies for 8-10 minutes, depending on size. The cookies are done when edges are just barely beginning to turn golden. The centers will look slightly underdone—that’s perfect!
Let cookies cool on the baking sheet for 5 minutes, then carefully transfer to a wire cooling rack. Cool completely before decorating, at least 1 hour.
Step 5: Make the Royal Icing
In a large bowl, combine 4 cups sifted powdered sugar and 3 tablespoons meringue powder. Whisk together to eliminate lumps.
Add 5 tablespoons warm water and ½ teaspoon vanilla extract. Beat with an electric mixer on low speed for 30 seconds, then increase to medium-high. Beat for 5-7 minutes until the icing is bright white and forms stiff peaks.
Test the consistency: lift the beater and the icing should hold its peak for at least 10 seconds. If too thick, add water ½ teaspoon at a time. If too thin, add more powdered sugar.
Step 6: Color and Thin the Icing
Divide the royal icing into separate bowls—one for each color you want to use. Keep one bowl white if desired.
Add gel food coloring one drop at a time, stirring thoroughly. Gel colors are concentrated, so start with very little. Autumn colors work beautifully: burnt orange, chocolate brown, golden yellow, deep red, and forest green.
Create two consistencies for each color:
Outlining Consistency: Keep some icing thick for piping outlines. It should hold a stiff peak.
Flooding Consistency: Thin the remaining icing by adding water ½ teaspoon at a time. The right consistency is reached when you draw a knife through the icing and the line disappears in 10-15 seconds. This creates a smooth, flooded surface.
Transfer outlining icing to piping bags fitted with round tip #2 or #3. Transfer flooding icing to squeeze bottles or piping bags with the tip cut off.
Step 7: Decorate Your Cookies
Work with one cookie at a time. First, use the thick outlining icing to pipe an outline around the edge of the cookie, about ⅛ inch from the edge.
Let the outline set for 5-10 minutes until it forms a slight crust. This creates a barrier that prevents the flooding icing from running off the cookie.
Fill the outlined area with the thinner flooding icing. Use a toothpick to spread the icing into corners and smooth out any air bubbles.
While the base is still wet, add additional details like dots, lines, or contrasting colors. Use a toothpick to drag colors together for marbled effects or feathered designs.
For more intricate designs like turkey feathers or leaf veins, let the base layer dry for several hours or overnight, then pipe details on top.
Step 8: Let Dry Completely
Allow decorated cookies to dry at room temperature for at least 8-12 hours, preferably overnight. Royal icing needs air exposure to harden properly.
Don’t stack or package cookies until the icing is completely dry and hard to the touch. Proper drying prevents smudging and creates that signature glossy, smooth finish.
What to Serve Thanksgiving Sugar Cookies Decorated Royal Icing With
These festive cookies pair beautifully with so many holiday beverages and treats!
Hot Beverages: Serve alongside Pumpkin Spice Lattes, Chai Tea, or rich Hot Chocolate. The warm spices complement the cookies perfectly.
Coffee : Create a dessert table with various coffees, creamers, and these cookies for an elegant after-dinner treat.
Ice Cream Sundaes: Crumble cookies over vanilla or cinnamon ice cream for a delightful texture contrast.
Cheese Boards: Yes, cookies on a cheese board! The sweet cookies balance savory cheeses, nuts, and fruits beautifully.
Thanksgiving Dessert Table: Display alongside Pumpkin Pie, Pecan Pie, and Apple Crisp for a varied dessert spread.
Gift Baskets: Package these cookies with homemade fudge, caramel corn, or spiced nuts for gorgeous hostess gifts.
Kids’ Table: Let children decorate their own plain cookies with pre-made icing and sprinkles as a fun activity.
Top Tips for Perfecting Thanksgiving Sugar Cookies Decorated Royal Icing
Achieving Perfect Cookie Texture
Use room temperature butter for proper creaming. Cold butter won’t incorporate air, while melted butter creates flat, greasy cookies. The butter should be soft enough to leave a fingerprint but not shiny or greasy.
Don’t skip the chilling time! Chilled dough handles better, keeps its shape during baking, and produces cookies with better texture. If you’re short on time, freeze the dough for 30-45 minutes instead of refrigerating for 2 hours.
Roll dough between two pieces of parchment paper to prevent sticking without adding extra flour. Too much flour during rolling makes cookies tough and dry.
Royal Icing Mastery
Always sift powdered sugar before making royal icing. Lumpy icing is impossible to pipe smoothly and will clog your piping tips.
Meringue powder is essential for stable royal icing that dries hard. Don’t substitute with egg whites unless you’re comfortable working with raw eggs.
Cover bowls of royal icing with damp paper towels when not using them. Royal icing crusts over quickly when exposed to air, making it unusable.
Decorating Like a Pro
Practice piping techniques on parchment paper before decorating actual cookies. Get comfortable with consistent pressure and smooth lines.
Work in batches by color, not by cookie. Outline all cookies in one color, then flood them, before moving to the next color. This efficient workflow prevents icing from drying in your bags.
Use toothpicks to pop air bubbles immediately after flooding. Gently shake or tap the cookie to help icing settle smoothly.
Flavor Variations
Add 1 teaspoon pumpkin pie spice to the cookie dough for extra autumn flavor. Or try 1 teaspoon cinnamon plus ¼ teaspoon nutmeg.
Brown the butter before making the dough for rich, nutty flavor. Just be sure to let it cool completely and resolidify before creaming with sugar.
Add ½ teaspoon maple extract or replace half the vanilla with it for a distinctly fall taste.
Color Mixing Tips
Create natural-looking autumn colors by mixing gel colors: combine red and yellow for perfect orange, mix red and brown for rusty autumn tones, or blend yellow and brown for golden harvest shades.
Make black icing by combining equal parts royal blue, pink, and brown gel colors. Pure black gel food coloring often looks gray.
Storing and Reheating Tips
Storing Undecorated Cookies
Store baked but undecorated cookies in an airtight container at room temperature for up to 1 week. Layer cookies with parchment paper to prevent sticking.
Freeze undecorated cookies for up to 3 months. Wrap them tightly in plastic wrap, then place in a freezer bag. Thaw at room temperature for 30 minutes before decorating.
Storing Cookie Dough
Refrigerate wrapped cookie dough for up to 5 days. Let it soften at room temperature for 10 minutes before rolling.
Freeze cookie dough for up to 3 months. Thaw overnight in the refrigerator before using.
Storing Decorated Cookies
Once royal icing is completely dry (12-24 hours), store decorated cookies in an airtight container at room temperature for up to 2 weeks. The icing actually acts as a preservative!
Layer cookies with parchment or wax paper between layers to protect decorations.
Never refrigerate decorated cookies! Refrigeration causes condensation, which makes royal icing weep and colors bleed. Moisture is the enemy of royal icing.
Freezing Decorated Cookies
Yes, you can freeze decorated cookies! Once icing is completely dry, place cookies in a single layer in an airtight container. Freeze for up to 2 months.
Thaw frozen decorated cookies in their sealed container at room temperature for 2-3 hours. This prevents condensation from forming on the icing.
Storing Royal Icing
Store leftover royal icing in airtight containers at room temperature for up to 2 weeks. Press plastic wrap directly onto the surface before sealing.
Before using stored icing, re-beat it briefly to restore smooth consistency. Add a few drops of water if needed.
Tips for Avoiding Common Baking Mistakes for Thanksgiving Sugar Cookies Decorated Royal Icing
Mistake #1: Cookies Spreading or Losing Shape
The Problem: Cookies spread during baking, losing their defined edges and making decorating difficult.
The Solution: Always chill your dough thoroughly for at least 2 hours. Warm dough spreads excessively. Additionally, make sure your butter is softened, not melted, when mixing the dough. Use parchment paper or silicone mats on baking sheets—greased pans cause extra spreading.
Mistake #2: Tough, Hard Cookies
The Problem: Cookies turn out tough and crunchy instead of tender with a slight chewiness.
The Solution: Don’t overmix the dough after adding flour. Mix just until combined. Overmixing develops gluten, creating tough cookies. Also, avoid adding too much flour during rolling—use just enough to prevent sticking. Finally, don’t overbake! Remove cookies when edges are barely golden; they’ll continue cooking on the hot pan.
Mistake #3: Royal Icing Won’t Harden
The Problem: Icing stays sticky and soft even after hours of drying.
The Solution: This usually means too much water was added. Royal icing should be quite stiff for outlining. If your icing is too thin, beat in more sifted powdered sugar. Also, ensure you’re using fresh meringue powder—old powder loses its binding ability. Humidity can also affect drying time; use a dehumidifier or fan if you live in a humid climate.
Mistake #4: Icing Colors Bleeding Together
The Problem: Different colored icings bleed into each other, creating muddy designs.
The Solution: Always let your outline dry completely (5-10 minutes minimum) before flooding with the thinner icing. When adding details in different colors, wait for the base layer to dry completely (several hours) before piping on top. Don’t flood cookies too thickly—a thin, even layer dries faster and is less likely to bleed.
Mistake #5: Air Bubbles in Flooded Icing
The Problem: Tiny air bubbles mar the smooth surface of your decorated cookies.
The Solution: After flooding a cookie with icing, immediately use a toothpick to pop any visible bubbles. Gently tap the cookie on the counter a few times to bring hidden bubbles to the surface. Adding water to thin your icing gradually helps prevent incorporating too much air.
Mistake #6: Piping Bag Bursts or Icing Leaks
The Problem: Icing leaks from the top of the piping bag or the bag bursts under pressure.
The Solution: Don’t overfill piping bags—fill only halfway to two-thirds full. Twist the top of the bag tightly before piping. If using disposable bags, use two bags (one inside the other) for extra strength when working with thick icing. Make sure your piping tip is securely attached to prevent leaks.
Mistake #7: Dough Too Sticky or Crumbly
The Problem: Dough is either too sticky to roll or so dry it cracks and crumbles.
The Solution: For sticky dough, refrigerate longer or dust your work surface lightly with flour. For crumbly dough, let it sit at room temperature longer before rolling, or knead in 1 teaspoon of milk or water. Proper measuring is key—spoon flour into measuring cups and level off; don’t pack it in.
Mistake #8: Uneven Cookie Thickness
The Problem: Some cookies are thick while others are thin, leading to uneven baking.
The Solution: Use rolling pin guide rings or wooden dowels on either side of your dough to ensure even ¼-inch thickness. Roll from the center outward with even pressure. An offset spatula can help transfer cut cookies to baking sheets without distorting their shape.
Frequently Asked Questions
How do you make royal icing for Thanksgiving cookies?
To make royal icing for thanksgiving sugar cookies decorated royal icing, combine 4 cups sifted powdered sugar with 3 tablespoons meringue powder. Add 5-6 tablespoons warm water and ½ teaspoon vanilla extract. Beat with an electric mixer for 5-7 minutes until stiff peaks form and the icing is bright white. Adjust consistency by adding water for flooding or more sugar for outlining. Divide into portions and tint with gel food coloring in autumn shades.
How long do royal icing decorated cookies last?
Properly stored thanksgiving sugar cookies decorated royal icing last up to 2 weeks at room temperature in an airtight container. The royal icing actually preserves the cookies! Once the icing is completely dry (12-24 hours), layer cookies with parchment paper between layers. Never refrigerate decorated cookies as condensation will ruin the icing. For longer storage, freeze decorated cookies for up to 2 months in an airtight container.
Can I make sugar cookie dough ahead of time?
Absolutely! Sugar cookie dough for thanksgiving sugar cookies decorated royal icing can be made up to 5 days ahead and refrigerated, or frozen for up to 3 months. Wrap the dough tightly in plastic wrap before storing. This actually improves the cookies because the dough has time to hydrate fully, creating more tender cookies with better flavor. Just let refrigerated dough soften at room temperature for 10 minutes before rolling, or thaw frozen dough overnight in the fridge.
Why did my sugar cookies spread during baking?
Cookie spreading happens for several reasons. First, the dough wasn’t chilled long enough—always refrigerate for at least 2 hours. Second, the butter might have been too warm when mixed. Third, the baking sheet might have been greased (use parchment paper instead). Fourth, your oven might be too cool—verify temperature with an oven thermometer. Finally, too much sugar or not enough flour can cause spreading. Properly chilled dough on a parchment-lined sheet at the correct temperature should hold its shape perfectly.
Do I need meringue powder for royal icing?
While traditional royal icing uses egg whites, meringue powder is highly recommended for thanksgiving sugar cookies decorated royal icing. Meringue powder creates stable, food-safe icing that dries hard and glossy without concerns about raw eggs. It also has a longer shelf life and more consistent results. If you don’t have meringue powder, you can use pasteurized egg whites (3 tablespoons equals one egg white), but the icing may not dry as hard or stay as white.
What’s the best way to color royal icing?
Use gel food coloring, not liquid food coloring, for thanksgiving sugar cookies decorated royal icing. Gel colors are highly concentrated, so you need very little to achieve vibrant colors without thinning the icing. Add gel color one drop at a time with a toothpick, stirring thoroughly between additions. For autumn colors, try burnt orange, chocolate brown, golden yellow, cranberry red, and forest green. Mix colors together to create custom shades like rust, amber, or copper.
Can I decorate sugar cookies the same day I bake them?
Yes, but the cookies must be completely cool first. After baking, let cookies cool on the pan for 5 minutes, then transfer to a wire rack. Allow at least 1 hour for cookies to cool completely before decorating. Warm cookies will cause royal icing to melt and slide off. For best results, bake cookies one day and decorate the next—this gives the cookies time to firm up completely and makes decorating easier.
How do I get smooth royal icing on cookies?
To achieve smooth royal icing on thanksgiving sugar cookies decorated royal icing, use the outline and flood method. First, pipe a thick outline around the cookie edge and let it dry for 5-10 minutes. Then fill the outlined area with thinner “flooding” icing that has a 10-15 second consistency (when you draw a line through it, it disappears in 10-15 seconds). Use a toothpick to guide icing into corners and pop air bubbles. Gently tap the cookie to help icing settle smoothly.
What consistency should royal icing be for decorating?
You need two consistencies for thanksgiving sugar cookies decorated royal icing. Outlining consistency should be thick enough to hold stiff peaks—when you lift the beater, the peak should stand up for at least 10 seconds. Flooding consistency should be much thinner—when you draw a knife through it, the line should disappear in 10-15 seconds. This creates a smooth surface. For fine details and lettering, use a medium consistency between the two.
Can I freeze decorated sugar cookies?
Yes! Once the royal icing on your thanksgiving sugar cookies decorated royal icing is completely dry (24 hours), you can freeze them. Place cookies in a single layer in an airtight container with parchment between layers. Freeze for up to 2 months. To thaw, keep cookies sealed in their container and bring to room temperature for 2-3 hours. This prevents condensation from forming on the icing. Frozen decorated cookies taste just as fresh as newly made ones!
Nutrition Information
| Nutrient | Per Cookie (1 cookie) |
|---|---|
| Calories | 145 |
| Total Fat | 5g |
| Saturated Fat | 3g |
| Cholesterol | 20mg |
| Sodium | 45mg |
| Total Carbohydrates | 24g |
| Dietary Fiber | 0g |
| Sugars | 16g |
| Protein | 1g |
Nutritional information is approximate and based on one medium-sized decorated cookie (about 3 inches). Values will vary depending on cookie size and amount of icing used.
Final Thoughts
These thanksgiving sugar cookies decorated royal icing are the perfect combination of delicious and beautiful. Whether you’re an experienced baker or trying cookie decorating for the first time, this recipe sets you up for success.
The keys to perfect results are: chilling the dough thoroughly, achieving the right royal icing consistency, and taking your time with decorating. Don’t rush the process—baking and decorating should be enjoyable!
Remember, your first attempts don’t need to be perfect. Cookie decorating is a skill that improves with practice. Each batch you make will be better than the last. Start with simple designs like solid-colored leaves or pumpkins, then work up to more detailed turkeys and intricate patterns.
These cookies make wonderful contributions to Thanksgiving dinner, thoughtful hostess gifts, or fun family activities. Kids especially love helping with cookie decorating—set up a decorating station with pre-made icing in squeeze bottles and let their creativity shine!
Make a batch this Thanksgiving season and create delicious memories with your loved ones. Your family will request these beautiful cookies year after year, making them a treasured holiday tradition.