10 Thanksgiving Sugar Cookies Ideas Your Family Will Love
The smell of butter and vanilla wafting through my kitchen last November is what made me fall in love with Thanksgiving baking all over again. I was frantically trying to come up with something festive for our family gathering—something beyond the usual pumpkin pie—and that’s when I decided to go all-in on decorated sugar cookies. Honestly?
Best decision ever. My niece still talks about the turkey cookies we made together, and I’ve been perfecting my Thanksgiving sugar cookies ideas ever since.
Here’s the thing about sugar cookies: they’re like a blank canvas for your creativity, and Thanksgiving gives you so many gorgeous themes to work with. Golden leaves, plump pumpkins, adorable turkeys—the possibilities are endless.
Plus, they’re way more forgiving than you’d think. I’ve made these cookies at least 15 times now (yes, I’m slightly obsessed), and I’ve learned that even if your icing isn’t Instagram-perfect, they still taste incredible and look festive on any dessert table.
What Makes Thanksgiving Sugar Cookies So Special
Let me tell you why Thanksgiving sugar cookies deserve a permanent spot in your holiday baking rotation. Unlike other Thanksgiving desserts that are rich and heavy (I’m looking at you, pecan pie), sugar cookies offer a lighter, more playful option that both kids and adults actually get excited about. They’re also incredibly versatile—you can make them as simple or as elaborate as your schedule allows.
I’ve served these at potlucks, brought them to Friendsgiving parties, and even shipped them to family members who couldn’t make it to dinner. The best part? You can customize every single batch to match your Thanksgiving aesthetic, whether you’re going for rustic farmhouse vibes or elegant autumn sophistication.
After testing different recipes and decorating techniques over the past few years, I’ve discovered that the key is finding that perfect balance between a cookie that holds its shape and one that’s still tender and buttery.
Why You’ll Love These Thanksgiving Sugar Cookies Ideas
They’re Actually Easy (I Promise)
Real talk: I’m not a professional baker. The first time I tried making decorated cookies, I was intimidated by all those gorgeous photos online. But once I realized that sugar cookies are basically foolproof, everything changed. The dough comes together in about 15 minutes, and you don’t need any fancy equipment. I use the same basic recipe for all my Thanksgiving sugar cookies ideas, and it works every single time.
Your Kitchen Will Smell Amazing
This might sound silly, but the aroma alone makes it worth the effort. That combination of butter, vanilla, and a hint of almond extract (my secret weapon) fills your entire house with the coziest fall scent. My neighbors have literally knocked on my door asking what I’m baking. It’s that good.
Perfect for Making Memories
One of my favorite things about these cookies is how they bring people together. Last Thanksgiving, my 6-year-old nephew helped me decorate turkey cookies, and yes, they were messy and imperfect, and absolutely adorable. These aren’t just cookies—they’re opportunities to create traditions and memories that’ll last way longer than any dessert.
Budget-Friendly and Crowd-Pleasing
You probably already have most of the ingredients in your pantry. I’ve made massive batches of these for under $20, and they feed a crowd. Plus, everyone loves them—from picky eaters to your most sophisticated foodie friends.
Thanksgiving Sugar Cookies Recipe Card
| Recipe Details | |
|---|---|
| Prep Time | 25 minutes (plus 2 hours chilling) |
| Cook Time | 10 minutes per batch |
| Total Time | 3 hours |
| Servings | 24-30 cookies (depending on cutter size) |
| Difficulty | Easy |
| Calories | 145 per cookie |
| Protein | 2g |
| Carbs | 19g |
| Fat | 7g |
Ingredients for Perfect Thanksgiving Sugar Cookies
Before we dive into the fun decorating ideas, let’s talk about what makes the actual cookie amazing. I’ve tweaked this recipe so many times, and this version gives you cookies that hold their shape beautifully (no spreading turkeys that look like blobs!) while staying soft and delicious. Don’t skip the chilling time—I learned that the hard way when my first batch spread into abstract art pieces.
For the Cookie Dough:
- 3 cups all-purpose flour
- 1½ teaspoons baking powder
- ½ teaspoon salt
- 1 cup (2 sticks) unsalted butter, room temperature
- 1 cup granulated sugar
- 1 large egg
- 2 teaspoons vanilla extract
- ½ teaspoon almond extract (trust me on this)
For Royal Icing:
- 4 cups powdered sugar
- 3 tablespoons meringue powder
- 5-6 tablespoons water
- Gel food coloring in autumn colors (orange, brown, yellow, red, green)
Optional but Recommended:
- Sanding sugar or sprinkles in fall colors
- Edible markers for details
- Edible gold dust for fancy occasions
10 Thanksgiving Sugar Cookie Ideas to Try This Year
1. Classic Turkey Cookies
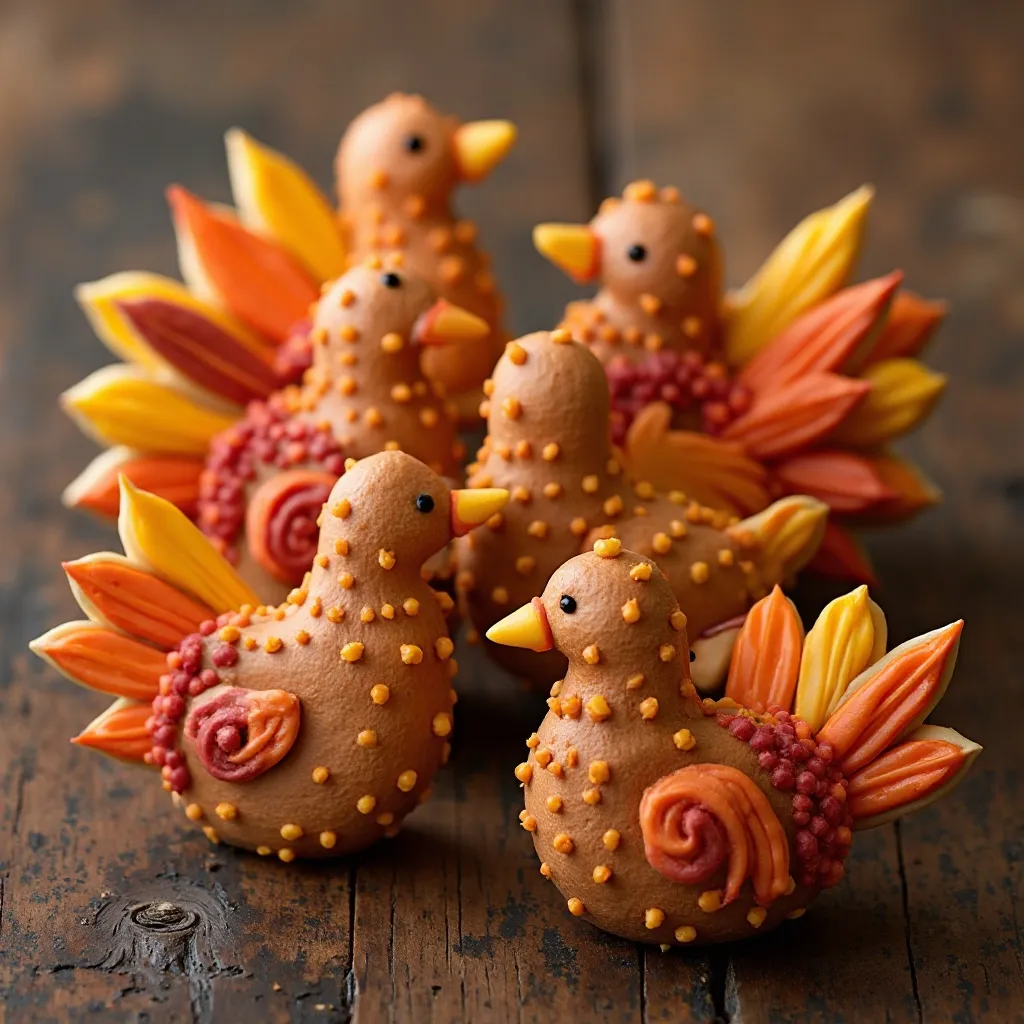
These are the stars of the show. I use an oval cookie cutter for the body and create the feathers with royal icing in warm autumn shades—deep orange, rich brown, golden yellow, and burgundy red.
After testing different techniques, I’ve found that piping the feathers in a fan shape and adding a candy corn for the beak gives them the most personality. My trick? Let each color dry for about 20 minutes before adding the next, so they don’t bleed together.
2. Fallen Leaf Assortment
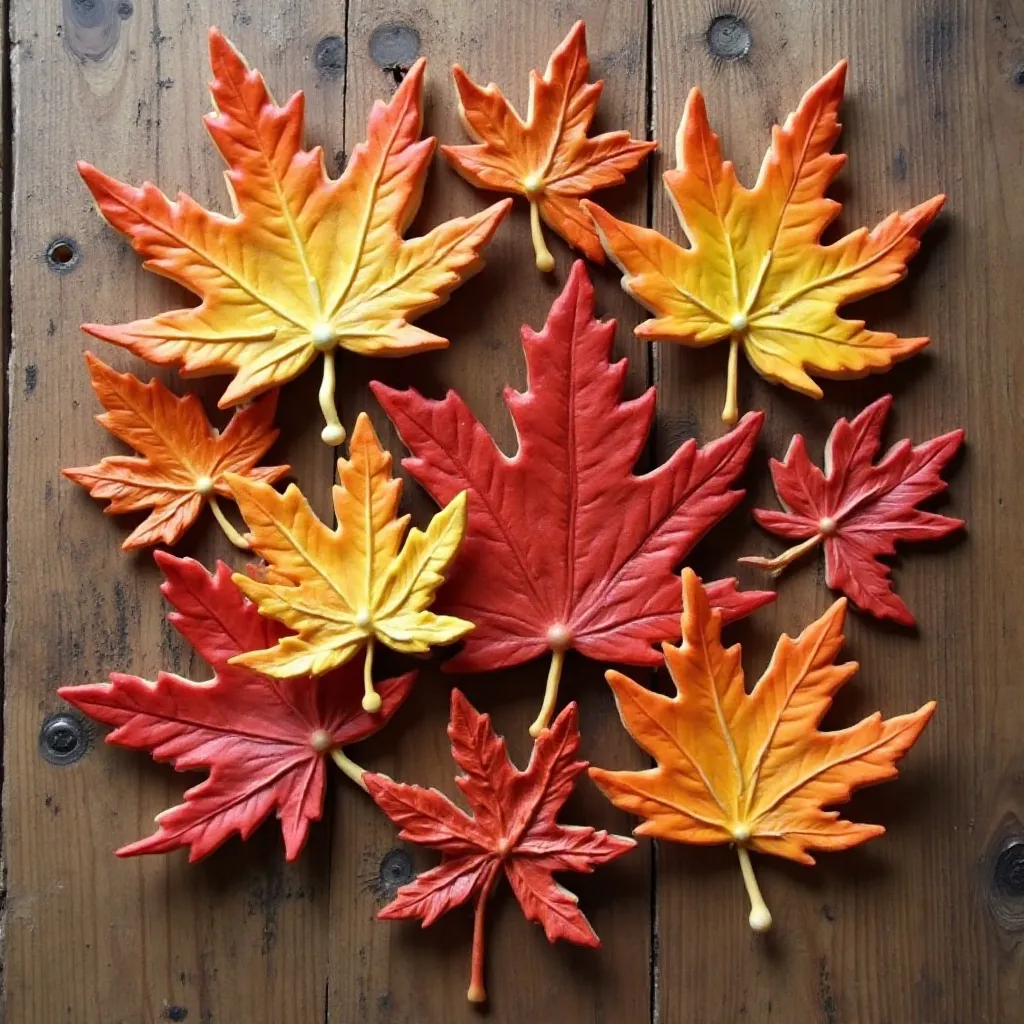
Maple leaves, oak leaves, simple autumn leaf shapes—I collect different leaf cutters throughout the year, and they all come out for Thanksgiving. What I love about these is that you can’t really mess them up. I’ve made them with gradient icing (starting with yellow at the stem and blending to deep red at the tips), or kept it simple with a single color and some gold luster dust.
The first time I made these, I tried to make them too perfect, but honestly, real leaves aren’t perfect either, so embrace the natural look.
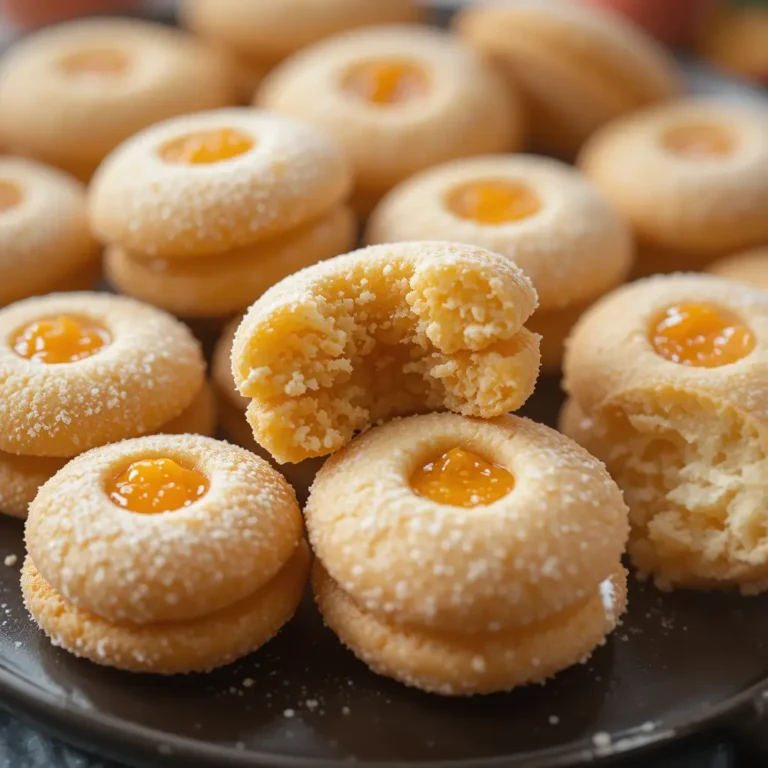
3. Mini Pumpkin Cookies
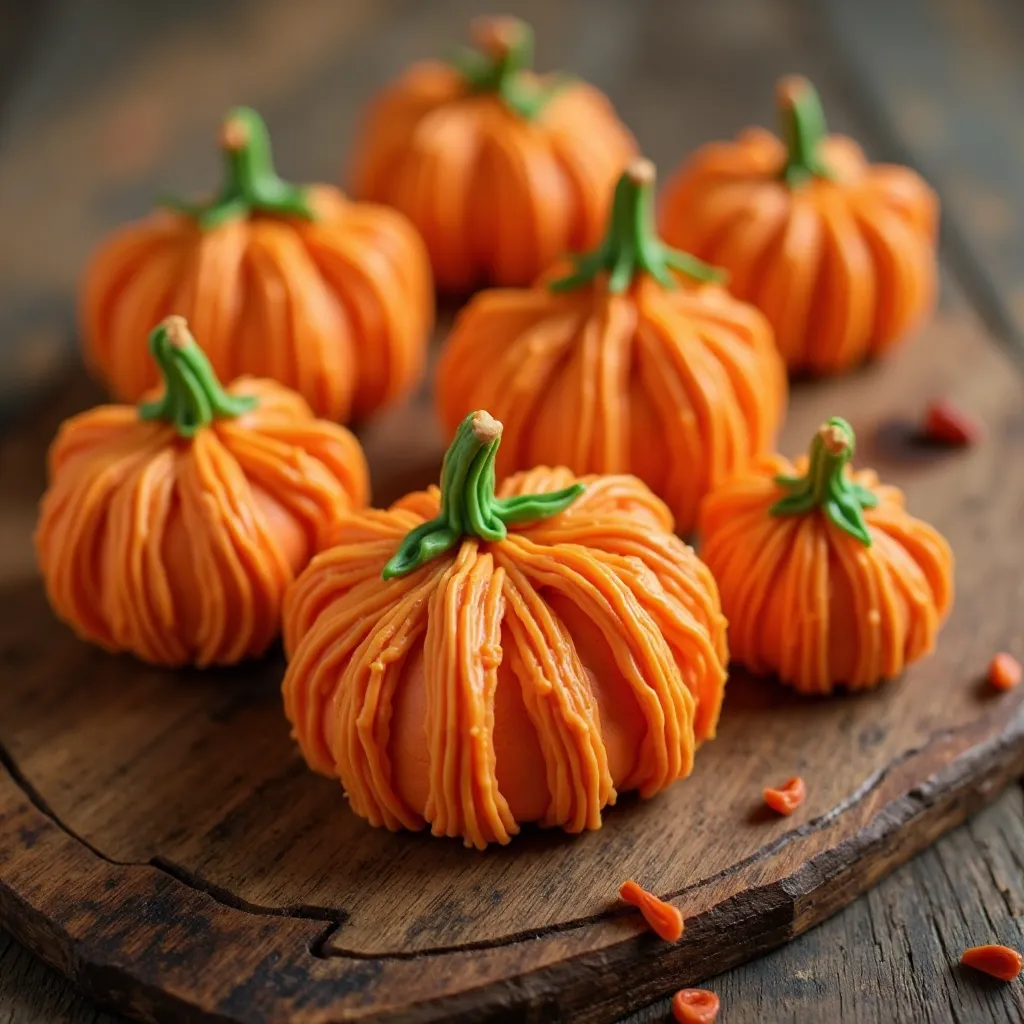
These are my go-to when I’m short on time. Use a small pumpkin cutter (about 2 inches), flood with orange icing, and while it’s still wet, drag a toothpick from the center outward to create the pumpkin ridges.
Add a green stem with a piping bag, and you’re done. It took me 23 minutes to decorate two dozen once I got the hang of it. They’re adorable, delicious, and way easier than they look.
4. Acorn Cookies
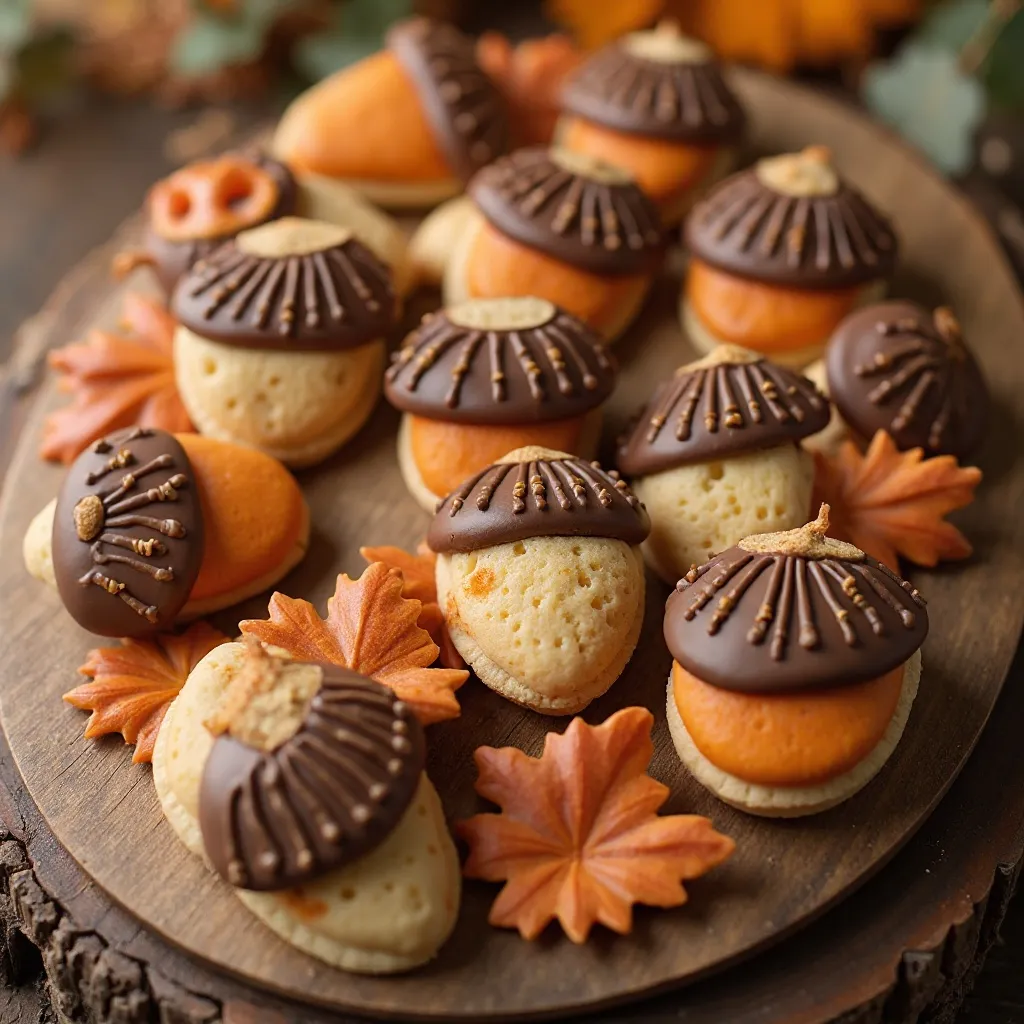
Okay, I’ll admit these weren’t originally on my list of Thanksgiving sugar cookie ideas, but my daughter requested them last year and now they’re a must-have. Use a small oval cutter for the acorn body, ice it in tan or light brown, and use chocolate brown for the cap. Add little dots or crosshatch patterns on the cap for texture. They’re unexpected and absolutely charming on a cookie platter.
5. “Give Thanks” Message Cookies
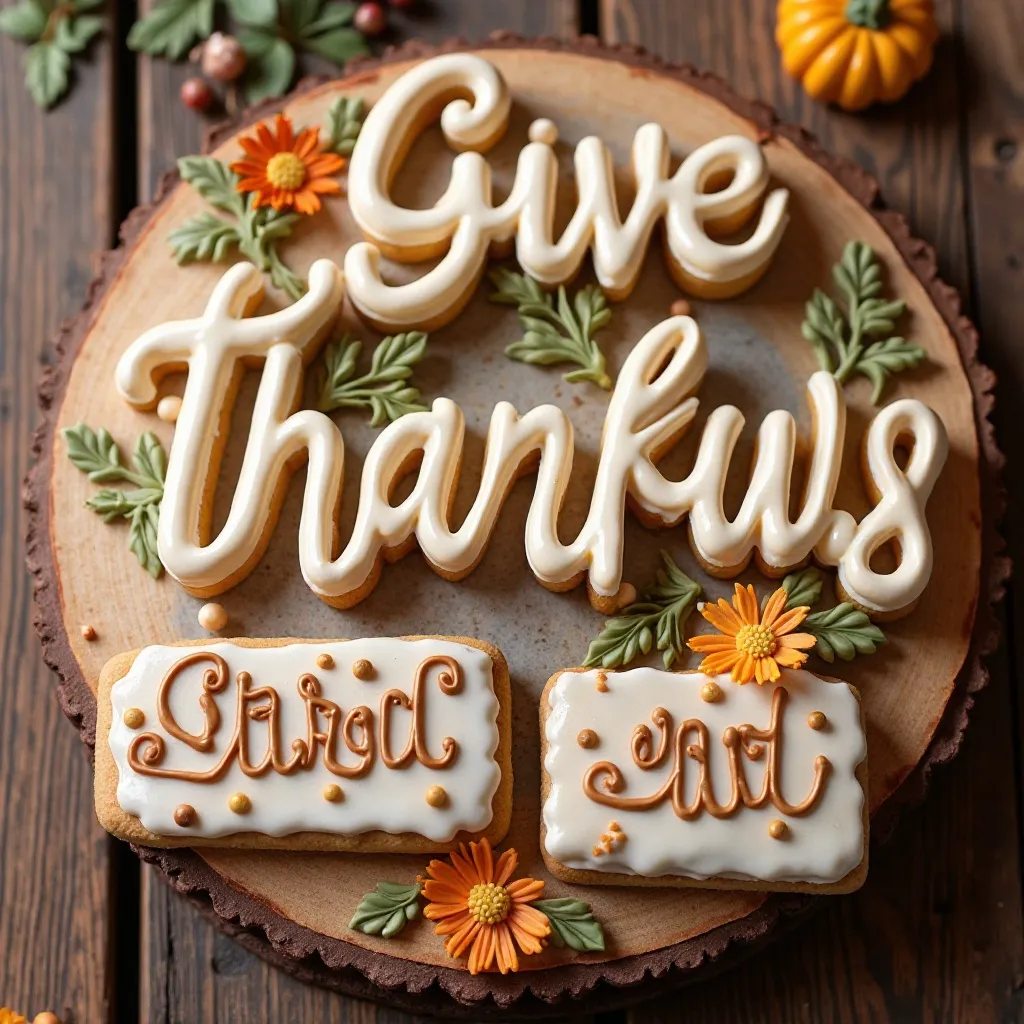
Sometimes you want something a little more elegant. I use rectangular cutters and pipe “Give Thanks,” “Grateful,” or “Blessed” in pretty script with brown or gold icing. These work beautifully as place cards at the dinner table—just write each guest’s name instead.
I once forgot to account for the height of my icing tip and the letters came out way too thick, but I just called them “rustic” and everyone loved them anyway.
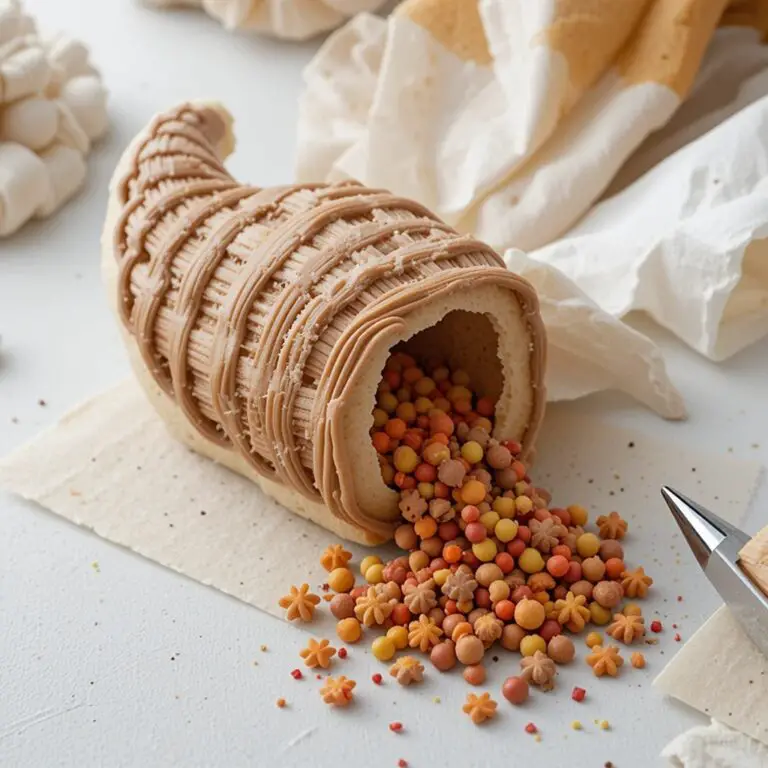
6. Cornucopia Cookies

These require a little more artistic skill, but they’re so impressive. I sketch the basic shape on paper first (horn shape curving to the right), then use that as a template to cut the dough.
Fill the horn opening with piped mini versions of fruits and vegetables in different colors. In my opinion, these are the showstoppers of any Thanksgiving cookie collection, even if they take a bit longer.
7. Simple Autumn Colors with Patterns
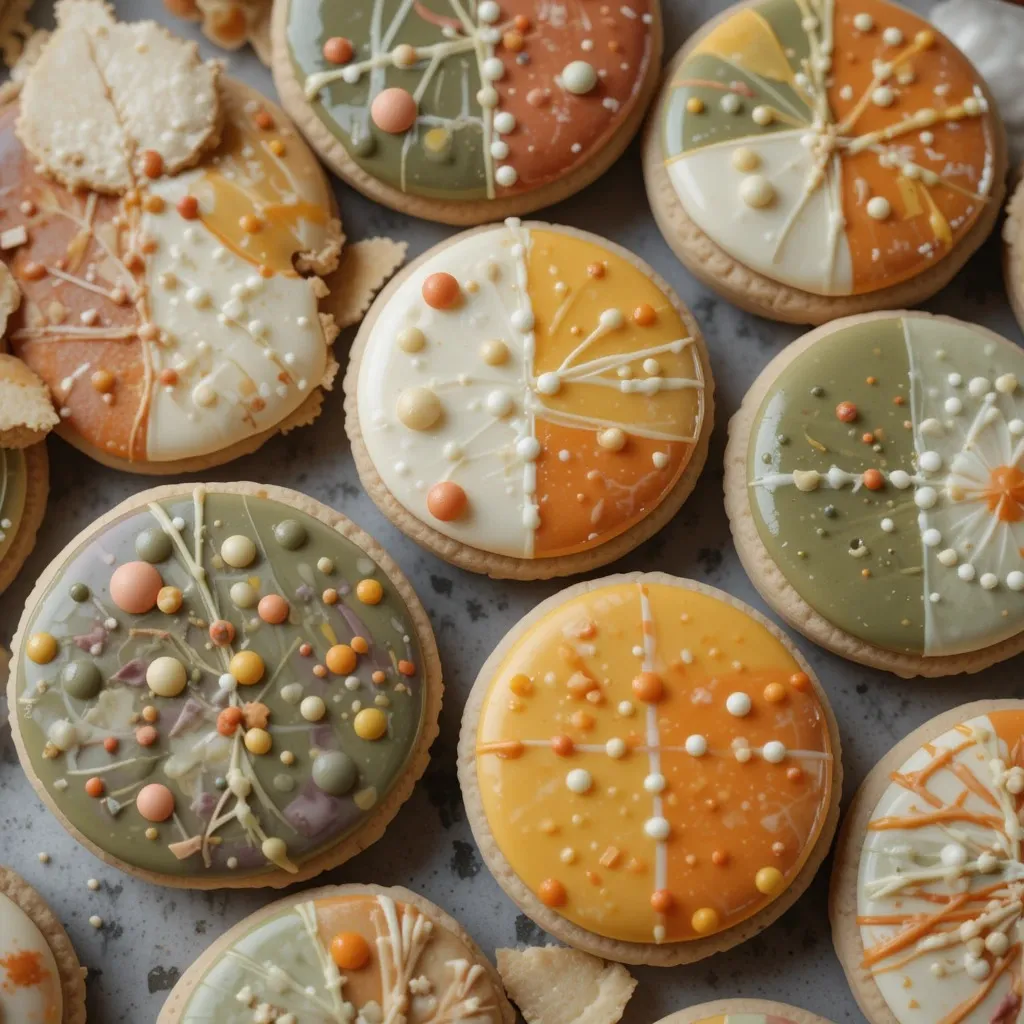
Not every cookie needs to be shaped like something specific. I often make circles or squares and decorate them with beautiful autumn color palettes—think burnt orange, mustard yellow, sage green, and cream. Use different icing techniques like flooding, dots, stripes, or plaid patterns. I’ve been making these for 3 years now, and guests always ask about them because they look so sophisticated yet modern.
8. Wheat Stalk Cookies
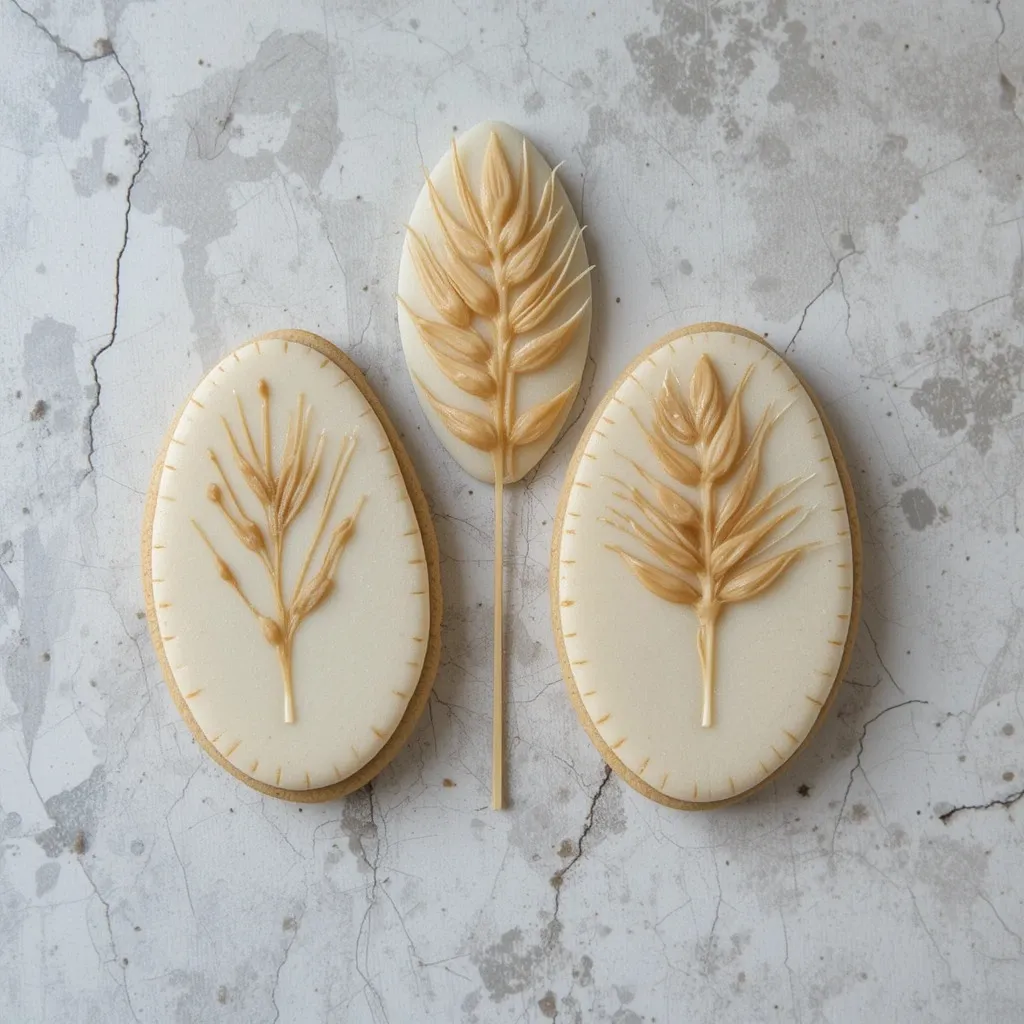
These are understated but so pretty. Use an elongated oval cutter or cut a wheat shape by hand. Pipe thin lines in golden brown or tan to represent the wheat kernels. I learned that spacing the lines about ¼ inch apart creates the most realistic look. They’re perfect for the adults who want something less cutesy but still festive.
9. Thankful Tree Cookies
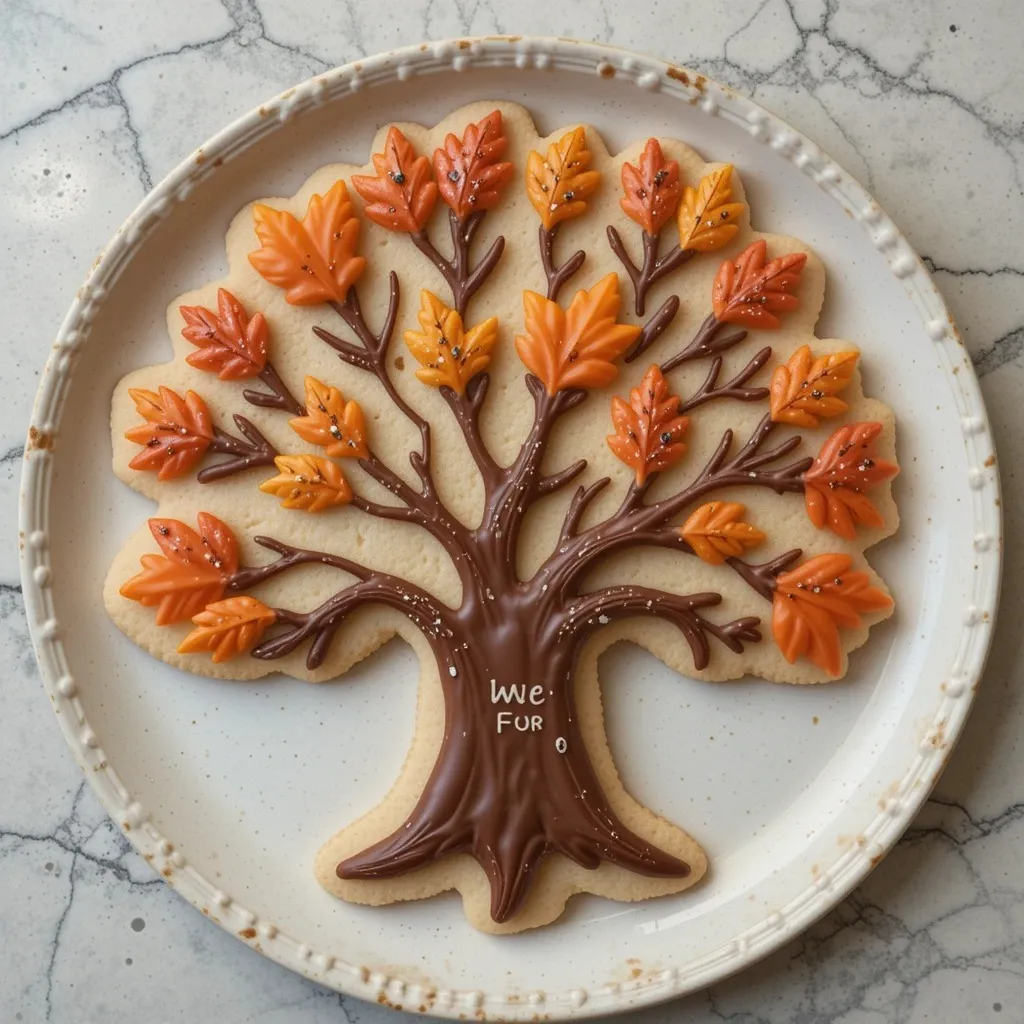
Use a tree-shaped cookie cutter and decorate with brown trunk and branches, then add colorful “leaves” in orange, red, and yellow using dots of icing. The first time I made these, I wrote things I’m grateful for on each leaf with an edible marker—it sparked the sweetest conversations at dinner. You could also leave them blank and have guests write their own as an interactive activity.
10. Pilgrim Hat Cookies
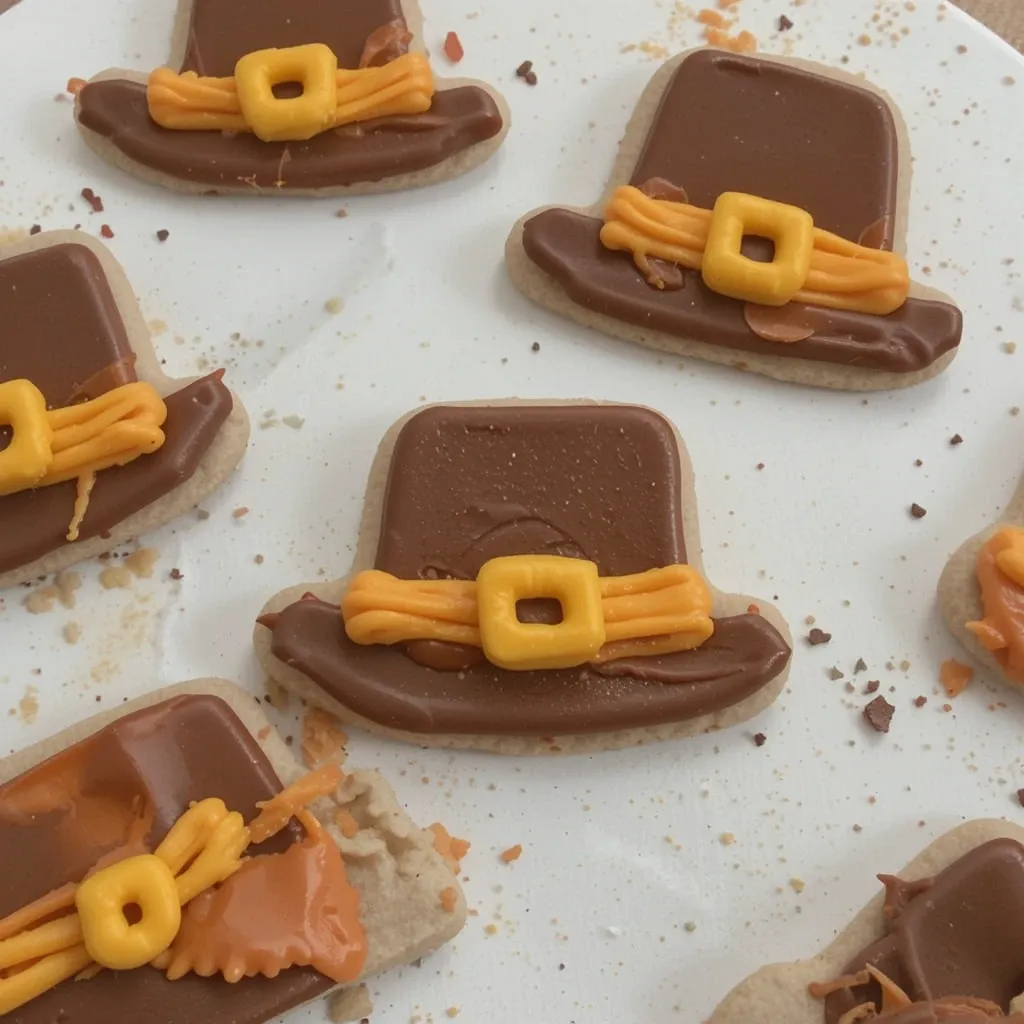
These are fun and surprisingly easy. Use a square or rectangle for the base (the brim) and a smaller rectangle on top (the hat). Pipe a yellow buckle in the center, and you’ve got an iconic Thanksgiving symbol. My 8-year-old can make these almost completely on his own, which tells you everything you need about the difficulty level.
How to Make These Thanksgiving Sugar Cookies From Scratch
Quick Overview
Before we get into the details, here’s what you need to know: this is a two-day project if you’re decorating, but the active time is totally manageable. Day one is making and chilling the dough, plus baking. Day two (or later the same day if you’re ambitious) is decorating. The cookies themselves take about 18 minutes of active prep time, and each batch bakes for 9-10 minutes.
Step-by-Step Instructions
Step 1: Make the Dough In a medium bowl, whisk together flour, baking powder, and salt. Set aside. In your stand mixer (or large bowl with electric mixer), cream the butter and sugar together for about 3 minutes until light and fluffy—it should look almost white and have a mousse-like texture. Beat in the egg, vanilla, and almond extract until fully combined. The almond extract is my secret weapon here; it adds a depth of flavor that makes people ask, “What makes these taste so good?”
Step 2: Combine and Chill Gradually add the dry ingredients to the wet ingredients, mixing on low speed until just combined. Don’t overmix—I made that mistake once and the cookies came out tough. Divide the dough in half, shape into disks, wrap tightly in plastic wrap, and refrigerate for at least 2 hours or overnight. This step is non-negotiable. Trust me, I tried rushing it once with half-chilled dough, and my turkey cookies spread into unrecognizable blobs.
Step 3: Roll and Cut Preheat your oven to 350°F. On a lightly floured surface (I use a silicone rolling mat), roll out dough to about ¼-inch thickness. Use your Thanksgiving-themed cookie cutters to cut shapes, placing them on parchment-lined baking sheets about 1 inch apart. You’ll notice the dough is firm and easy to handle—that’s the magic of proper chilling.
Step 4: Bake to Perfection Bake for 9-11 minutes, depending on cookie size. Here’s my key timing insight: they’re done when the edges are just barely starting to turn golden, but the centers still look slightly underdone. They’ll continue cooking on the hot pan for another 2 minutes after you take them out. I set a timer for 9 minutes and check them visually. Let cookies cool on the baking sheet for 5 minutes, then transfer to a wire rack completely before decorating.
Step 5: Make Royal Icing In a stand mixer bowl, combine powdered sugar and meringue powder. Add water one tablespoon at a time, mixing on low, until you reach your desired consistency. For outlining, you want thick icing that holds its shape (stiff peaks). For flooding/filling, thin it down with more water until it’s the consistency of glue—it should slowly flow back together when you drag a knife through it. Divide into separate bowls and tint with gel colors.
Step 6: Decorate Your Heart Out This is where your Thanksgiving sugar cookie ideas come to life. Outline each cookie first with thicker icing, let it set for 5-10 minutes, then flood the center with thinner icing. Use a toothpick to guide the icing into corners and pop any air bubbles. Add details like dots, lines, or sprinkles while the icing is still wet. Each decorated cookie needs about 4-6 hours to fully dry before stacking or packaging.
Pro Tips From My Kitchen
Can I make these ahead of time?
Absolutely! I actually prefer making the dough up to 3 days ahead and keeping it refrigerated, or freezing it for up to 3 months. Baked, undecorated cookies stay fresh in an airtight container for a week, and decorated cookies last up to two weeks. I’ve noticed that cookies taste even better on day two after the flavors have melded.
Use room temperature ingredients
This took me years to really understand, but room temperature butter creams properly and creates a more tender cookie. Cold butter doesn’t incorporate well and can make your dough tough. I set my butter and egg out about an hour before baking.
Don’t skip the almond extract
Most recipes call for just vanilla, but I find that ½ teaspoon of almond extract adds an indefinable something that makes these cookies taste bakery-quality. It’s not enough to taste almond specifically—it just enhances everything else.
My foolproof icing consistency trick
Getting royal icing consistency right was my biggest struggle at first. Here’s what works: for outlining (stiff consistency), the icing should hold a peak for at least 10 seconds. For flooding (thin consistency), drag a knife through it, and the line should disappear in about 8-10 seconds. I keep a small spray bottle of water nearby to adjust consistency as I go.
Prevent spreading with this simple step
After cutting your shapes, pop the baking sheet in the fridge for 10 minutes before baking. This extra chill time means your cookies will hold their shape perfectly instead of puffing up or spreading. I learned this from a professional baker, and it changed everything.
The toothpick is your best friend
When flooding cookies with icing, I always keep a toothpick handy to guide icing into corners, pop air bubbles, and create marbled effects. It’s such a simple tool but makes decorating so much easier.
Storing Your Thanksgiving Sugar Cookies
Refrigerator Storage
Once your decorated cookies are completely dry (give them at least 8 hours), store them in an airtight container with parchment paper between layers. They’ll stay fresh for up to 2 weeks at room temperature or 3 weeks in the refrigerator. I’ve found that room temperature storage actually keeps them softer, but refrigeration is great if your kitchen is warm or humid.
Freezer Instructions
These freeze beautifully! Place decorated, fully-dried cookies in a single layer in a freezer-safe container with parchment between layers. They’ll keep for up to 3 months. To thaw, just leave them at room temperature for about 30 minutes. The icing stays perfectly intact—I’ve shipped frozen cookies to family across the country, and they arrived looking gorgeous.
Best Way to Package for Gifting
If you’re gifting these (and you should—they make amazing hostess gifts), wait until they’re completely dry, then place in clear cellophane bags tied with fall-colored ribbon. I like including a little card with “Best enjoyed within 10 days!” For extra protection, place a small piece of bubble wrap in the bag. Trust me, your recipients will be so impressed.
Recipe FAQs
Can I use regular food coloring instead of gel?
You can, but gel colors are way better for royal icing because they don’t thin out the consistency. I bought a set of gel colors three years ago for $12, and I’m still using them. Liquid food coloring can make your icing too runny and affect how it dries.
Why did my cookies spread during baking?
Usually this means the dough wasn’t chilled long enough, or your butter was too soft when you made the dough. Make sure to chill the dough for at least 2 hours, and chill cut shapes for 10 minutes before baking.
How do I get clean, sharp edges on my cookies?
The key is firm, well-chilled dough and sharp cookie cutters. Dip your cutter in flour between cuts to prevent sticking. Also, use a thin spatula to transfer cut cookies to your baking sheet—thick spatulas can distort the shapes.
What if I don’t have meringue powder for royal icing?
You can make royal icing with egg whites instead, but meringue powder is more stable and food-safe since it’s pasteurized. One container lasts forever (mine’s been in my pantry for over a year), so I think it’s worth buying.
Can I make these cookies gluten-free?
I haven’t personally tested this recipe with gluten-free flour, but several readers have told me they’ve had success using a 1:1 gluten-free baking flour blend. The texture might be slightly different, but the taste should still be delicious.
How long does royal icing take to dry completely?
Surface dry happens in about 30-45 minutes, but full hardening takes 6-8 hours at room temperature. I usually decorate in the morning and let them dry all day, or decorate at night and let them dry overnight. High humidity can extend drying time.
Make This Thanksgiving Extra Sweet
These Thanksgiving sugar cookie ideas have genuinely become one of my favorite holiday traditions. There’s something so satisfying about creating an entire platter of festive cookies, each one unique and handmade. Whether you go all-out with elaborate decorations or keep it simple with just a few colors, your family and friends will appreciate the effort and love you put into every bite.
I’d love to hear which design becomes your favorite! Are you team turkey cookies, or do the elegant wheat stalks speak to you more? Drop a comment below and let me know how your Thanksgiving sugar cookies turn out. And if you’re feeling extra ambitious, tag me in your cookie photos—I genuinely get so excited seeing everyone’s creative spins on these ideas.
Happy baking, and here’s to a Thanksgiving filled with butter, sugar, and memories that’ll last well beyond dessert