Thanksgiving Sugar Cookies With Names – Easier Than You Think
You know that moment when someone spots their name on something and their whole face lights up? That’s exactly what happens every Thanksgiving when I bring out my personalized sugar cookies. I started making these Thanksgiving sugar cookies with names about four years ago when my niece Emma (who was five at the time) asked why the store-bought cookies never had her name on them. That simple question turned into what’s now become my favorite Thanksgiving tradition.
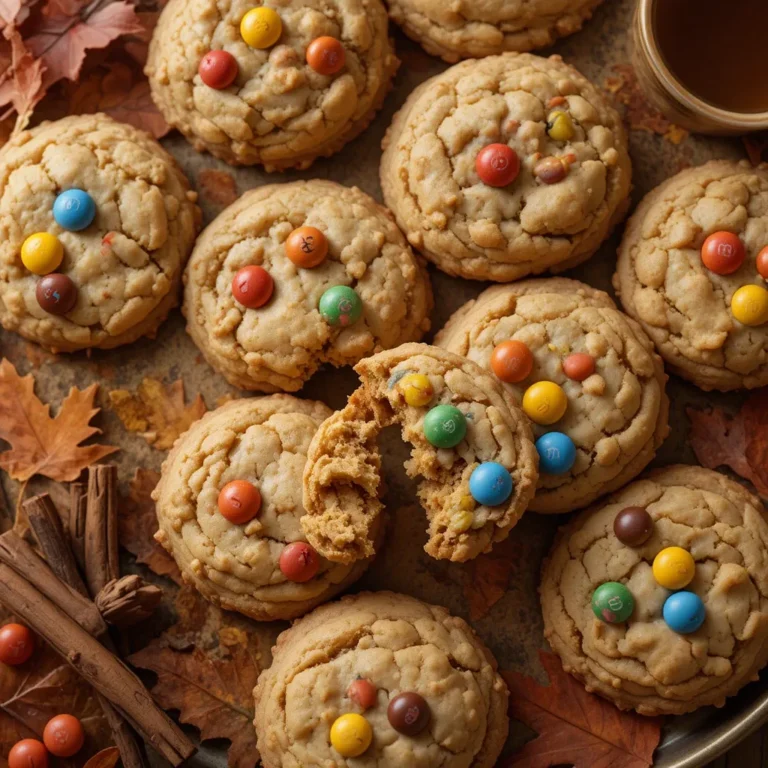
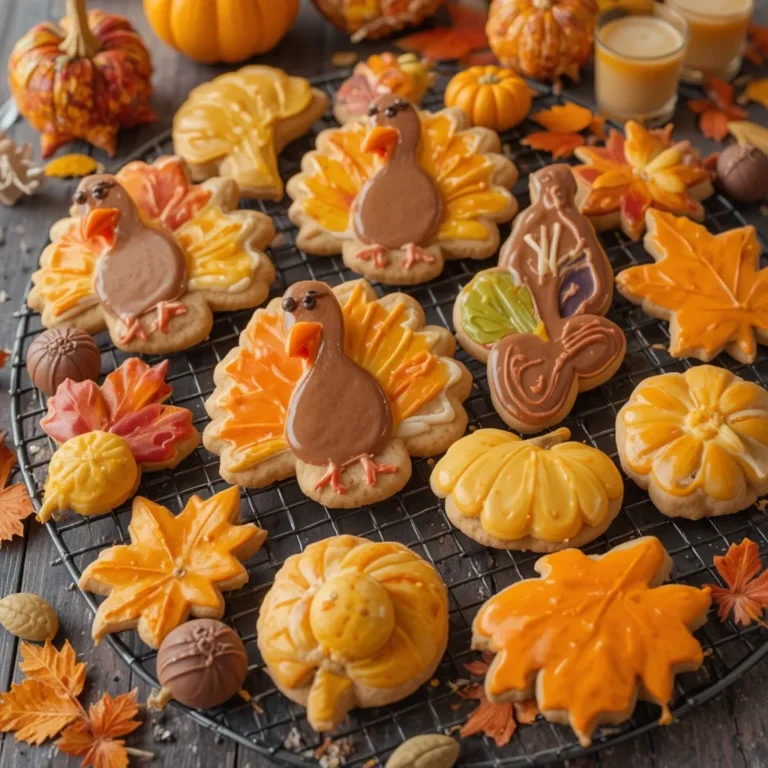
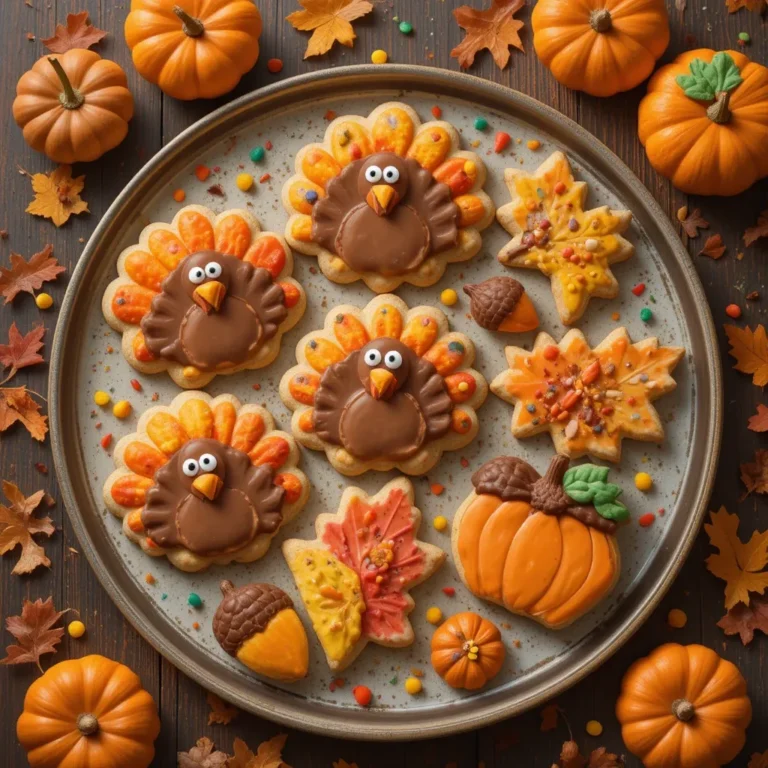
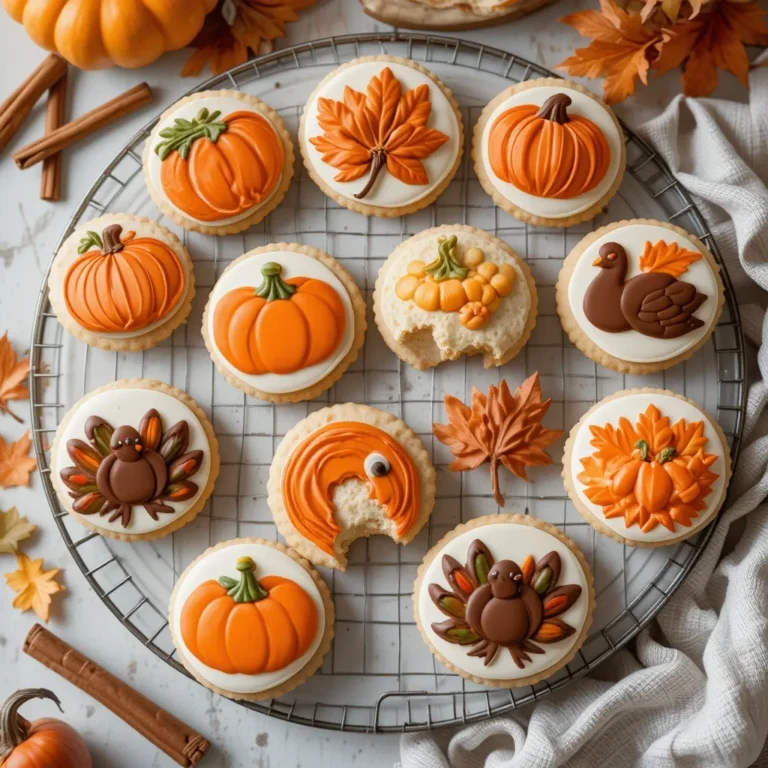
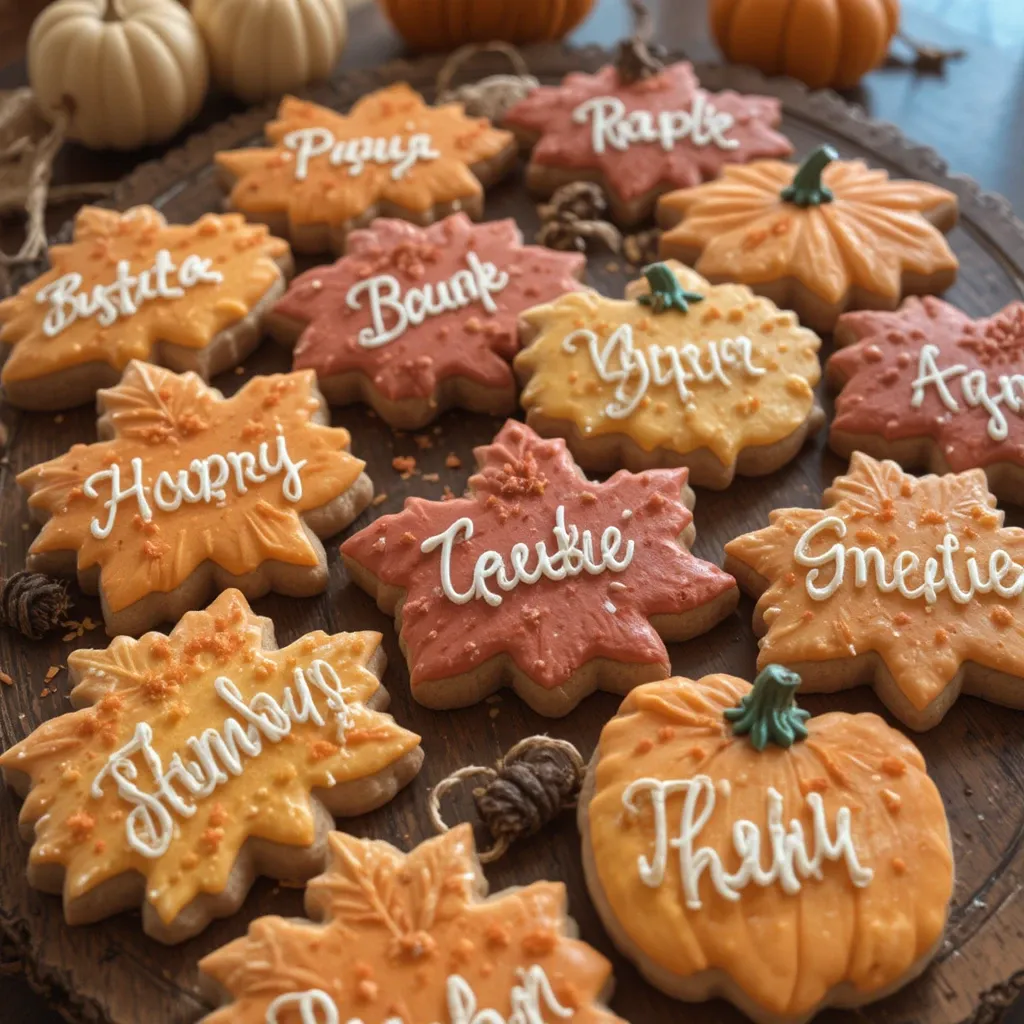
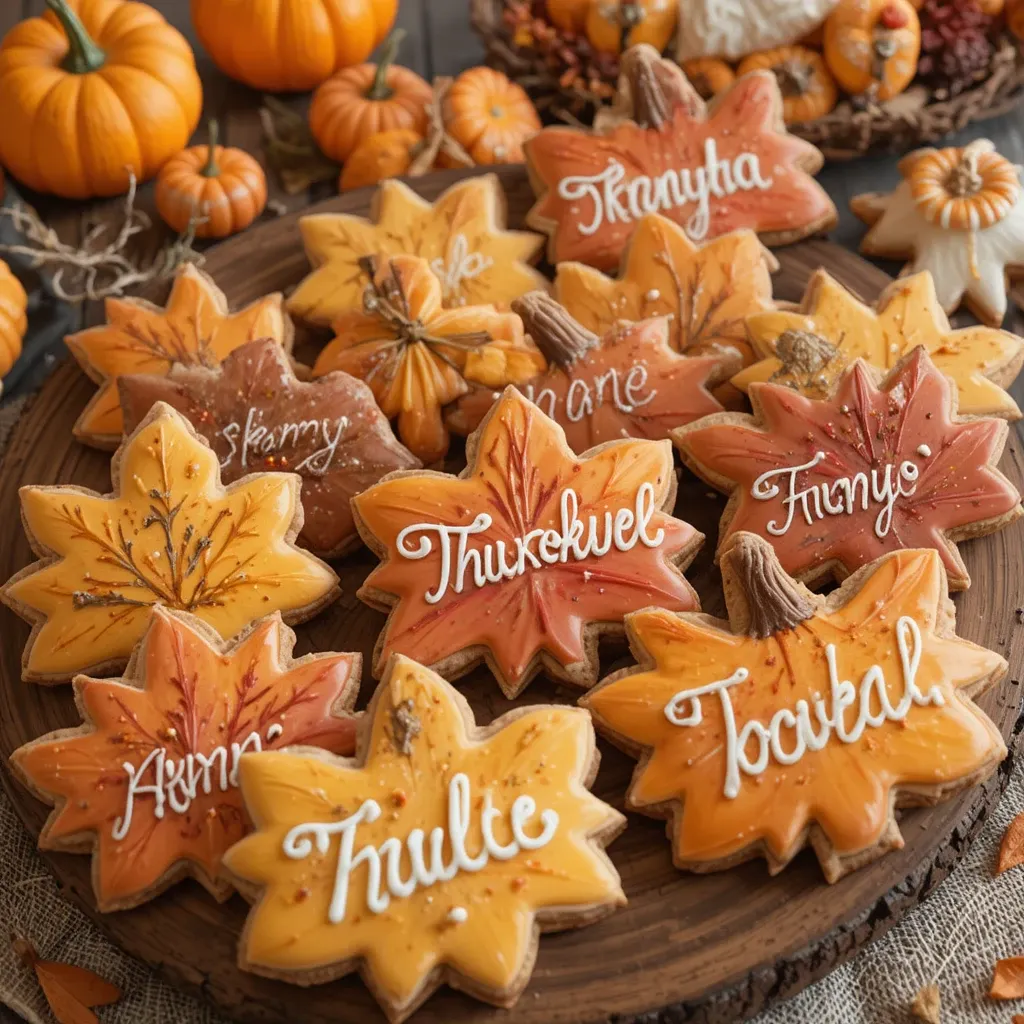
Here’s the thing – these aren’t just ordinary sugar cookies with names slapped on them. They’re buttery, perfectly soft cookies decorated with fall colors and each guest’s name beautifully piped across the top.
The first time I made them, it took me nearly three hours because I was so nervous about messing up someone’s name. Now? I can whip up two dozen in about 90 minutes, and honestly, they’ve become the most photographed item on my Thanksgiving table.
There’s something incredibly special about handing someone a cookie with their name on it. Kids absolutely lose their minds, and adults? They get this sweet, surprised smile that makes all the decorating time totally worth it. Plus, they double as place cards, which means you’re killing two birds with one delicious stone.
Why These Personalized Cookies Make Thanksgiving Extra Special
Let me tell you why these have become non-negotiable at my Thanksgiving table. Beyond the obvious “wow factor” when people see their names, there are some really practical reasons why I make these every single year.
They’re Easier Than You’d Think
I know what you’re thinking – decorating cookies with names sounds intimidating. Trust me, I thought the same thing. But after testing this recipe about eight times that first year, I figured out the tricks that make it foolproof. The dough is incredibly forgiving (it doesn’t spread much, so your shapes stay perfect), and the royal icing technique I use is way simpler than those fancy bakery methods.
The Dough Actually Tastes Amazing
Most decorated sugar cookies are all about looks and not much about flavor. Not these. I’ve been perfecting this recipe for years, and the secret is using both butter and a touch of almond extract. The cookies are tender without being cakey, and they have this subtle flavor that doesn’t compete with the icing. My brother-in-law, who claims he doesn’t like sugar cookies, ate four last year. Four.
They Work as Decor AND Dessert
This is my favorite part. I arrange these Thanksgiving sugar cookies with names right at each place setting, propped up against a small pumpkin. Guests walk in, immediately find their seat by spotting their cookie, and boom – your table looks like it came straight out of a magazine. Then after dinner, they eat them with coffee. It’s genius, really.
Kids Are Actually Excited About Their Seat
If you’ve ever dealt with kids arguing about where they want to sit at Thanksgiving, you’ll appreciate this. When there’s a personalized cookie waiting for them, suddenly everyone’s thrilled with their assigned spot. I’ve noticed that kids also eat more carefully because they don’t want to mess up “their” cookie before dessert time.
You Can Make Them Days Ahead
The first year, I made the mistake of trying to do everything Thanksgiving morning. Disaster. Now I know better. I bake the cookies three days before, decorate them two days before, and store them in airtight containers. They stay perfectly fresh, and it removes so much stress from the actual holiday.
Recipe Card for Thanksgiving Sugar Cookies With Names
| Recipe Details | |
|---|---|
| Prep Time | 30 minutes (plus 2 hours chilling) |
| Decorating Time | 45-60 minutes |
| Baking Time | 10-12 minutes |
| Total Time | 3 hours 30 minutes |
| Yield | 24 cookies |
| Difficulty | Medium |
| Calories | 180 per cookie |
| Protein | 2g |
| Carbs | 25g |
| Fat | 8g |
What You Need for Thanksgiving Sugar Cookies With Names
Before you start, let me tell you about the ingredients that really make a difference here. I’ve experimented with various butter brands, and I honestly can’t tell much difference as long as it’s unsalted. But the almond extract? Don’t skip it. It adds this subtle warmth that makes people ask “what’s that flavor?” without being able to put their finger on it.
For the Cookies:
- 3 cups all-purpose flour
- 1½ teaspoons baking powder
- ½ teaspoon salt
- 1 cup unsalted butter, softened (I leave mine on the counter for about an hour)
- 1 cup granulated sugar
- 1 large egg
- 1½ teaspoons vanilla extract
- ½ teaspoon almond extract (this is the secret!)
- 1 tablespoon milk
For the Royal Icing:
- 4 cups powdered sugar
- 3 tablespoons meringue powder
- 6 tablespoons warm water (plus more for thinning)
- Gel food coloring (orange, red, yellow, brown for fall colors)
Tools I Always Use:
- Leaf or pumpkin-shaped cookie cutters (about 3-4 inches)
- Piping bags or squeeze bottles
- Small round decorating tips (#2 or #3)
- Toothpicks (for spreading icing)
- Parchment paper

How to Make Perfect Sugar Cookies With Names
Let me walk you through this process the way I do it in my kitchen. The key is not rushing – trust me, I learned that the hard way when I tried to skip the chilling step and ended up with flat, spread-out cookies that looked nothing like leaves.
Step 1: Make the Cookie Dough
In a medium bowl, whisk together your flour, baking powder, and salt. Set that aside. In your stand mixer (or using a hand mixer), cream the butter and sugar together for about 3 minutes until it’s light and fluffy. This step matters more than you’d think – proper creaming creates air pockets that make the cookies tender. Beat in the egg, both extracts, and milk until everything’s combined. Then gradually add your dry ingredients, mixing on low speed until just combined. The dough will look a bit crumbly at first, but it’ll come together. I promise.
Step 2: Chill the Dough (Don’t Skip This!)
Divide the dough in half, flatten each half into a disk, wrap in plastic wrap, and refrigerate for at least 2 hours. I usually make the dough the night before. When I first started making these, I tried to skip the chilling because I was impatient, and let me tell you – warm dough is impossible to work with. It sticks to everything, loses its shape, and you’ll want to give up. Chilled dough is firm, easy to roll, and cuts cleanly.
Step 3: Roll and Cut
Preheat your oven to 350°F and line baking sheets with parchment paper. Work with one disk at a time, keeping the other refrigerated. On a lightly floured surface (I use a pastry cloth), roll the dough to about ¼-inch thickness. Cut out your shapes and transfer them to the prepared baking sheets, leaving about 2 inches between cookies. Here’s a tip I learned from trial and error: use a thin spatula to transfer the cut cookies, and if the dough gets too soft while you’re working, pop it back in the fridge for 10 minutes.
Step 4: Bake Until Just Set
Bake for 10-12 minutes. You want the edges to be very lightly golden, but the centers should still look a bit pale. They’ll seem underdone, but they continue cooking on the pan after you remove them from the oven. I set a timer for 10 minutes and then check every minute after that. The exact time depends on your oven and cookie thickness. Let them cool on the pan for 5 minutes, then transfer to a wire rack to cool completely. And I mean completely – if you try to decorate warm cookies, the icing will melt right off.
Step 5: Make the Royal Icing
While the cookies cool, make your icing. Beat the powdered sugar, meringue powder, and water together on low speed for about 7-10 minutes until stiff peaks form. This icing should be thick enough that when you lift the beater, the peaks stand straight up. Divide it into separate bowls for different colors. I typically make orange, yellow, red, and brown for Thanksgiving themes. Add gel food coloring drop by drop – it’s easier to add more than to fix overly bright icing.
Step 6: Thin for Flooding and Outlining
This is where the magic happens. For the base color of each cookie, you want “flood consistency” icing. Add water to one of your colored icings, a teaspoon at a time, until it’s the consistency of thick honey. When you drizzle it, it should smooth out within about 10 seconds. Transfer this to a piping bag or squeeze bottle. Keep a small amount of thicker icing in a separate bag with a small round tip – you’ll use this for piping the names.
Step 7: Decorate and Add Names
Here’s my system: First, outline each cookie with the flood icing, then fill in the center. Use a toothpick to guide the icing into corners and pop any air bubbles. Let this base coat dry for at least 3 hours (or overnight – I usually do this step the night before).
Once it’s completely dry and hard to the touch, use your thicker icing with a small round tip to pipe each person’s name across the cookie. Write in cursive or print – whatever feels comfortable. I like to practice on parchment paper first to get the pressure and flow right. Pro tip: if you mess up a name, a damp paper towel can wipe it off before it dries, and you can try again.
My Foolproof Tips for Cookie Success
After making these Thanksgiving sugar cookies with names for four years running, I’ve learned some lessons the hard way. Let me save you from my mistakes.
Practice Writing Names First
Before you touch those beautiful cookies, practice piping names on parchment paper. Write out everyone’s names a few times to get comfortable with the pressure and flow. The first time I made these, I wrote “Grampa” perfectly and then my hand cramped on the second cookie. Not fun. Now I do warm-up exercises like I’m an athlete.
Make Extra Cookies
Always, always bake more cookies than you need. I make about 6-8 extra plain cookies. Why? Because you’ll mess up a name (it happens), or Uncle Bob will bring his girlfriend without telling anyone, or you’ll break one while moving them. Those extras are your insurance policy.
Use the Toothpick Trick for Smooth Icing
When you’re flooding the cookies with the base color, use a toothpick to spread the icing into corners and smooth out any lumps. It also helps pop air bubbles that might be hiding under the surface. This makes your cookies look professionally done instead of having dimples and gaps.
Let Each Layer Dry Completely
Patience is not my strong suit, but I’ve learned this the hard way. If you try to add names before the base coat is dry, everything will bleed together and look like a muddy mess. I once tried to speed things up with a hair dryer, and all it did was make the icing crack. Just wait. Overnight is ideal.
Store Them Properly
Once decorated and completely dry (give the names at least 6 hours), store the cookies in a single layer in airtight containers with parchment paper between layers. Don’t stack them directly on top of each other or the names will smudge. They’ll stay perfect for up to 5 days this way.
How to Store Your Decorated Cookies
I’ve tested various storage methods, and here’s what actually works for keeping these beauties fresh and pristine until Thanksgiving.
Before Decorating
Unfrosted cookies can be stored at room temperature in an airtight container for up to one week. They also freeze beautifully for up to 3 months. I wrap them individually in plastic wrap, then place them in a freezer bag. Thaw at room temperature for about an hour before decorating.
After Decorating
Once your cookies are fully decorated and the icing has dried completely (at least 8 hours, but I prefer overnight), store them in airtight containers at room temperature. Place parchment paper between layers to prevent sticking. They’ll stay fresh for 4-5 days. Don’t refrigerate them – the moisture can make the cookies soft and might cause the colors to bleed.
The Night Before
I arrange all the decorated cookies on a platter the night before Thanksgiving, loosely cover with plastic wrap (not touching the cookies), and leave them at room temperature. This saves precious time on the actual holiday.
Fun Variations I’ve Tried
While I stick to my classic recipe most years, I’ve experimented with a few variations that turned out amazing.
Add Sparkle
Before the flood icing dries completely (within the first 10 minutes), sprinkle edible gold or copper glitter over the cookies. It catches the light beautifully and makes them look even more special. My mom calls these the “fancy cookies,” and she’s not wrong.
Two-Tone Design
Instead of one solid color, try flooding half the cookie in orange and half in brown, or create an ombre effect by using different shades of the same color. It takes a bit more time but looks incredibly professional.
Add Leaf Details
Once the base coat dries, use a darker shade of icing to add veins to leaf-shaped cookies. It’s a small detail that makes people say “wow, you made these yourself?” Yes. Yes, I did.
Thanksgiving Sugar Cookie Recipe FAQs
Can I make these cookies without almond extract?
Yes, but I’d increase the vanilla to 2 teaspoons. The almond extract adds depth, but the cookies will still be delicious without it. I’ve noticed that people with nut allergies appreciate when I mention this substitution option.
Why do my names look shaky?
Usually, this means your icing is too thin or your hand isn’t steady. Try thickening the icing slightly by adding more powdered sugar, and rest your decorating hand on your other hand or the counter for stability. Also, make sure you’re not holding your breath – I know it sounds weird, but breathing steadily actually helps control hand shake.
Can I use store-bought icing?
You can, but royal icing made with meringue powder dries hard and keeps its shape much better than regular frosting. It’s also easier to write with because it holds its form. In my opinion, the homemade royal icing is what makes these cookies special enough for place cards.
How far ahead can I make these?
I bake the cookies 3-4 days before Thanksgiving and decorate them 2 days before. This schedule keeps me sane and the cookies taste fresh. The cookies can be frozen unfrosted for up to 3 months, but I don’t recommend freezing them after decorating because the icing can weep when thawing.
What if someone’s name is really long?
For longer names, you have a few options: use smaller lettering, abbreviate to a nickname, or choose larger cookie cutters. I’ve also written names vertically down the cookie instead of horizontally, which actually looks pretty cool.
Making Thanksgiving Memories, One Cookie at a Time
Every year when I’m standing in my kitchen piping out these names, I think about that question from my niece Emma four years ago. Such a simple thing – wanting to see her name on a cookie – turned into this tradition that now makes everyone at our Thanksgiving table feel seen and special.
The best part? After dinner, when everyone’s talking and laughing over coffee, I always catch people taking photos of their cookies before eating them. My aunt texts me pictures of hers every single year. My friend Sarah even told me that her seven-year-old kept her cookie from last Thanksgiving (unrefrigerated, I might add – gross) because she “didn’t want to eat something with her name on it.”
So yeah, these Thanksgiving sugar cookies with names take a bit of time and patience. But when you see someone’s face light up as they find their personalized cookie at the table? That’s the whole point of Thanksgiving, isn’t it? Making people feel loved and appreciated.
Try making these this year. Start with a small batch if you’re nervous – maybe just your immediate family. Once you see how much joy these simple decorated cookies bring, you’ll be hooked just like I am. And hey, if you mess up a few names, that’s what those extra cookies are for. Nobody needs to know.