No-Bake Thanksgiving Turkey Leg Cookies in 30 Minutes
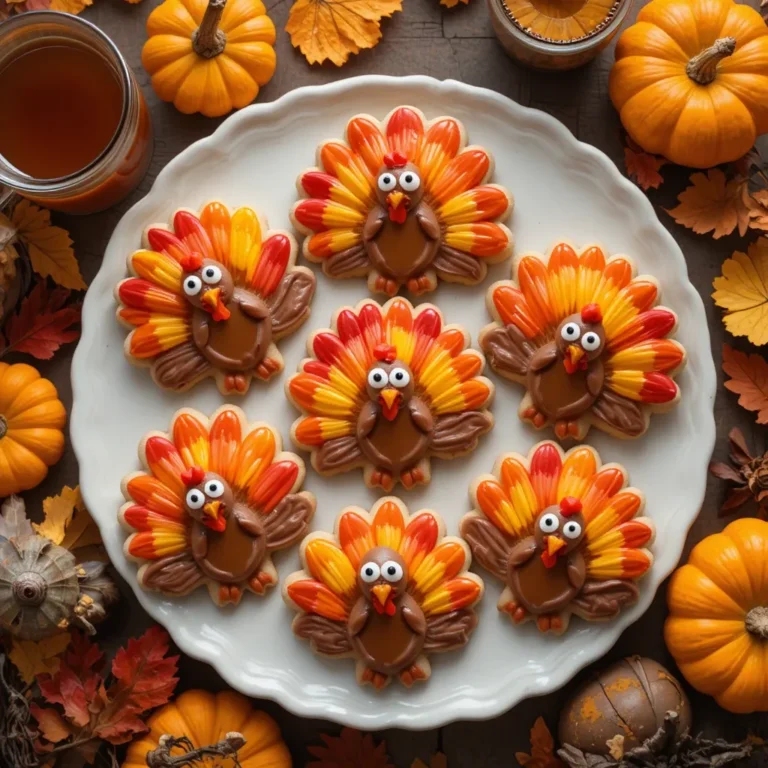
Get ready to fall in love with these adorable thanksgiving turkey leg cookies! These festive treats combine buttery vanilla cookies with pretzel “bones” to create the most charming dessert your Thanksgiving table has ever seen.
They’re surprisingly simple to make, require just a handful of ingredients, and will have your guests snapping photos before taking that first delicious bite. Perfect for kids and adults alike, these whimsical cookies bring joy to every holiday gathering.
What Are Thanksgiving Turkey Leg Cookies?
Ever wondered how to make Thanksgiving even more fun? These thanksgiving turkey leg cookies are exactly what they sound like—adorable cookie treats shaped and decorated to look like mini turkey drumsticks!
Using vanilla wafer cookies or homemade sugar cookies dipped in caramel or chocolate, topped with a pretzel stick “bone,” these clever creations prove that the way to everyone’s heart is through their stomach (and their eyes!). Don’t wait for next year—try making these playful treats today!

Why You’ll Love These Thanksgiving Turkey Leg Cookies
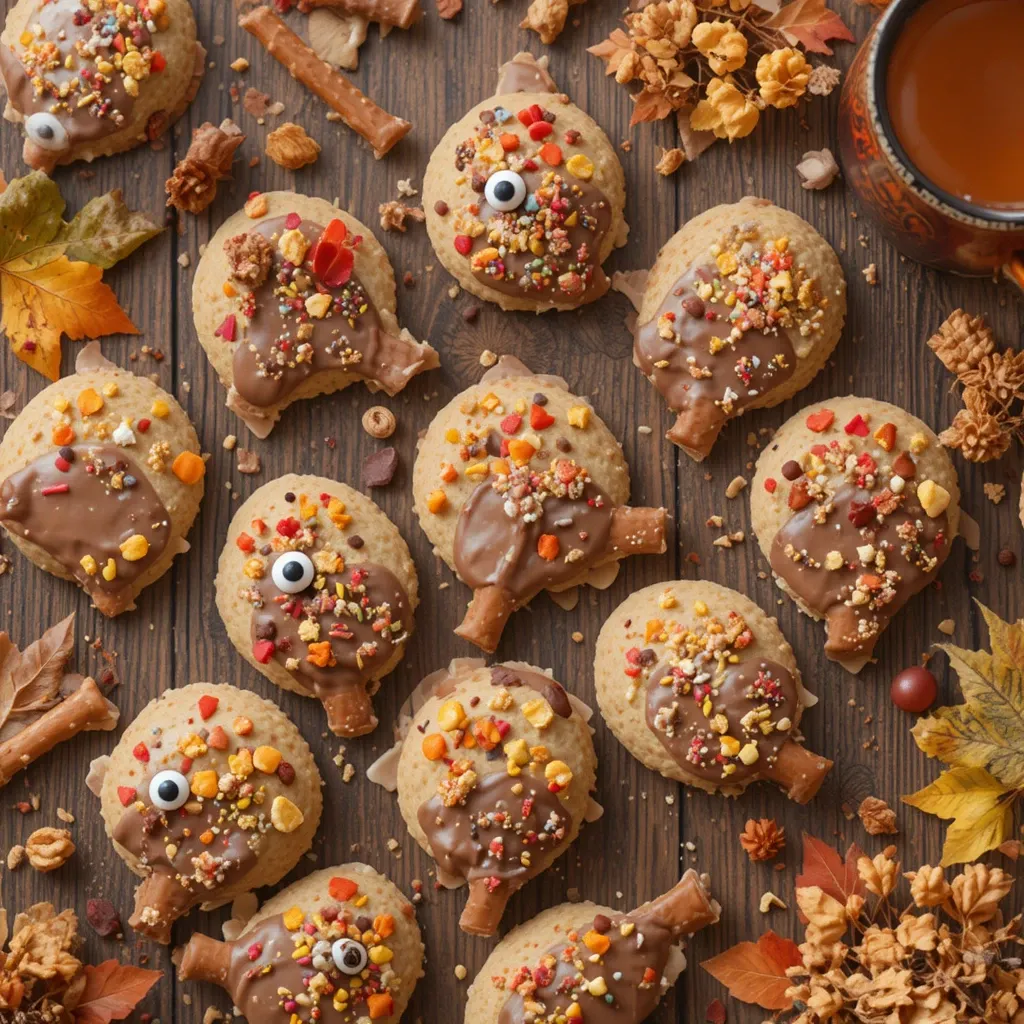
They’re Absolutely Adorable
These thanksgiving turkey leg cookies aren’t just desserts—they’re edible art! The combination of golden-brown coating, festive sprinkles, and that signature pretzel stick creates an irresistible miniature turkey leg that looks almost too cute to eat. The buttery cookie base provides the perfect canvas, while the sweet coating adds a rich, decadent flavor that melts in your mouth.
Budget-Friendly Holiday Baking
Making these cookies at home costs a fraction of what you’d spend on fancy bakery treats. With simple ingredients like vanilla wafers, chocolate or caramel melts, pretzels, and sprinkles, you can create dozens of impressive cookies for under $15. Compare that to store-bought specialty cookies at $3-4 each, and you’re looking at serious savings while delivering homemade love.
Customizable and Fun for the Whole Family
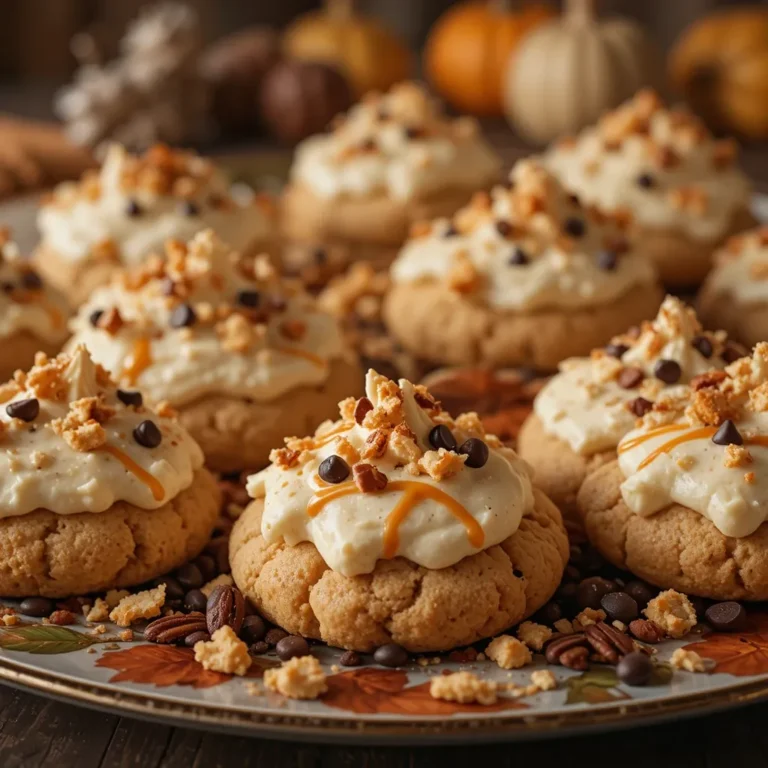
The beauty of thanksgiving turkey leg cookies lies in their versatility. Use milk chocolate, dark chocolate, or caramel for coating. Add autumn-colored sprinkles, edible glitter, or even drizzle with white chocolate for extra flair. Kids love helping with the dipping and decorating process, making this recipe perfect for family bonding. If you enjoyed our Pumpkin Spice Cookies recipe, you’ll find these turkey leg cookies equally delightful and even more Instagram-worthy!
Quick and Easy Assembly
Unlike complicated decorated cookies that require rolling, cutting, and intricate piping, these treats come together in about 30 minutes of active time. There’s no dough chilling, no precise measurements for decorating, and no baking expertise required. Simply dip, sprinkle, insert the pretzel, and let them set. It’s the perfect recipe for busy holiday schedules when you want impressive results without the stress.
Ready to create the most talked-about dessert at your Thanksgiving celebration? Let’s get started with these charming thanksgiving turkey leg cookies!
How to Make Thanksgiving Turkey Leg Cookies
Quick Overview
These thanksgiving turkey leg cookies are incredibly easy to assemble and require no baking if you use store-bought cookies. The process involves coating cookies in melted chocolate or caramel, decorating with festive sprinkles, and adding pretzel stick “bones” for that authentic turkey leg look.
Time Breakdown:
- Prep Time: 15 minutes
- Setting Time: 30-45 minutes
- Total Time: 1 hour
- Yield: 24-30 cookies
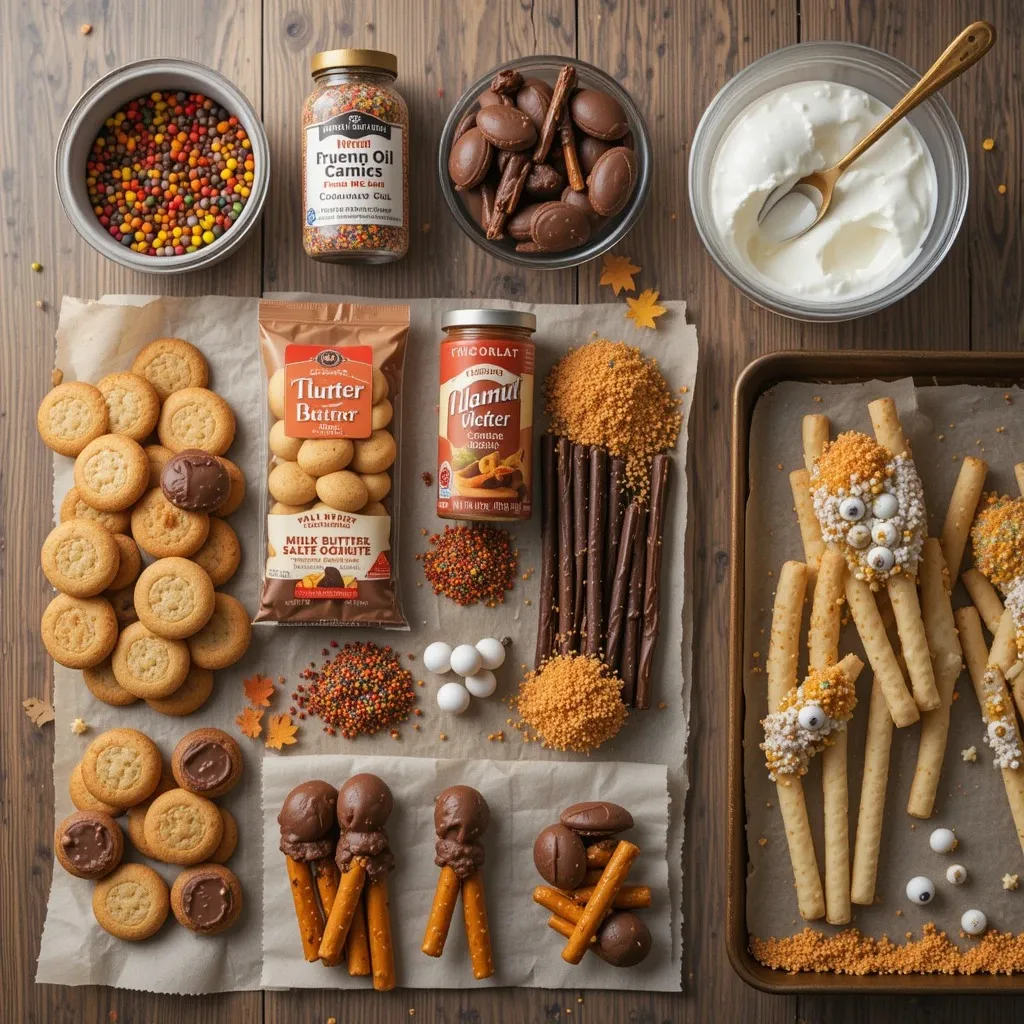
Key Ingredients for Thanksgiving Turkey Leg Cookies
For the Cookie Base:
- 24-30 Nutter Butter cookies or vanilla wafer cookies (oval-shaped works best)
- OR homemade sugar cookies cut into oval shapes
For the Coating:
- 2 cups milk chocolate melting wafers
- OR 2 cups caramel melting wafers
- OR 1 cup each for variety
- 1 tablespoon coconut oil or shortening (for smooth consistency)
For Decoration:
- 24-30 pretzel rods or thick pretzel sticks
- ½ cup fall-colored sprinkles (orange, yellow, red, brown)
- ½ cup candy eyes (optional, for extra cuteness)
- Edible gold luster dust (optional)
Equipment Needed:
- Microwave-safe bowls
- Fork or dipping tool
- Parchment paper or silicone baking mat
- Baking sheets
Step-by-Step Instructions
Step 1: Prepare Your Workspace
Line two baking sheets with parchment paper or silicone baking mats. Arrange all your ingredients within easy reach. Break pretzel rods in half if they’re too long—you want pieces about 3-4 inches long to resemble realistic turkey leg bones. Set out your sprinkles in a shallow bowl for easy access during the dipping process.
Step 2: Melt the Chocolate or Caramel
Place your chocolate melting wafers in a microwave-safe bowl. Add 1 tablespoon of coconut oil or shortening to help thin the coating for easier dipping. Microwave in 30-second intervals, stirring thoroughly between each interval, until completely smooth and melted. This usually takes 1.5 to 2 minutes total. The coating should be fluid enough to drip slowly off a spoon. If it’s too thick, add another teaspoon of coconut oil.
Step 3: Dip the Cookies
Working with one cookie at a time, hold the cookie by one end and dip it into the melted coating at an angle, covering about three-quarters of the cookie. Let the excess coating drip back into the bowl for a few seconds. You want a nice coating but not so thick that details are lost. Place the dipped cookie on your prepared baking sheet, leaving space between each one.
Step 4: Add Sprinkles Immediately
While the coating is still wet (this is crucial!), generously sprinkle your fall-colored sprinkles over the coated portion of the cookie. The sprinkles will stick to the wet coating and set in place as it hardens. Work quickly, as the coating begins to set within 1-2 minutes.
Step 5: Insert the Pretzel “Bone”
Gently push one pretzel stick into the uncoated end of each cookie, inserting it about ½ inch into the cookie. This creates the appearance of a bone sticking out of a turkey leg. If using Nutter Butters, push the pretzel between the cookie layers for a more secure hold. Make sure the pretzel is straight and centered.
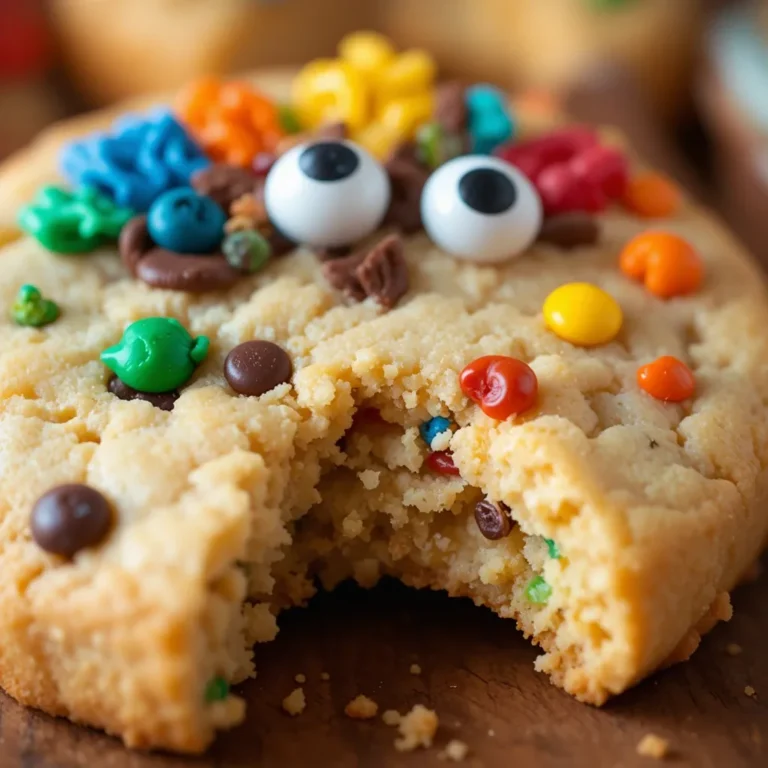
Step 6: Add Optional Candy Eyes
If you want to give your turkey legs a playful personality, press two candy eyes onto the coated portion while it’s still tacky. Place them near the top third of the cookie. This step is especially fun if you’re making these with kids!
Step 7: Let Them Set
Allow the cookies to sit at room temperature for 30-45 minutes until the coating is completely hardened. You can speed up this process by placing the baking sheet in the refrigerator for 15-20 minutes. Once set, the cookies are ready to serve or package.
Step 8: Add Final Touches (Optional)
For an extra-special presentation, lightly dust the dried cookies with edible gold luster dust using a clean, dry brush. You can also drizzle with contrasting chocolate—use white chocolate drizzle on dark chocolate-coated cookies or dark chocolate on caramel-coated ones.
What to Serve Thanksgiving Turkey Leg Cookies With
These delightful thanksgiving turkey leg cookies pair beautifully with various beverages and desserts:
Hot Drinks: Serve alongside spiced apple cider, pumpkin spice lattes, hot chocolate with marshmallows, or chai tea. The warm spices complement the sweet cookies perfectly.
Cold Beverages: Pair with cold milk (a classic!), iced coffee, apple juice, or even a festive cranberry spritzer for adults.
Dessert Platters: Arrange these cookies on a dessert board with pumpkin pie bars, pecan tassies, chocolate-covered strawberries, and mini cheesecakes for a stunning Thanksgiving spread.
Ice Cream: Serve with vanilla bean ice cream or cinnamon ice cream for an indulgent dessert experience.
Cheese Board Addition: Believe it or not, these sweet treats work wonderfully on a cheese and dessert board alongside brie, honey, and fresh fruit for a sophisticated presentation.
Top Tips for Perfecting Thanksgiving Turkey Leg Cookies
Choose the Right Cookies
Nutter Butter cookies work exceptionally well because their oval shape and peanut butter filling create an authentic turkey leg appearance. However, vanilla wafers, Milano cookies, or homemade sugar cookies work equally well. Avoid cookies that are too thin or delicate, as they may break during dipping.
Master the Coating Consistency
The secret to smooth, professional-looking cookies is properly thinned coating. Always add coconut oil or shortening to melting wafers—this creates a thinner consistency that coats evenly without being too thick. If your coating gets too thick while working, reheat it for 10-15 seconds and stir well.
Work in Batches
Don’t try to coat all cookies at once. Work in batches of 5-6 cookies, as the coating hardens quickly. This ensures you have enough time to add sprinkles and pretzels while the coating is still tacky.
Temperature Matters
Make sure your cookies are at room temperature before dipping. Cold cookies can cause the coating to seize or crack. Similarly, don’t let the melted coating get too hot, as it can make cookies soggy.
Prevent Pretzel Breakage
Pretzel rods can be fragile. When inserting them, use a gentle rocking motion rather than pushing straight down. If a pretzel breaks, it’s not a disaster—just push the broken piece in and call it “rustic charm!”
Color Coordination
Stick to autumn color schemes for the most authentic look. Orange, yellow, red, brown, and gold sprinkles create that perfect turkey leg appearance. Avoid blues, greens, or pastels that don’t fit the Thanksgiving theme.
Storage Temperature
Store these cookies at room temperature in an airtight container. Refrigeration can cause condensation and make the coating sweat, which dulls the appearance and affects texture.
Storing and Reheating Tips
Room Temperature Storage
Store thanksgiving turkey leg cookies in an airtight container at room temperature for up to 1 week. Place parchment paper between layers to prevent sticking. Keep them away from heat sources and direct sunlight, which can melt the coating.
Refrigeration (Not Recommended)
While you can refrigerate these cookies, it’s not ideal. The coating may develop condensation when brought back to room temperature, creating a cloudy appearance. If you must refrigerate, let them come to room temperature for 30 minutes before serving, and gently blot any moisture.
Freezing for Long-Term Storage
These cookies freeze beautifully for up to 2 months! Arrange them in a single layer on a baking sheet and freeze until solid (about 2 hours). Then transfer to a freezer-safe container with parchment paper between layers. Thaw at room temperature for 1-2 hours before serving.
Packaging for Gifts
These cookies make wonderful gifts! Place each cookie in a clear cellophane bag, tie with autumn-colored ribbon, and attach a gift tag. They stay fresh in packaging for 3-4 days at room temperature.
Reheating (Not Applicable)
These cookies are meant to be enjoyed at room temperature and should not be reheated. The coating will melt and the appearance will be ruined. Always serve at room temperature for the best texture and appearance.
Common Baking Mistakes to Avoid
Mistake 1: Using Regular Chocolate Instead of Melting Wafers
Regular chocolate chips require tempering to set properly at room temperature. Without tempering, they’ll remain sticky and messy. Always use chocolate melting wafers, candy melts, or almond bark designed for coating, as they set hard at room temperature without tempering.
Mistake 2: Coating That’s Too Thick
Forgetting to add coconut oil results in a thick, goopy coating that obscures the cookie shape and looks amateur. The coating should flow smoothly off a spoon. Remember: 1 tablespoon of coconut oil per 2 cups of melting wafers.
Mistake 3: Adding Decorations Too Late
Sprinkles and candy eyes must be added while the coating is still wet. Once it starts to set (within 2 minutes), decorations won’t stick. Work quickly and have all decorations ready before you start dipping.
Mistake 4: Inserting Pretzels Too Deeply
Pushing pretzels too far into cookies can cause them to break. Insert only ½ inch deep—just enough to hold securely. The pretzel should look like it’s naturally part of the “turkey leg,” not buried in it.
Mistake 5: Overheating the Coating
Microwaving coating chocolate too long or at too high a power can burn it, making it thick, grainy, and unusable. Always use 30-second intervals at 50% power and stir thoroughly between each heating.
Mistake 6: Wet or Humid Conditions
Making these cookies on a humid day can prevent the coating from setting properly. If possible, use a dehumidifier or air conditioning, or make them on a dry day. Humidity is chocolate’s enemy!
Mistake 7: Storing Improperly
Stacking cookies without parchment paper causes them to stick together, ruining the coating and decorations. Always layer with parchment paper and store in a single layer when possible.
Frequently Asked Questions
Can I make thanksgiving turkey leg cookies ahead of time?
Absolutely! These cookies are perfect for advance preparation. Make them up to 5 days before your event and store in an airtight container at room temperature. They also freeze beautifully for up to 2 months, making them ideal for holiday meal prep.
What type of cookies work best for this recipe?
Nutter Butter cookies are the gold standard because of their oval shape and sturdy texture. However, vanilla wafers, Milano cookies, Chessmen cookies, or homemade sugar cookies all work wonderfully. Choose cookies that are thick enough to hold a pretzel without breaking.
Can I use white chocolate instead of milk chocolate?
Yes! White chocolate melting wafers work great and create a lighter-colored “turkey leg” appearance. You can also tint white chocolate with oil-based food coloring to achieve a more golden-brown turkey color. Some bakers mix white and milk chocolate for a caramel-like shade.
How do I prevent the chocolate coating from cracking?
Ensure your cookies are at room temperature before dipping, and don’t refrigerate the finished cookies unless absolutely necessary. Cracking usually occurs when there’s a temperature shock. Adding coconut oil to your melting chocolate also creates a more flexible coating that’s less prone to cracking.
Are these cookies kid-friendly to make?
Definitely! Kids love helping with these cookies. Let them add sprinkles, insert pretzels, and place candy eyes. Adult supervision is needed for melting the chocolate, but the decorating process is perfect for little hands. It’s a wonderful Thanksgiving activity for children ages 4 and up.
Can I make these cookies gluten-free?
Yes! Use gluten-free cookies as your base and gluten-free pretzel sticks. Nutter Butter has a gluten-free version, or you can use any gluten-free vanilla cookies. Check that your melting wafers are also certified gluten-free if needed for allergies.
What’s the best way to package these as gifts?
Individual cellophane bags tied with ribbon look beautiful and keep cookies fresh. You can also arrange several in a clear gift box lined with tissue paper. Add a decorative tag with the recipe name and a “Happy Thanksgiving” message for a personal touch.
Why isn’t my chocolate coating hardening?
This usually happens if the coating got too hot or if there’s humidity in the air. Make sure you’re using candy melts or melting wafers, not regular chocolate chips. If the coating won’t set, place cookies in the refrigerator for 15-20 minutes to force hardening.
Can I use caramel instead of chocolate?
Absolutely! Caramel melting wafers create an even more realistic turkey leg color. You can also use butterscotch melts or mix caramel and chocolate for a unique flavor combination. Follow the same melting and dipping process.
How many cookies does this recipe make?
This recipe typically makes 24-30 thanksgiving turkey leg cookies, depending on the size of cookies you use. Nutter Butter cookies yield about 24-26 cookies per standard package. Double the recipe for larger gatherings or to have extras for gifts.
Nutrition Information
| Nutrient | Per Cookie (1 cookie) |
|---|---|
| Calories | 145 kcal |
| Total Fat | 7g |
| Saturated Fat | 4g |
| Cholesterol | 5mg |
| Sodium | 85mg |
| Total Carbohydrates | 20g |
| Dietary Fiber | 1g |
| Sugars | 14g |
| Protein | 2g |
| Calcium | 2% DV |
| Iron | 4% DV |
Nutrition information is approximate and based on using Nutter Butter cookies with milk chocolate coating. Values may vary based on specific brands and ingredients used.
Creative Variations to Try
Chocolate Peanut Butter Turkey Legs
Use Nutter Butter cookies and coat with dark chocolate, then drizzle with melted peanut butter for a decadent twist. The combination is irresistible!
White Chocolate Cranberry Version
Coat cookies in white chocolate and add dried cranberries along with the sprinkles for a festive, tart contrast to the sweetness.
S’mores Turkey Legs
Use graham cracker cookies, coat in milk chocolate, roll in crushed graham crackers, and add mini marshmallows while the coating is wet.
Maple Glazed Turkey Legs
Add maple extract to your melting chocolate or use maple-flavored candy melts for an authentic autumn flavor that pairs perfectly with the theme.
Vegan Turkey Leg Cookies
Use vegan cookies, dairy-free chocolate chips or melts, and ensure your pretzels are vegan-friendly. The result is just as delicious and adorable!
Final Thoughts
These thanksgiving turkey leg cookies prove that holiday baking doesn’t have to be complicated to be impressive. With minimal ingredients, simple techniques, and maximum cuteness, they’ve become a beloved tradition in homes across the country.
Whether you’re making them with kids, preparing treats for a school party, or adding a playful touch to your Thanksgiving dessert spread, these cookies deliver smiles every single time.
The best part? They’re so versatile that you can adapt them to your taste preferences, dietary needs, and skill level. From beginner bakers to experienced home cooks, everyone can create these charming treats successfully.
So gather your cookies, melt that chocolate, break out those pretzels, and get ready to make the most talked-about dessert of the season. Your Thanksgiving celebration deserves these adorable thanksgiving turkey leg cookies!
Happy baking, and may your Thanksgiving be filled with love, laughter, and plenty of these sweet little turkey legs!
Did you make these thanksgiving turkey leg cookies? We’d love to see your creations! Share your photos on social media and tag us. Don’t forget to leave a comment below with your experience and any creative variations you tried!